Bathrooms
Greek Temple Bathroom
The customer was a local artist, so it was fun to collaborate with her on the design. This was a complete gut demolition, including cutting away some of the original floor joists so as to be able to lower and level the eventual new floor. I stripped all the walls of the outdated and leaky tiles. There had been a long-undiscovered leak in the dormer over the tub. The roof had been repaired, not be plaster, tiles and insulation.
Separately, the old radiator had been leaking for some long time. I had to facilitate an HVAC person to address the radiator problems. I called it the Greek temple because instead of running the field tile to the ceiling, as is frequently done, I created the cap course at the wall/ceiling intersection. This gave the room and elegant look, which was reminiscent of a Greek temple to me. I replaced the door and painted the door, the trim, and the ceiling.
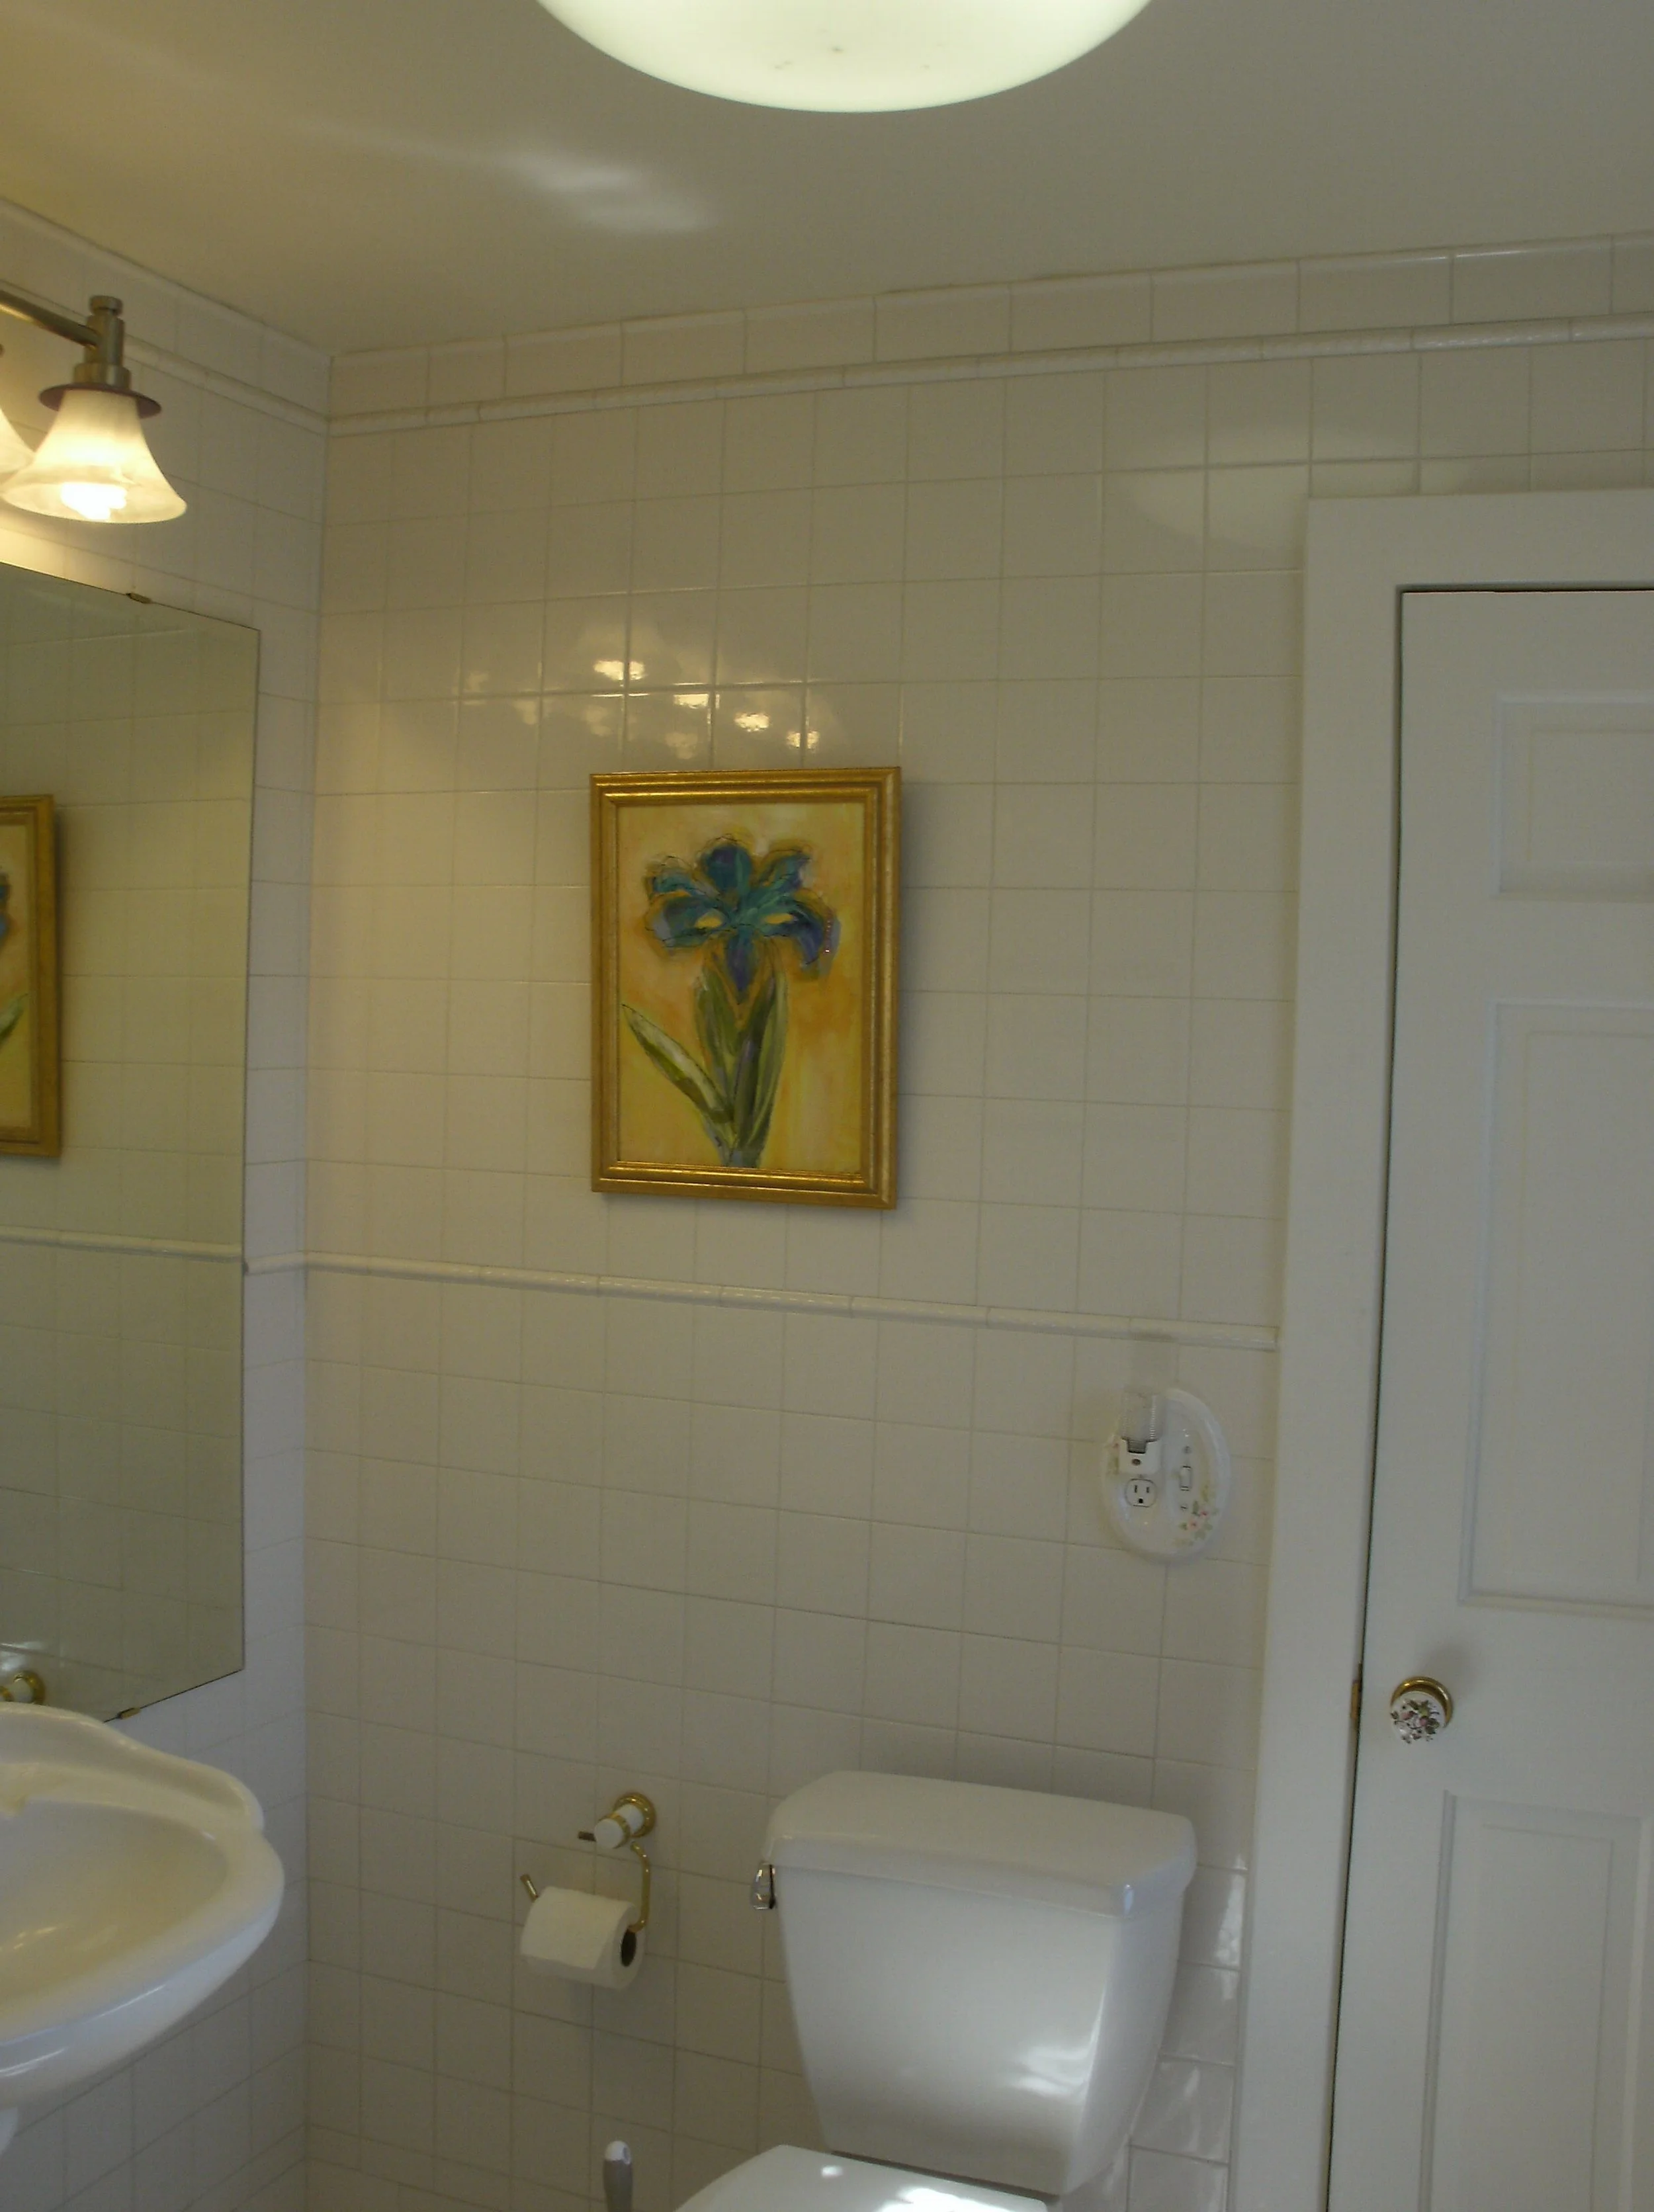
View of the wall with the door, toilet
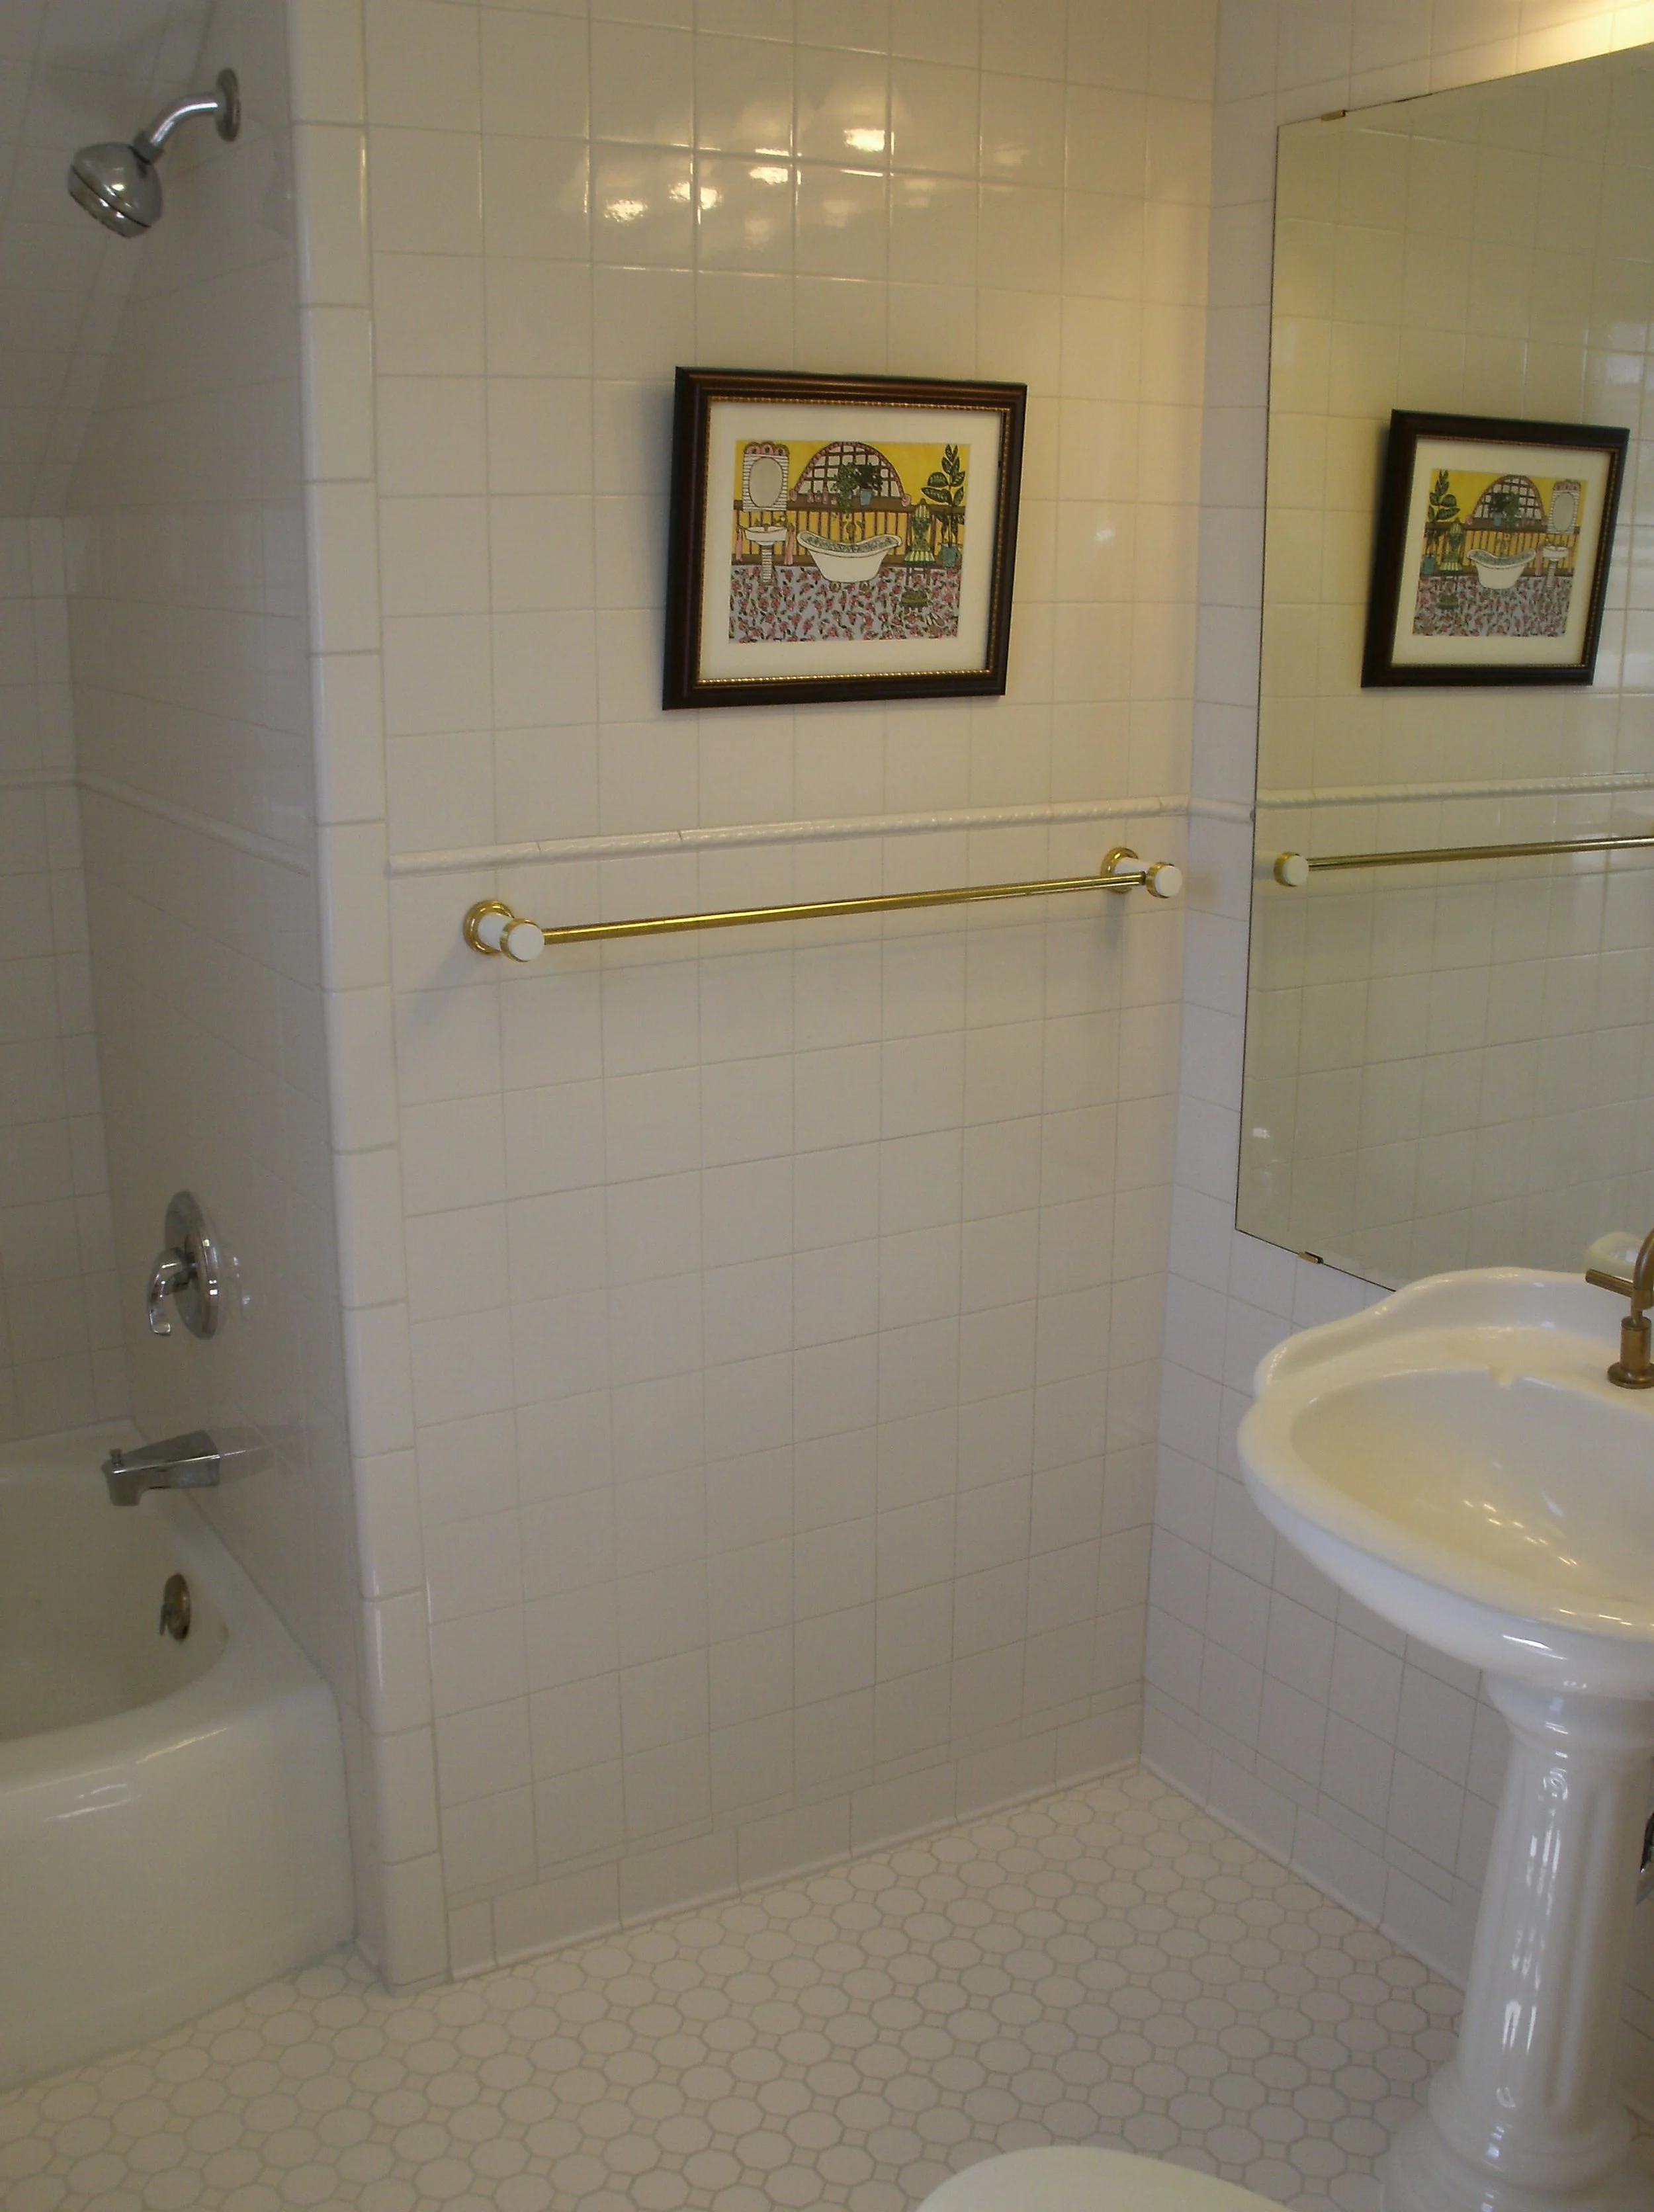
View of the opposite wall with a hint of the shower/tub
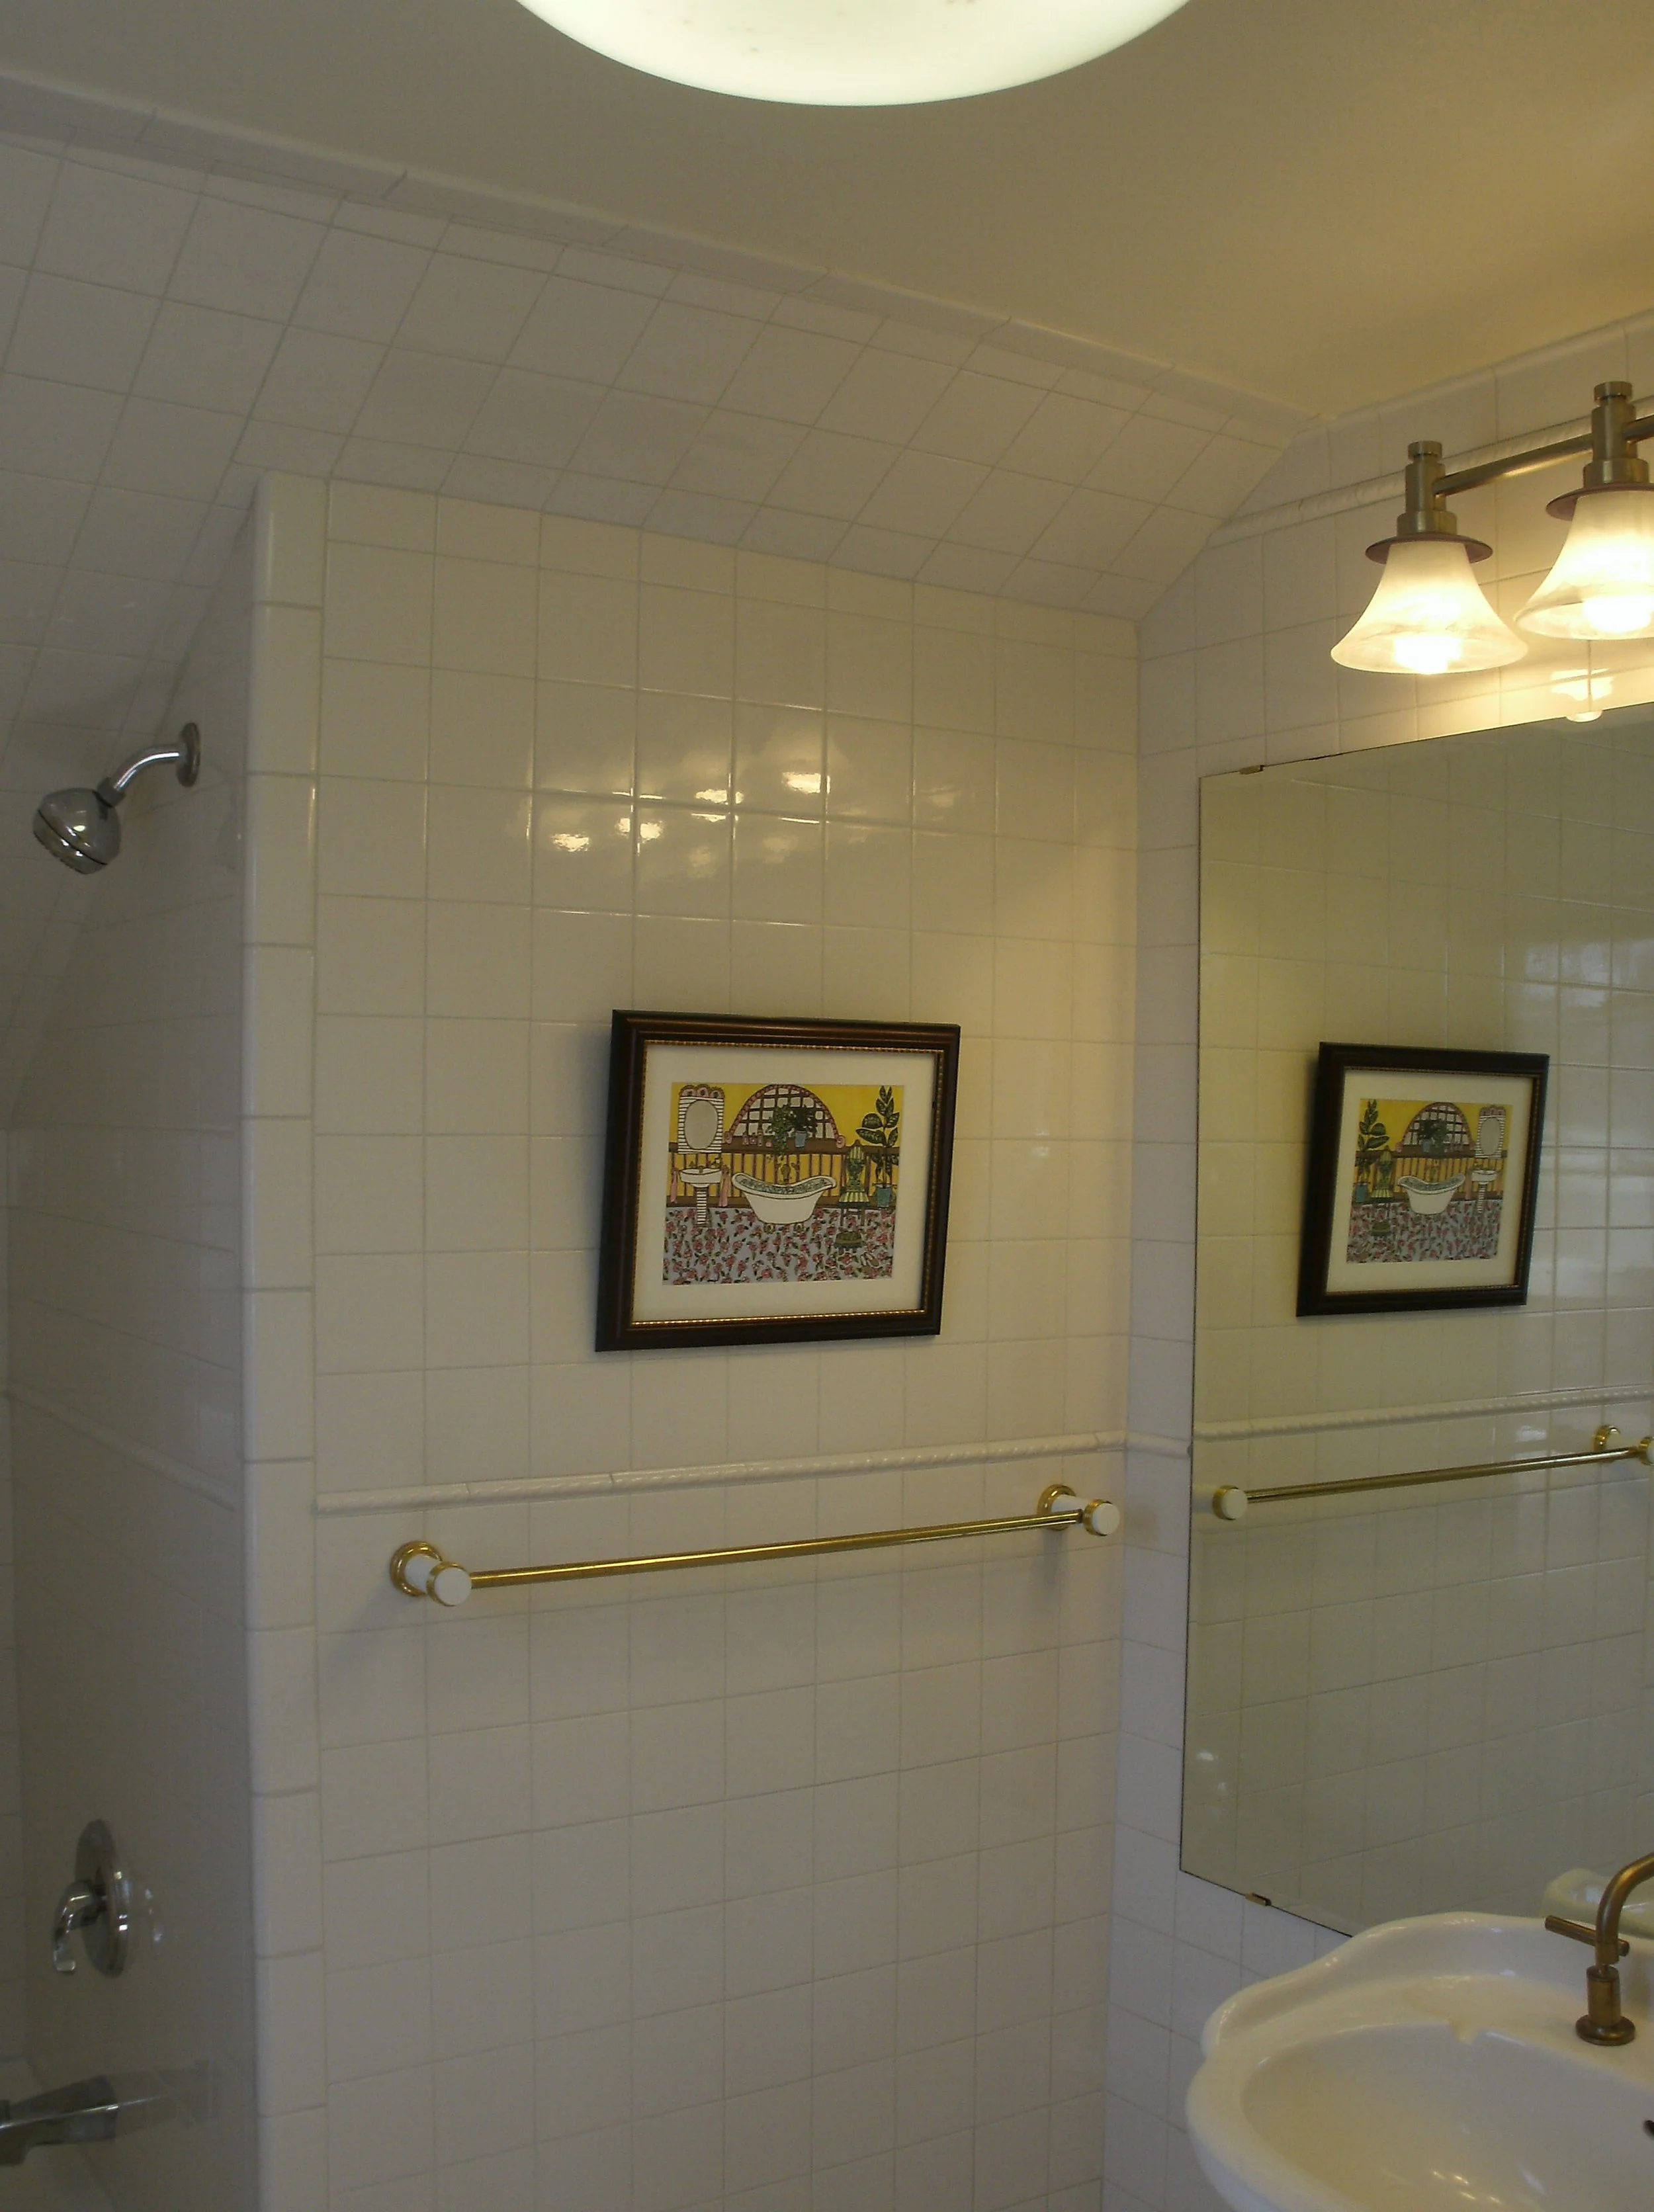
Closer view of the wall
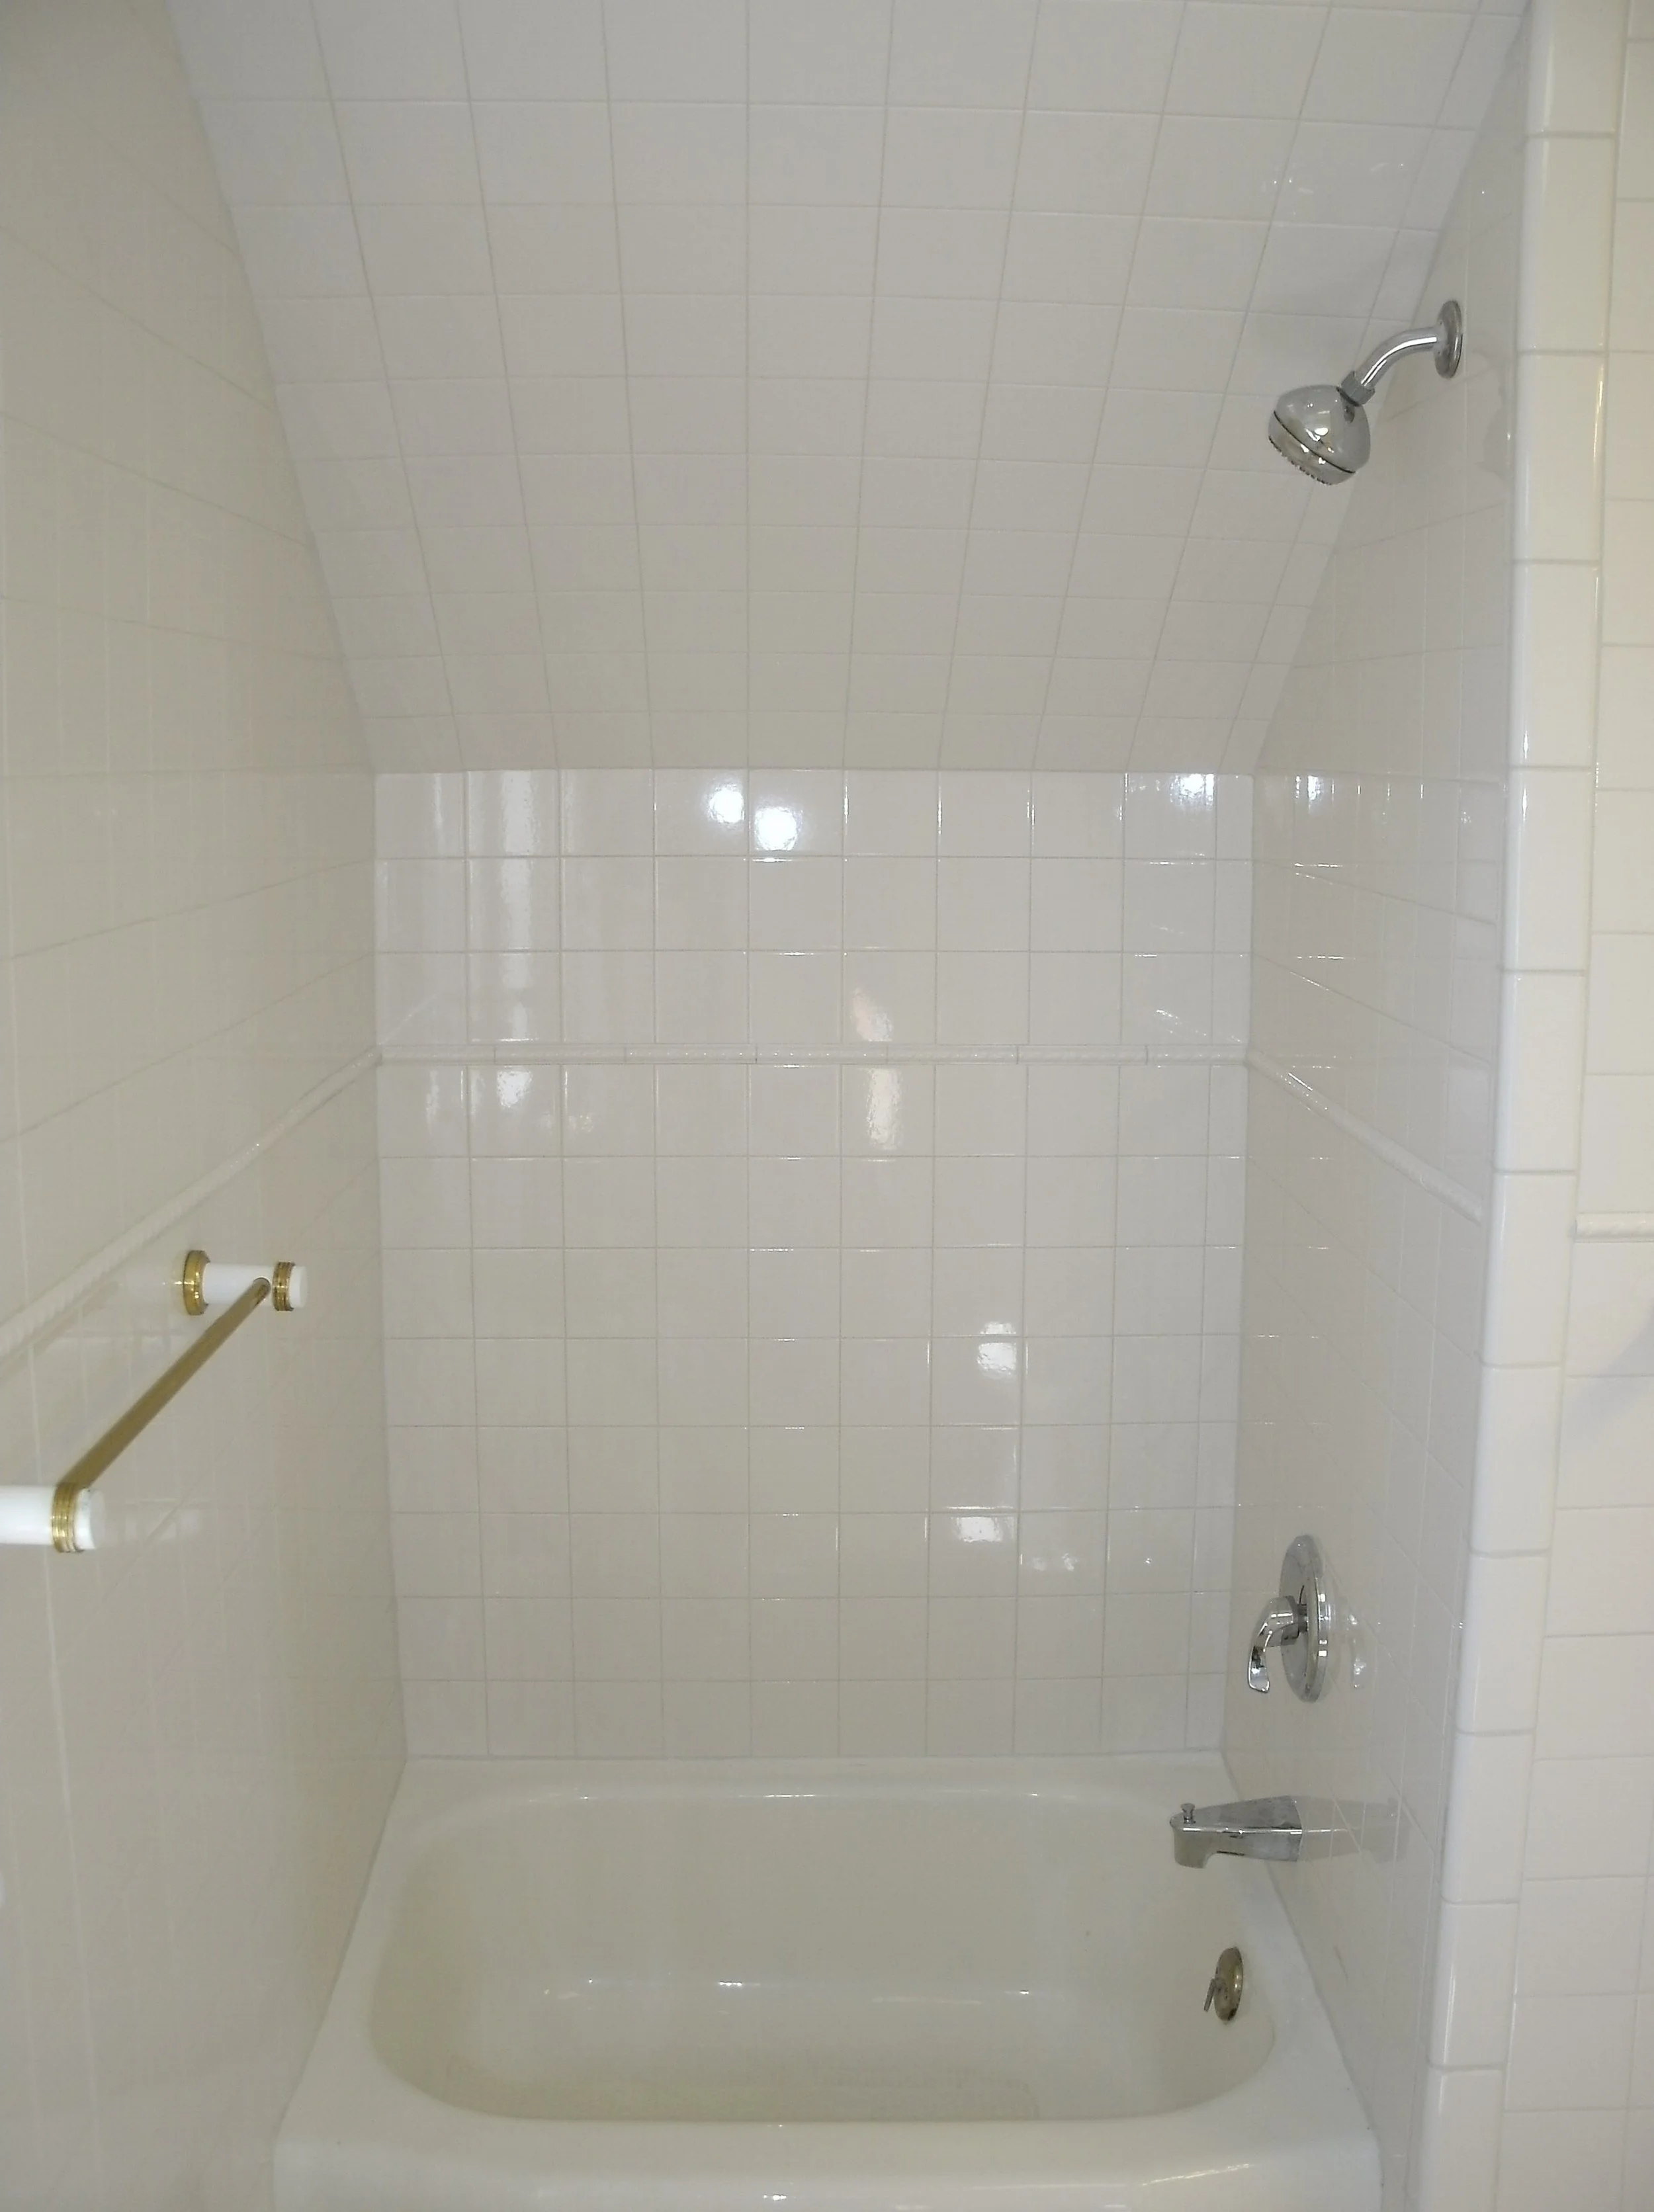
The tiny tub/shower in the dormer. I like using every bit of space.
Lakeside Press Bathroom
This started as a complete tear out and rebuild of a bathroom in a apartment above a commercial space on Williamson Street. There were four (!!) floors on top of one another. The original was tile and then there were three different linoleum floors on top. It actually was comfortable on bare feet since it was so spongy, but the plumbing leaking and bathtub splashing introduced too much unblockable water into the floor.
During demolition, it became obvious that the old school floor joists were insufficient, undersized and erratically, and two widely spaced. As we remedied this situation, we discovered that 12 feet of supporting wall from the first floor to the second floor had been cobbled together. It was unknown whether there had been previous usage in the area or if it had been underbuilt from the start. These studs were 2x12s!! I have never built with 2x12s before.
We also had to augment support underneath the wall first. This strengthened the support for the first and second floor from basement to second floor. I have no pictures of the basement to first floor or first floor to second floor work. The pictures of the bathroom were taken by two different photographers so that explains the seeming tile color change. They were black-and-white.
View into the beautiful new bathroom
Finished bathroom
Outside the tub area I changed color of 45°decorative row black to white
Moodily lit. Note tile color change
Another view. I like the two part trim at the wall ceiling intersection
Some of the floor and tub area
Another view of the wall ceiling intersection trim
Tub area tile detail.
Tub tile final detail
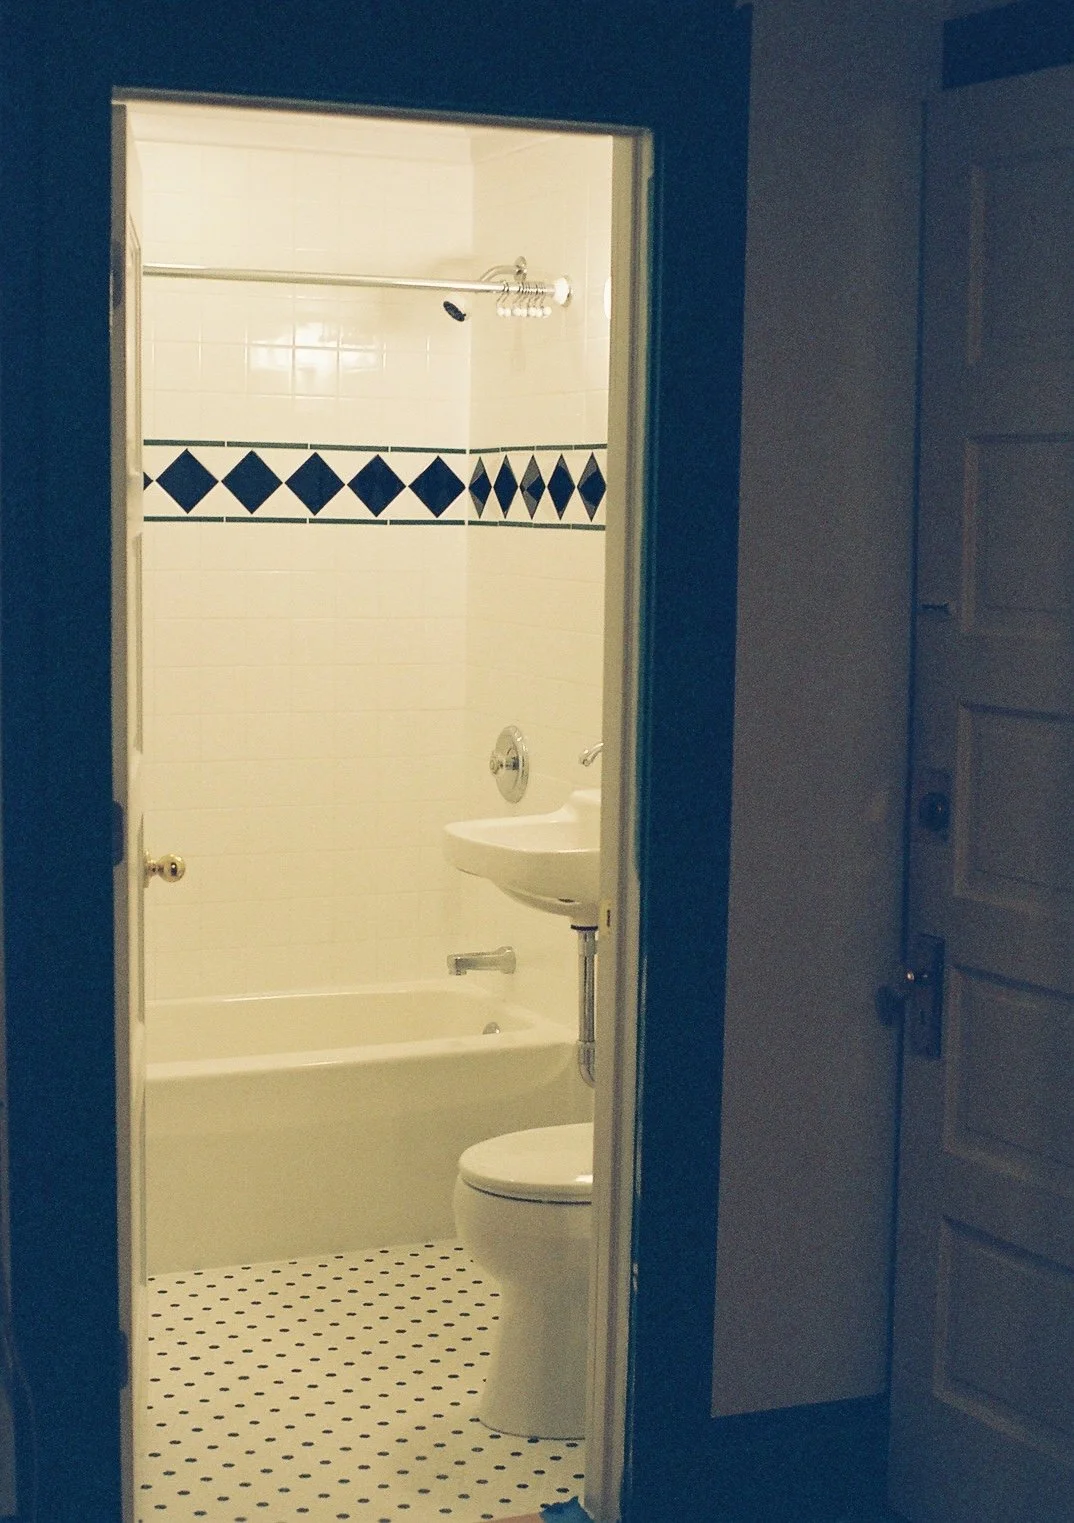
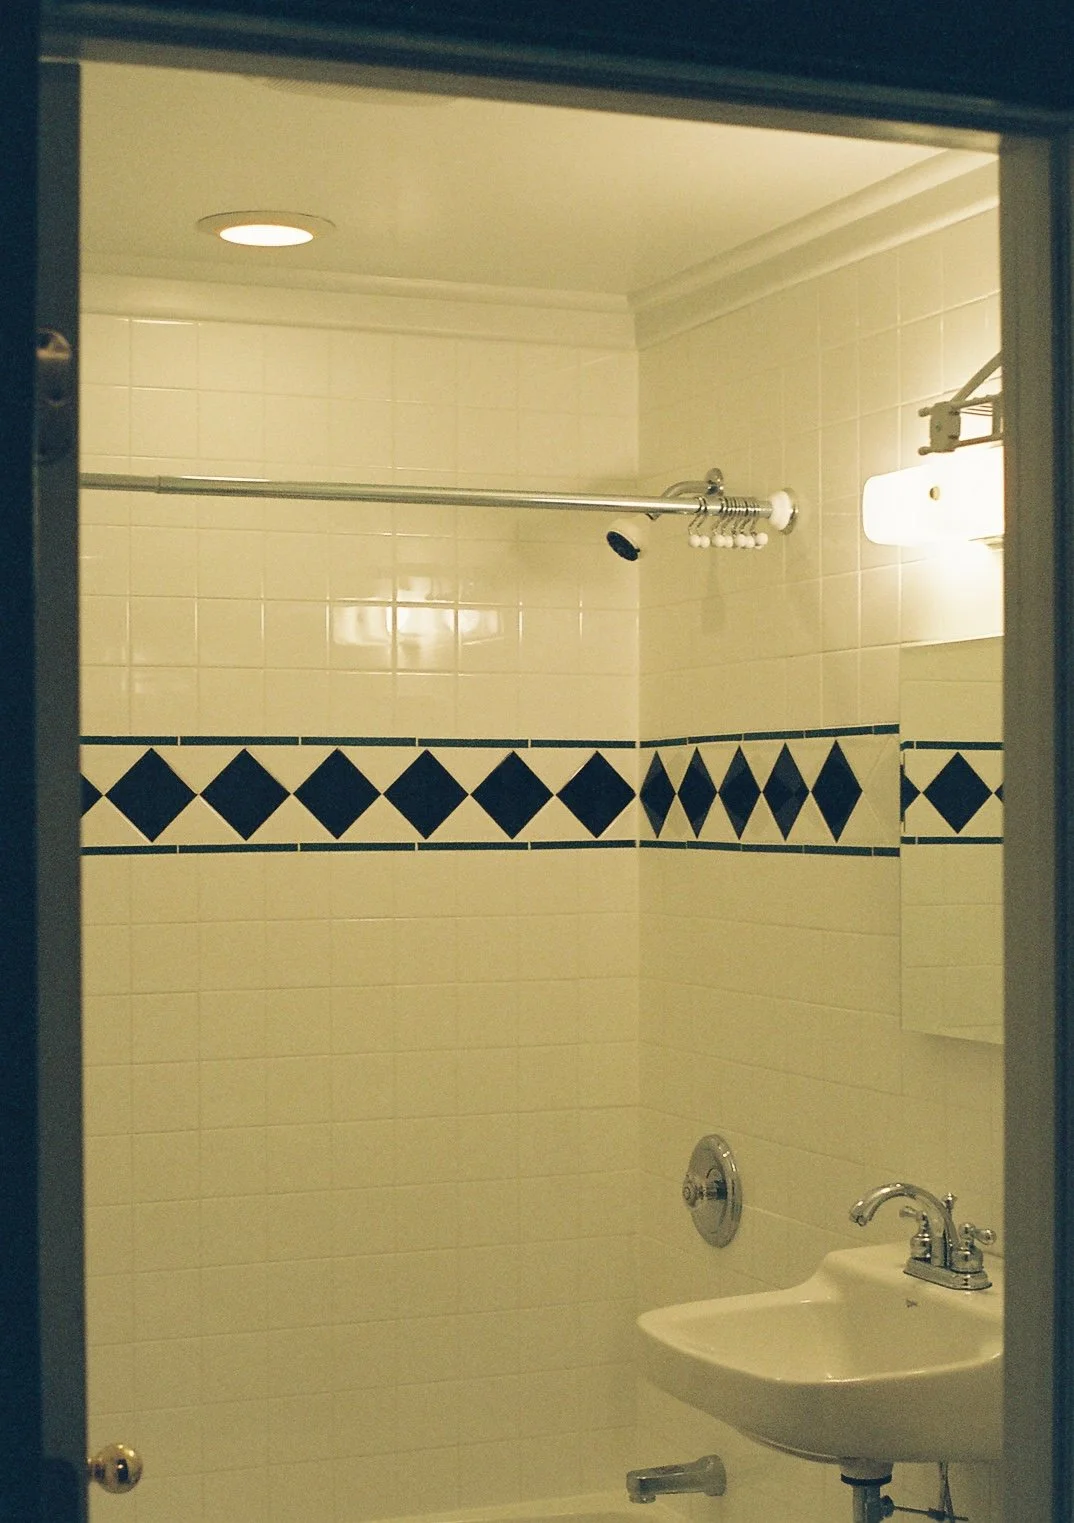
Willy St. Bathroom
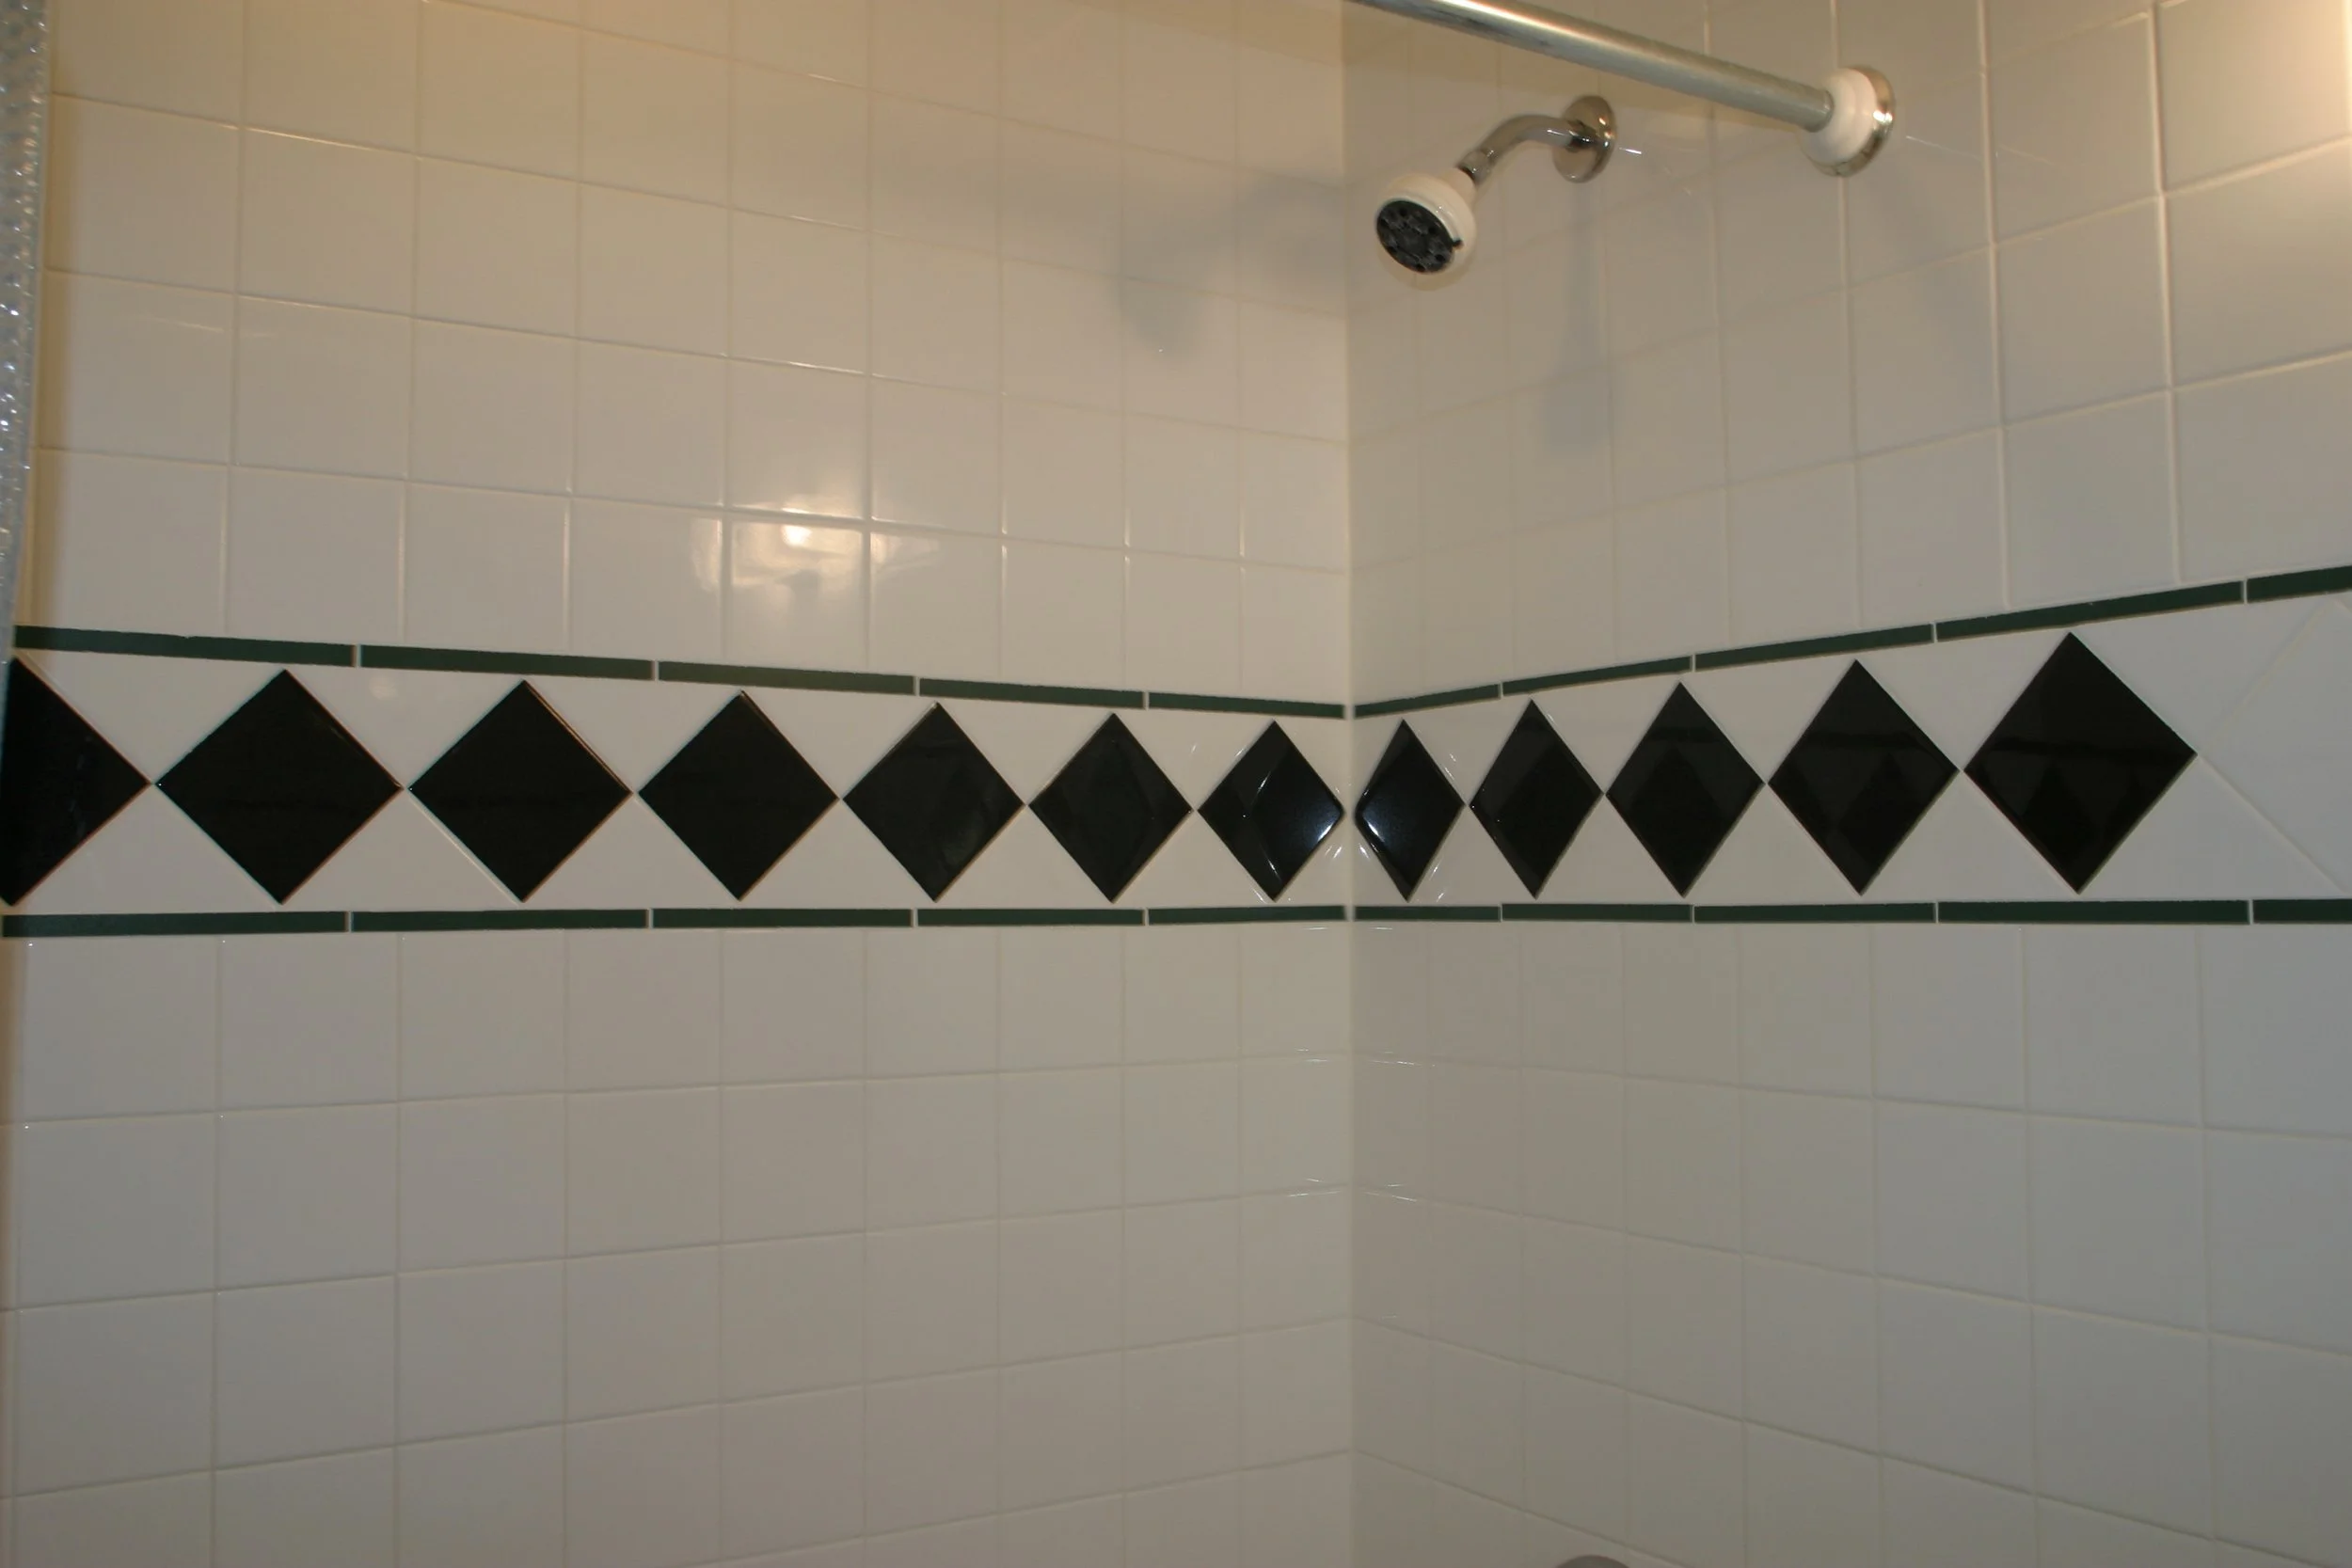
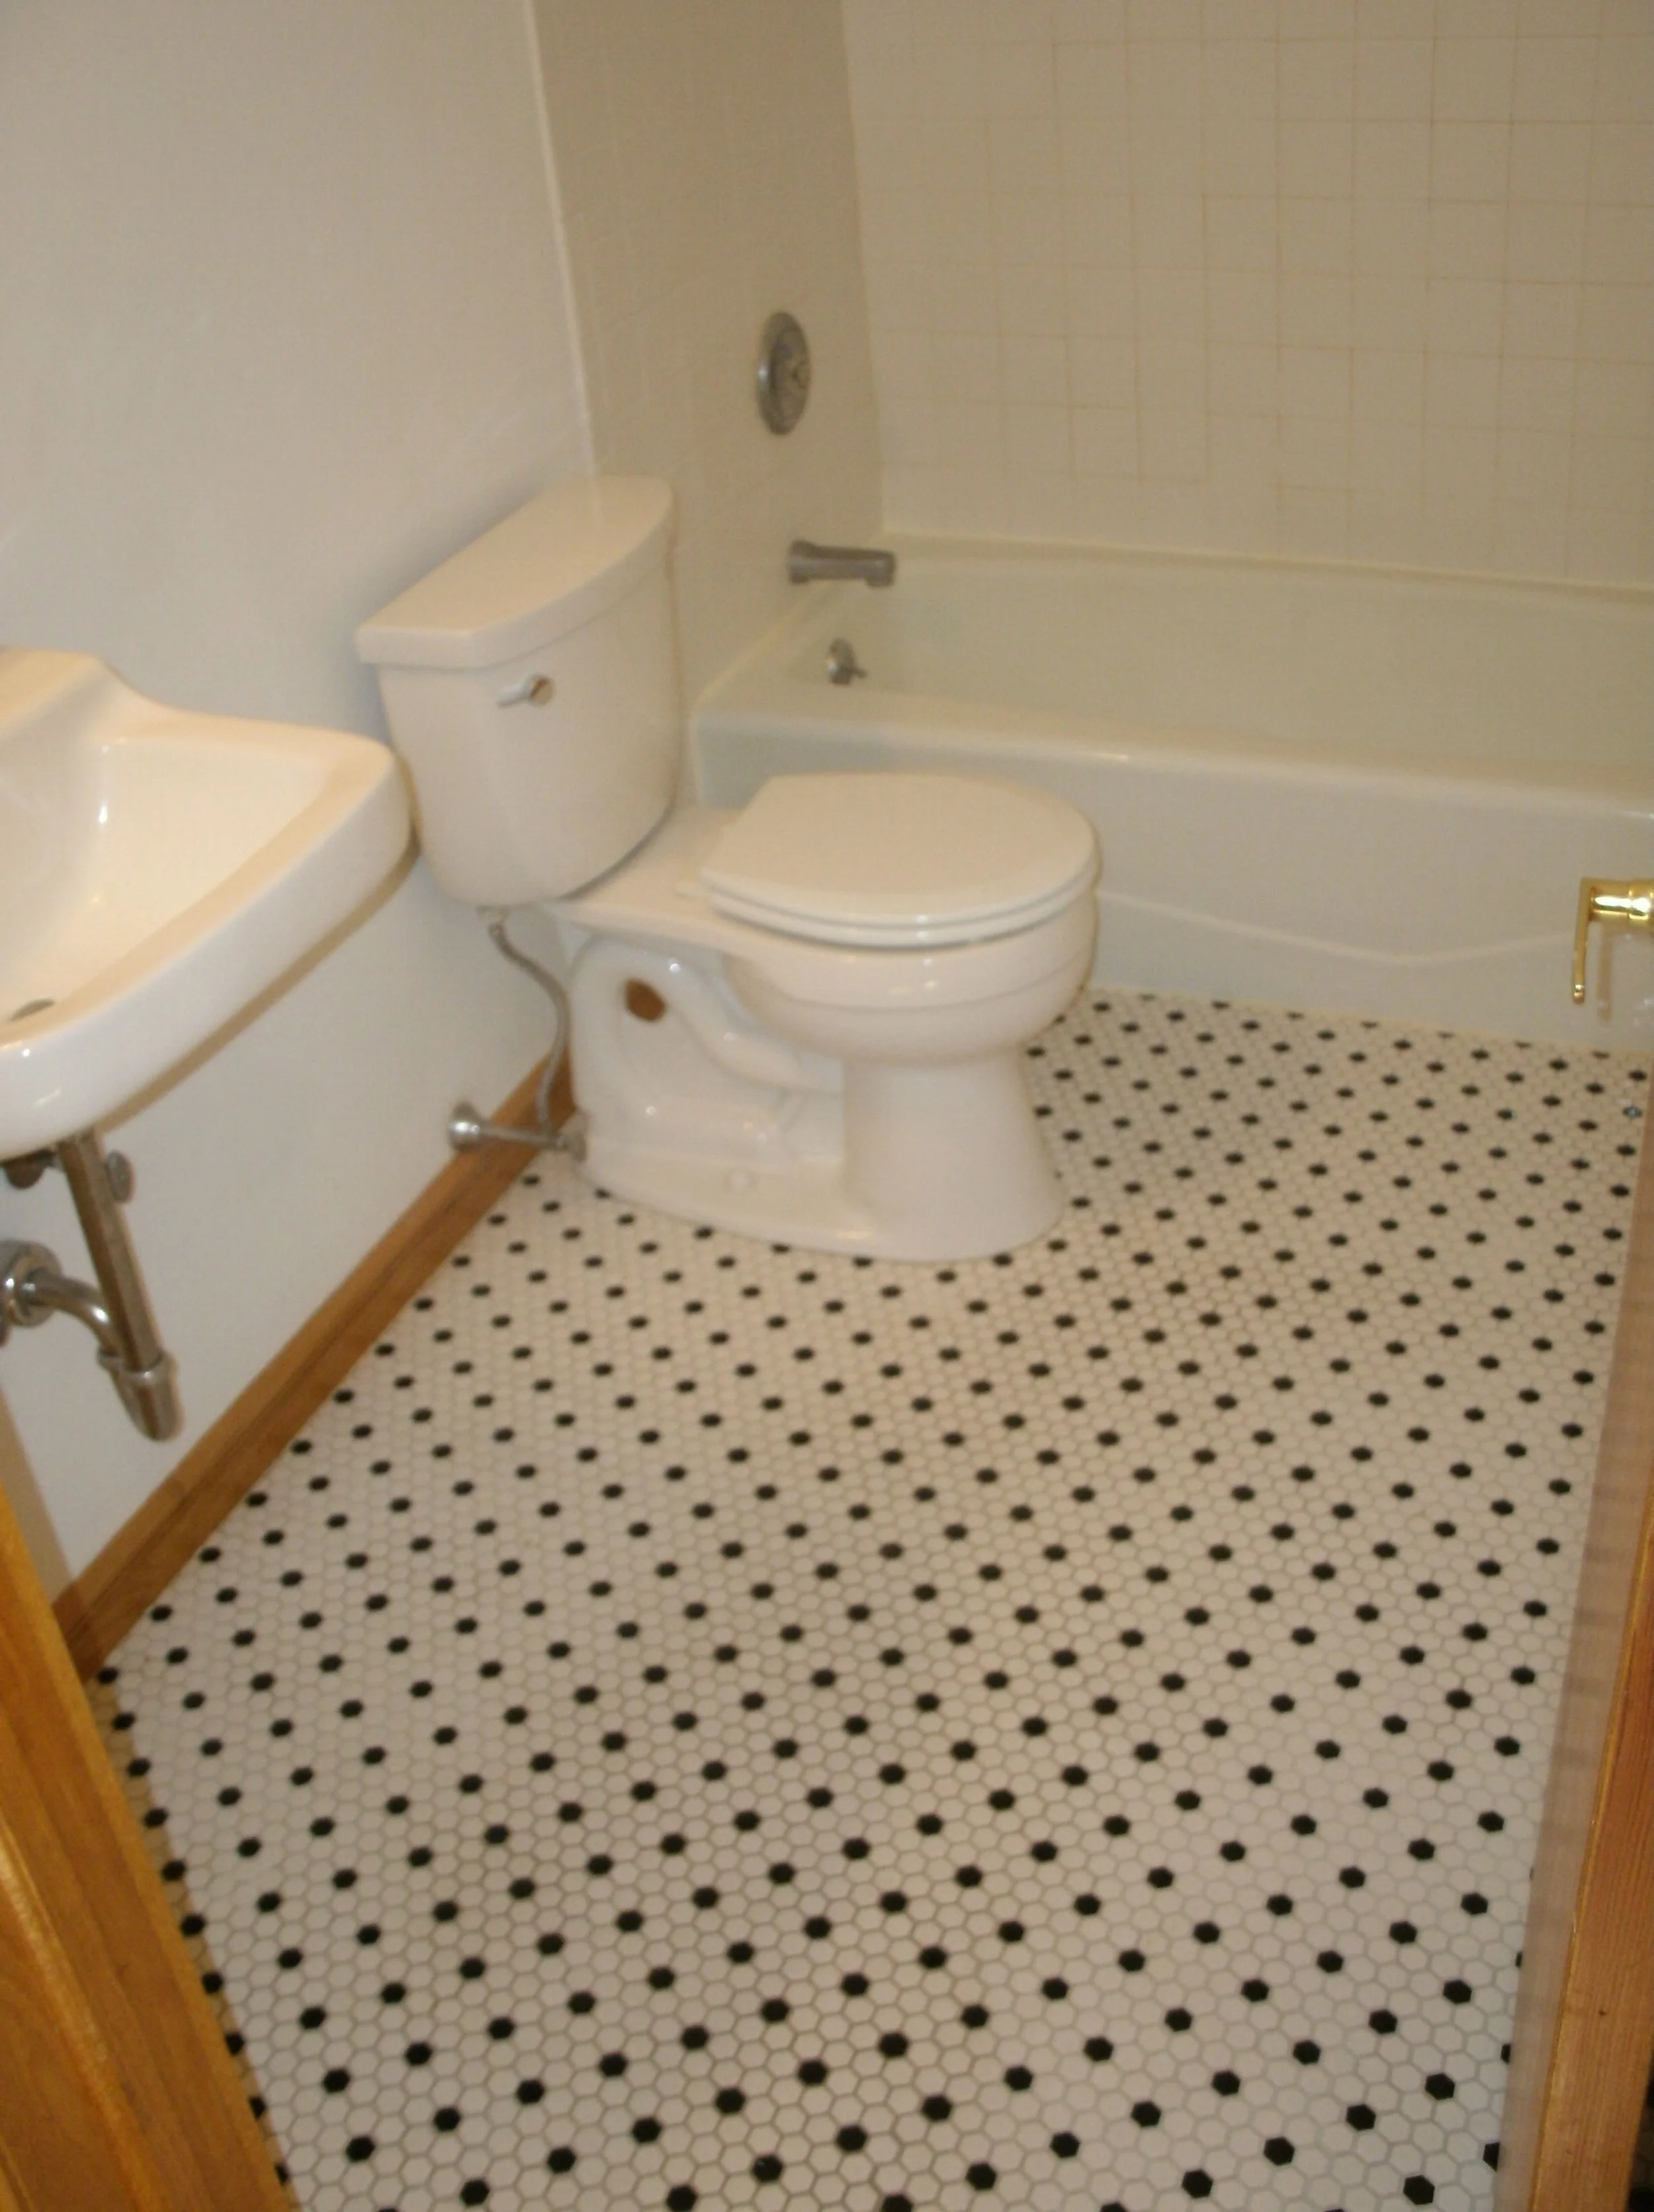
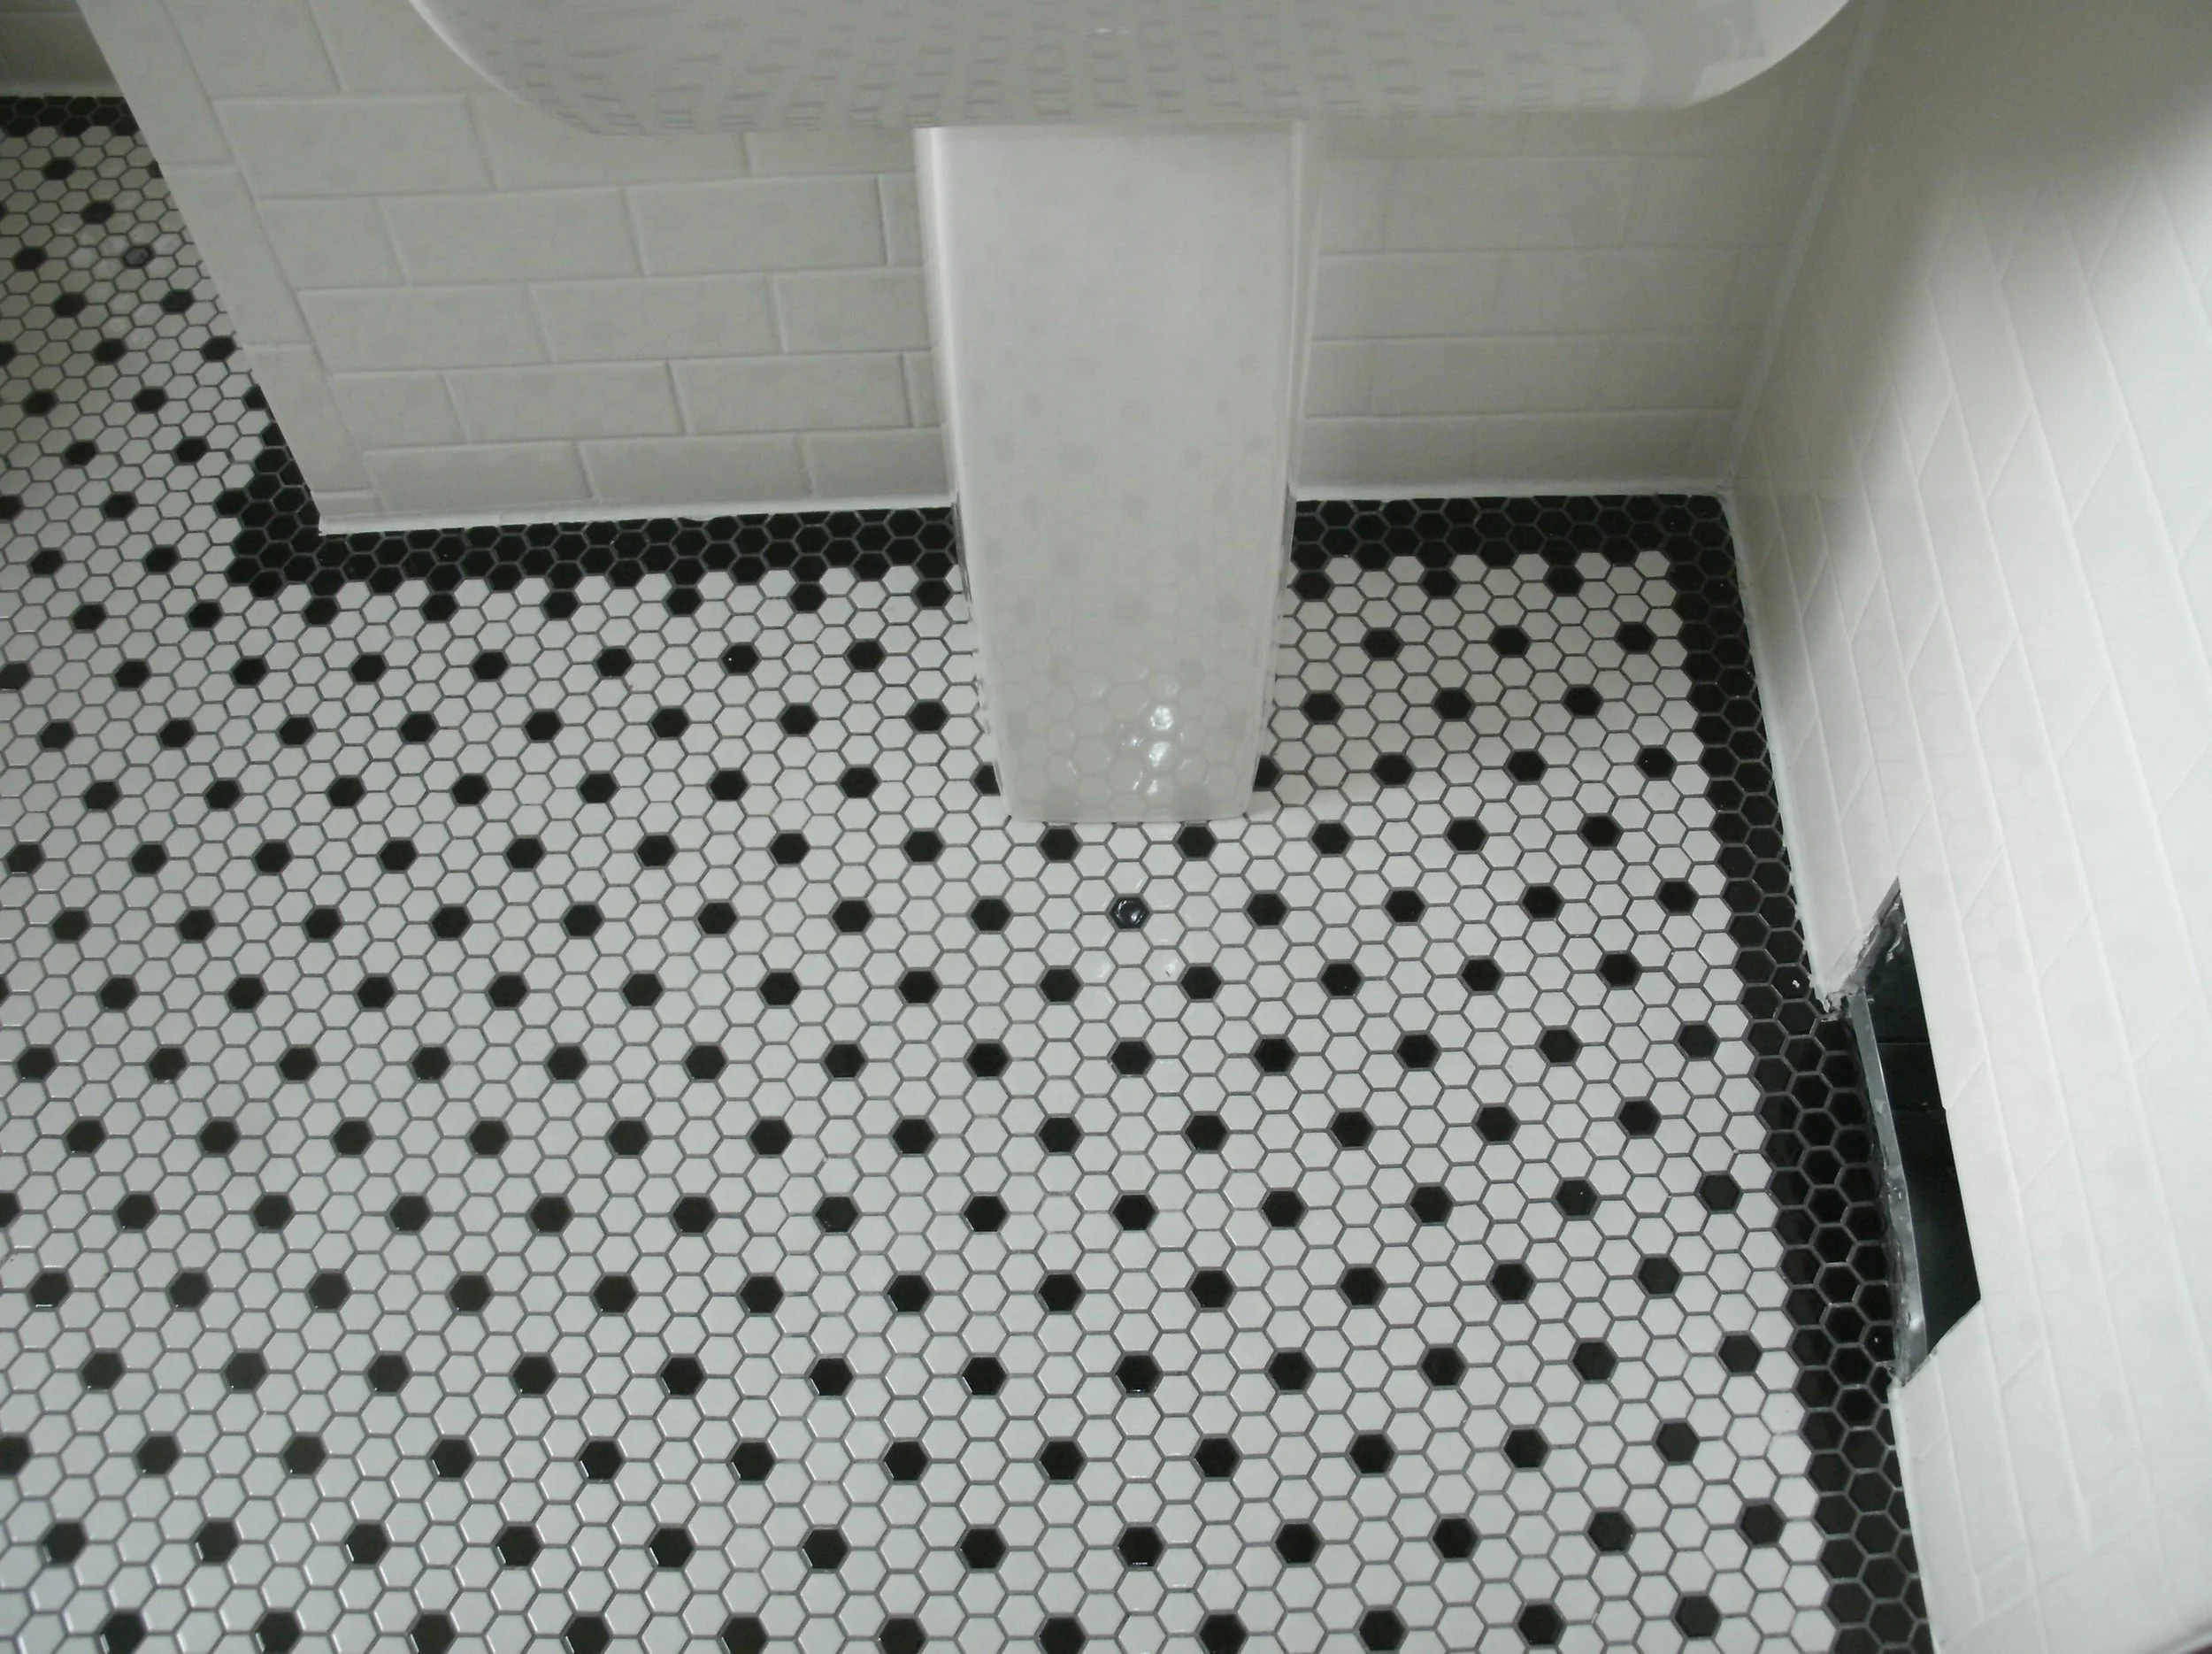
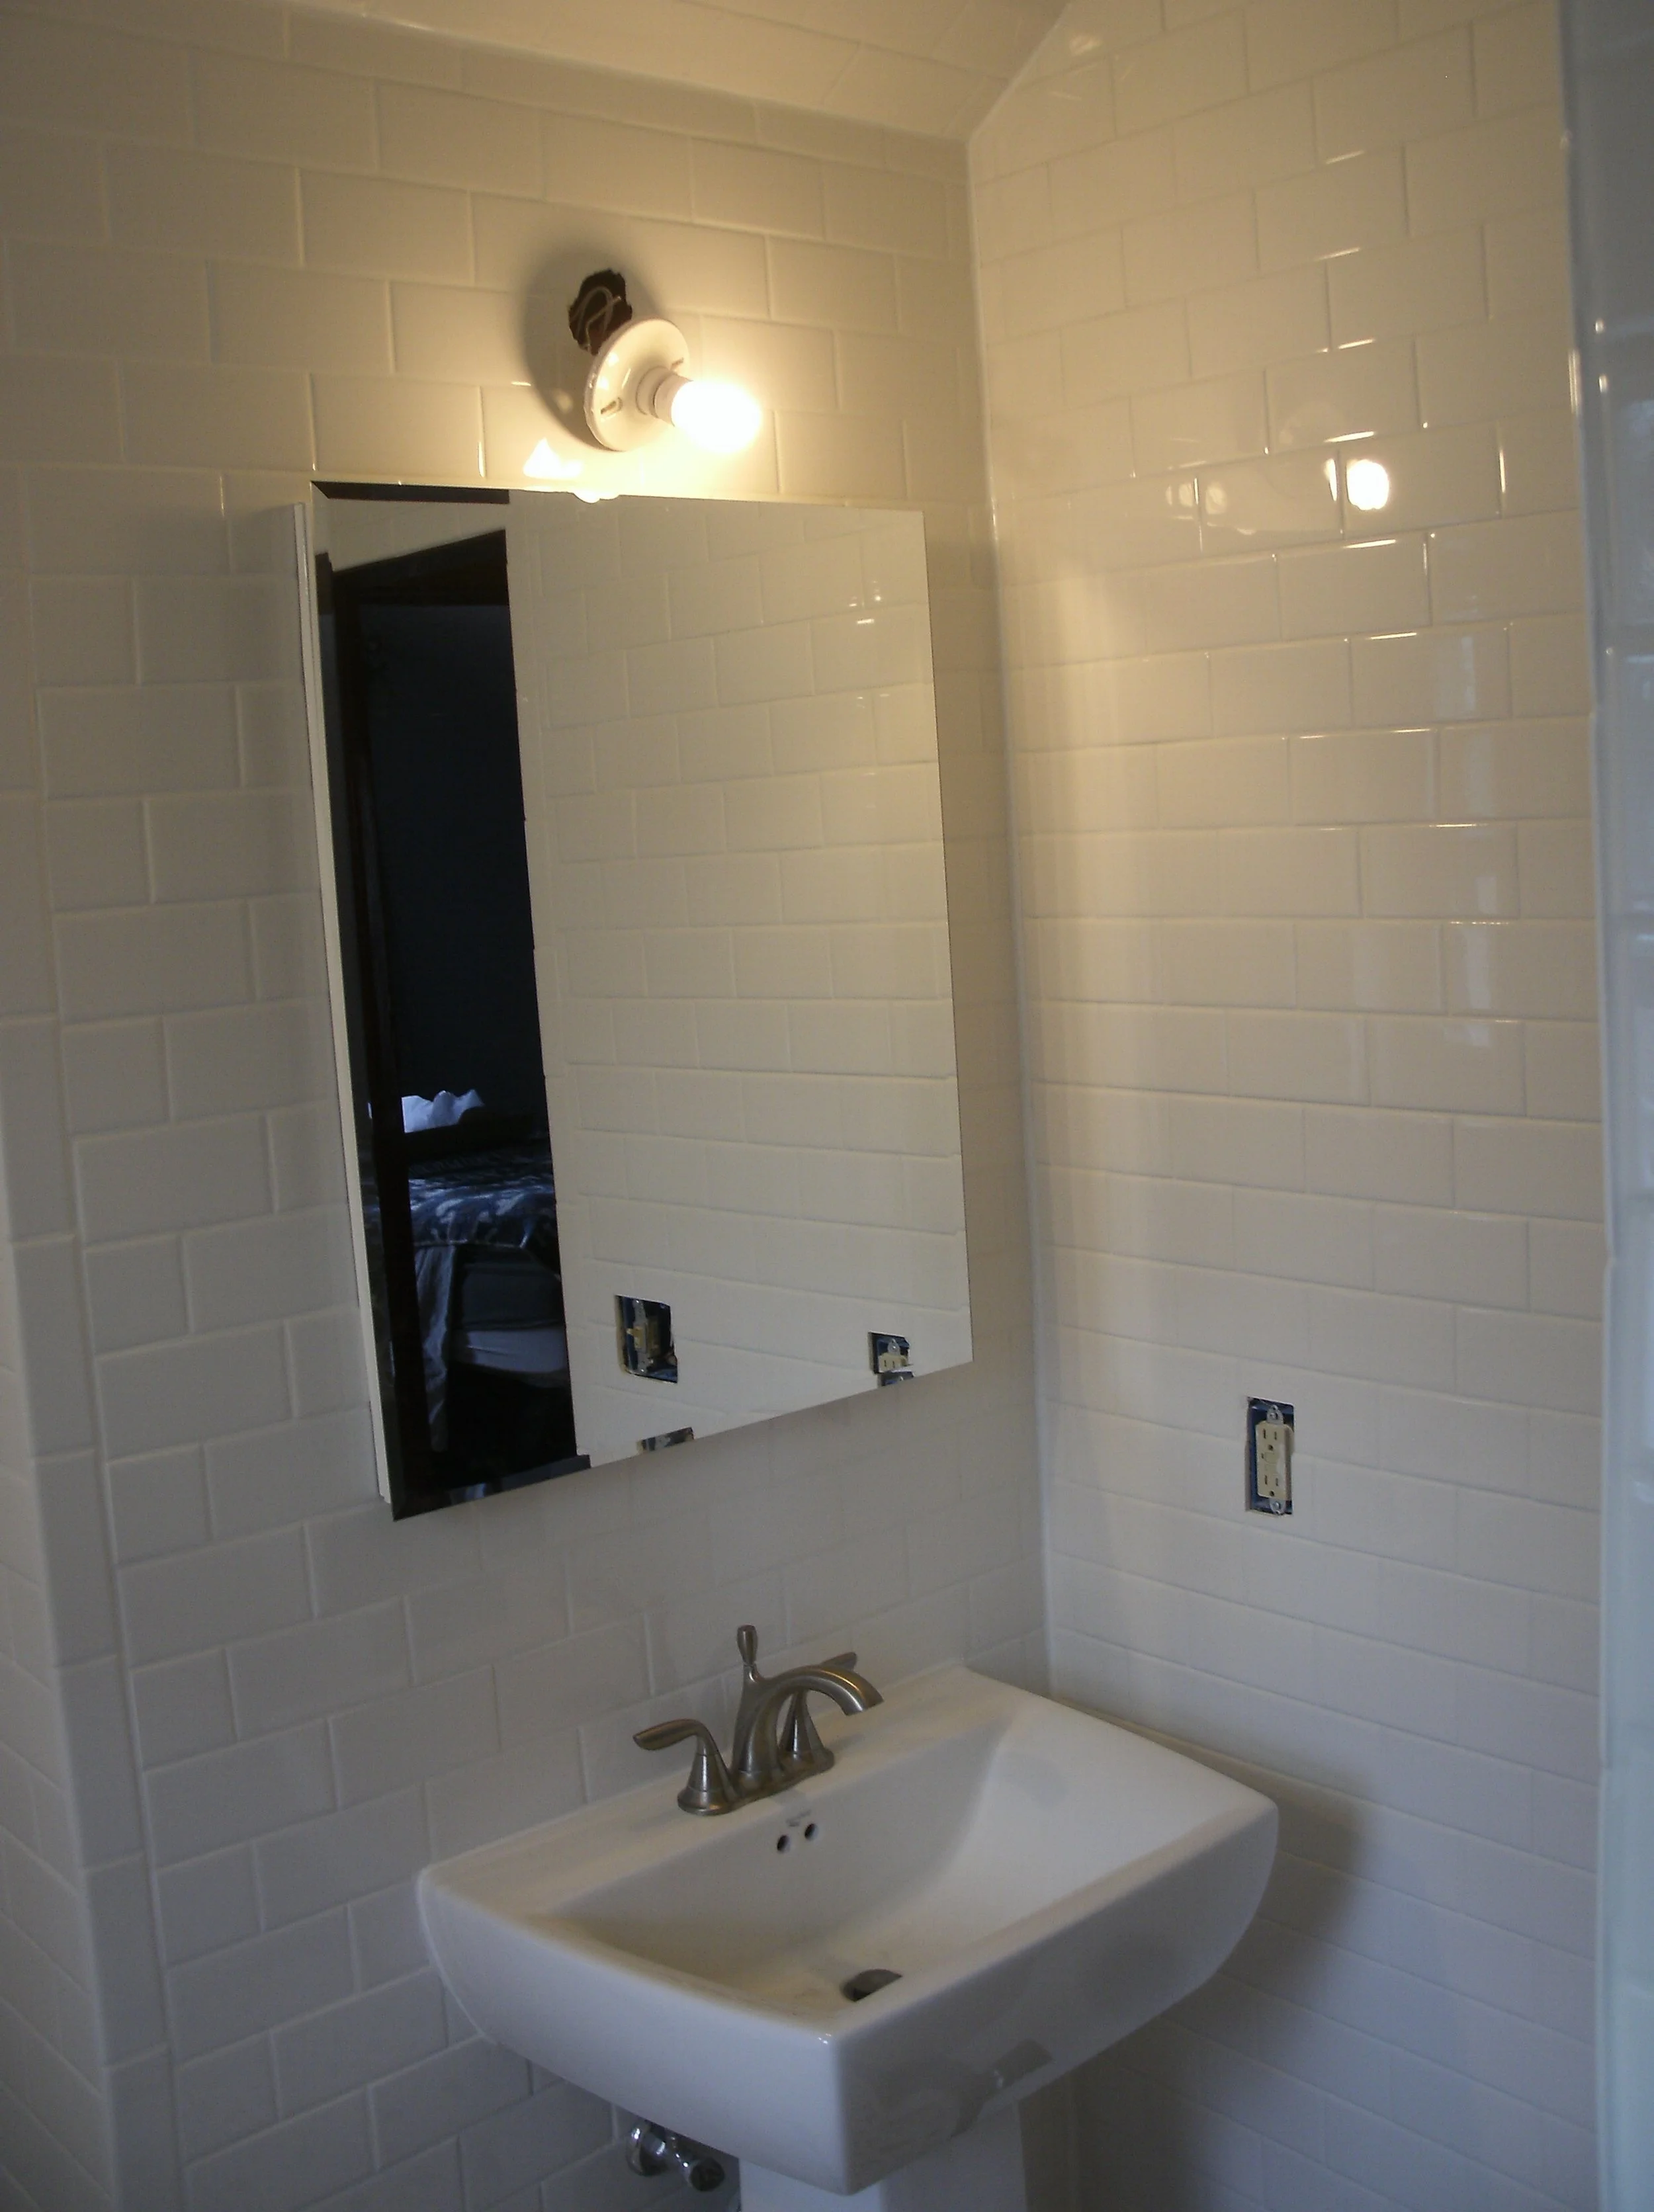
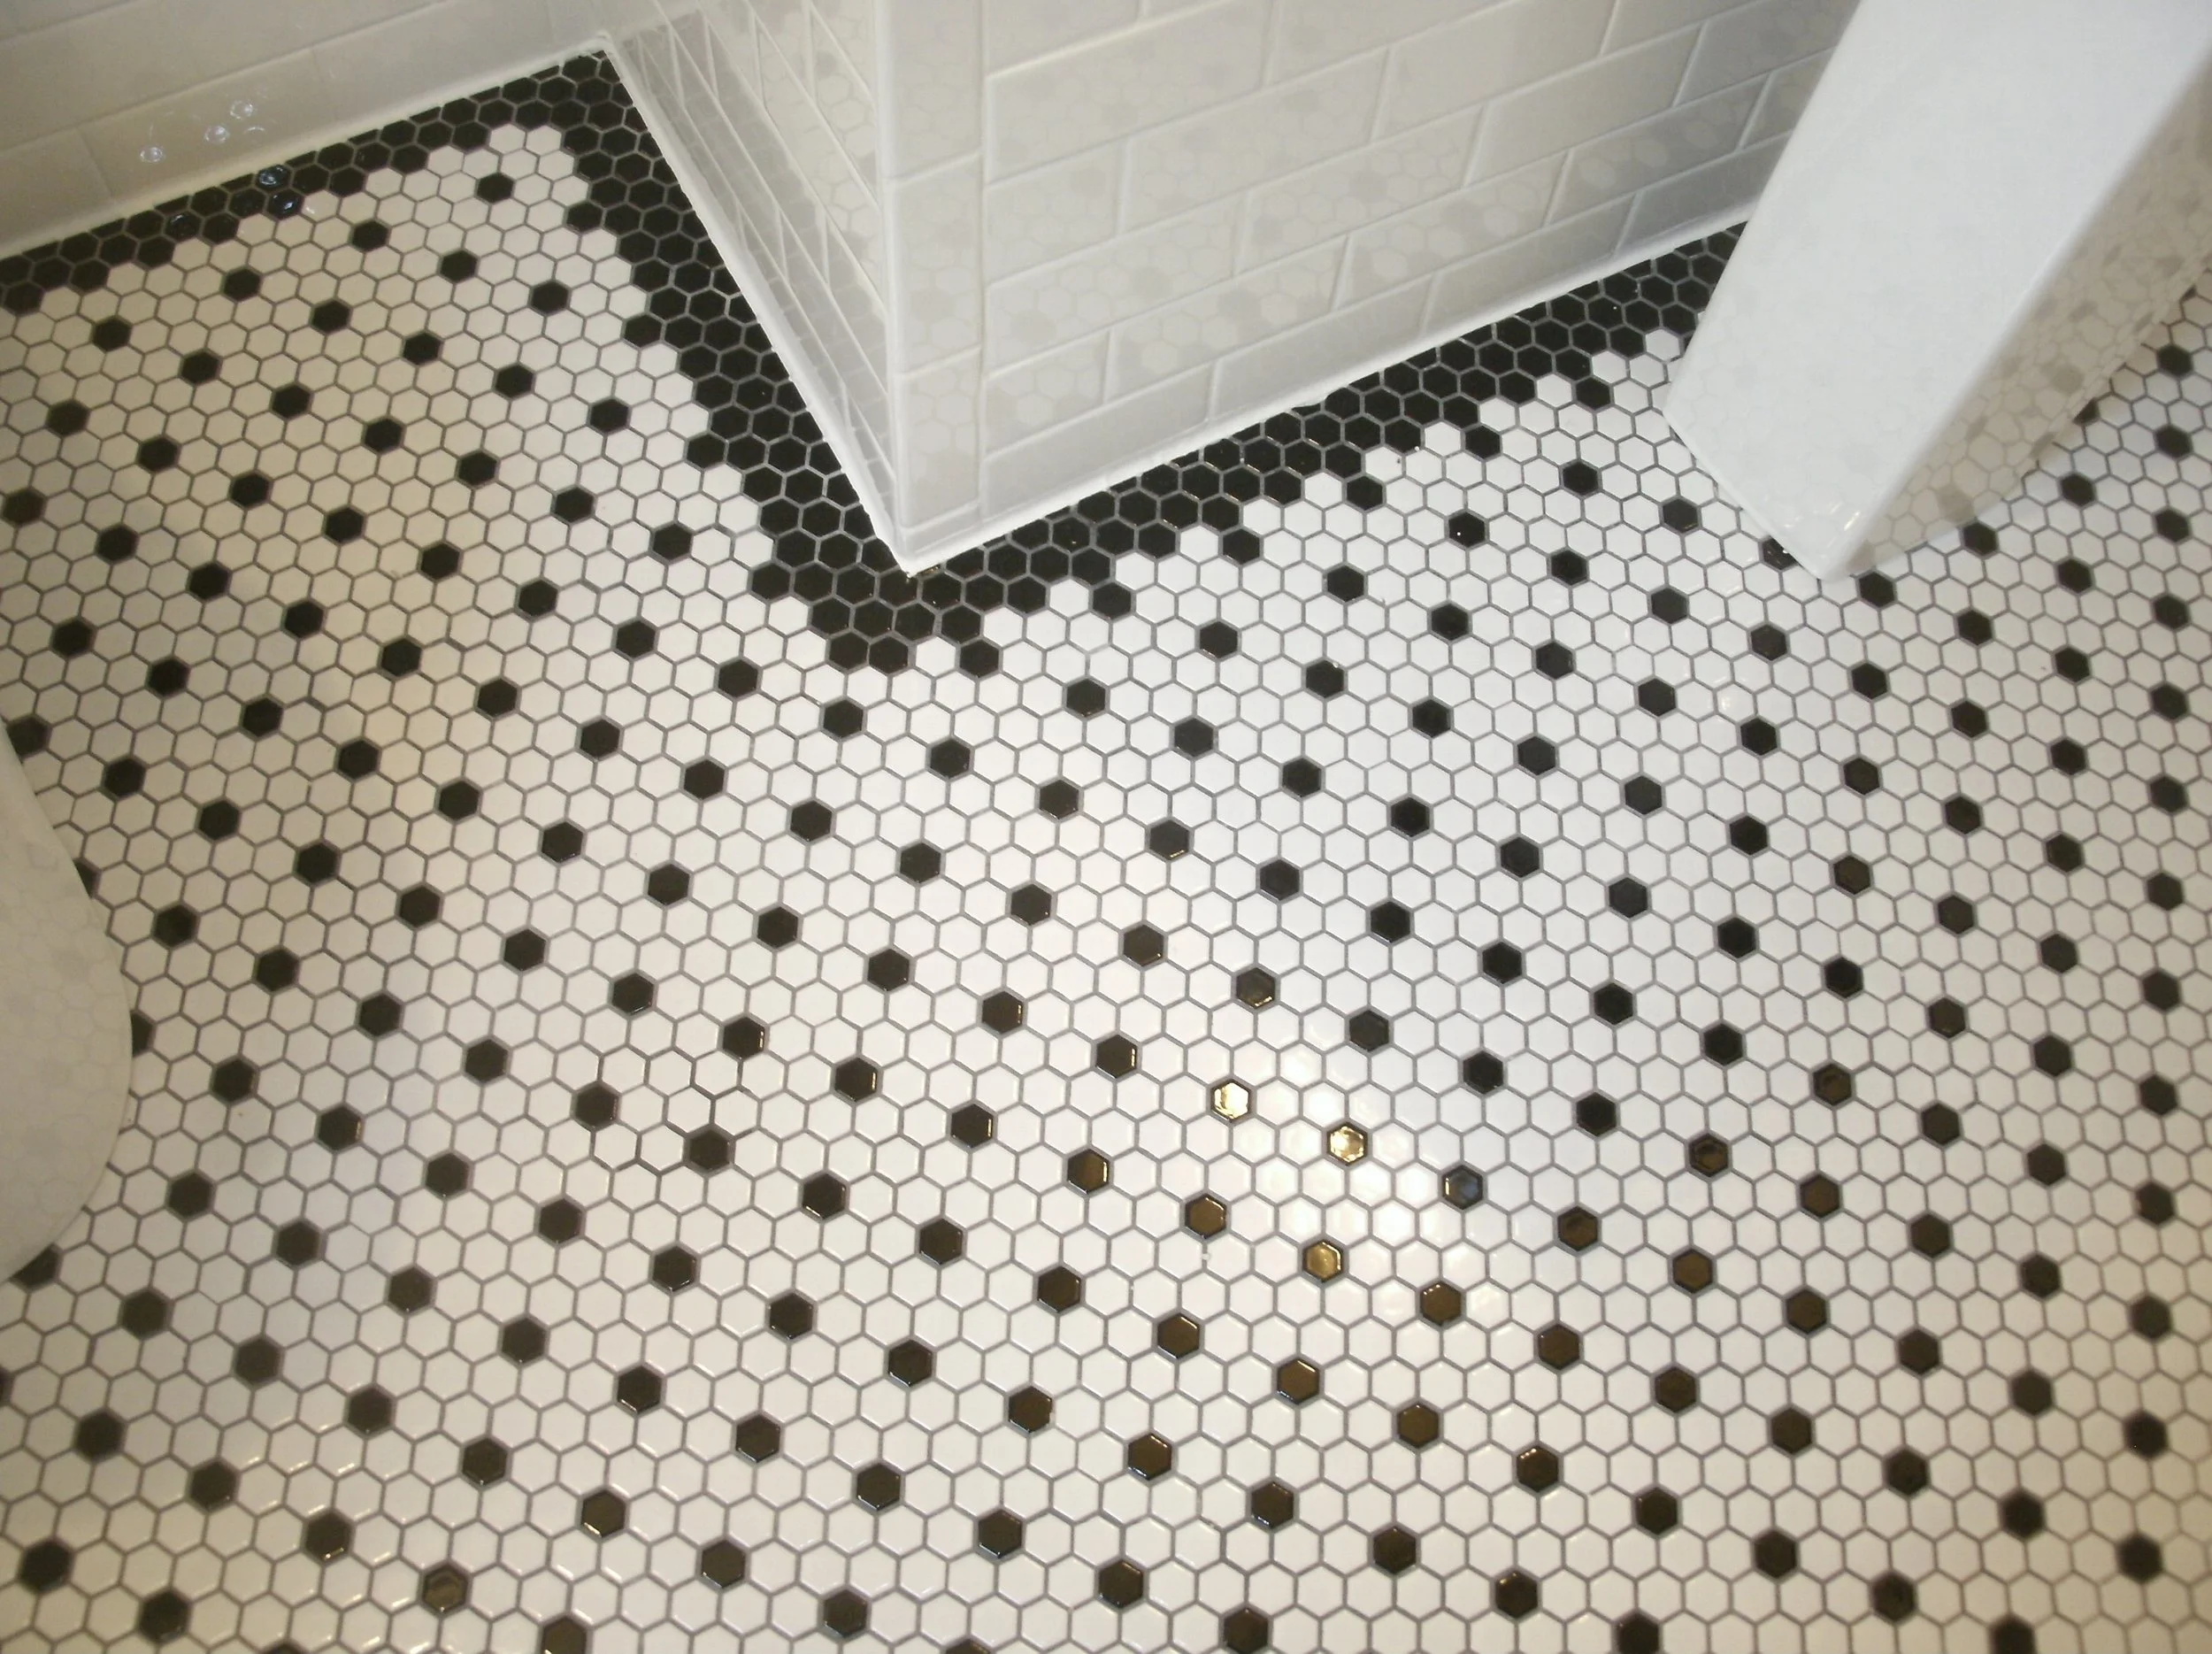
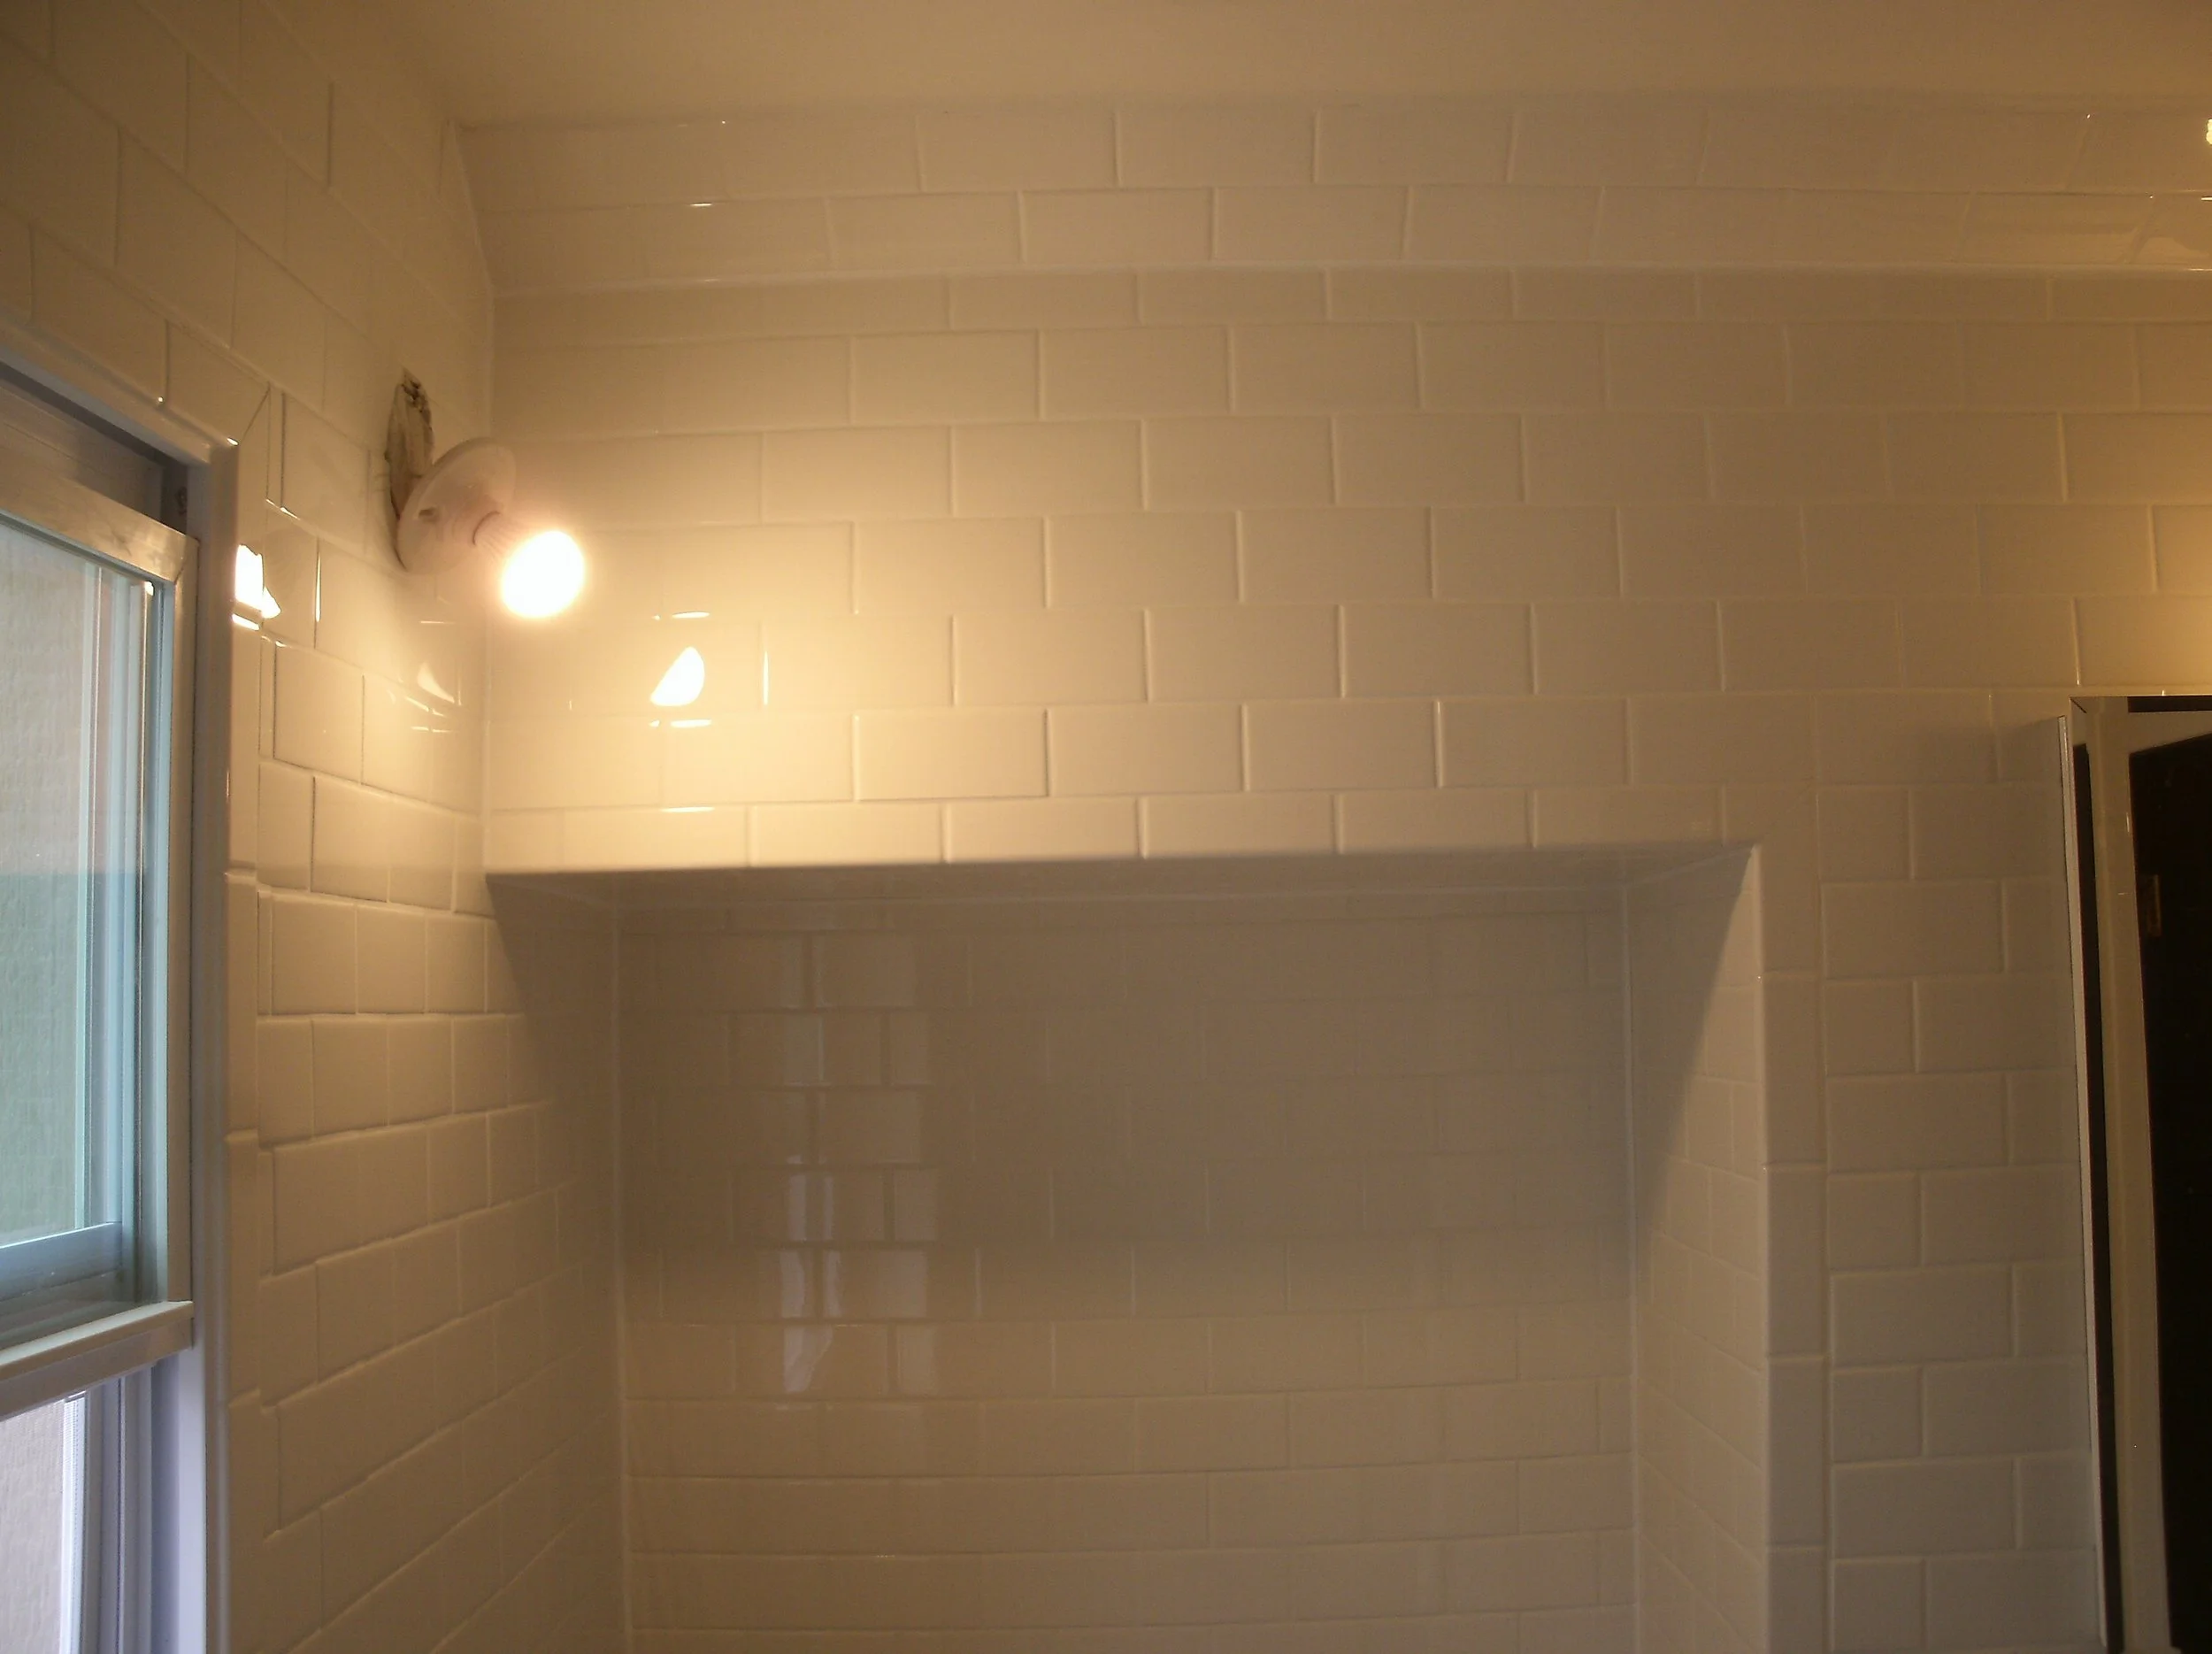
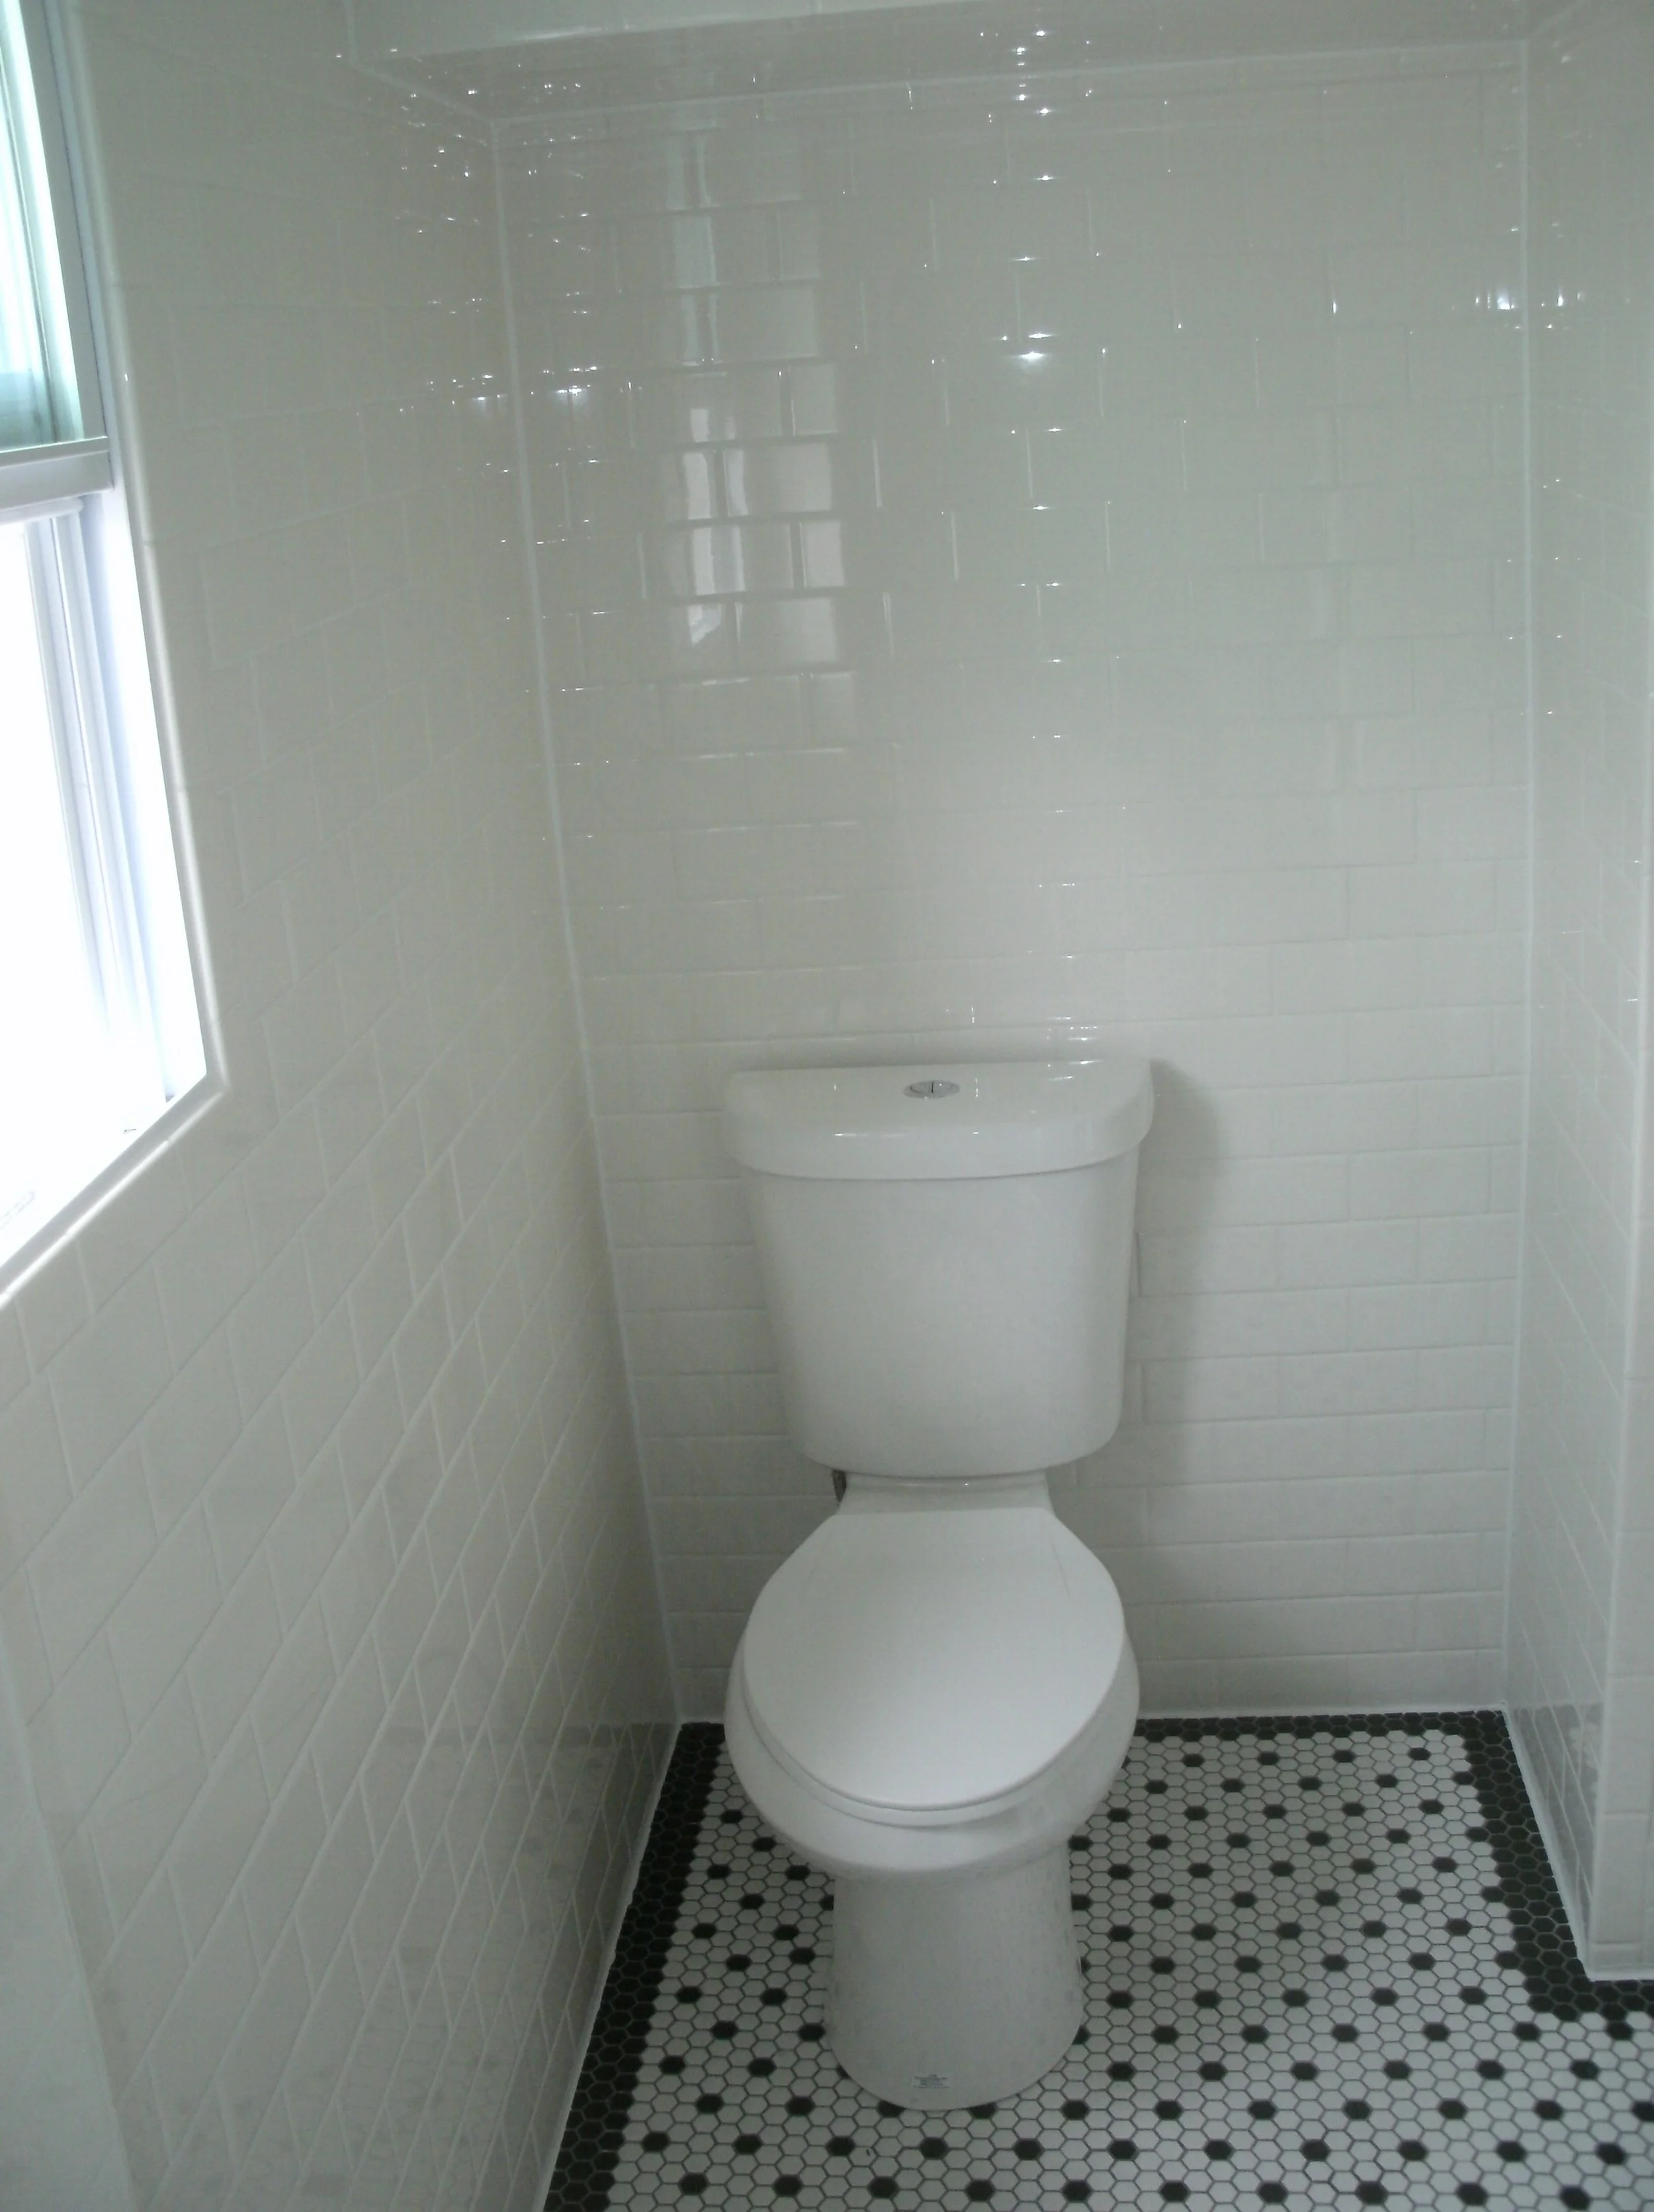
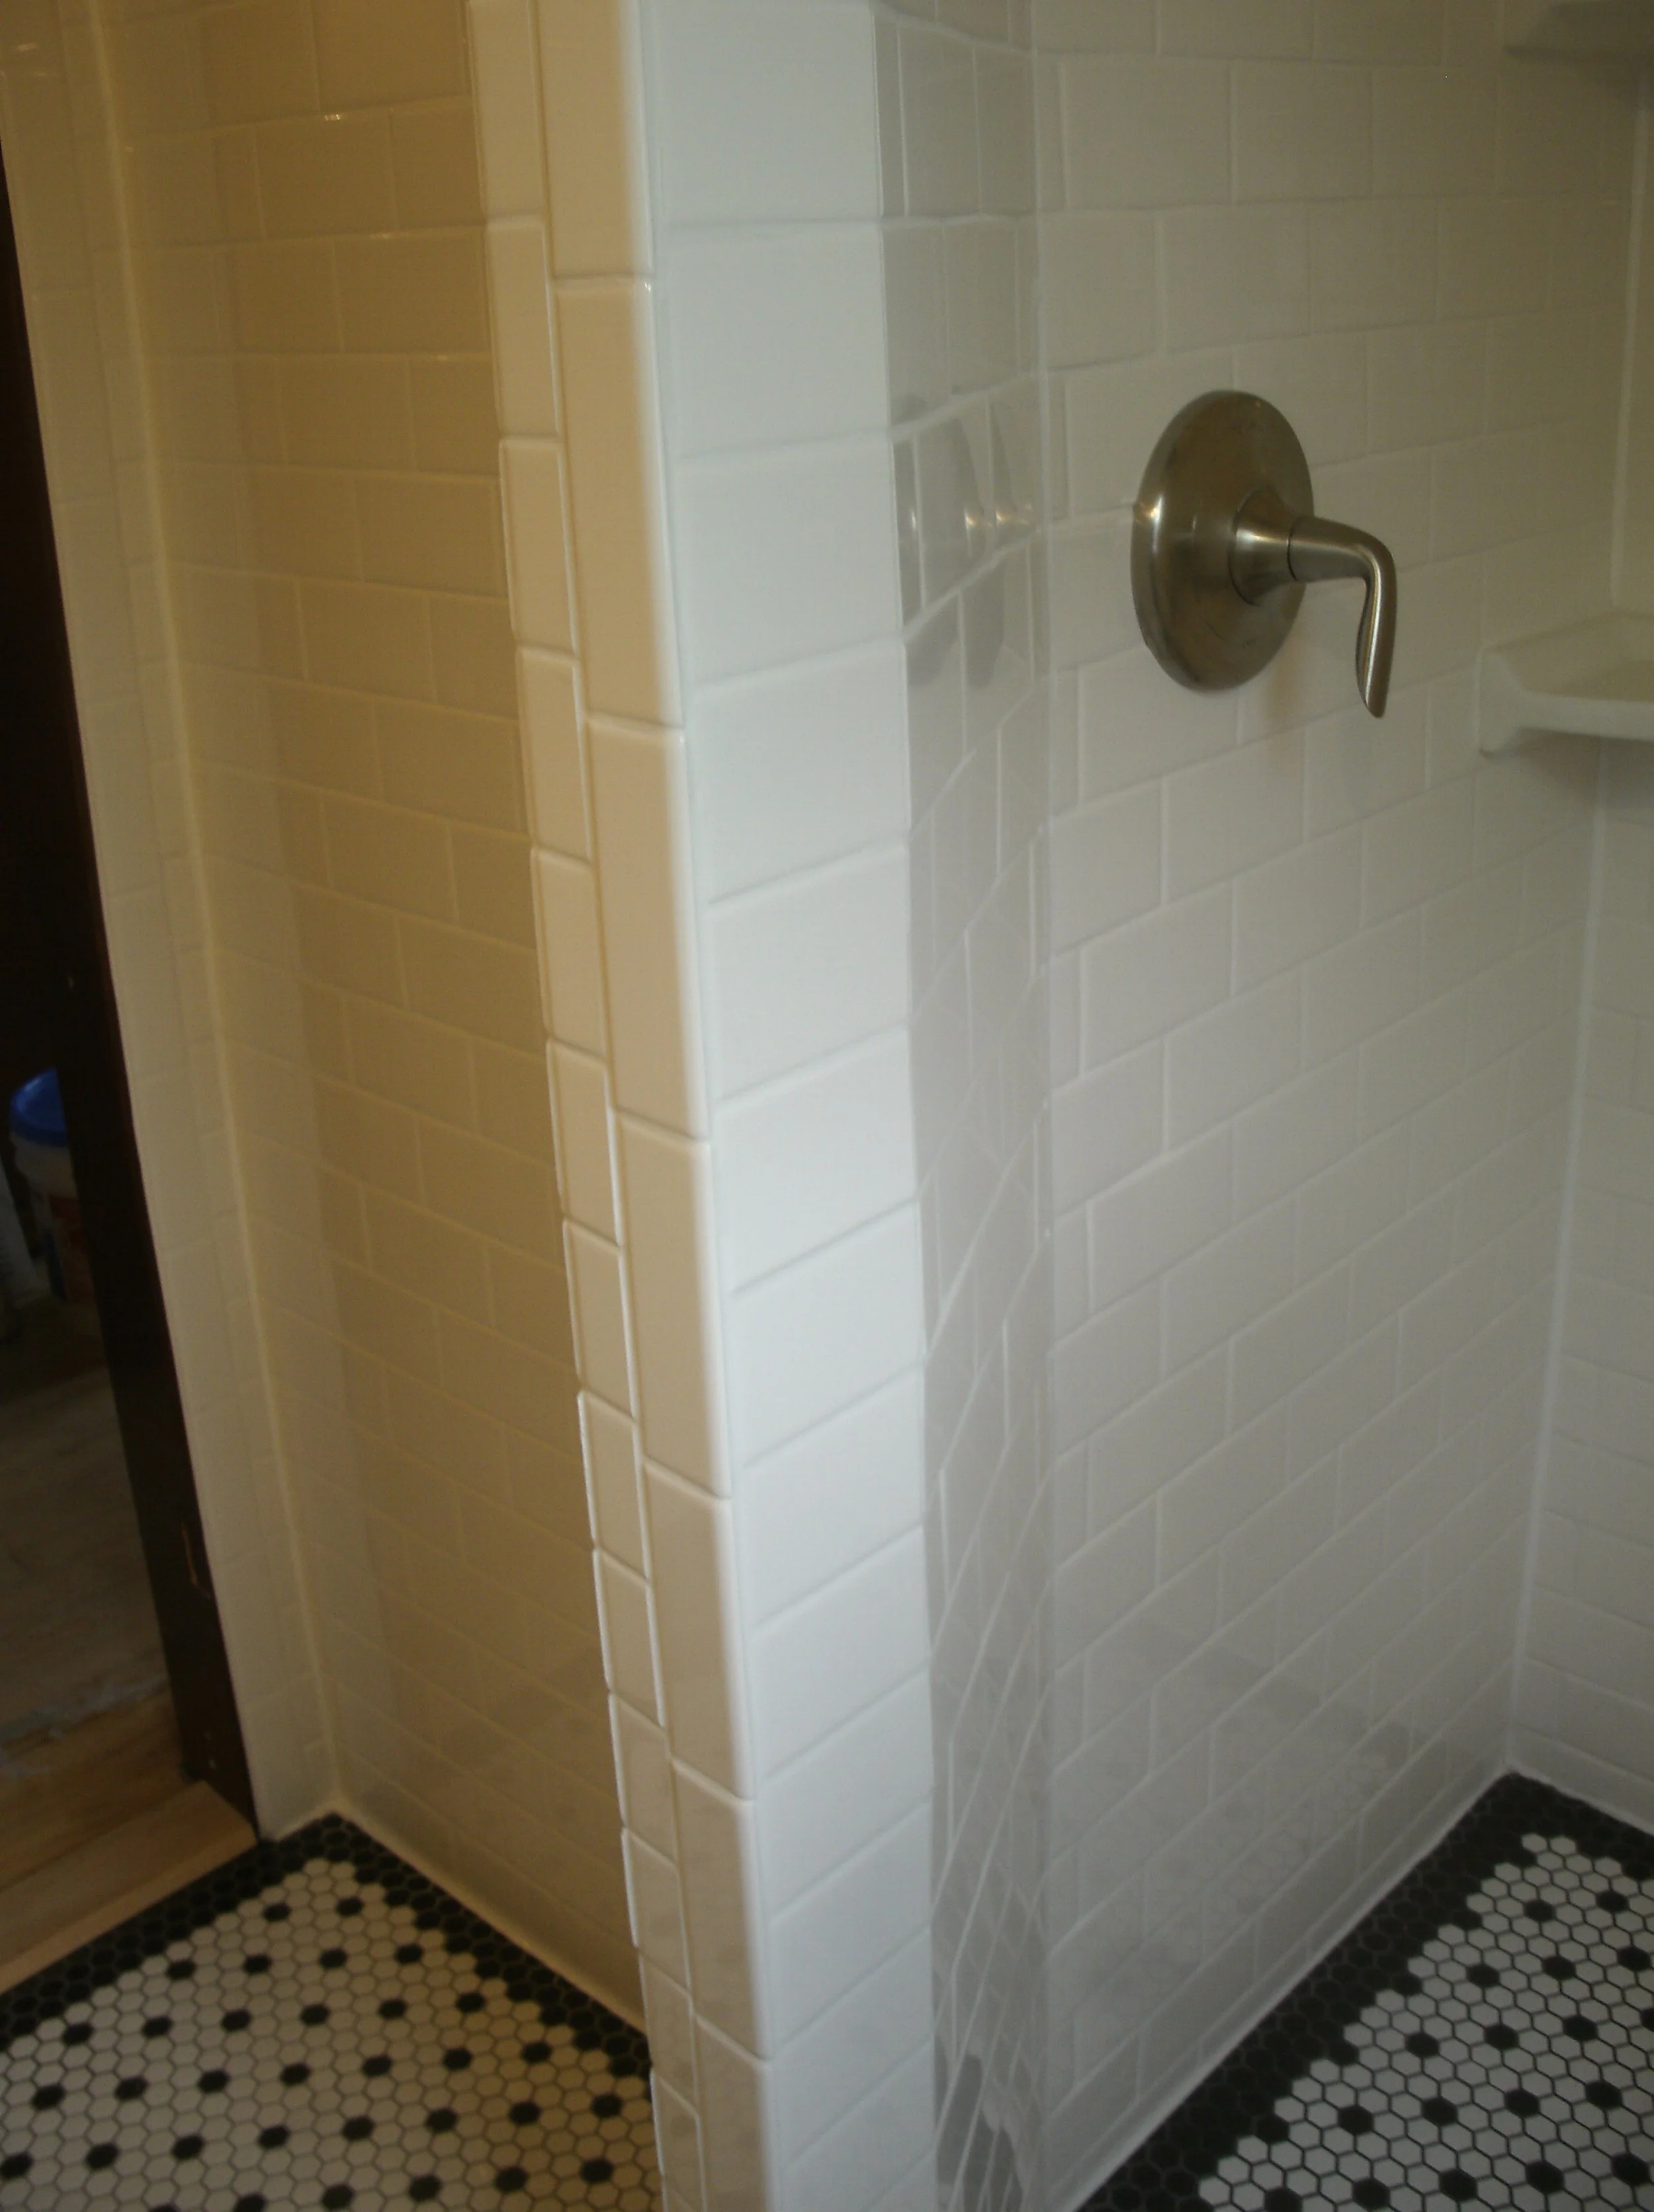
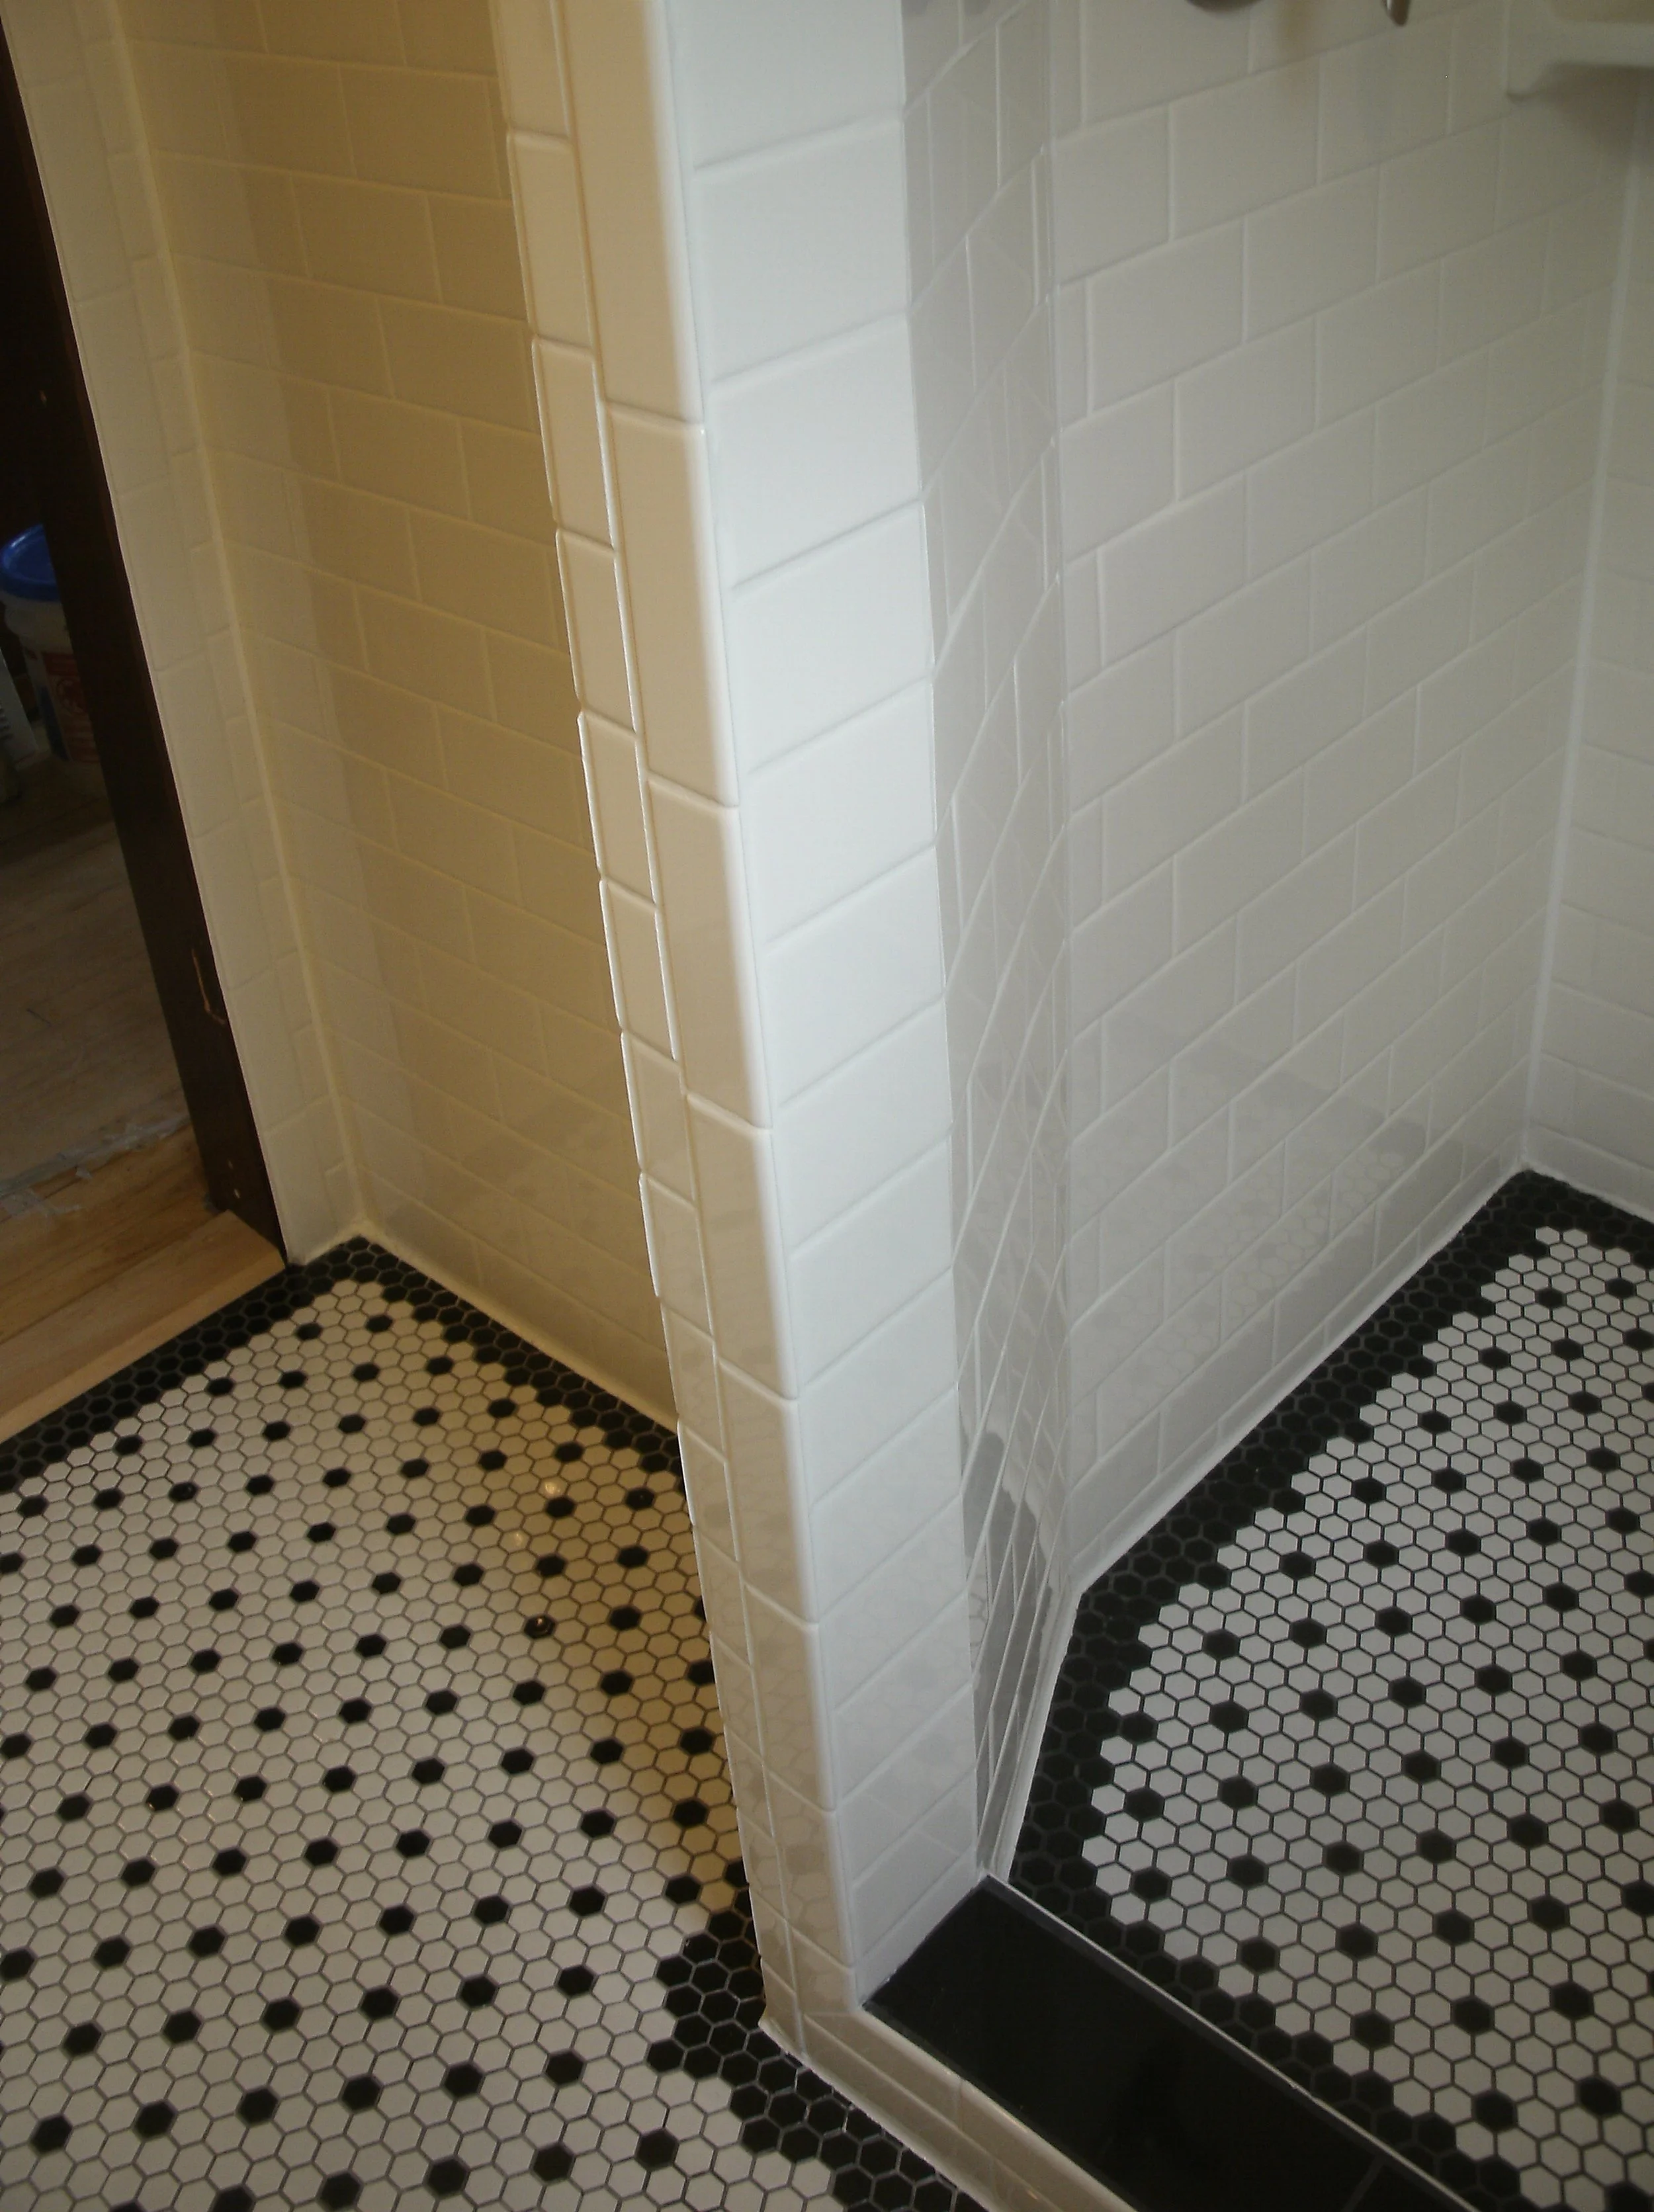
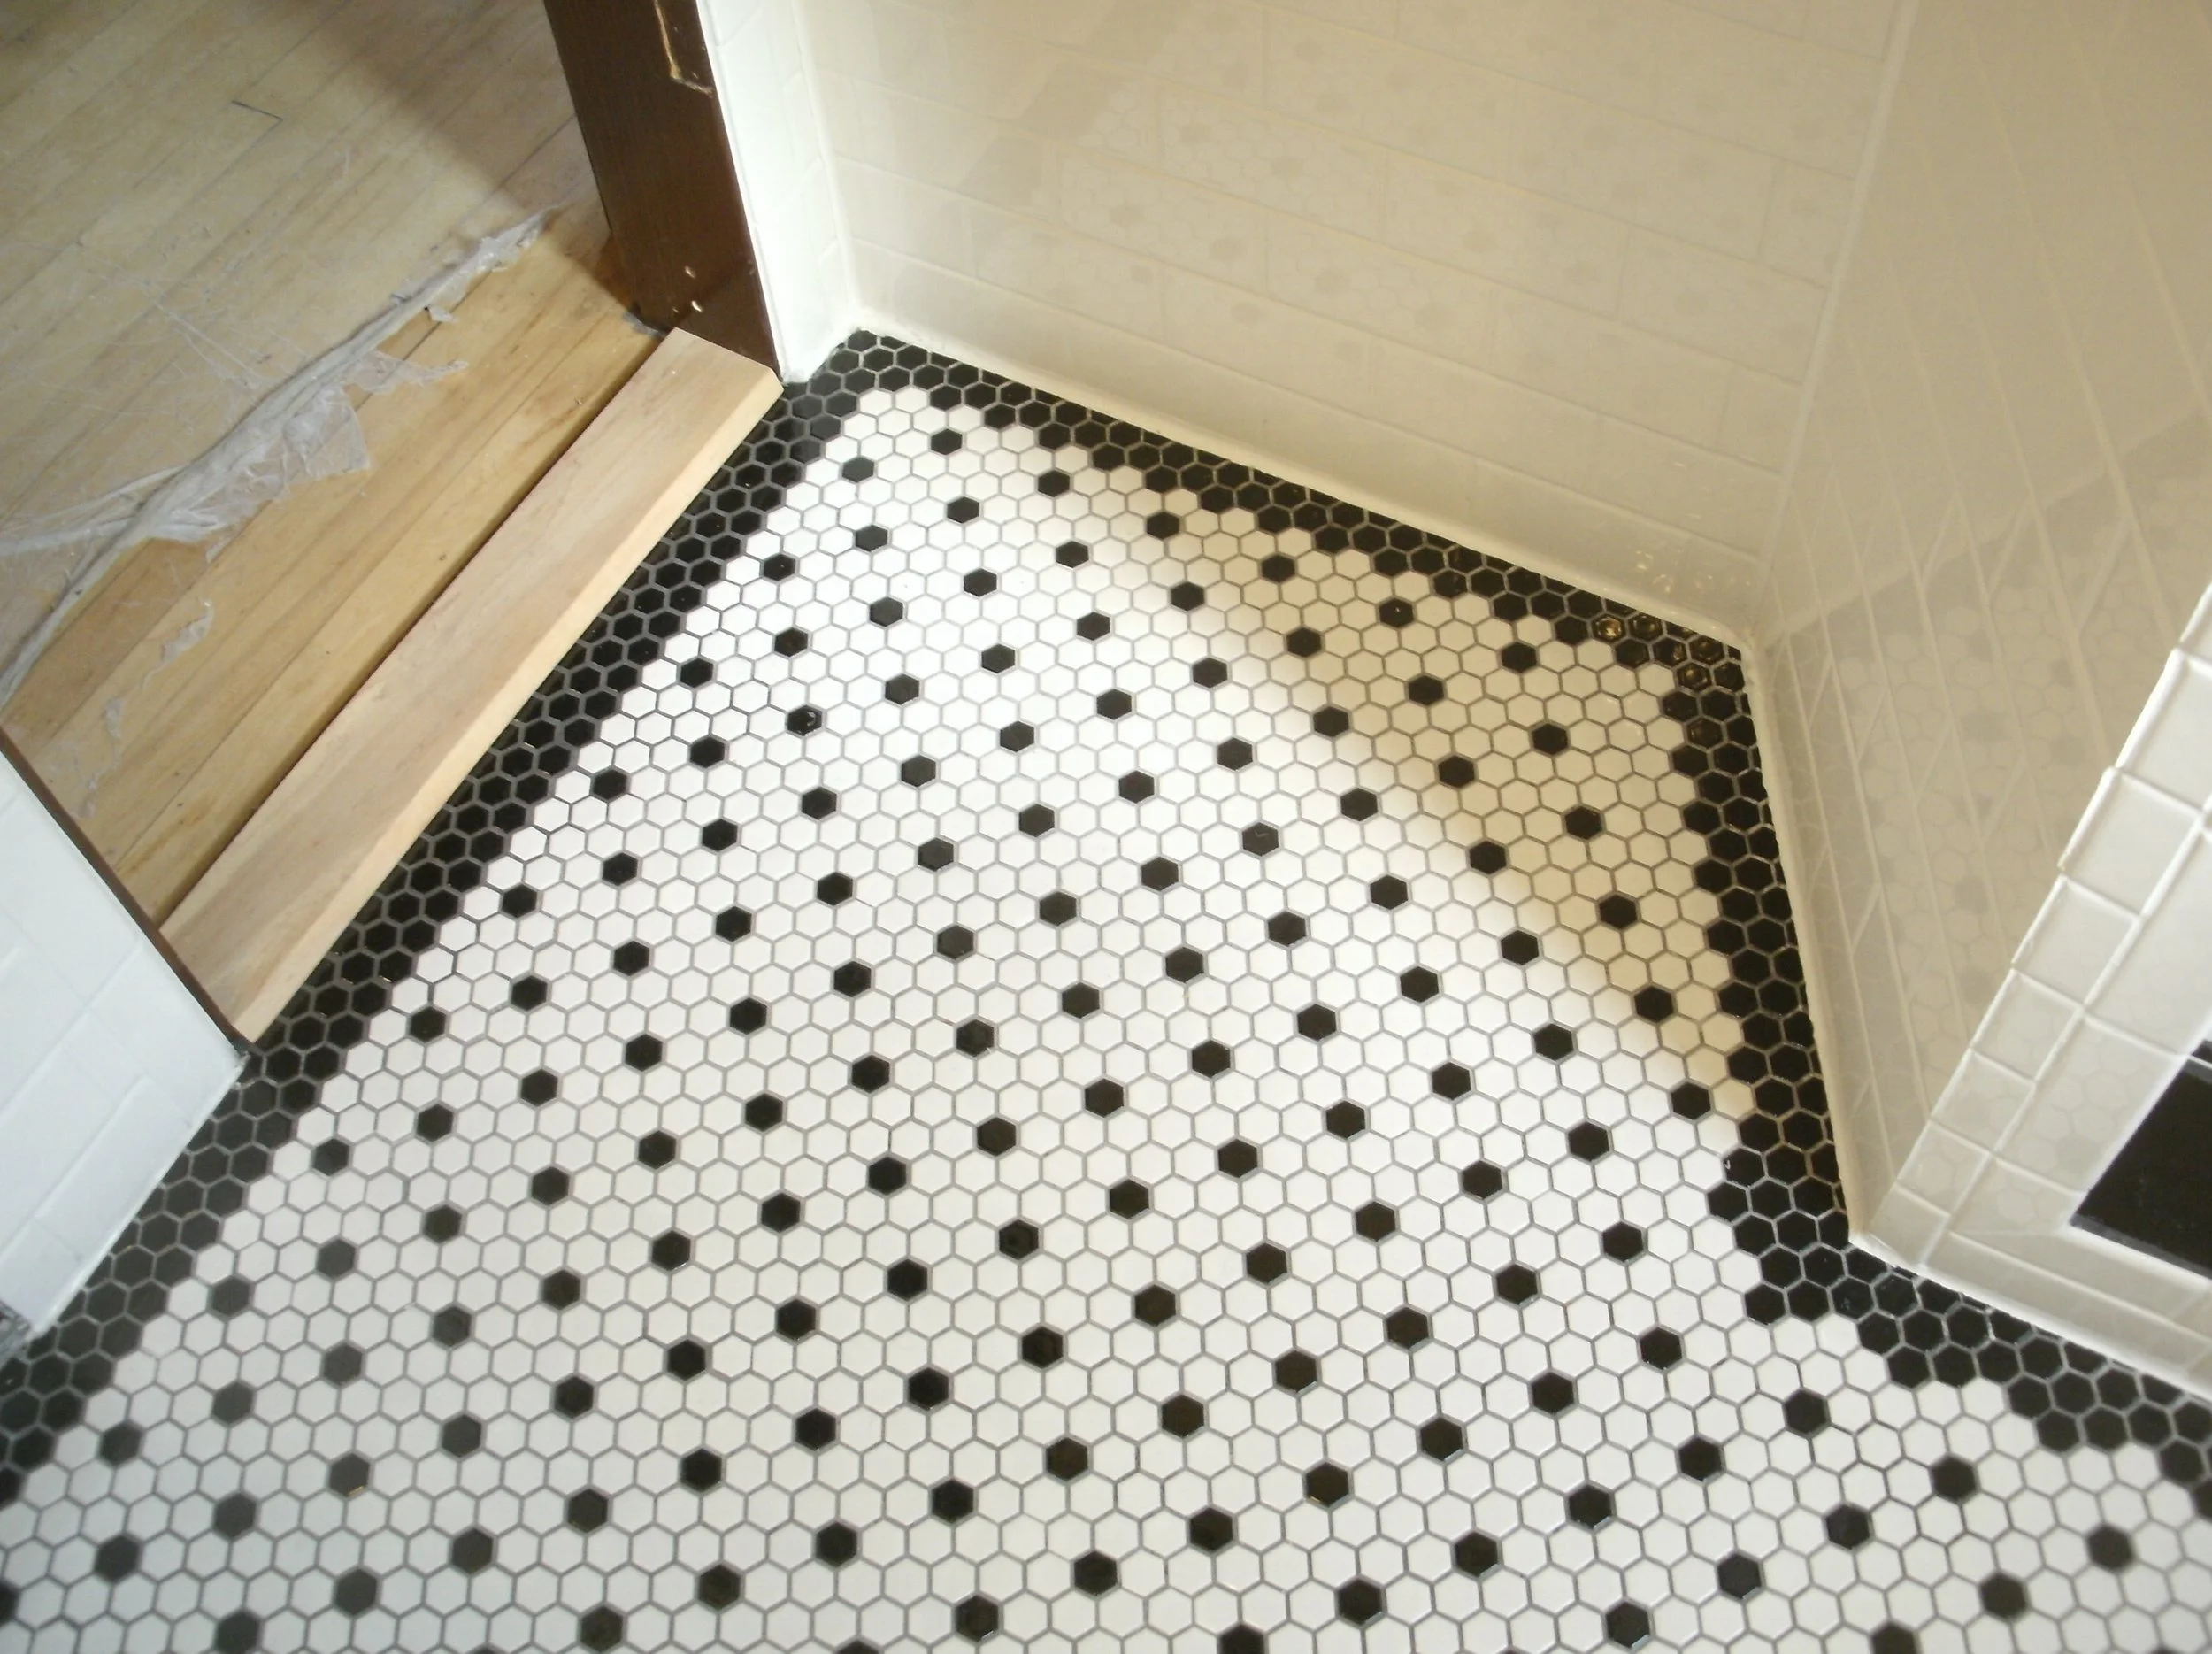
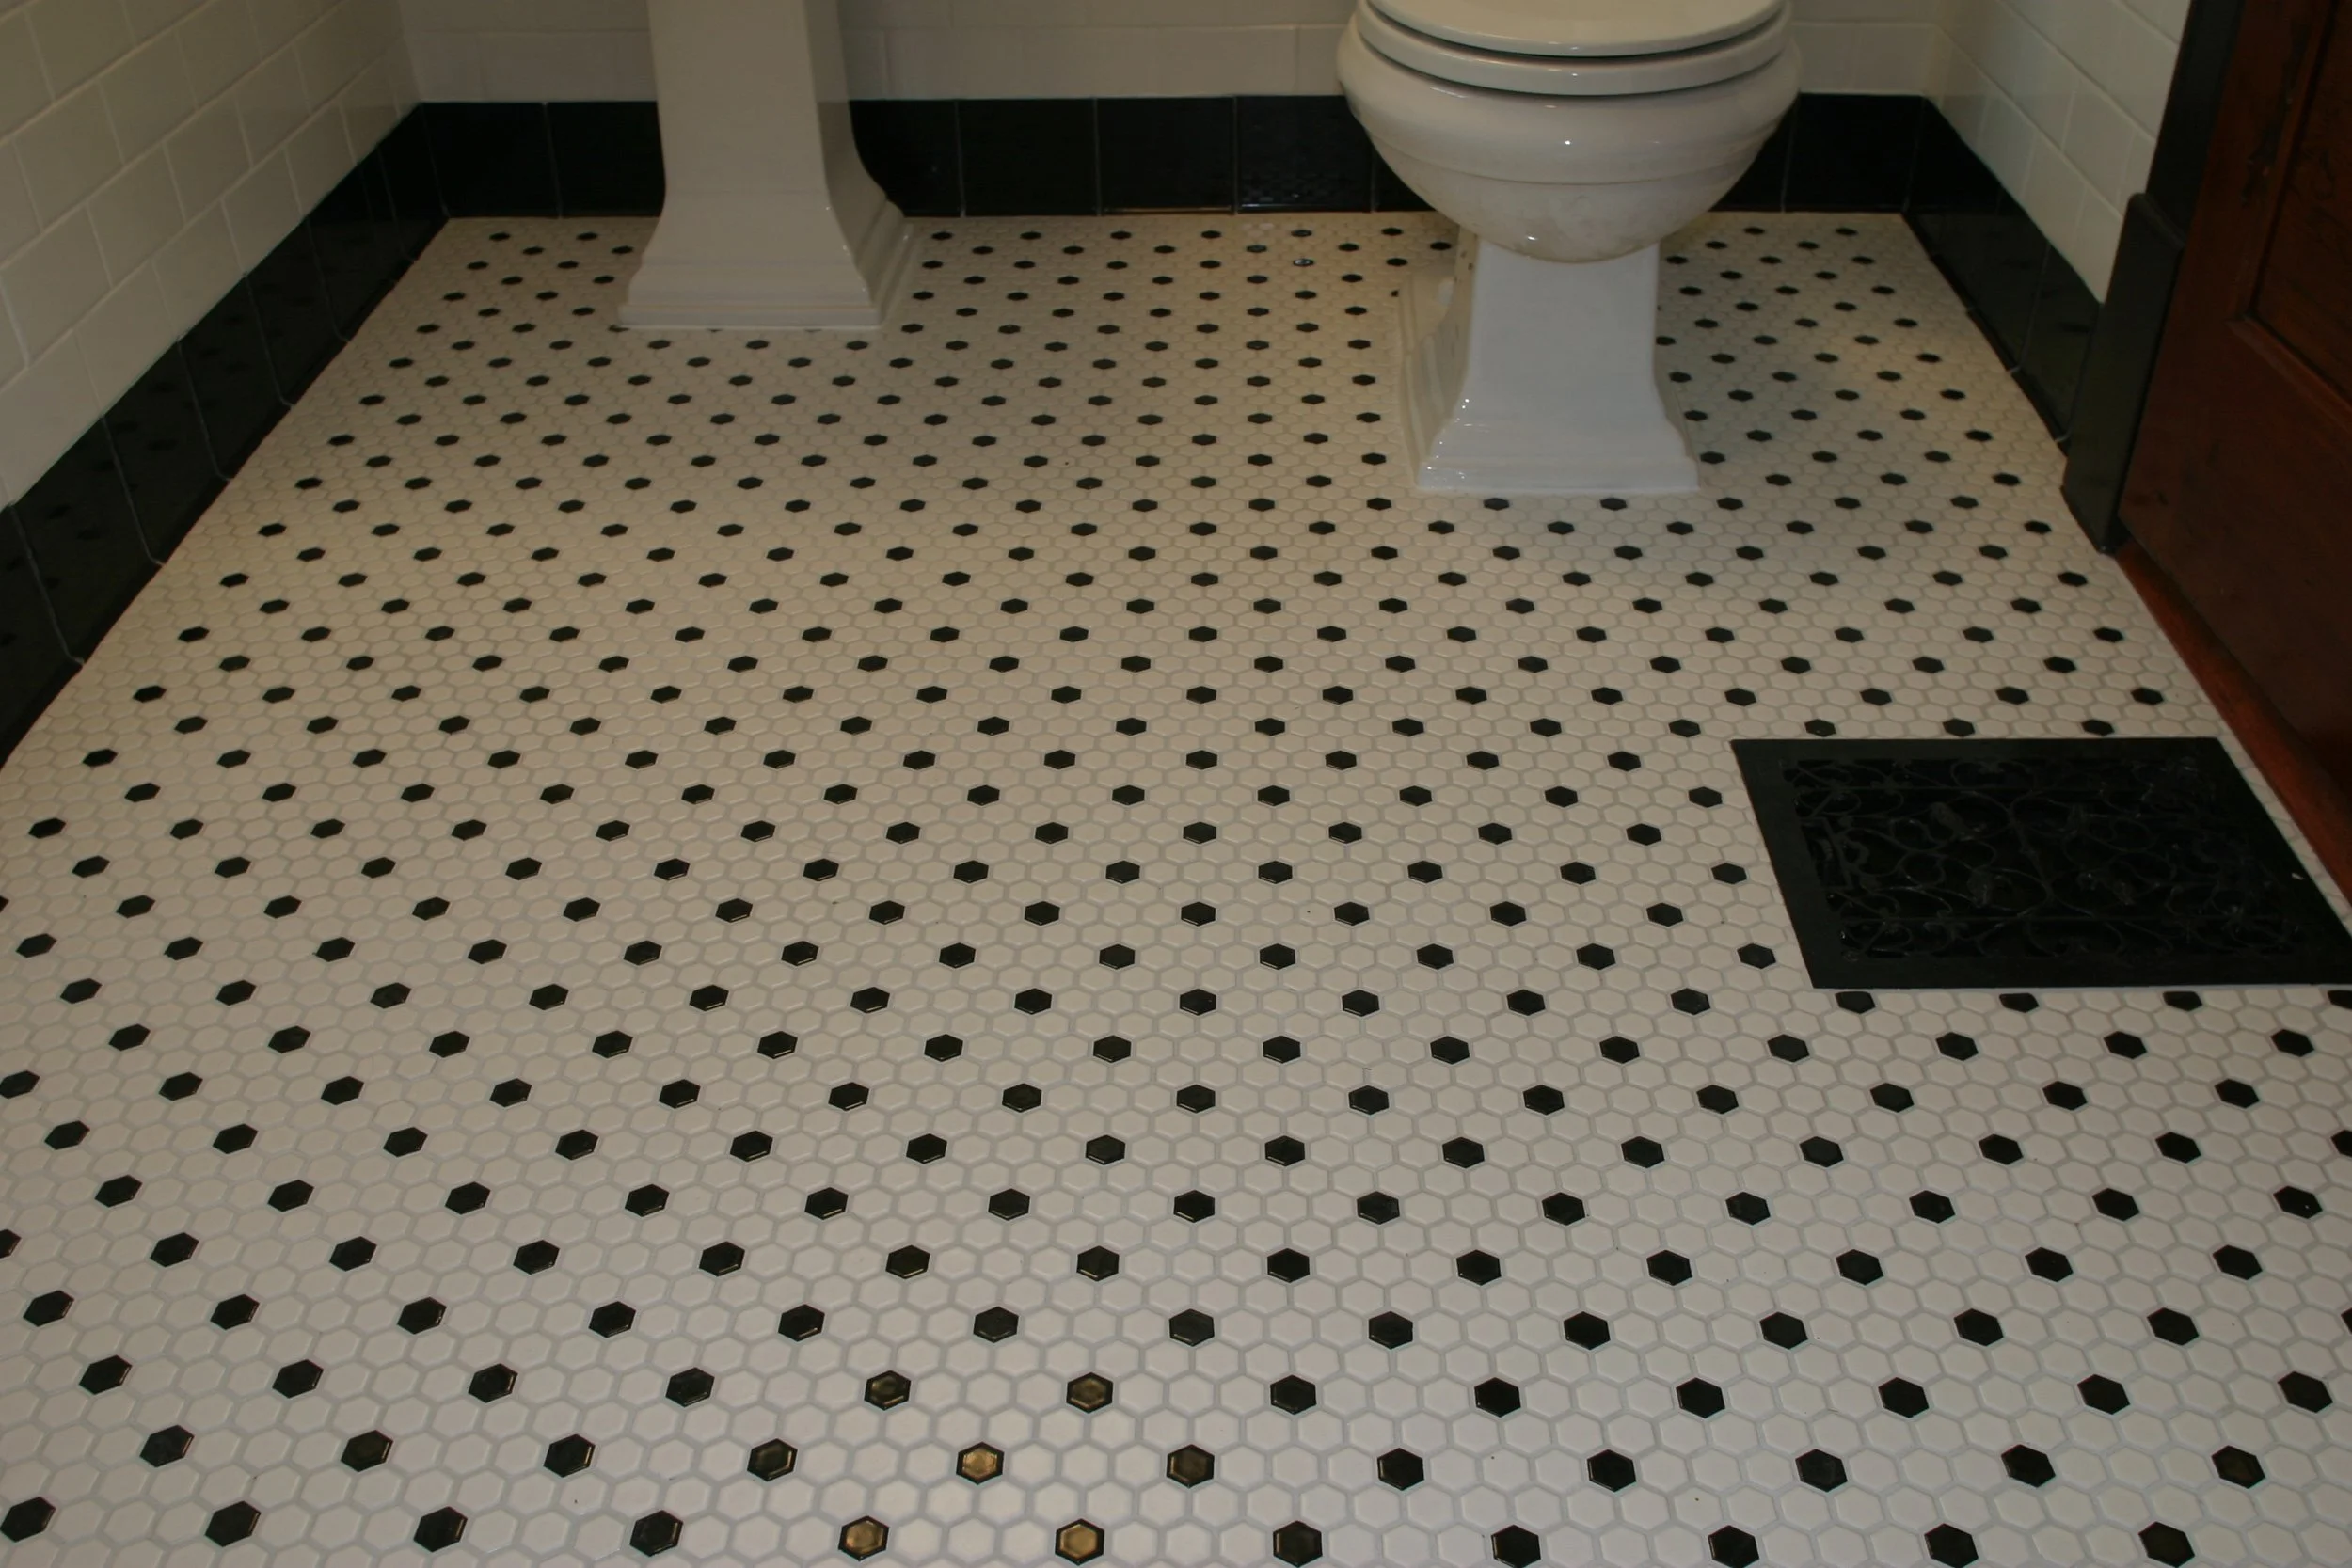
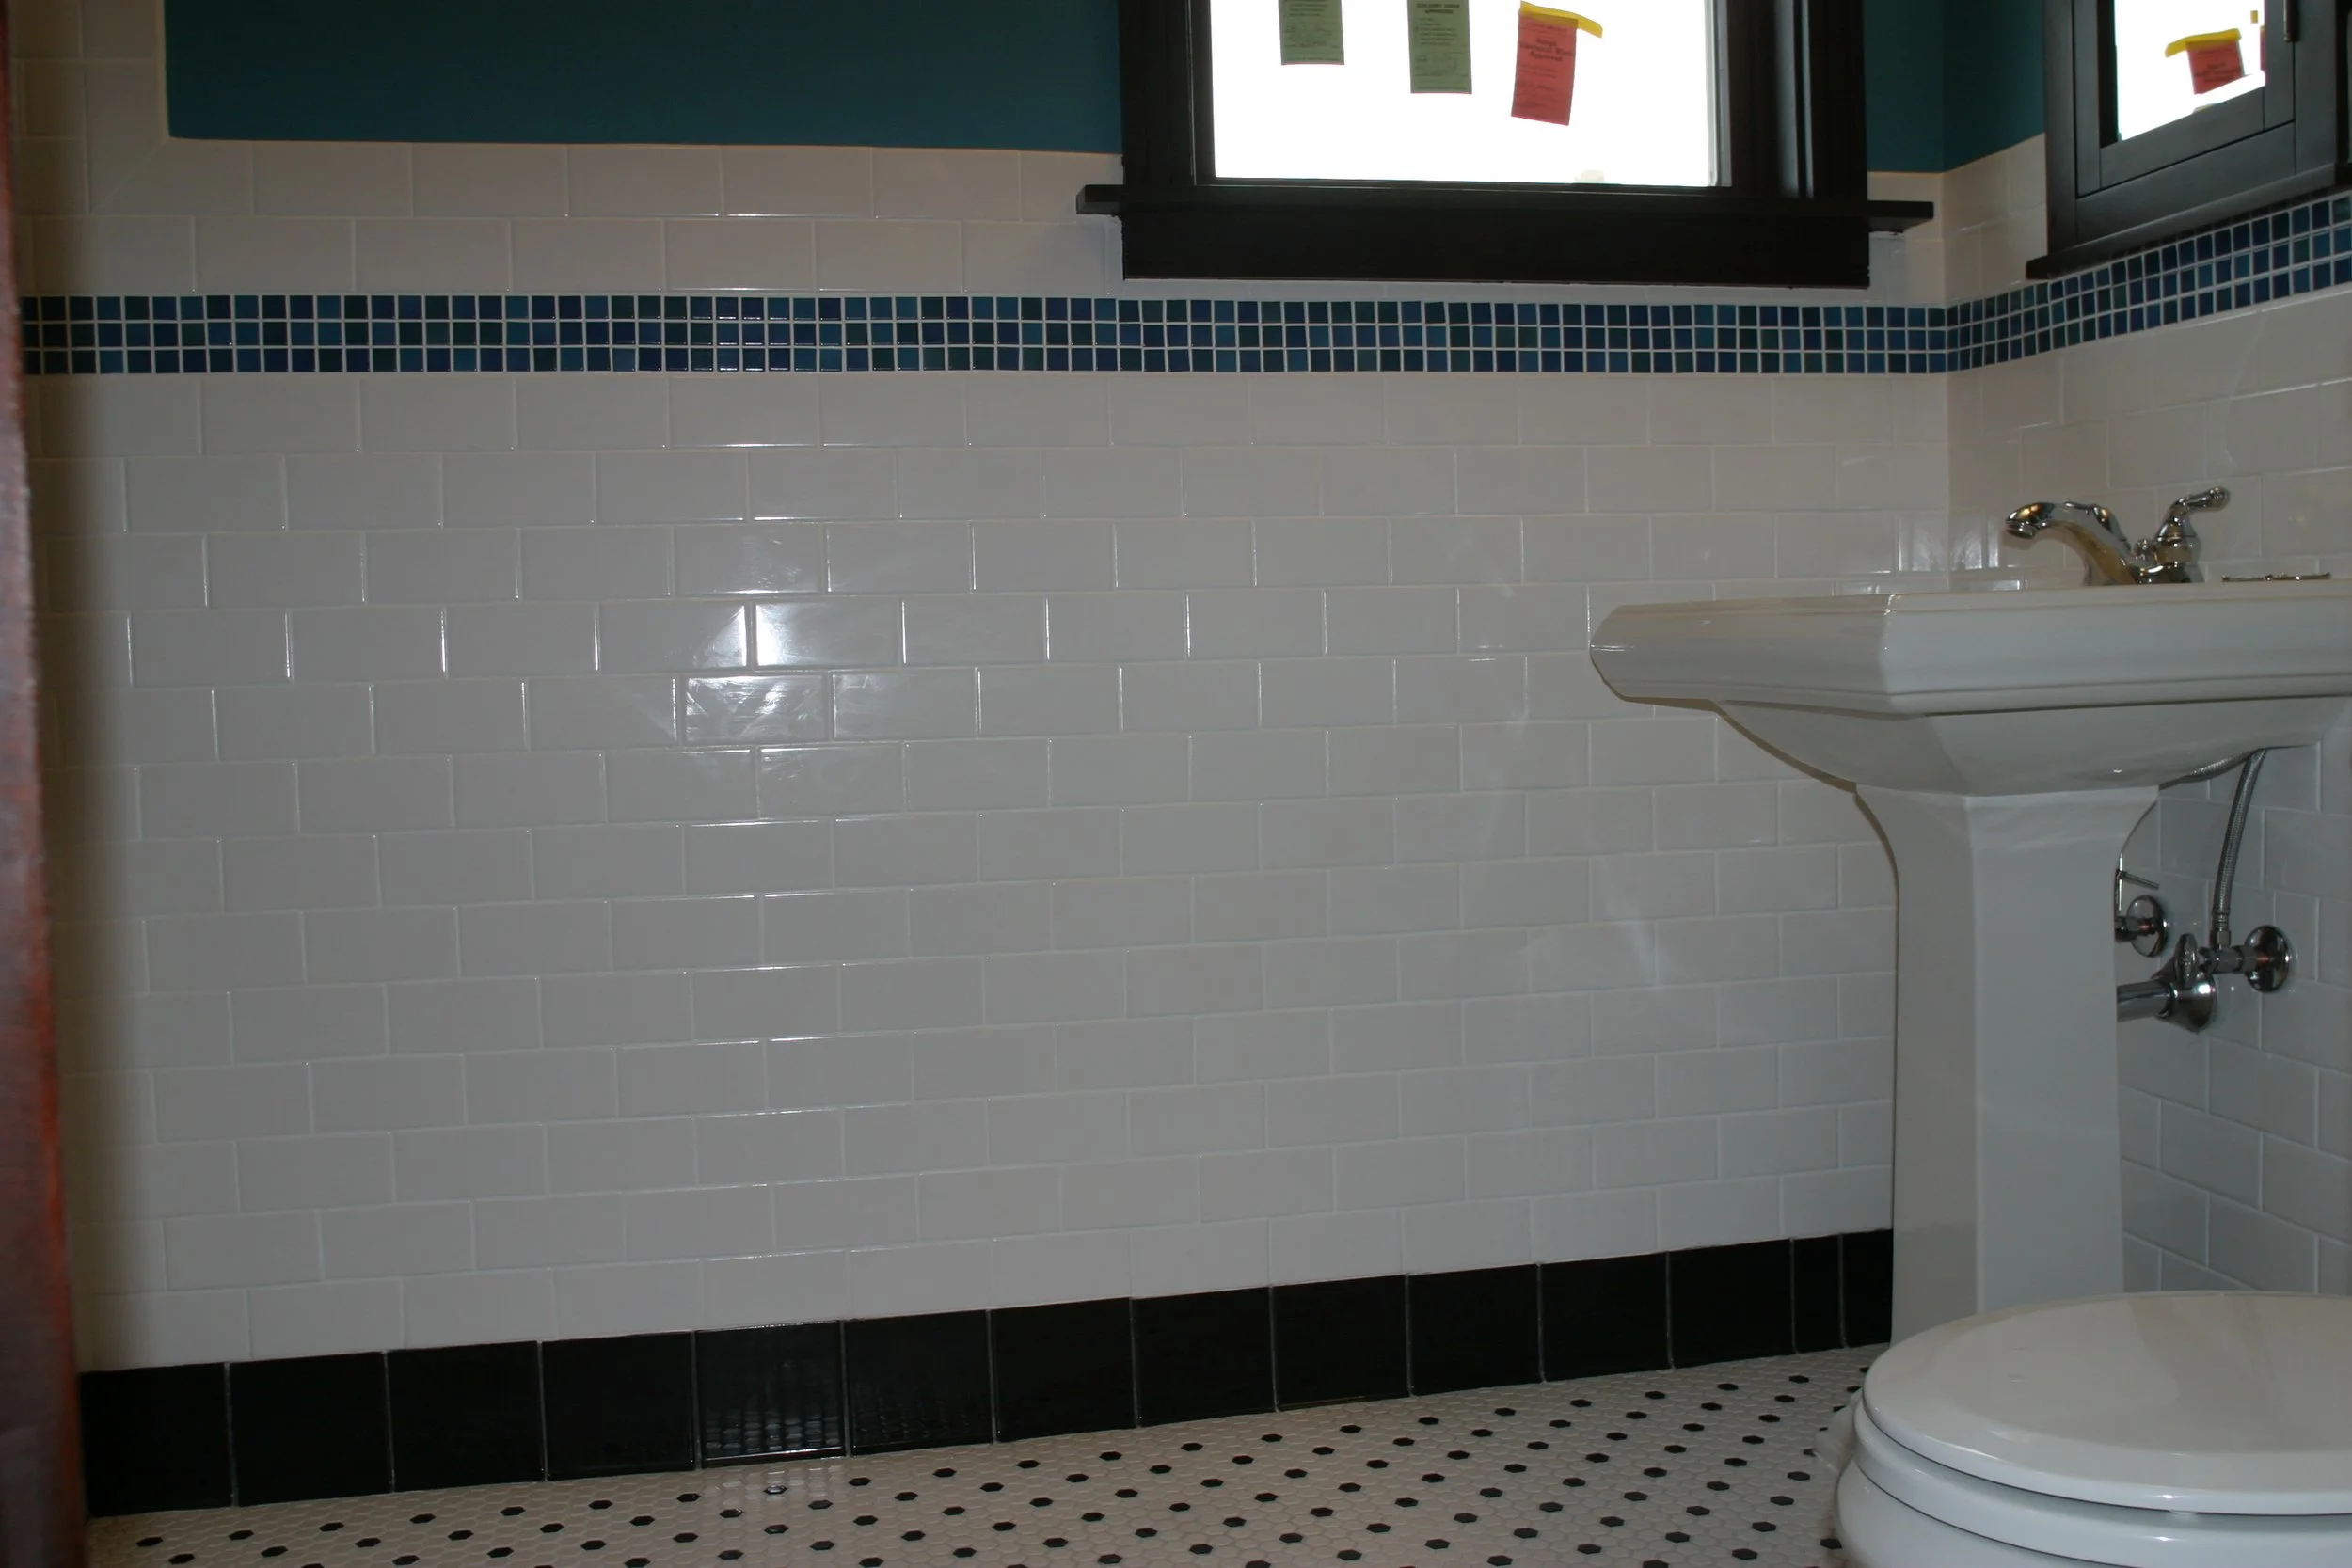
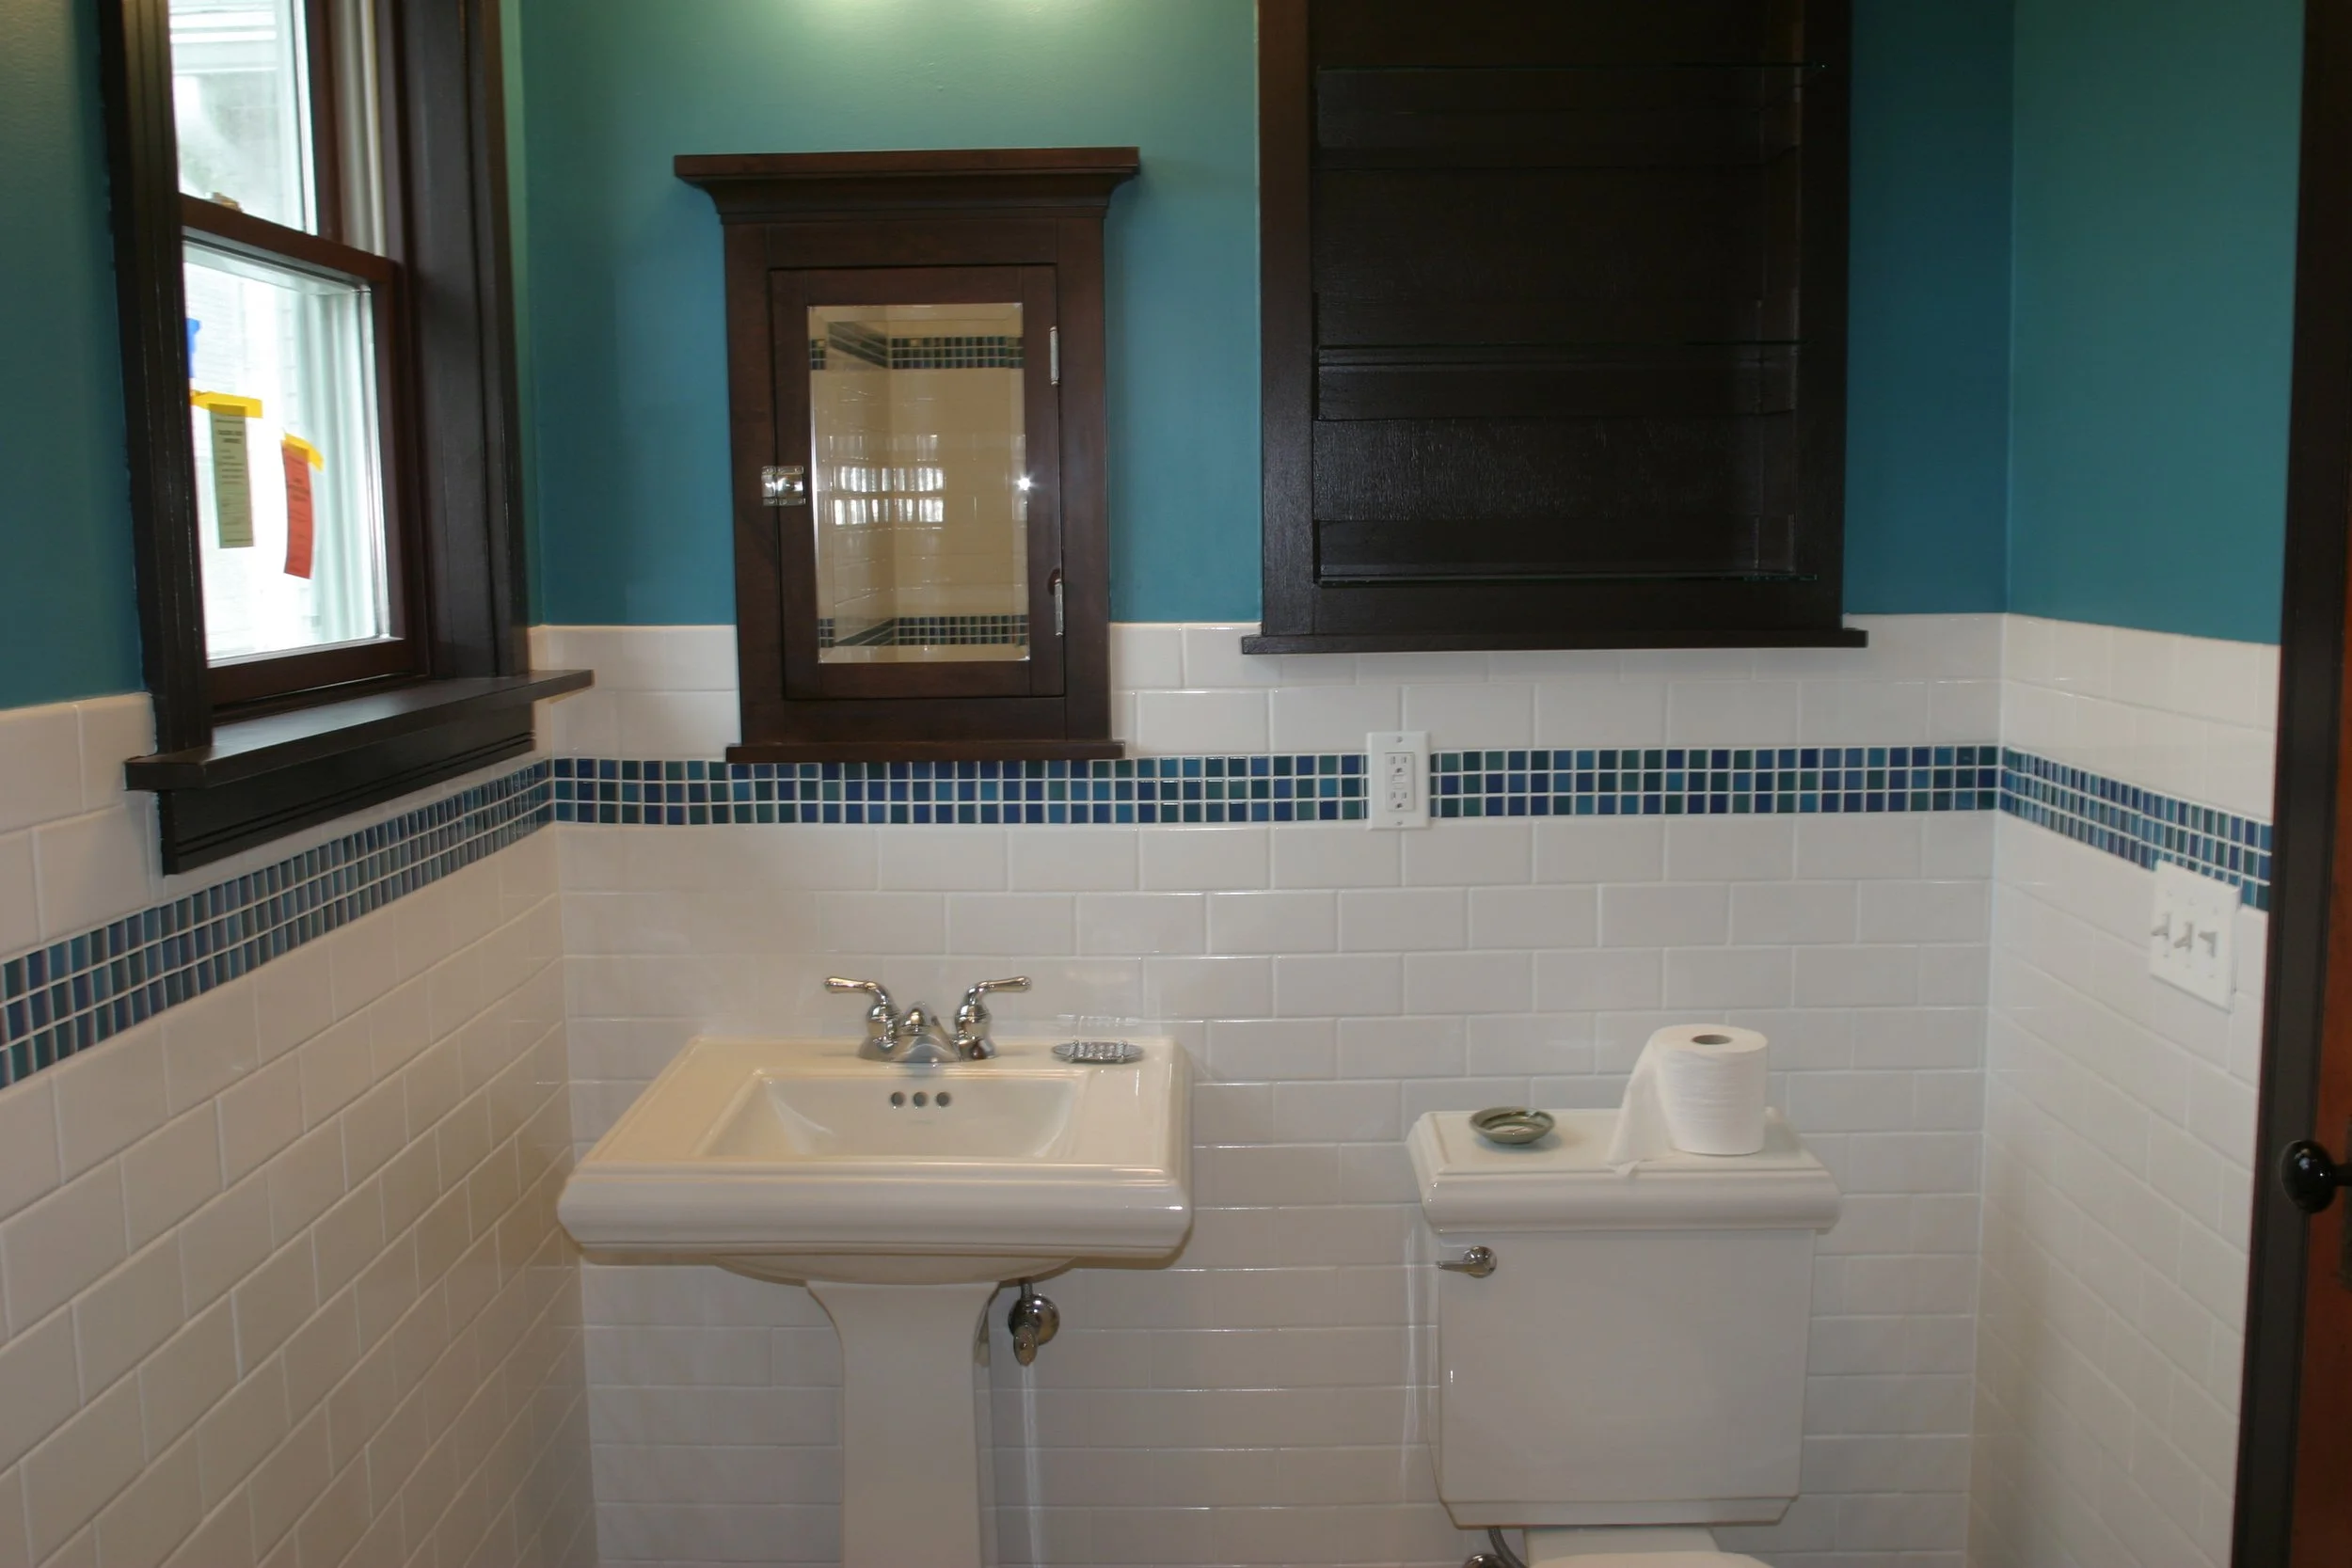
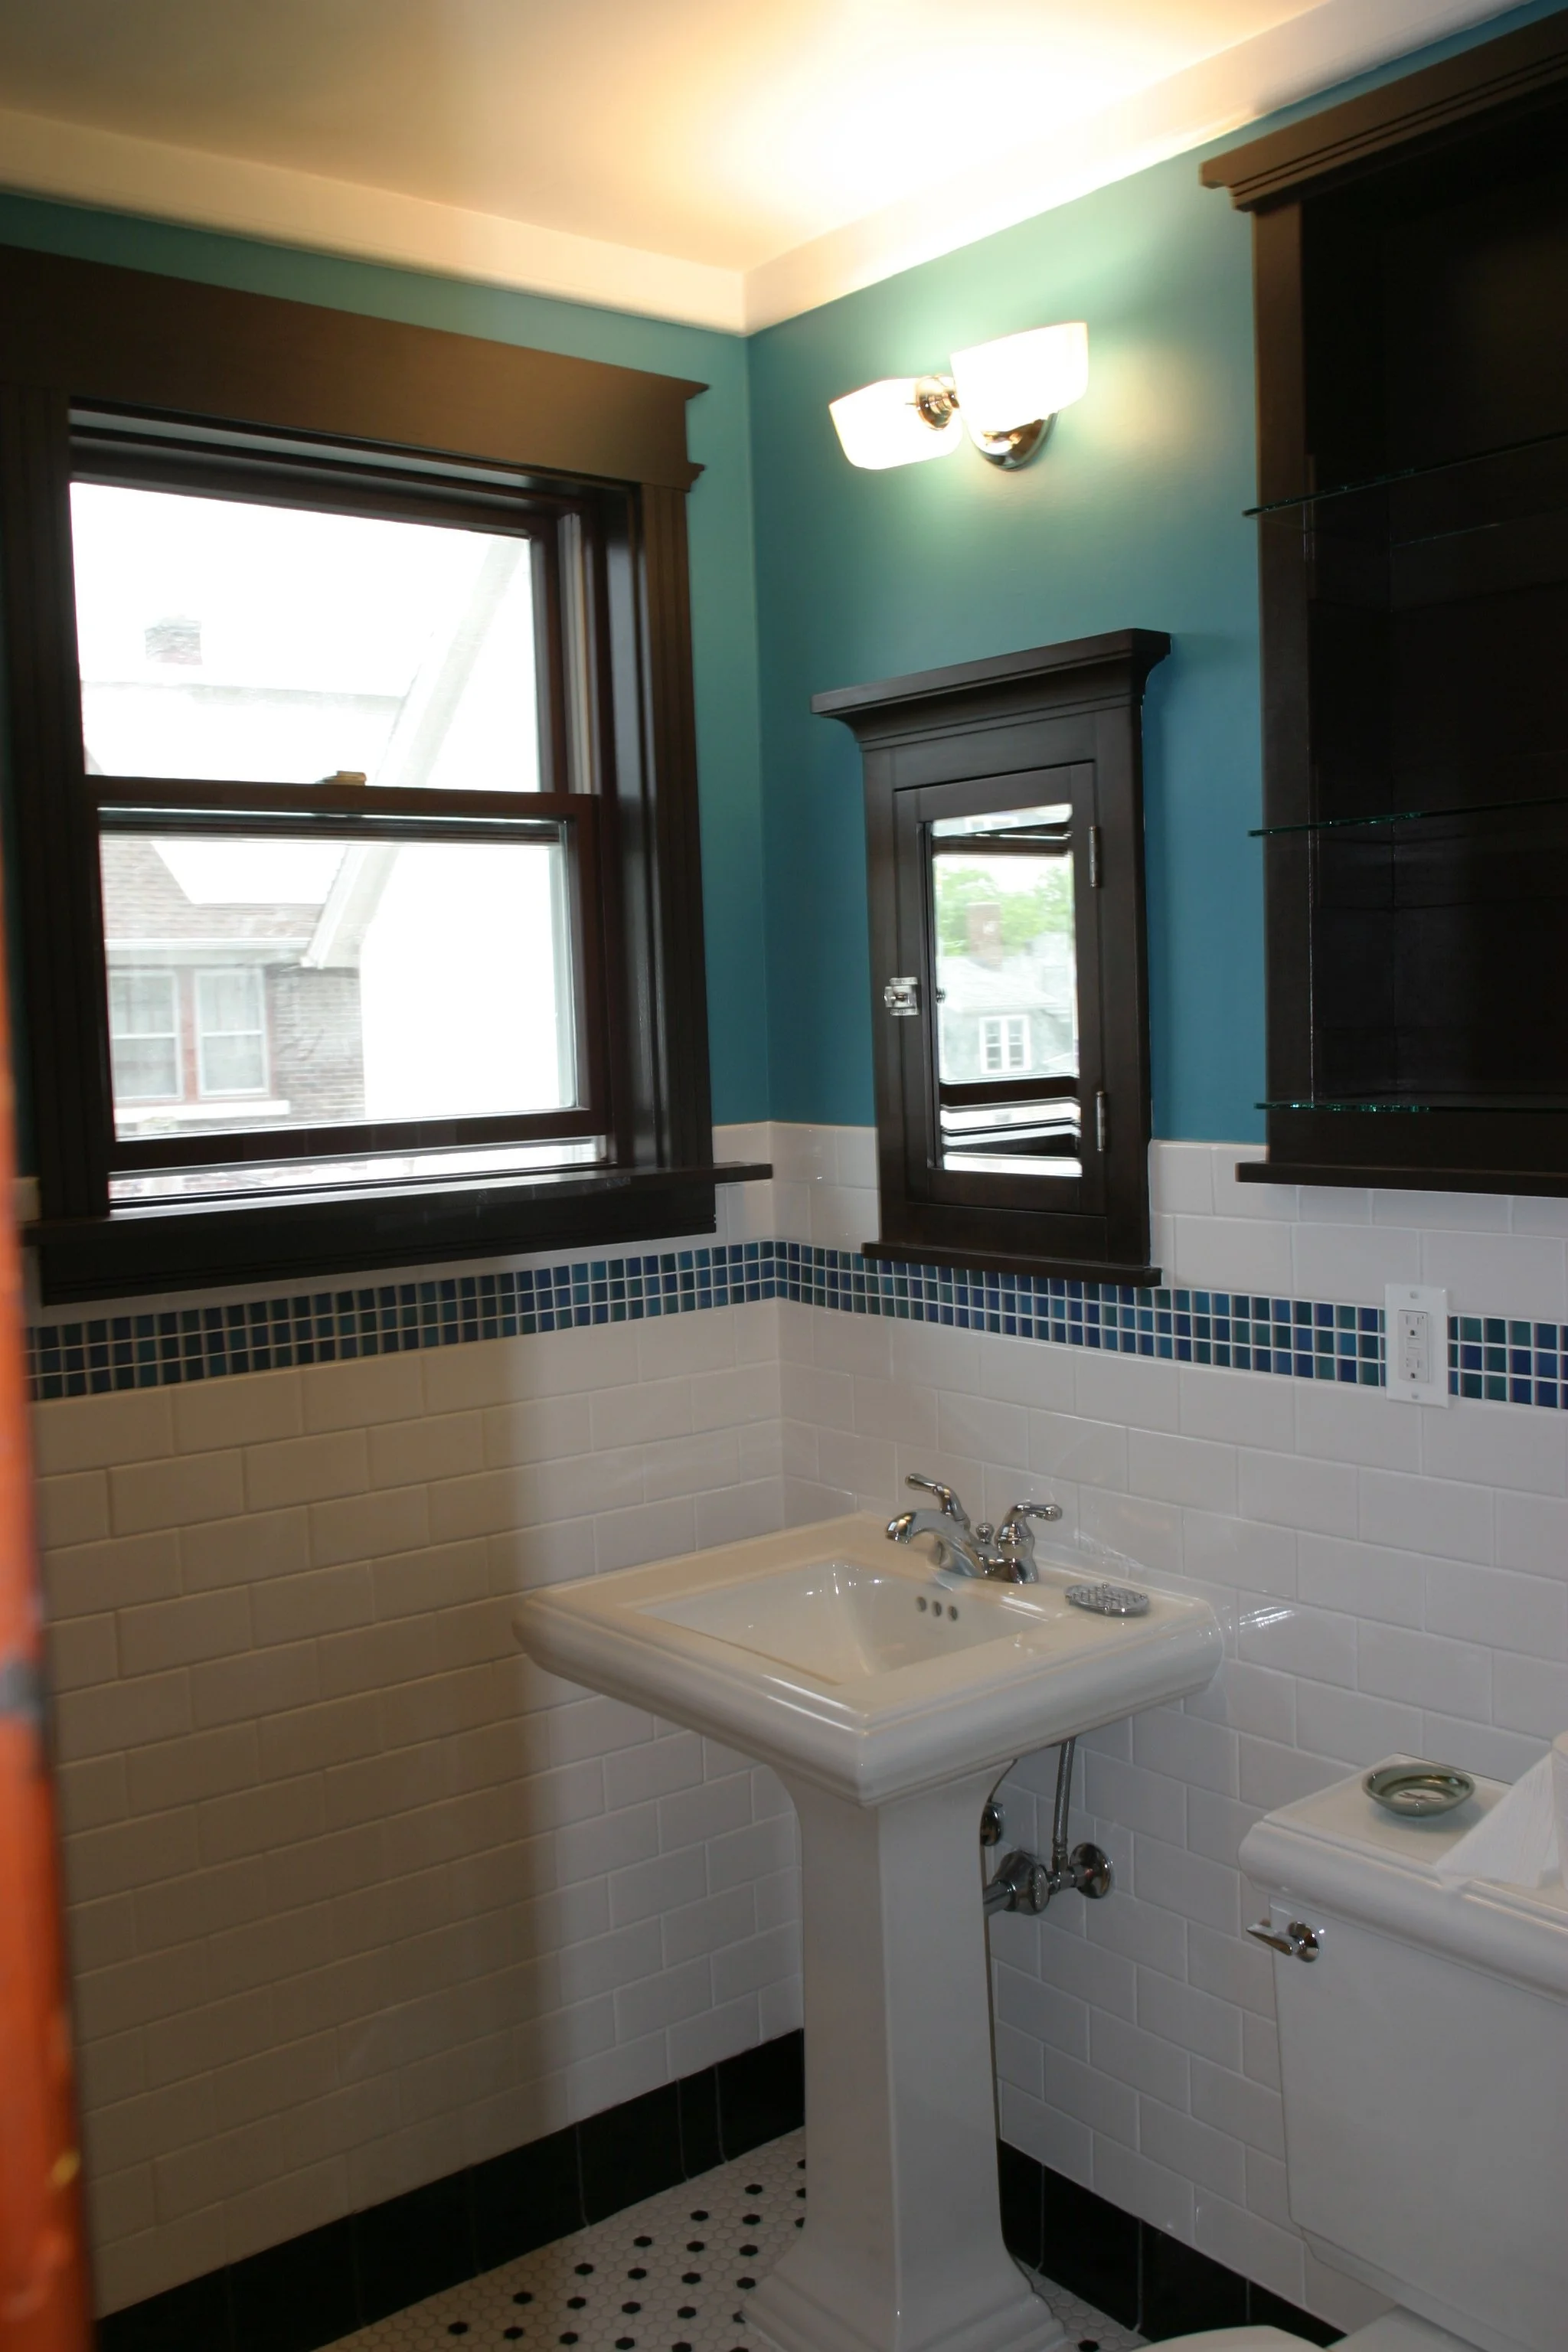
This was an upgrade of a tired, leaky old bathroom. This was done in the early 1990s before Willy St. was gentrified. I augmented floor joists cutting them down to enable extra plywood floor sheathing. I have long insisted on 1 1/4” to 1 1/2” of plywood or plywood and Duroc concrete board. I have never had a customer complaint about tiles popping off because of the thicker floor sheathing. I installed Duroc in the tub area and tiled it. I tiled the floor with a tile pattern which honored the age of the house (1880s). I installed oak baseboard, door trim and as a mounting plate for the the towel bar.
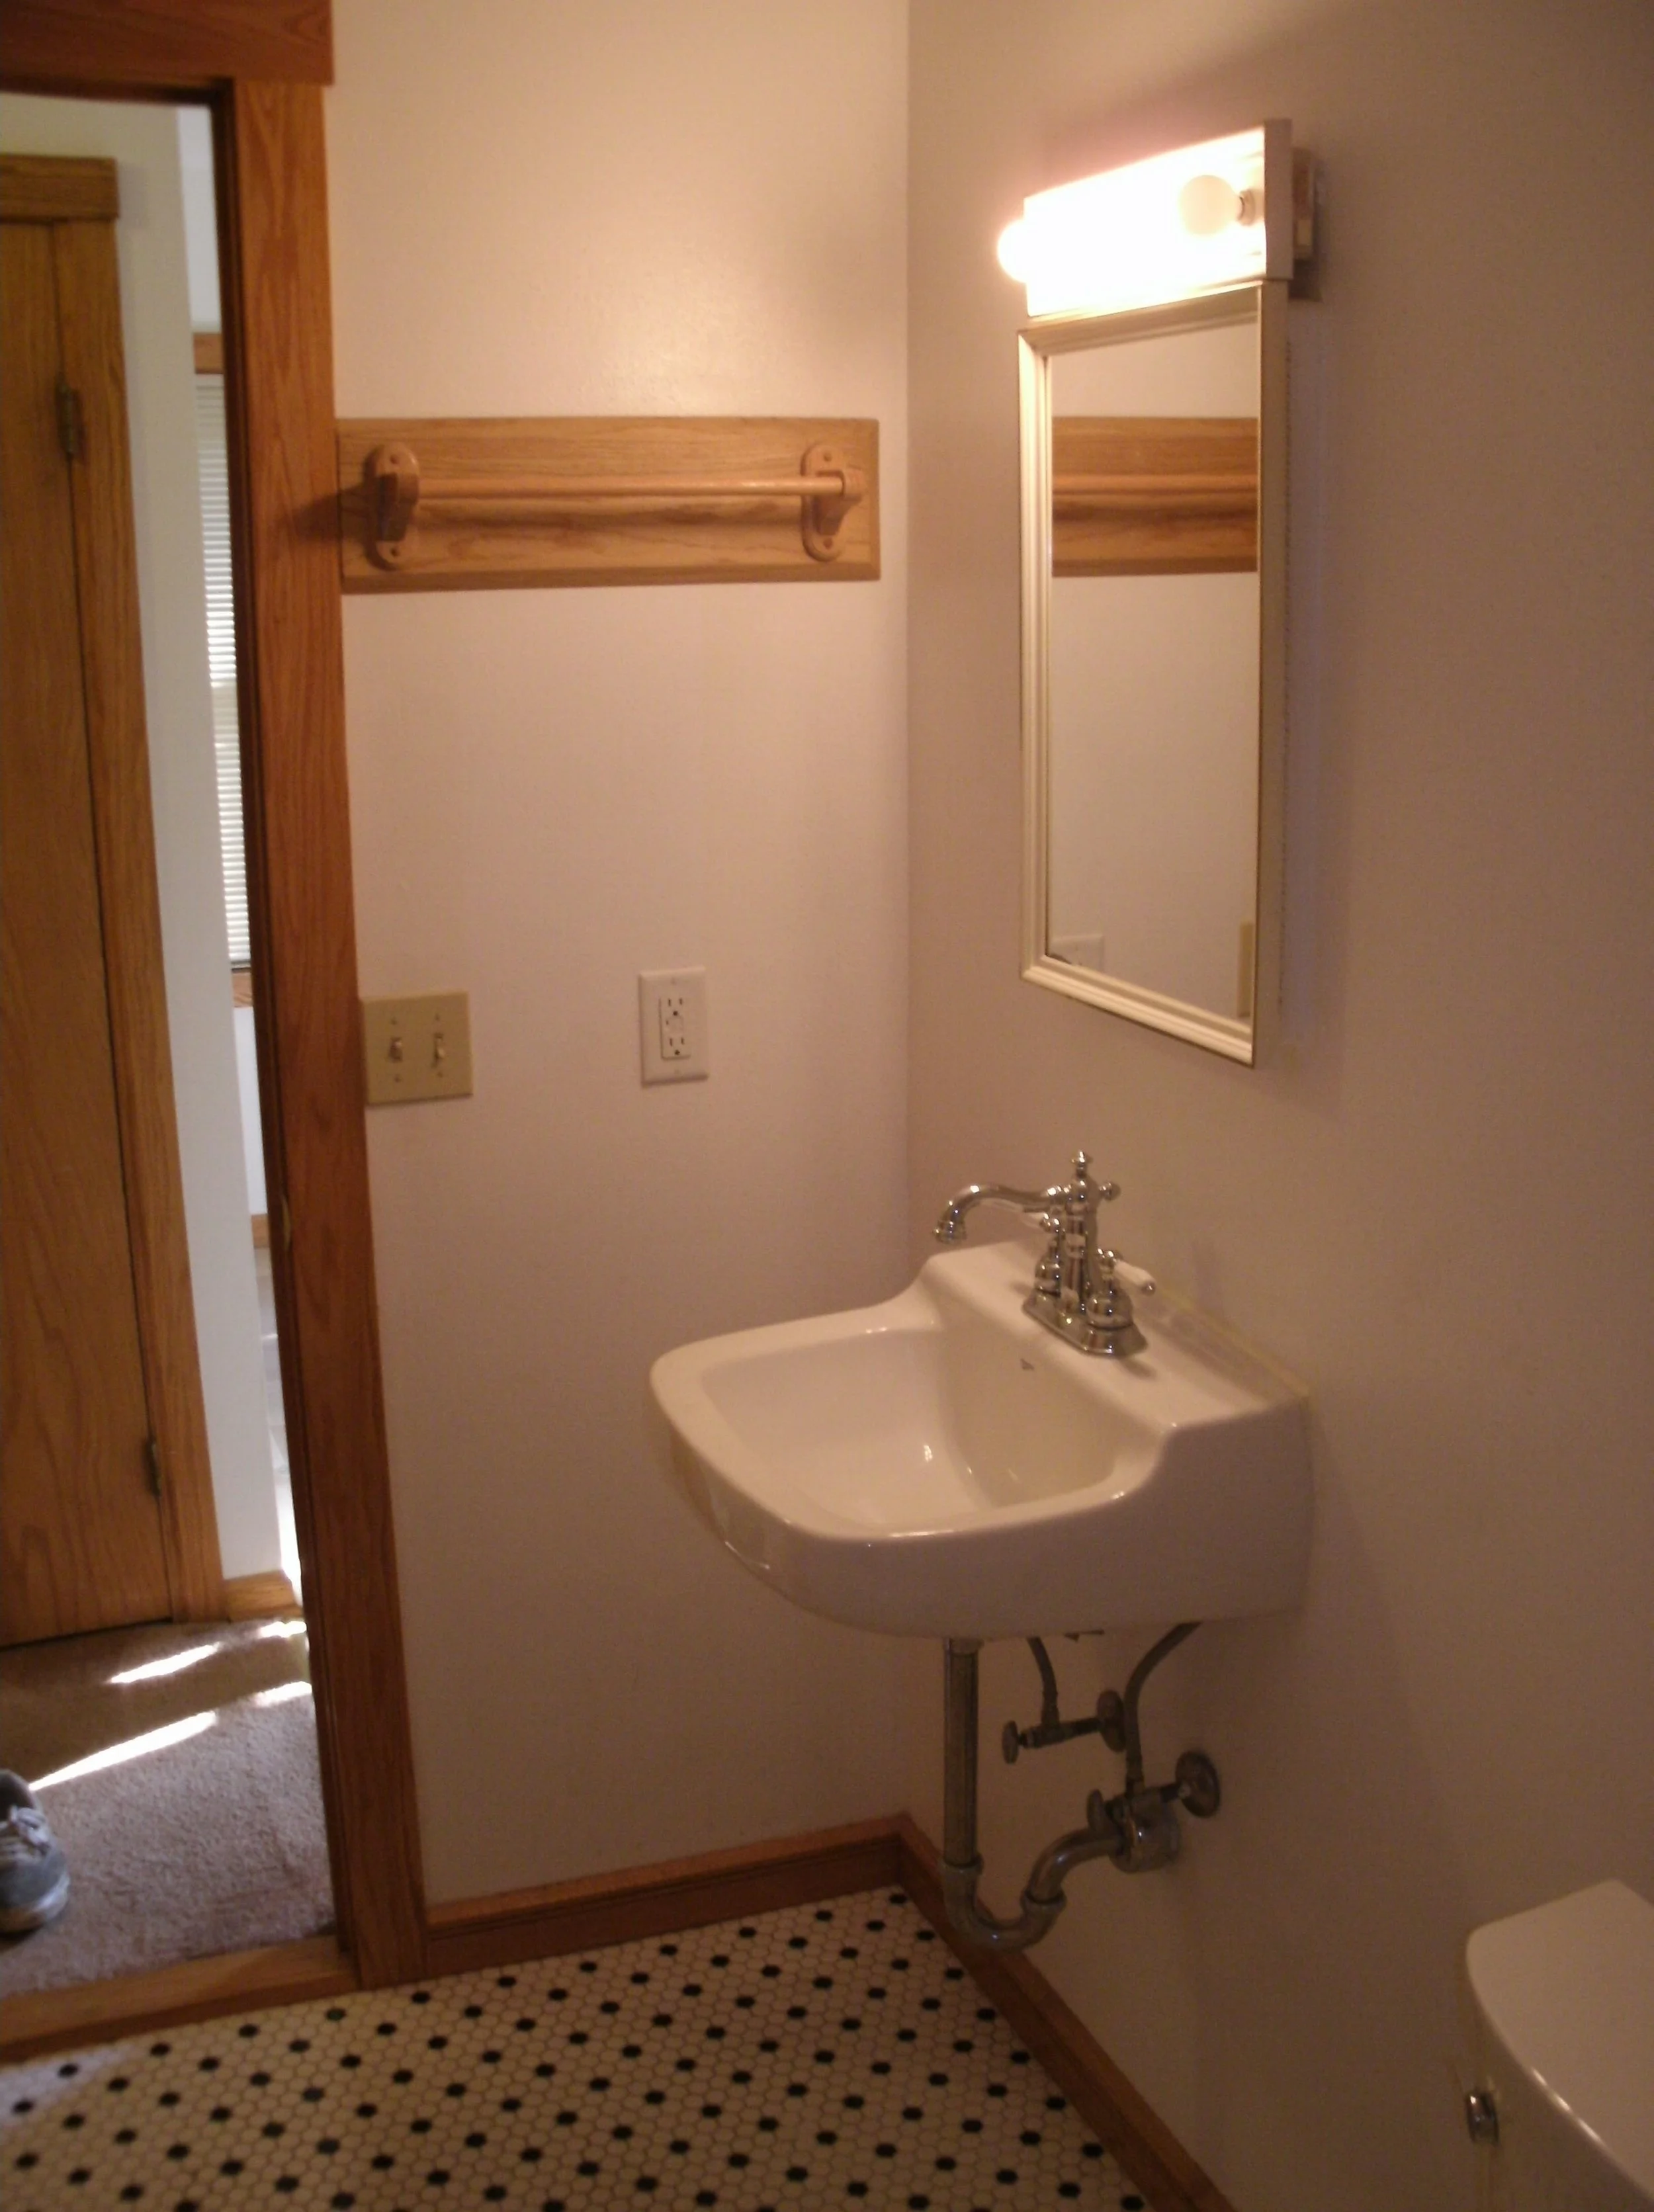
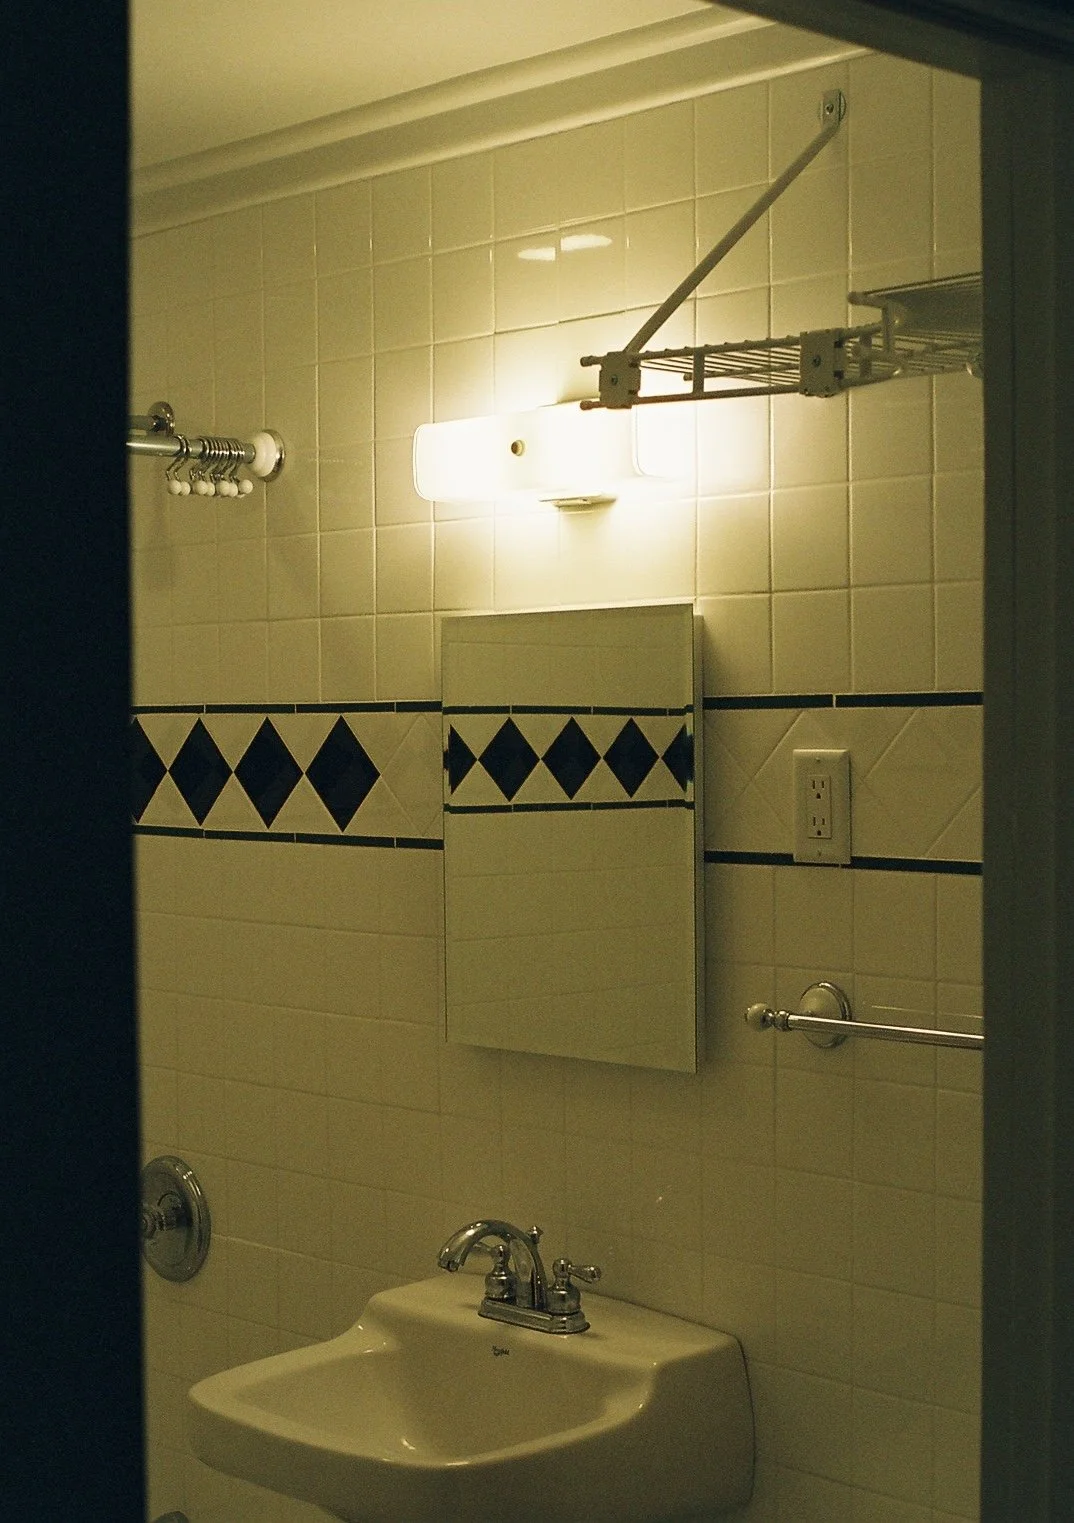
View of the sink, door trim, baseboards
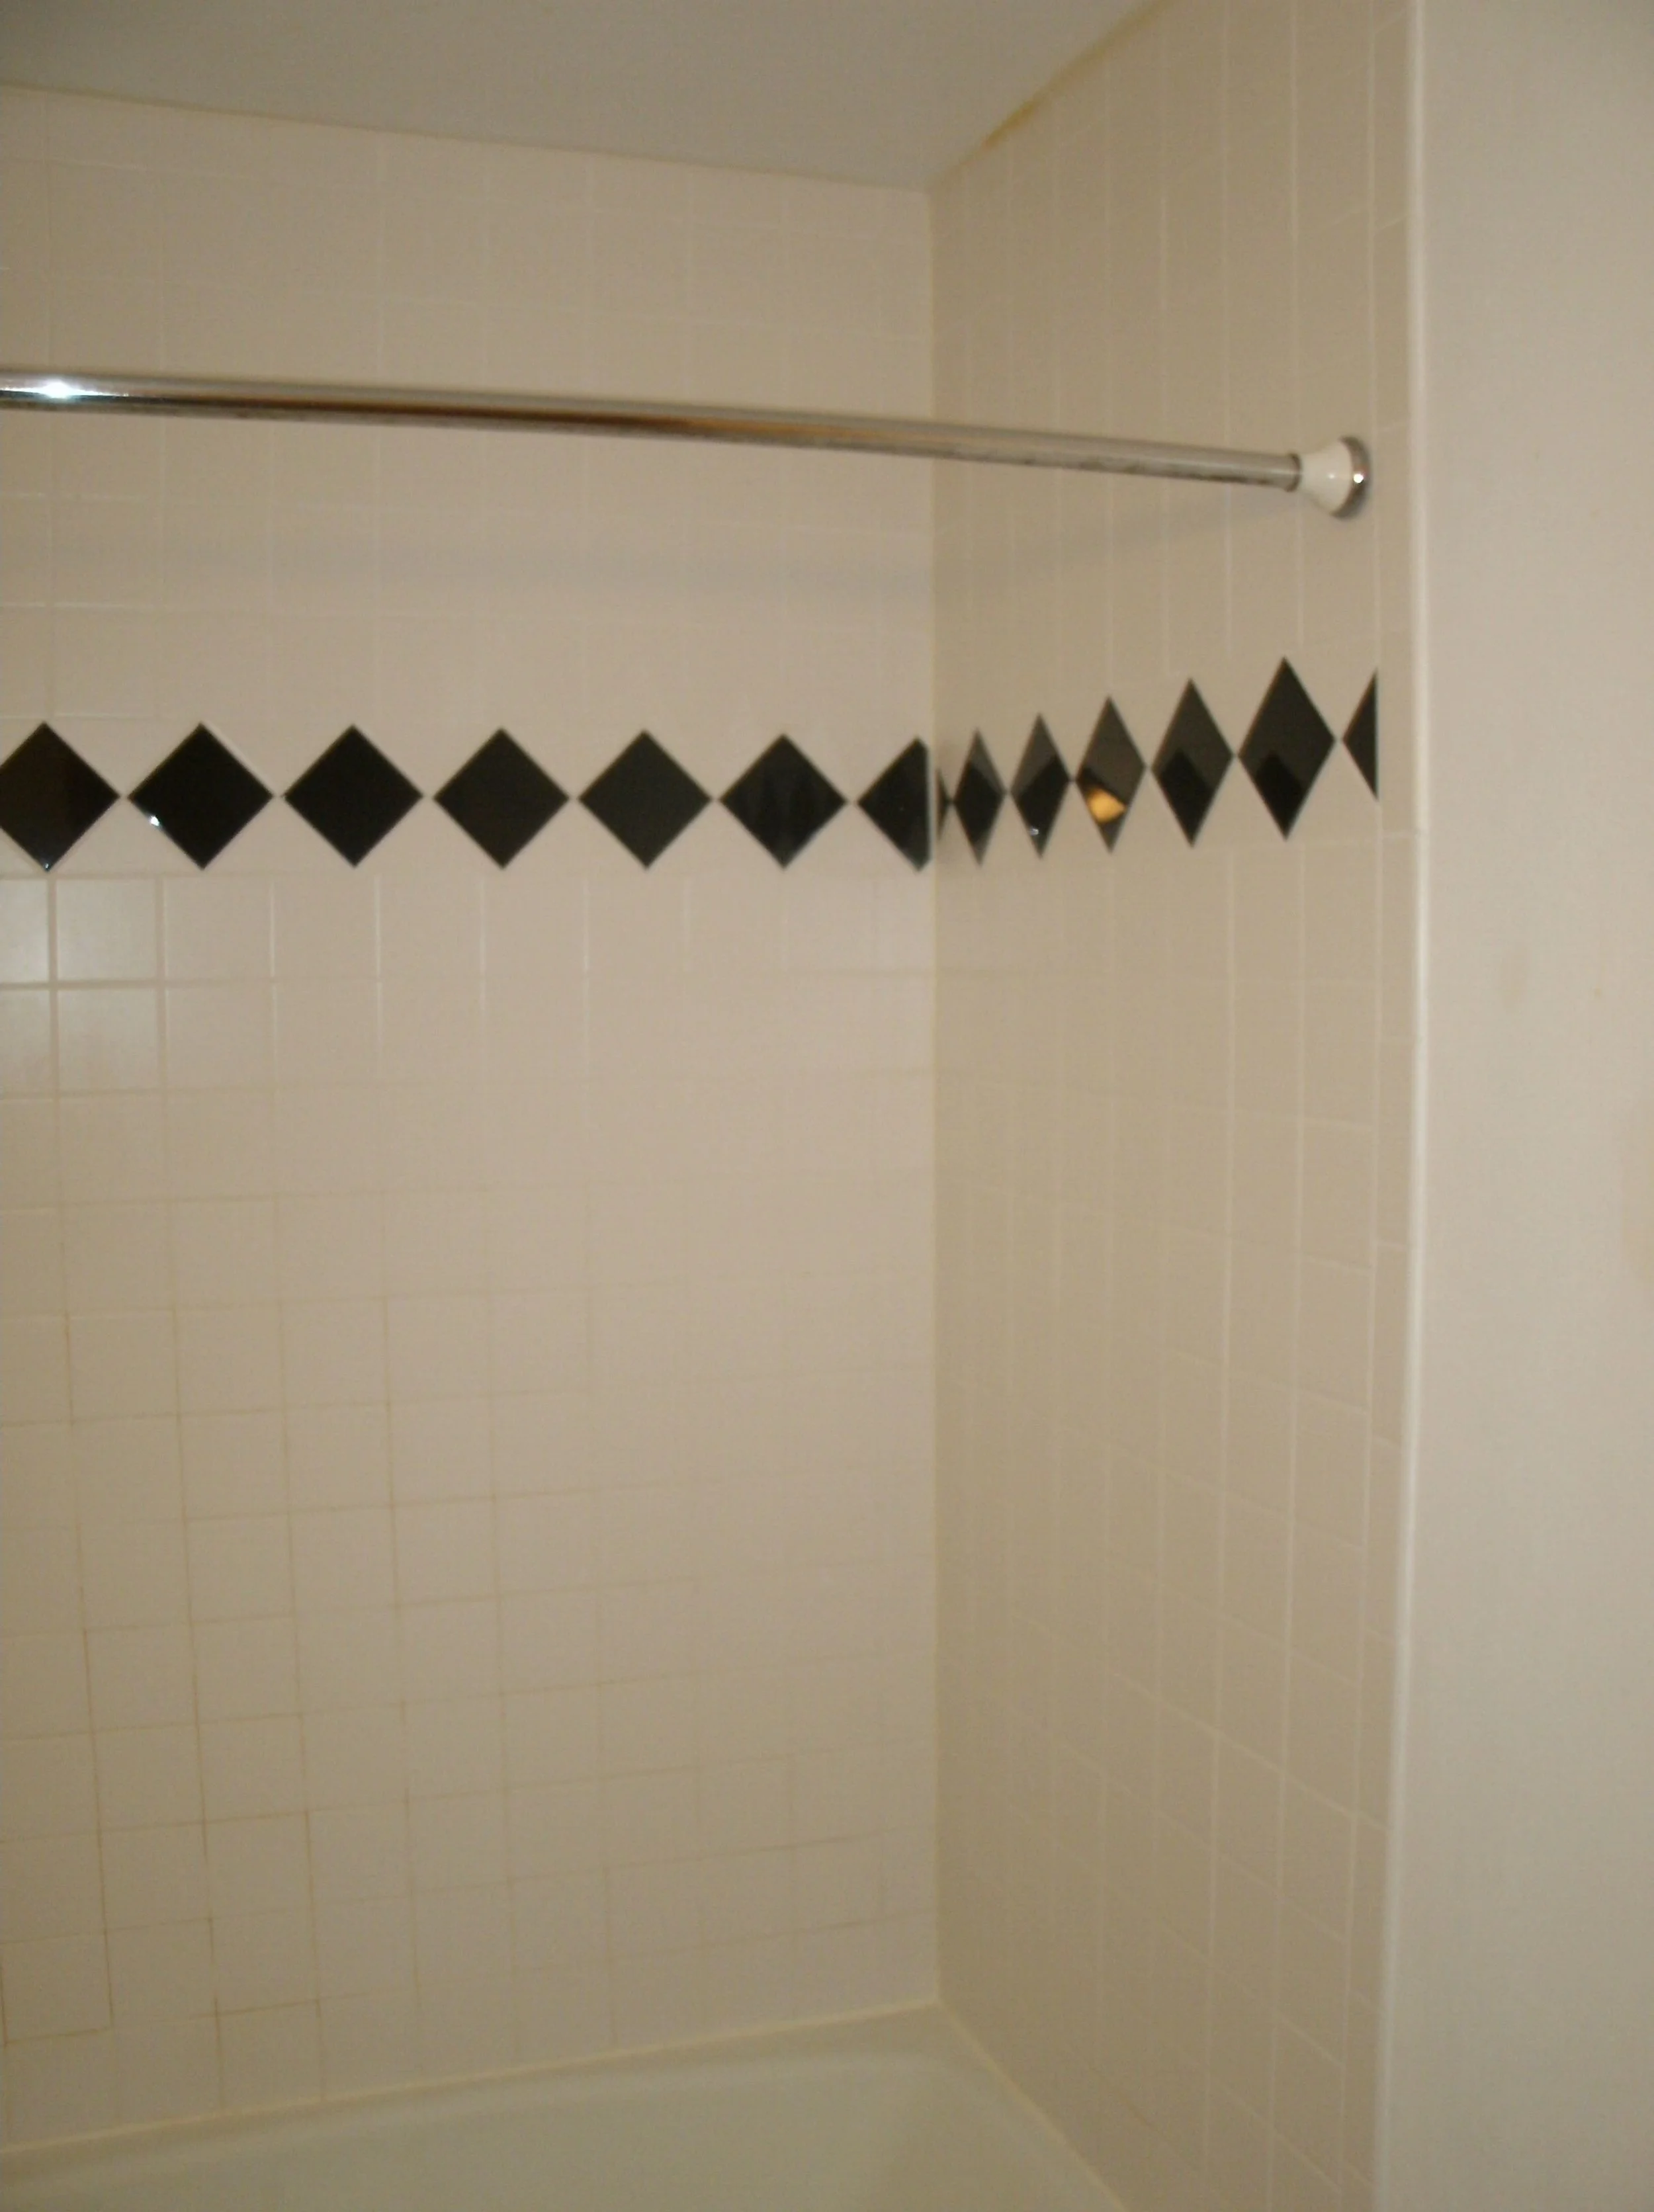
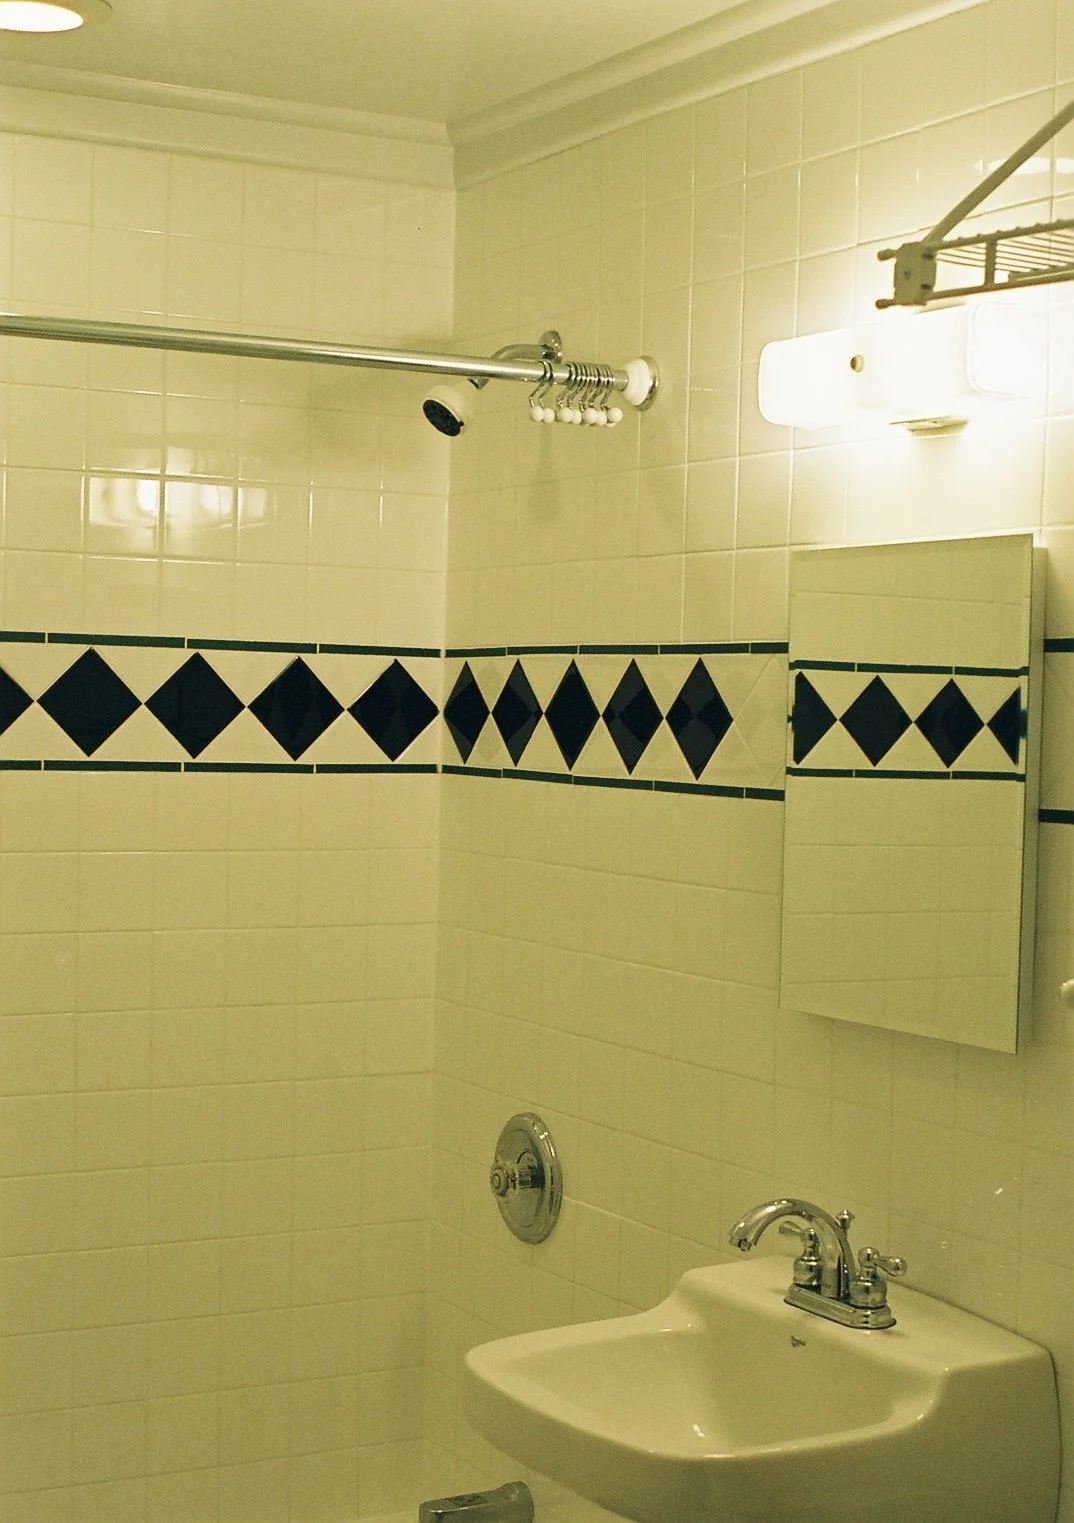
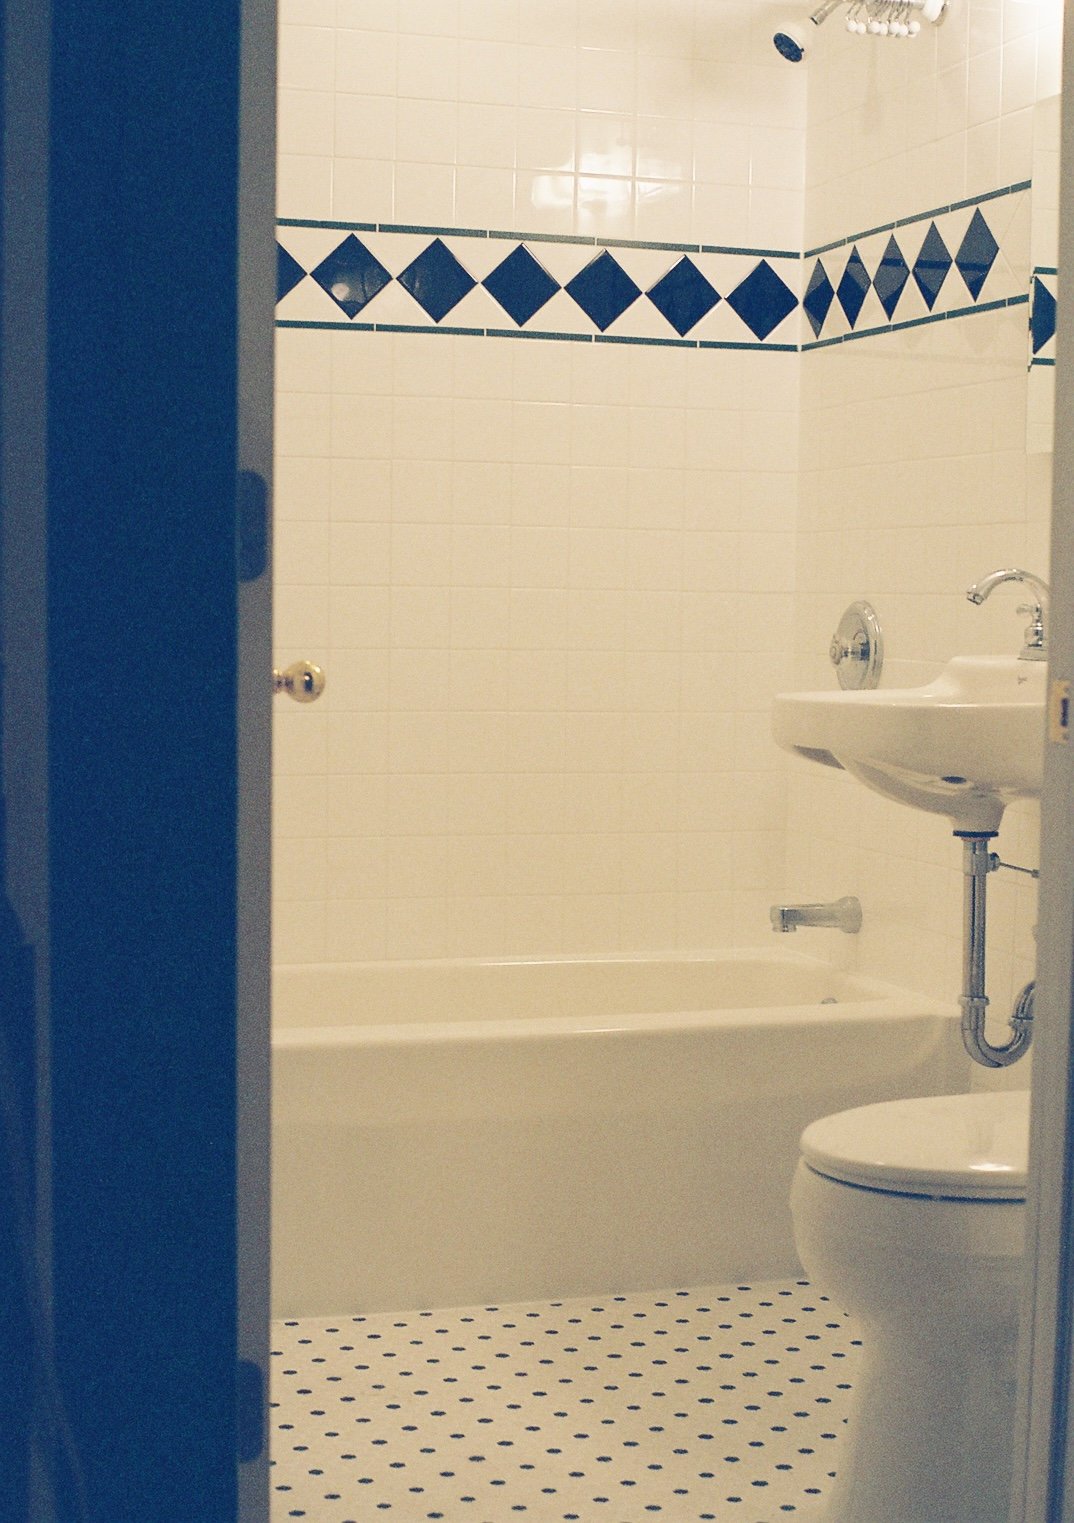
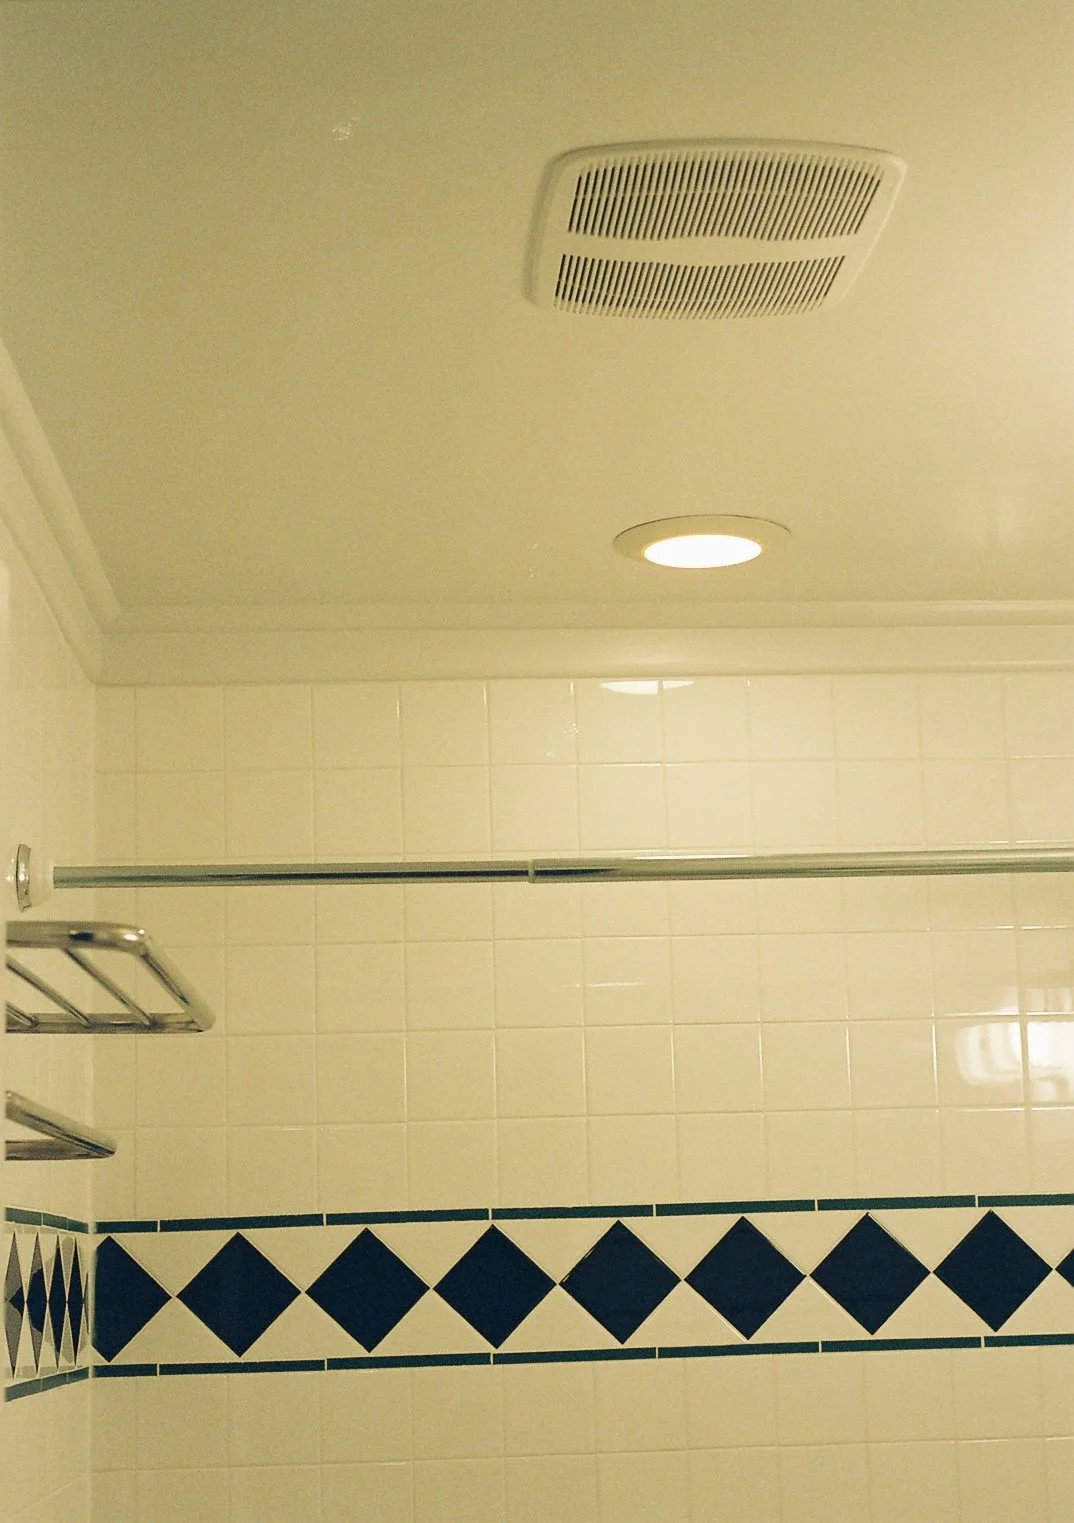
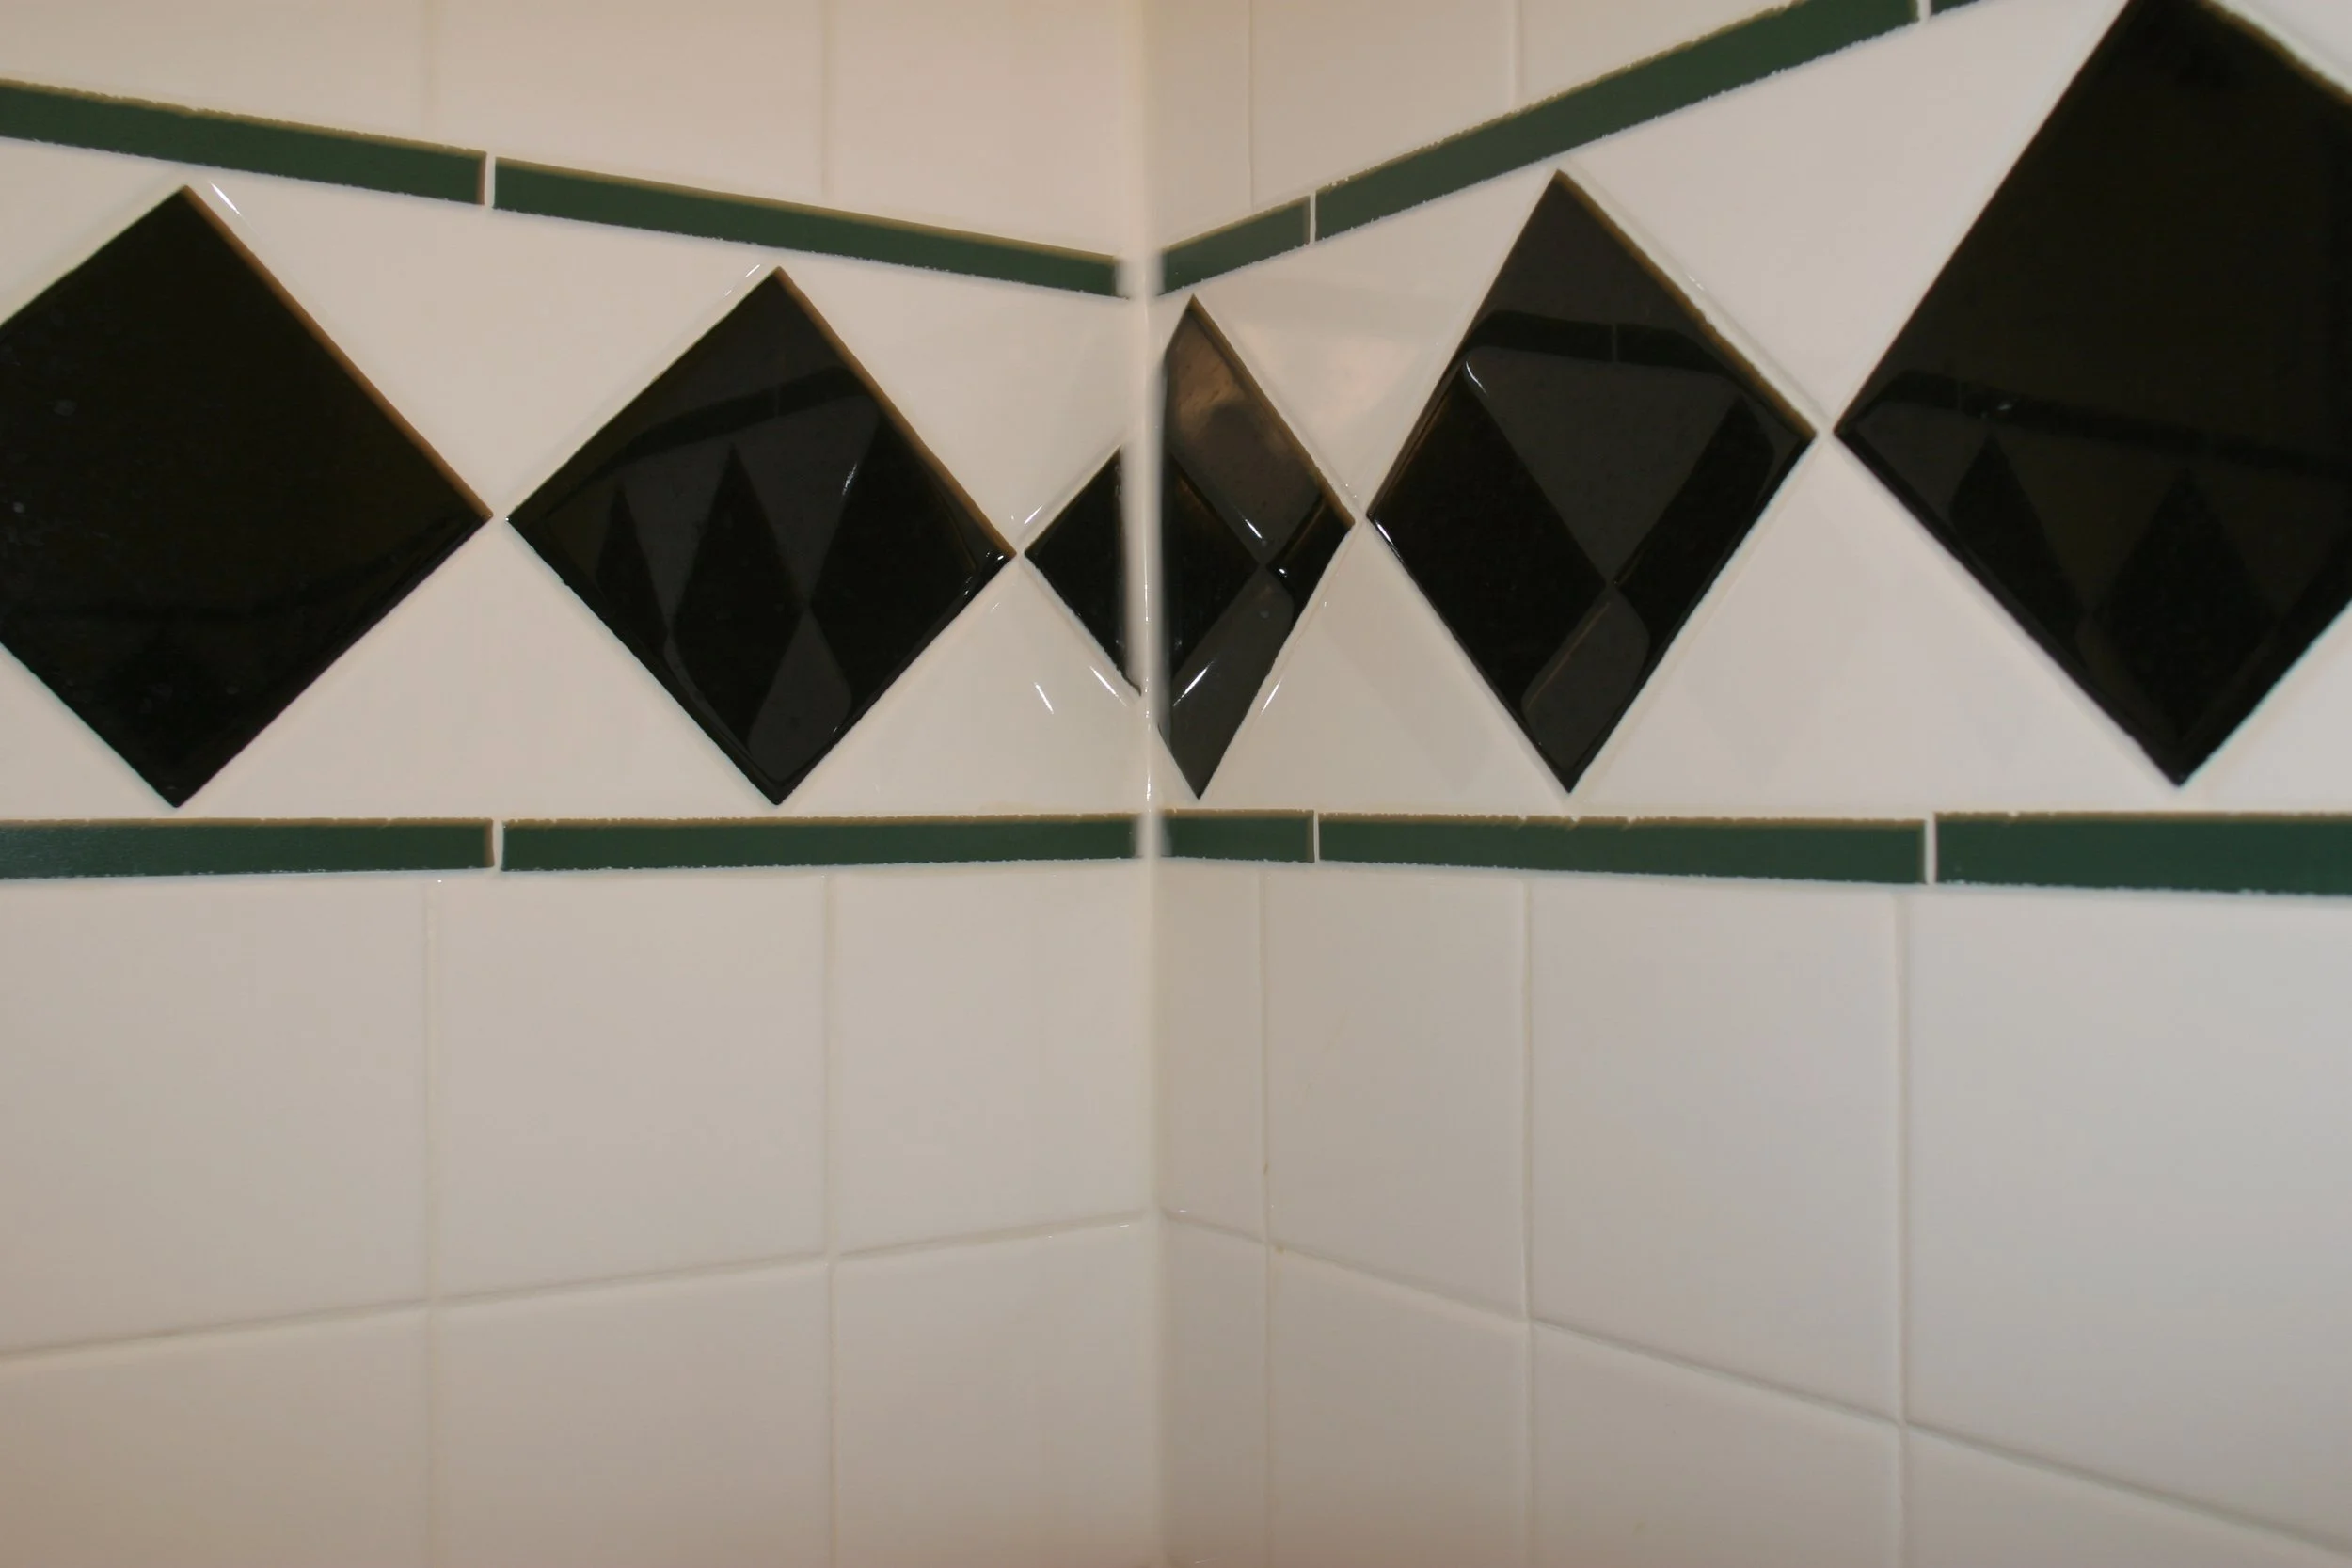
Tub enclosure tiles
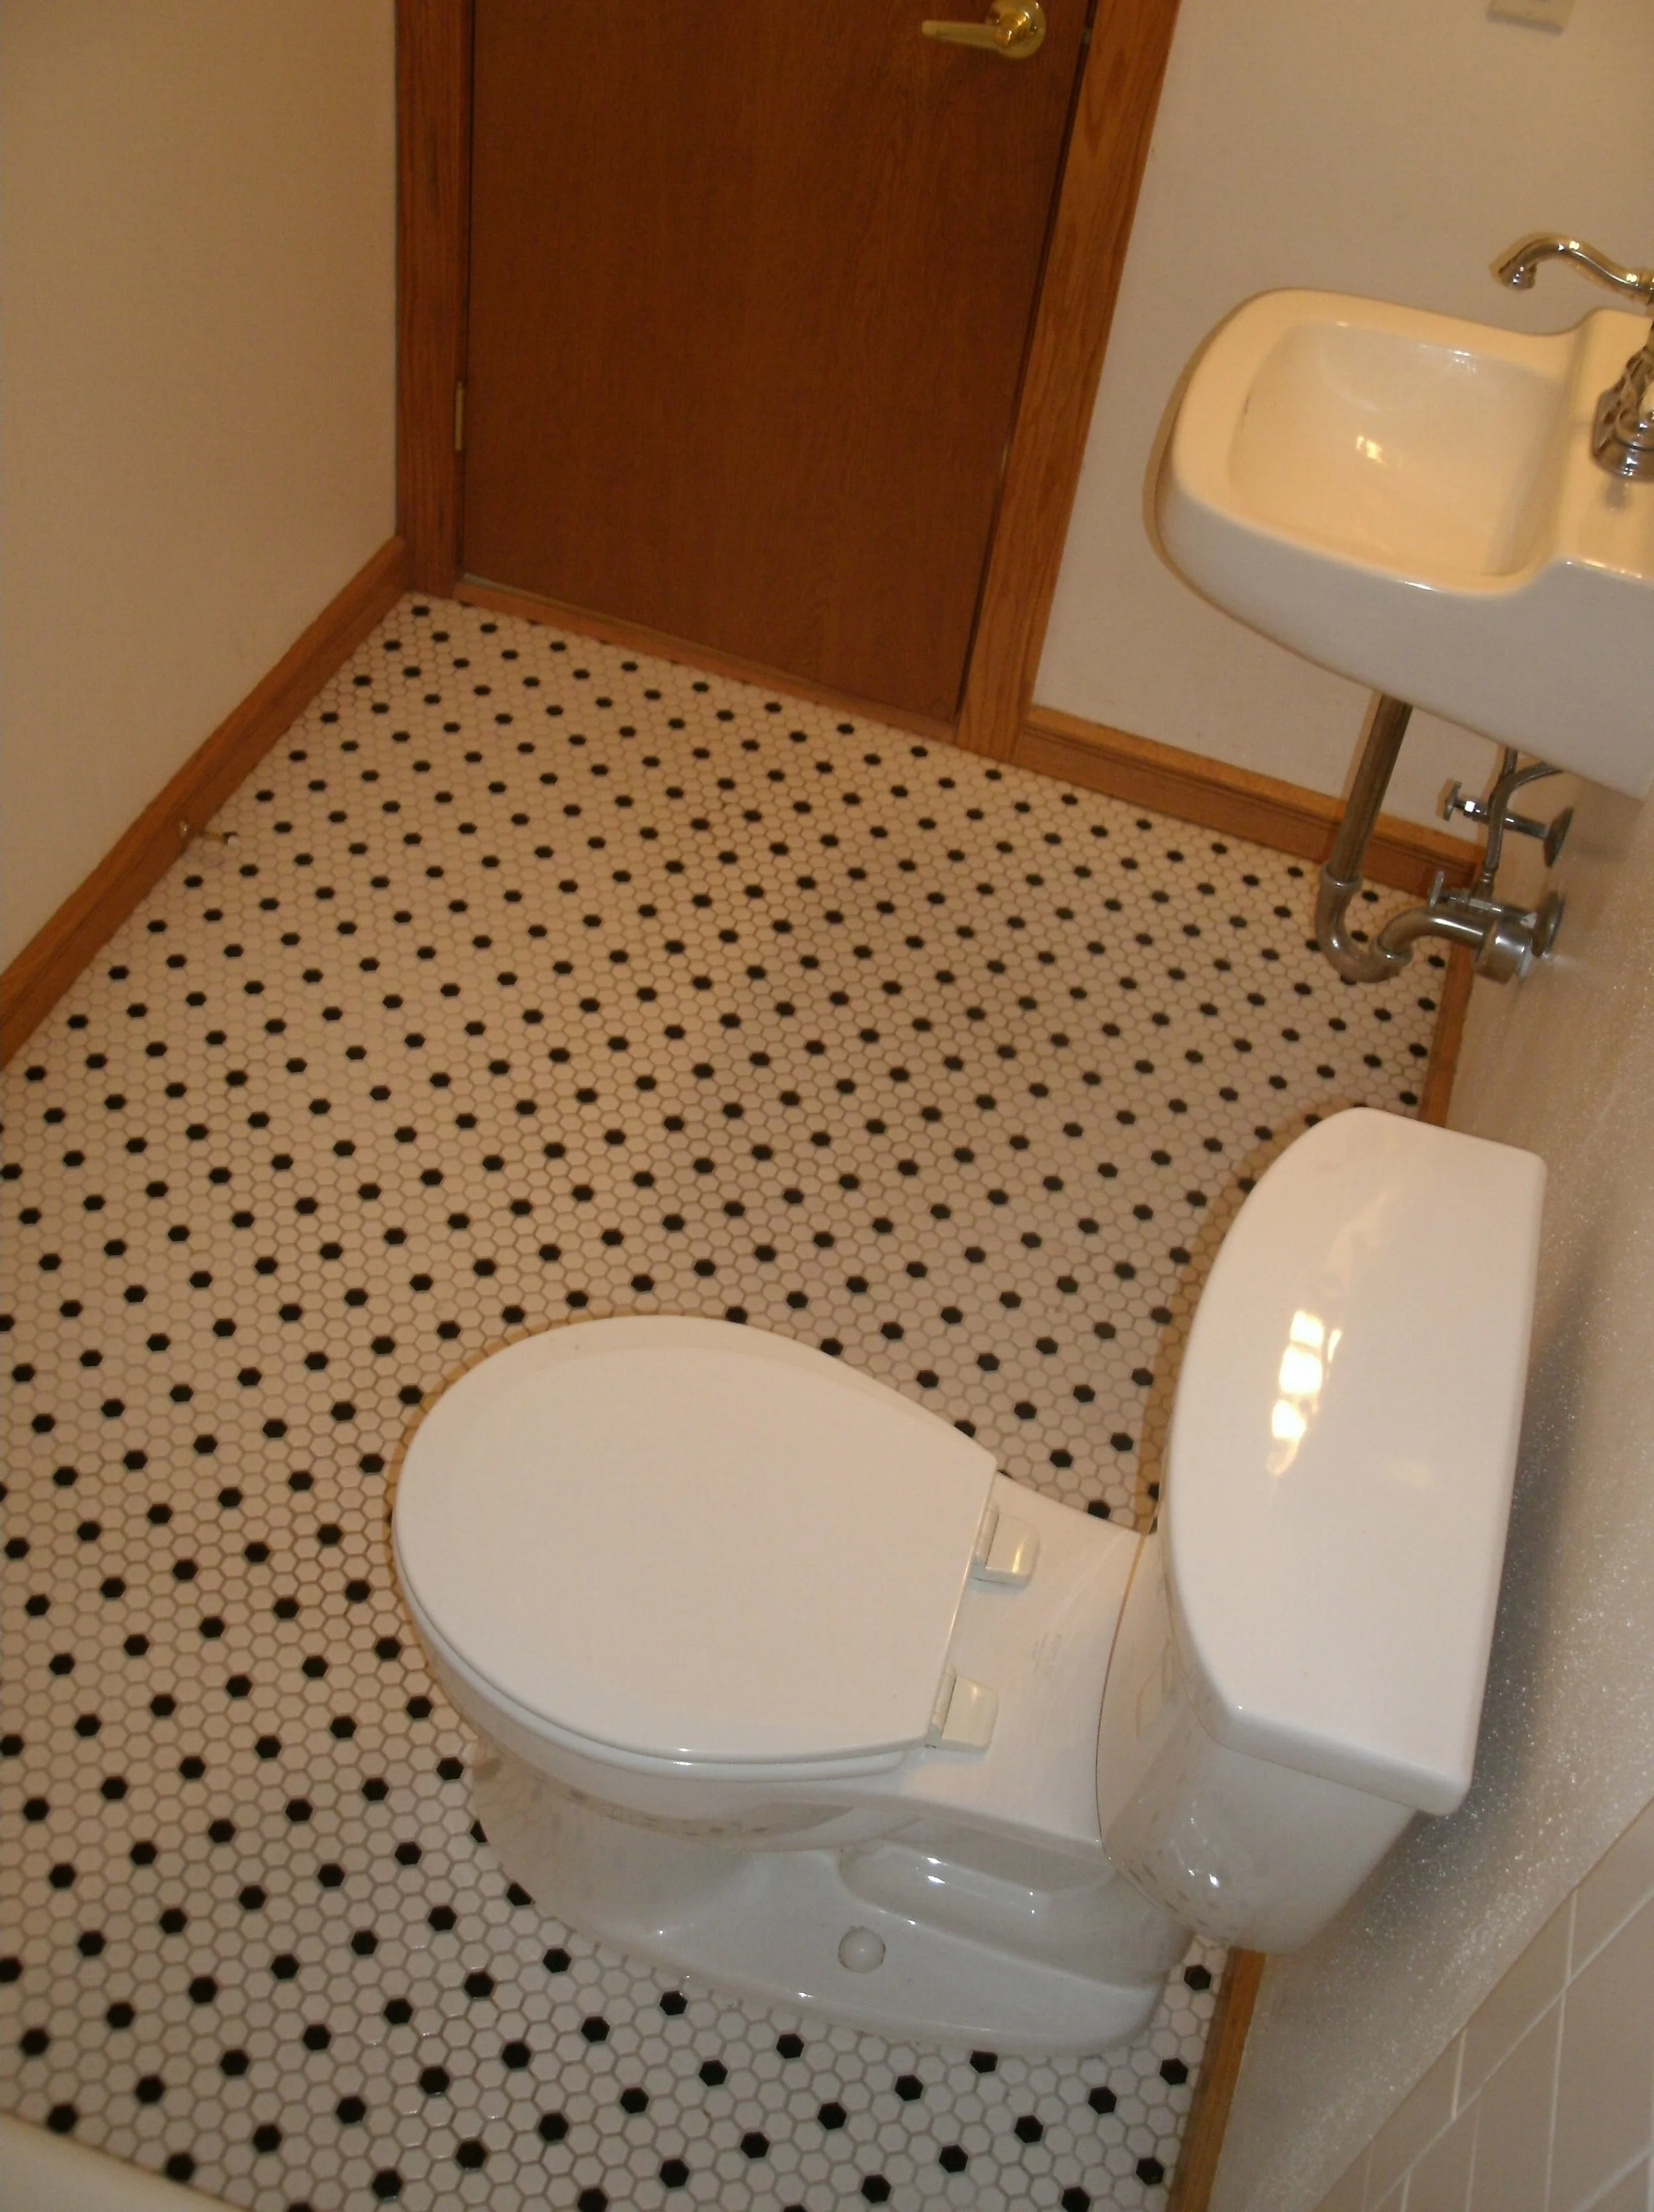
Toilet, floor tiles
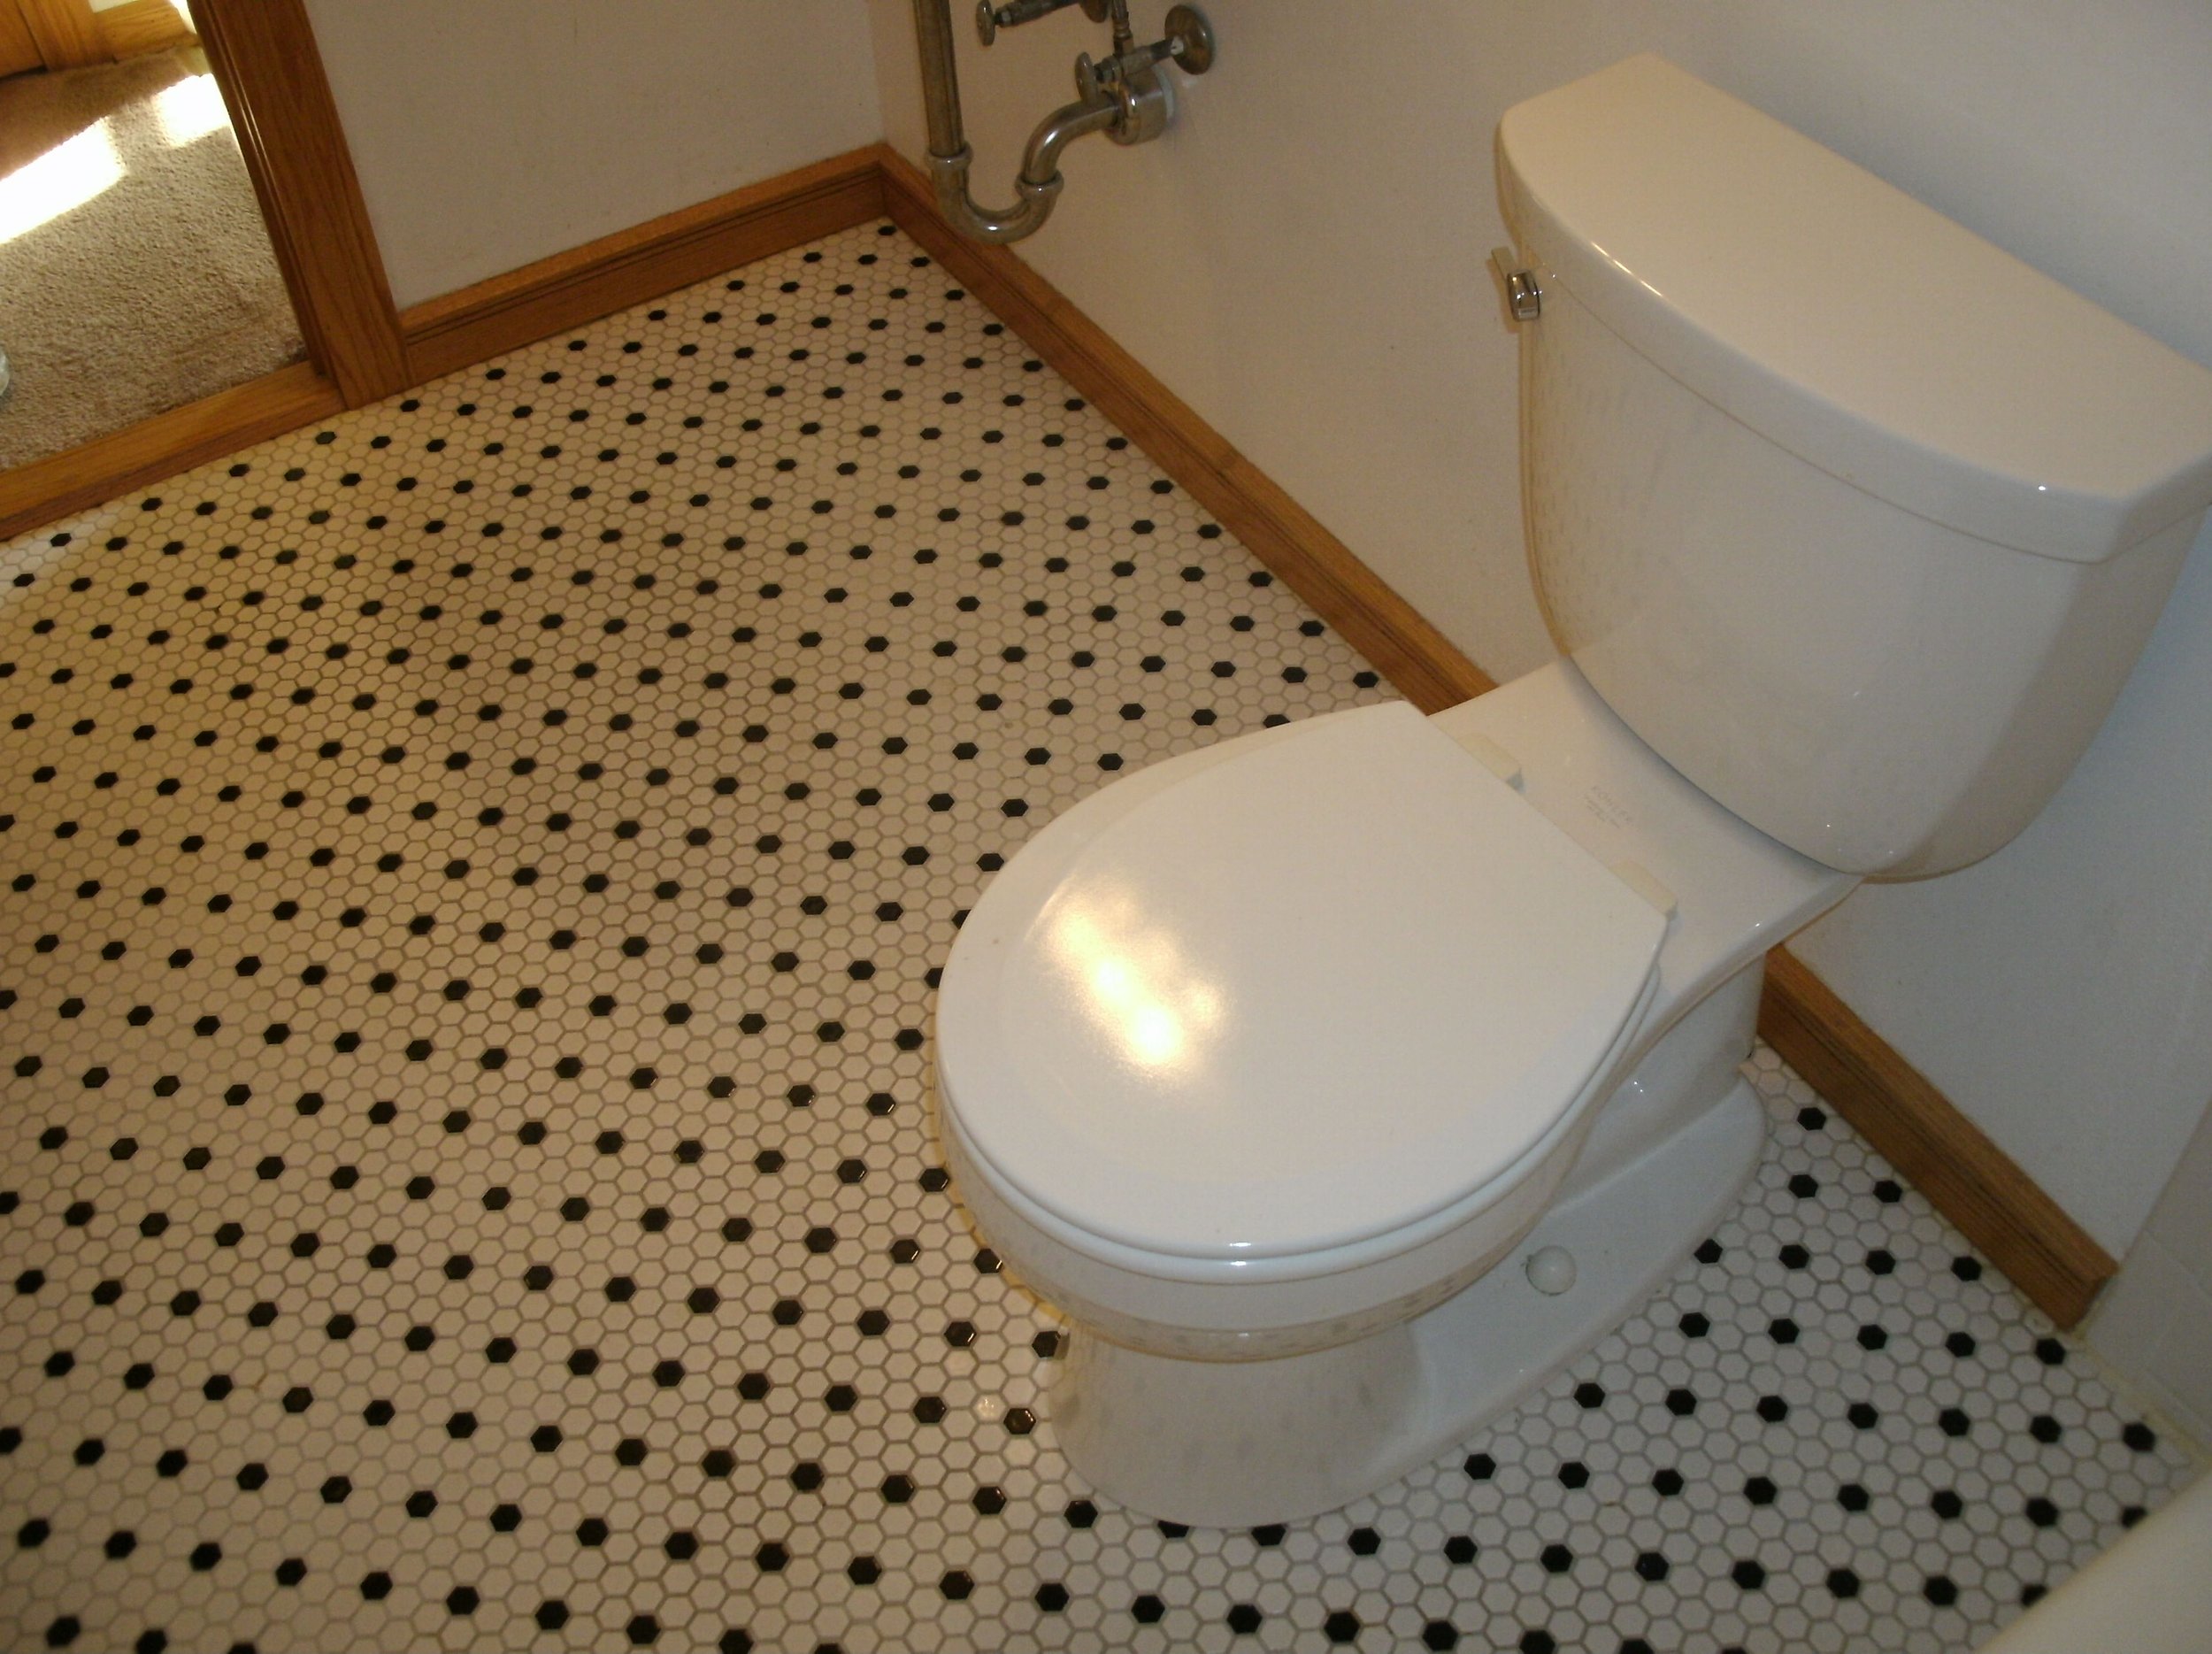
Another toilet and floor tile view
Full view of floor tile
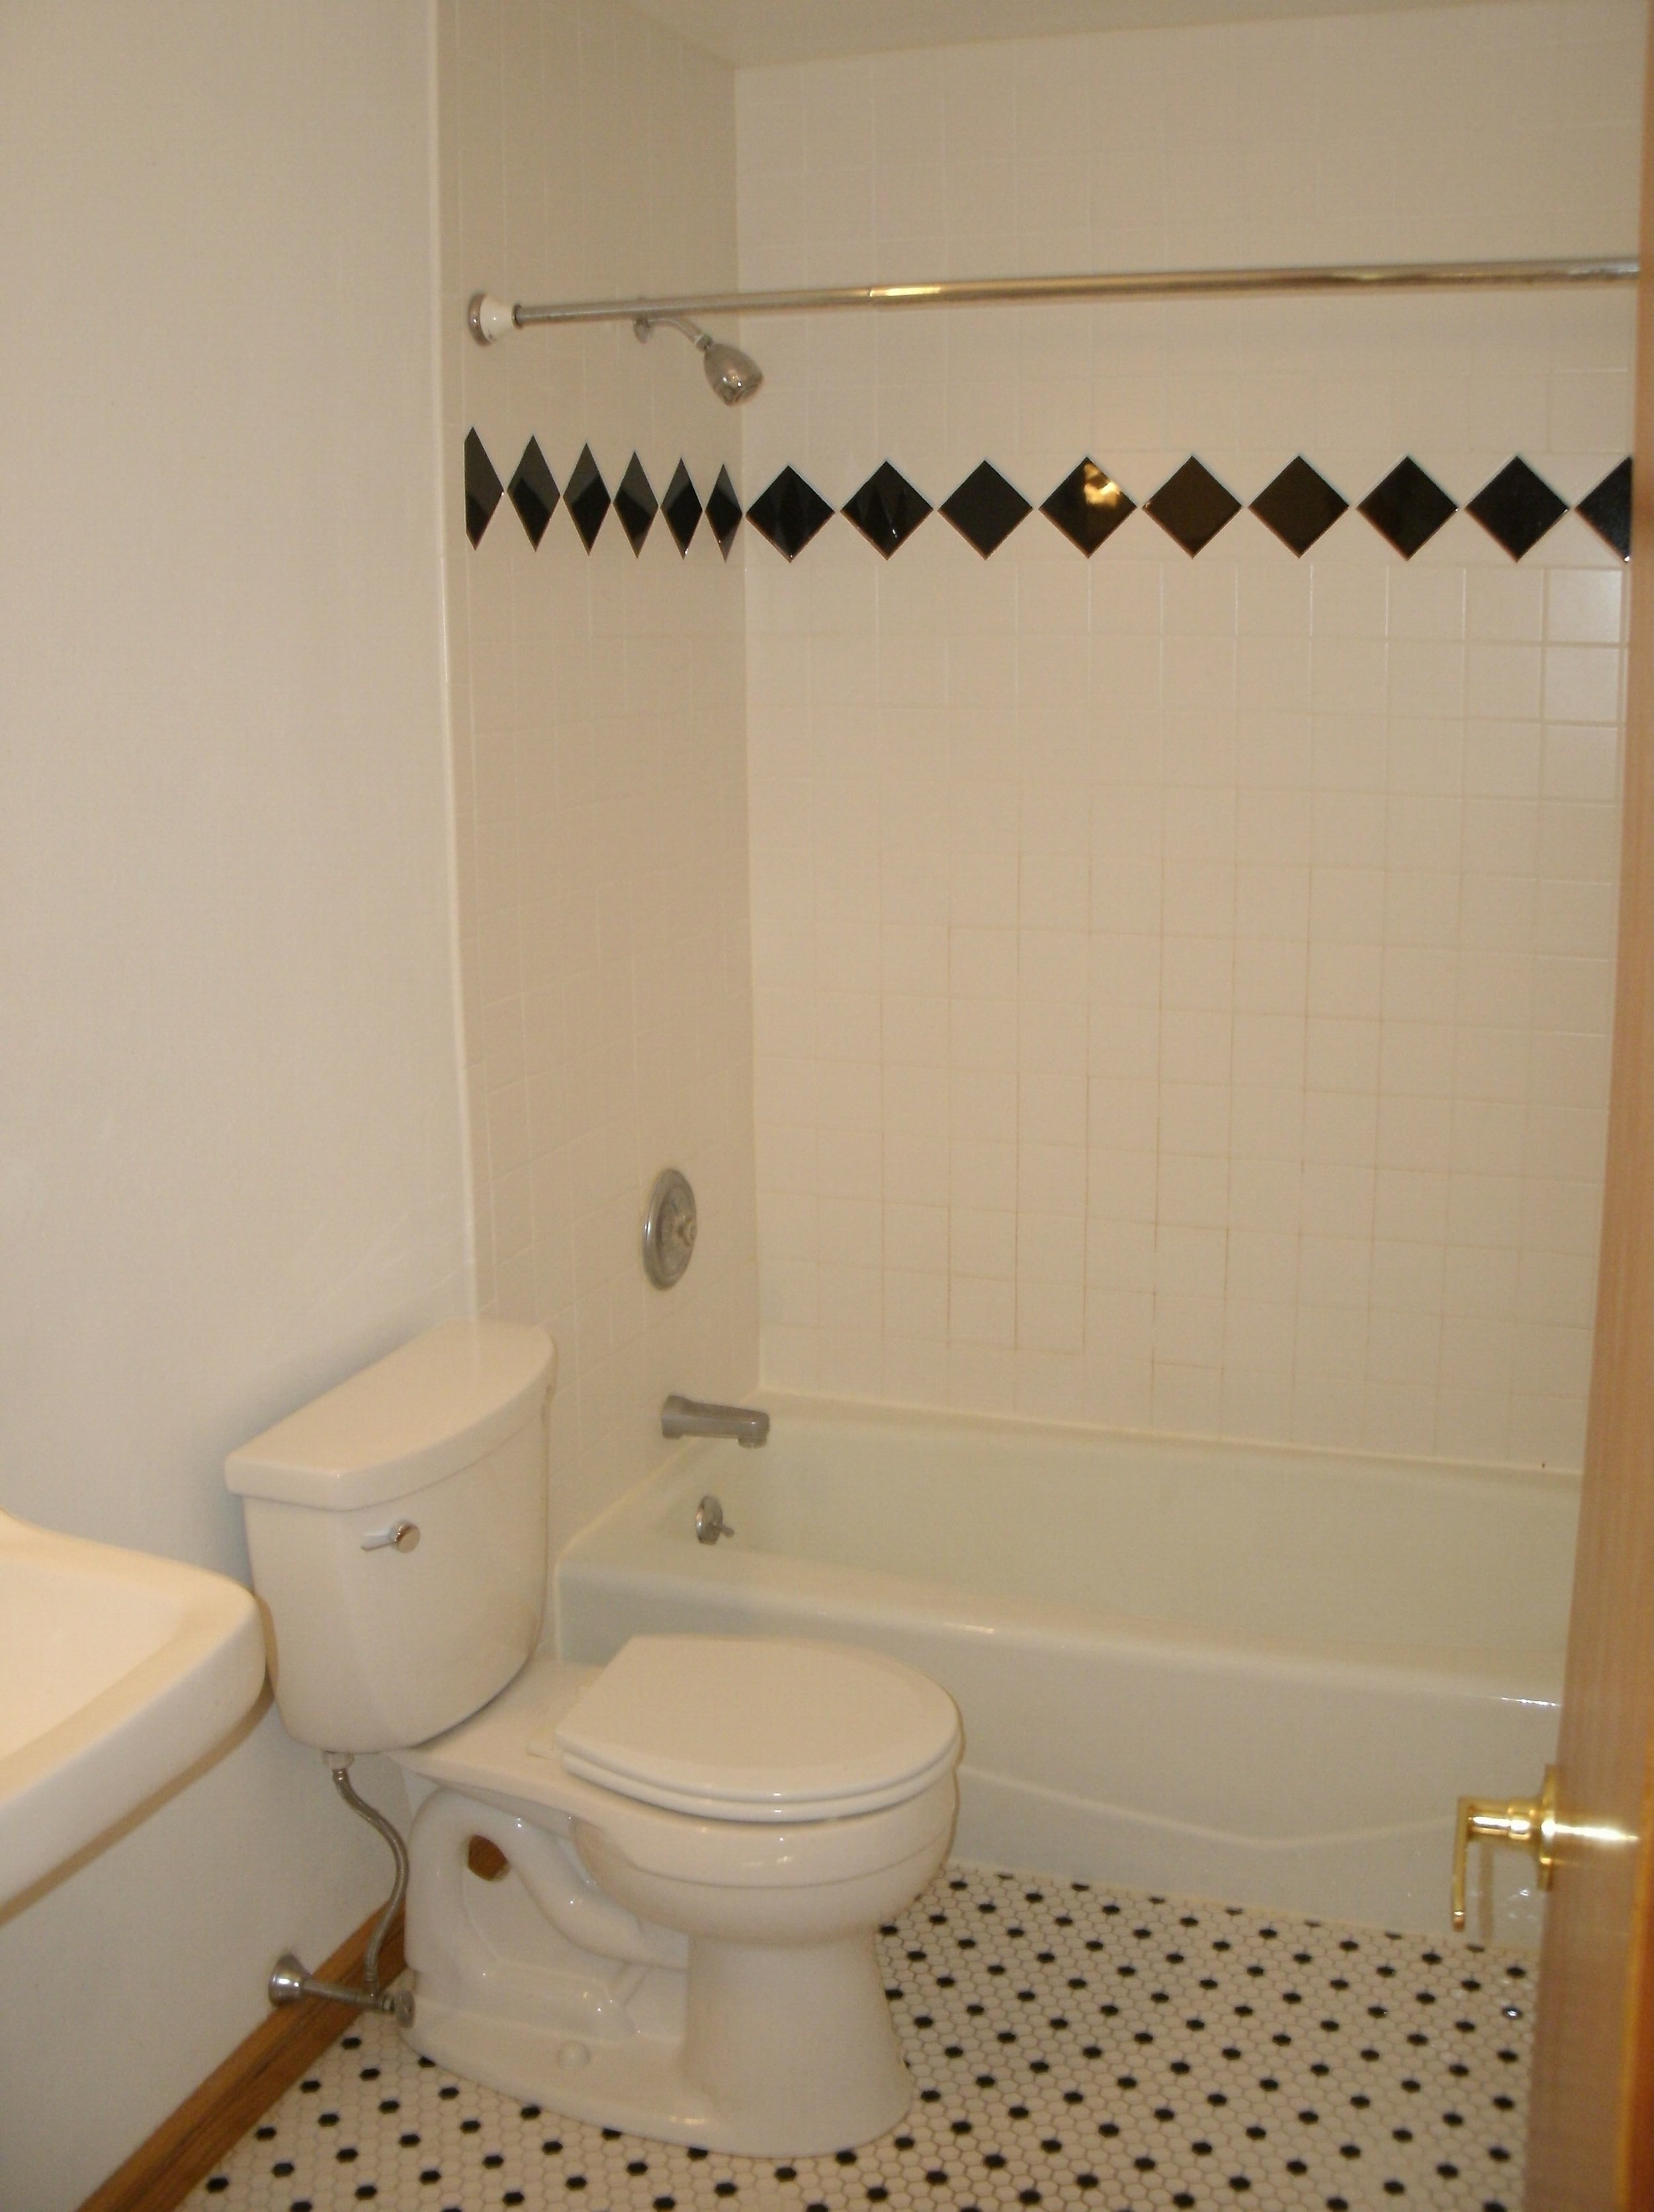
Tub, toilet and floor
Lake Bathroom
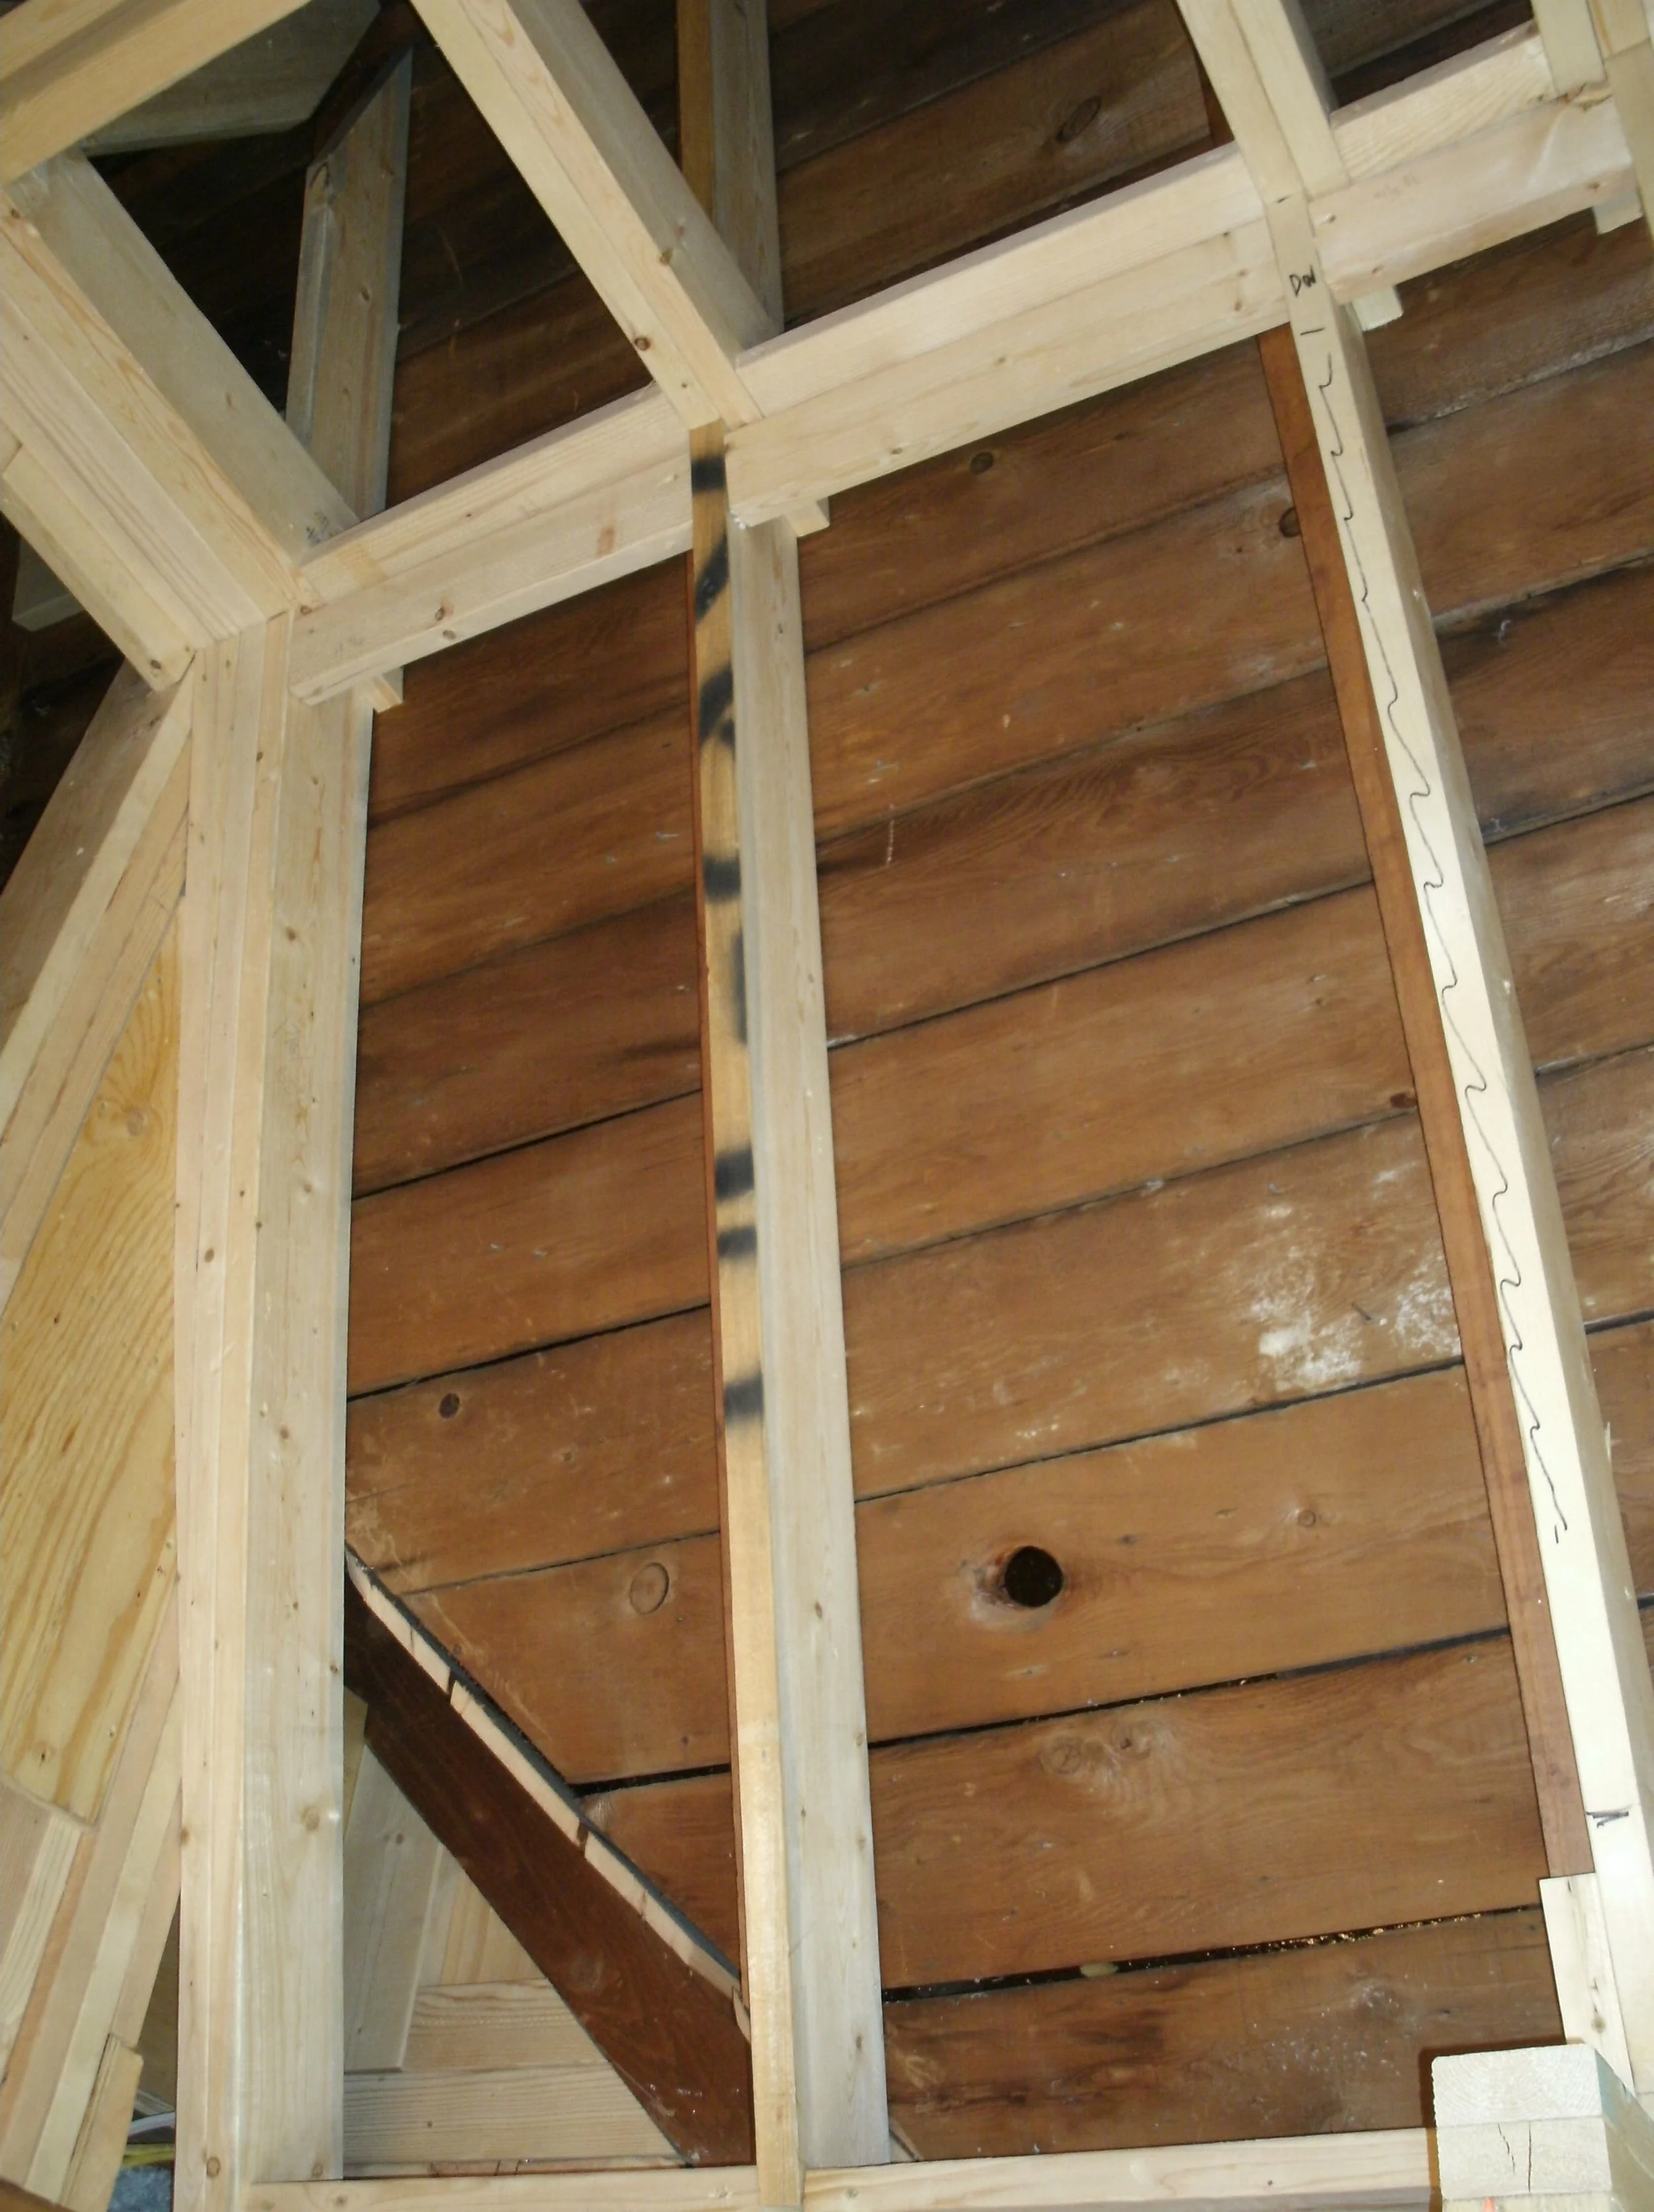
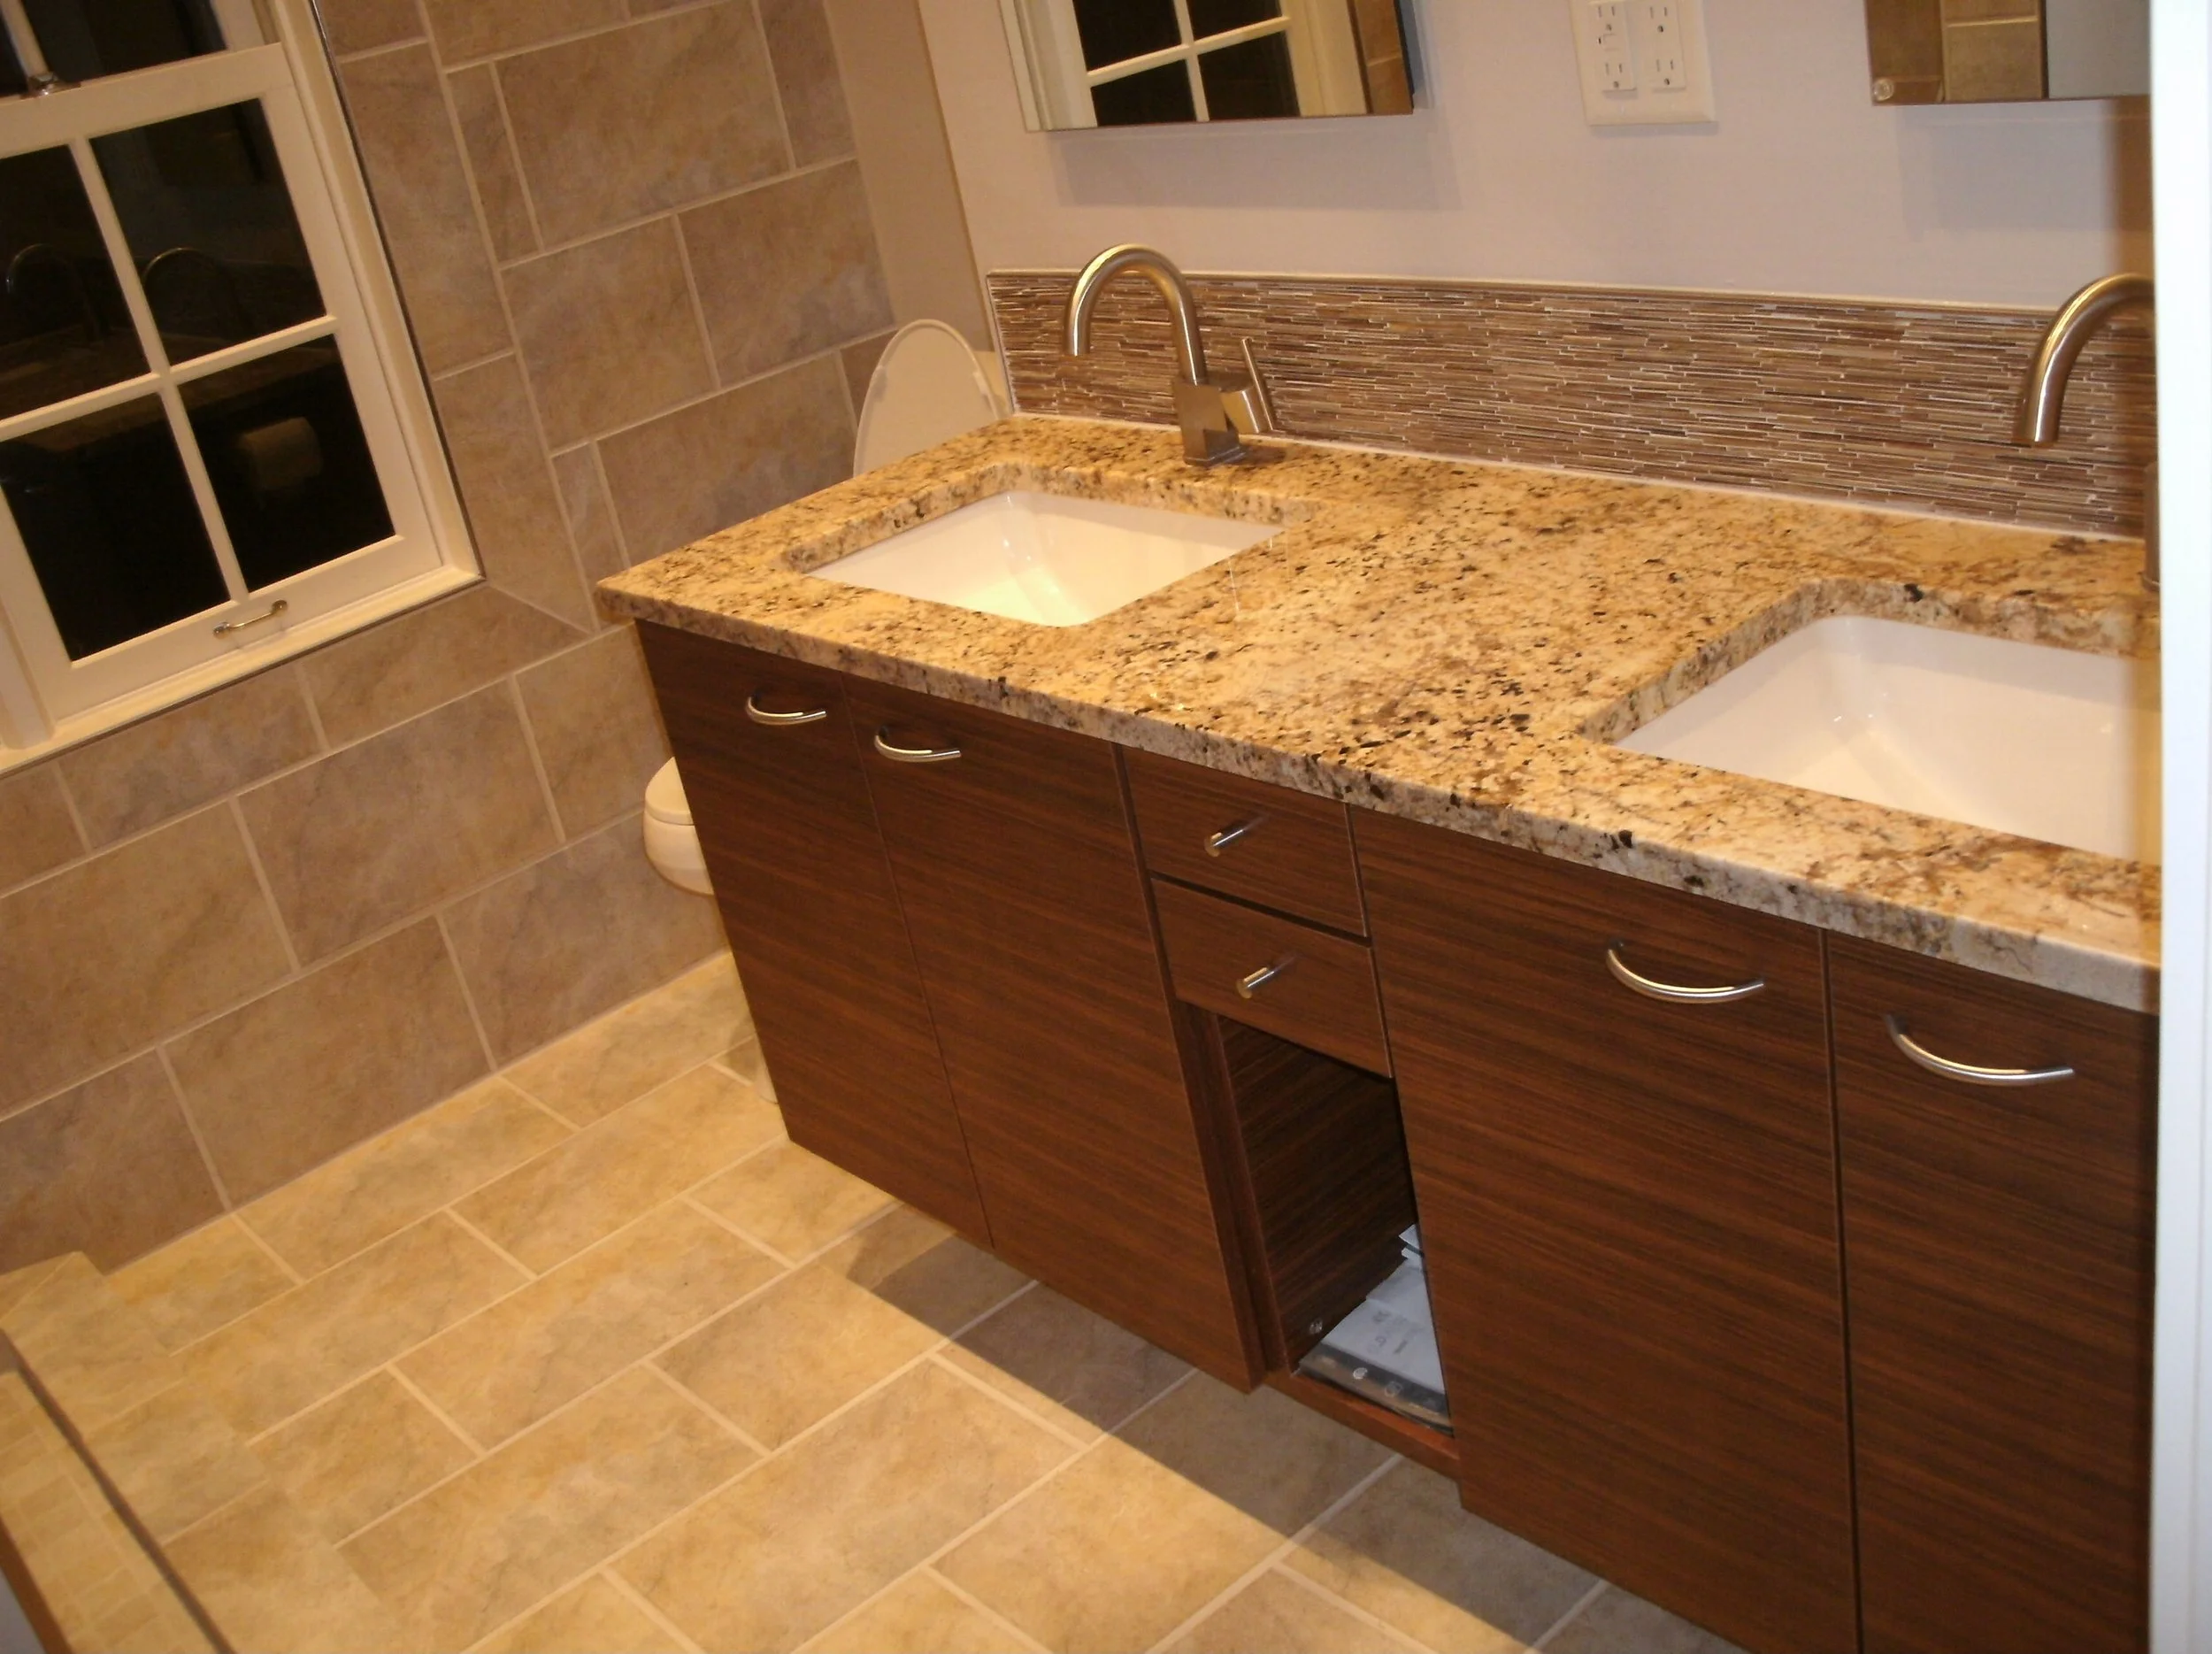
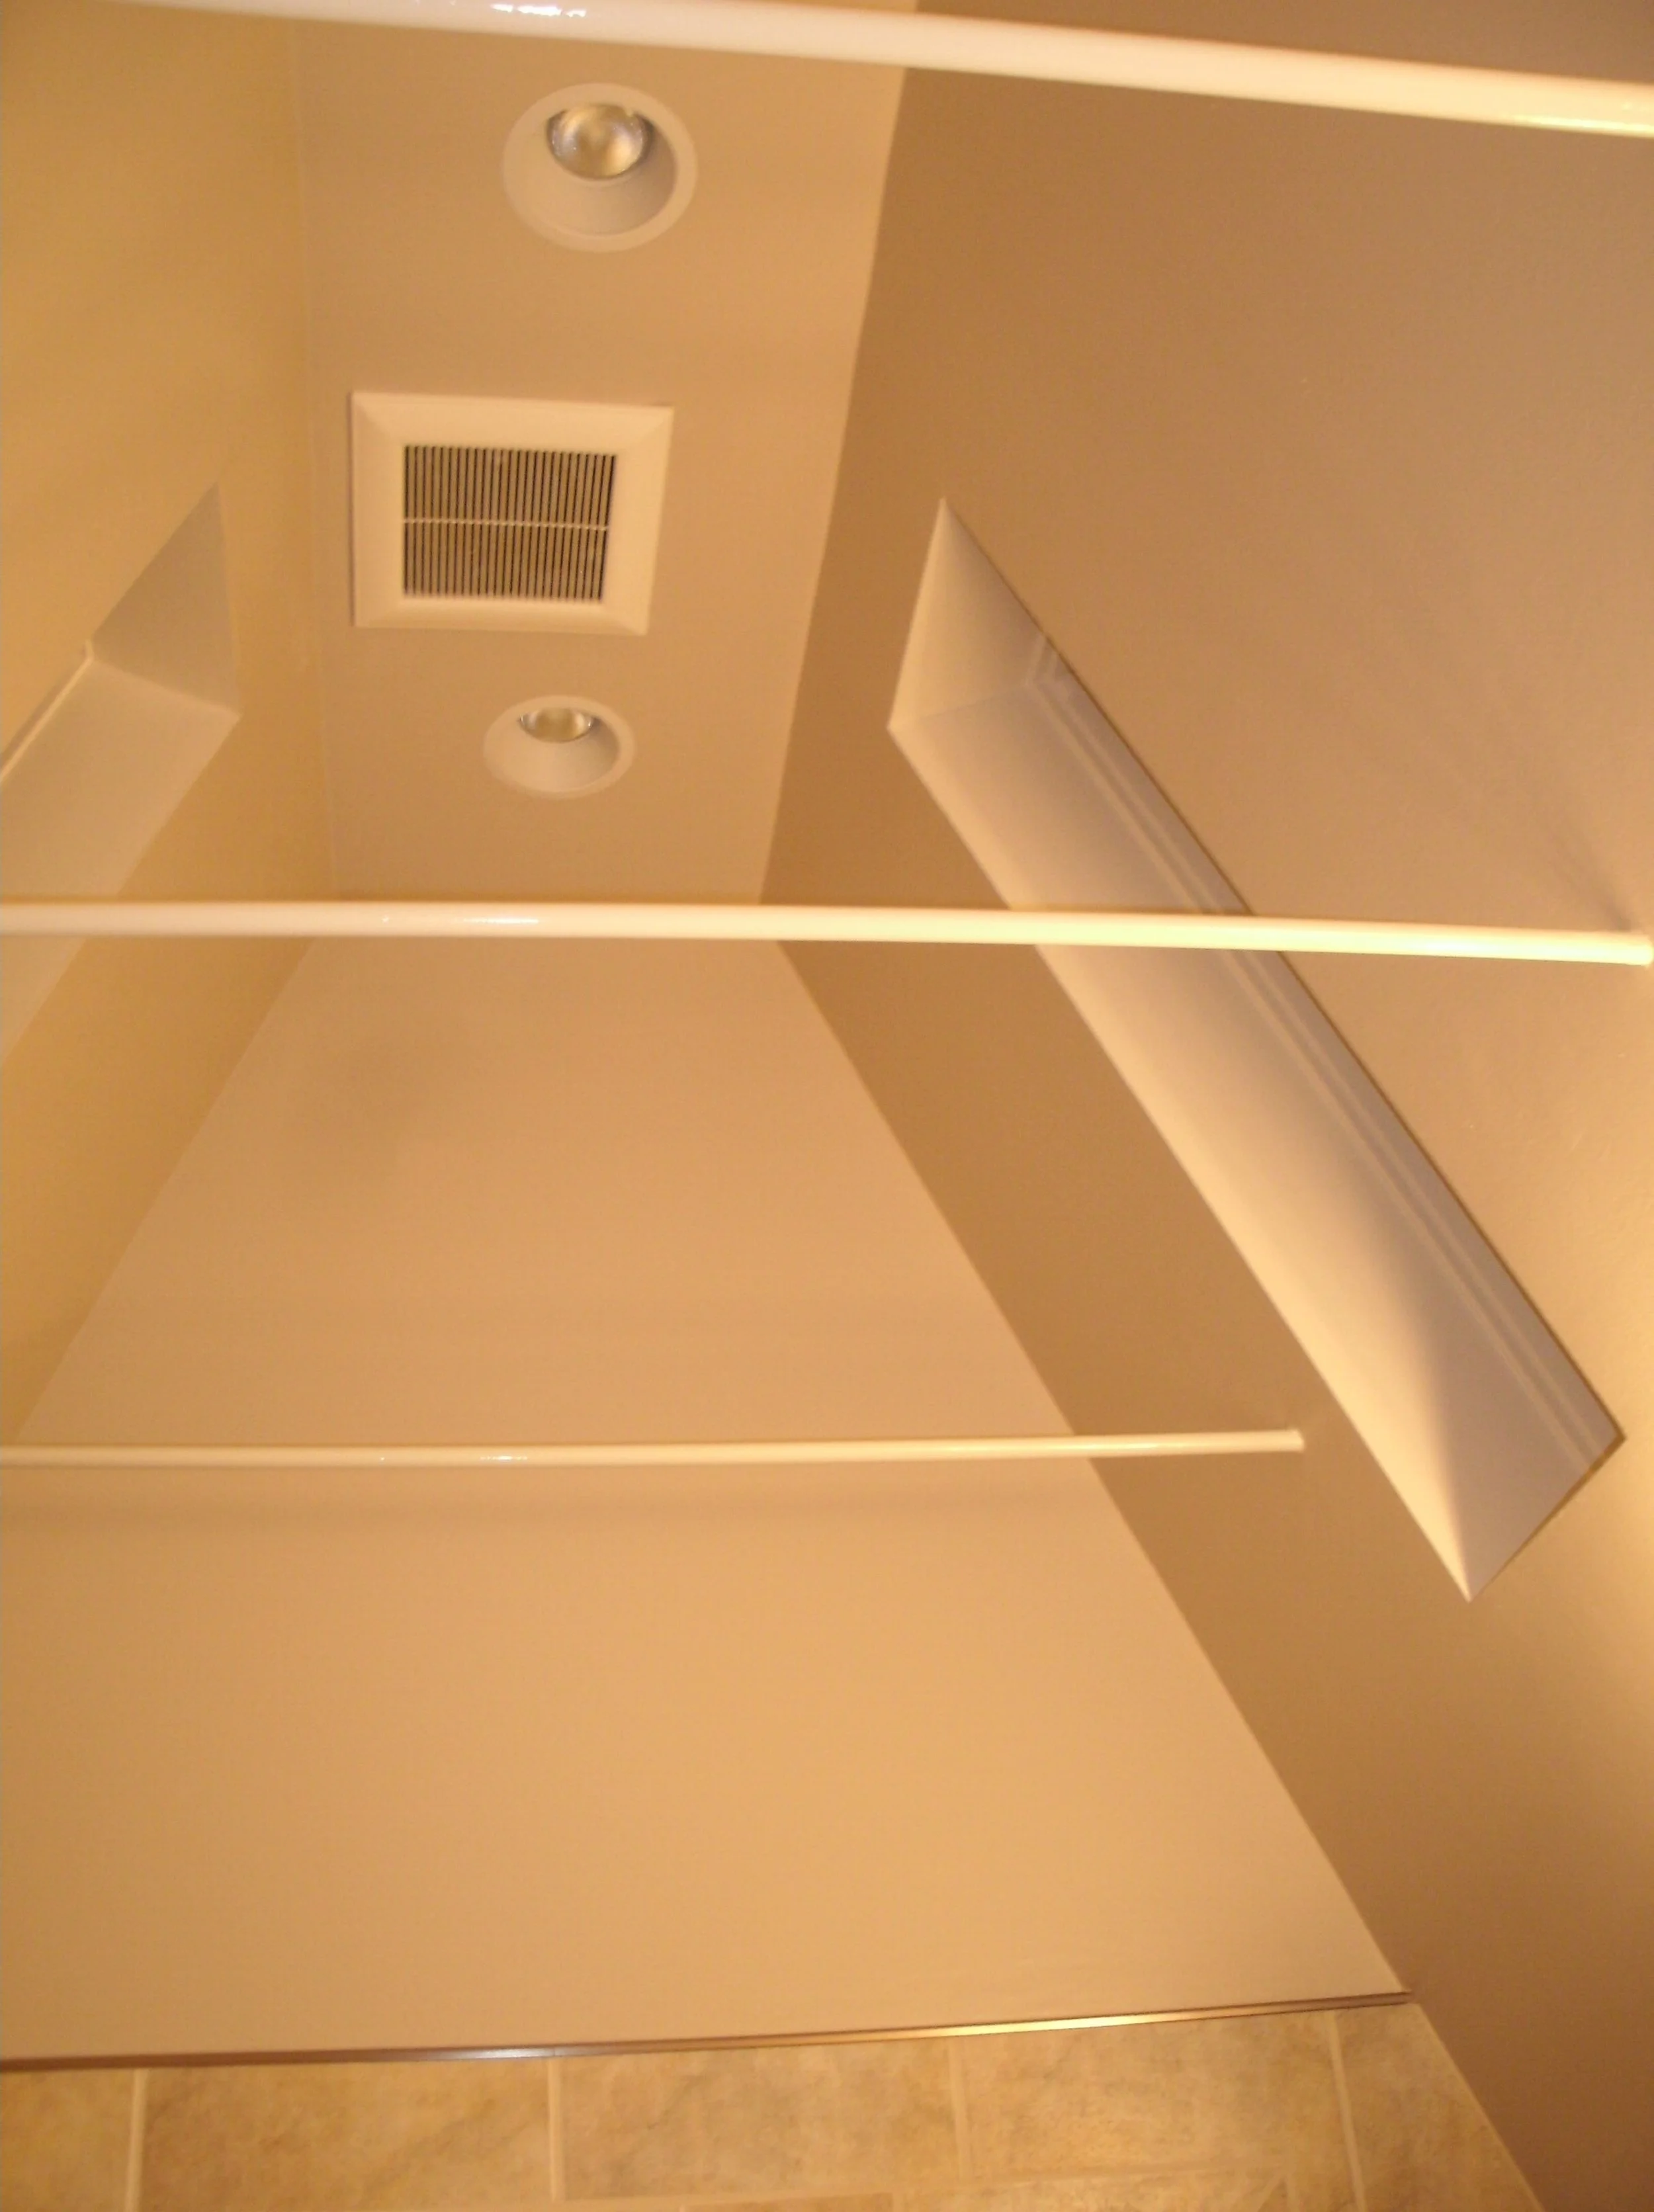
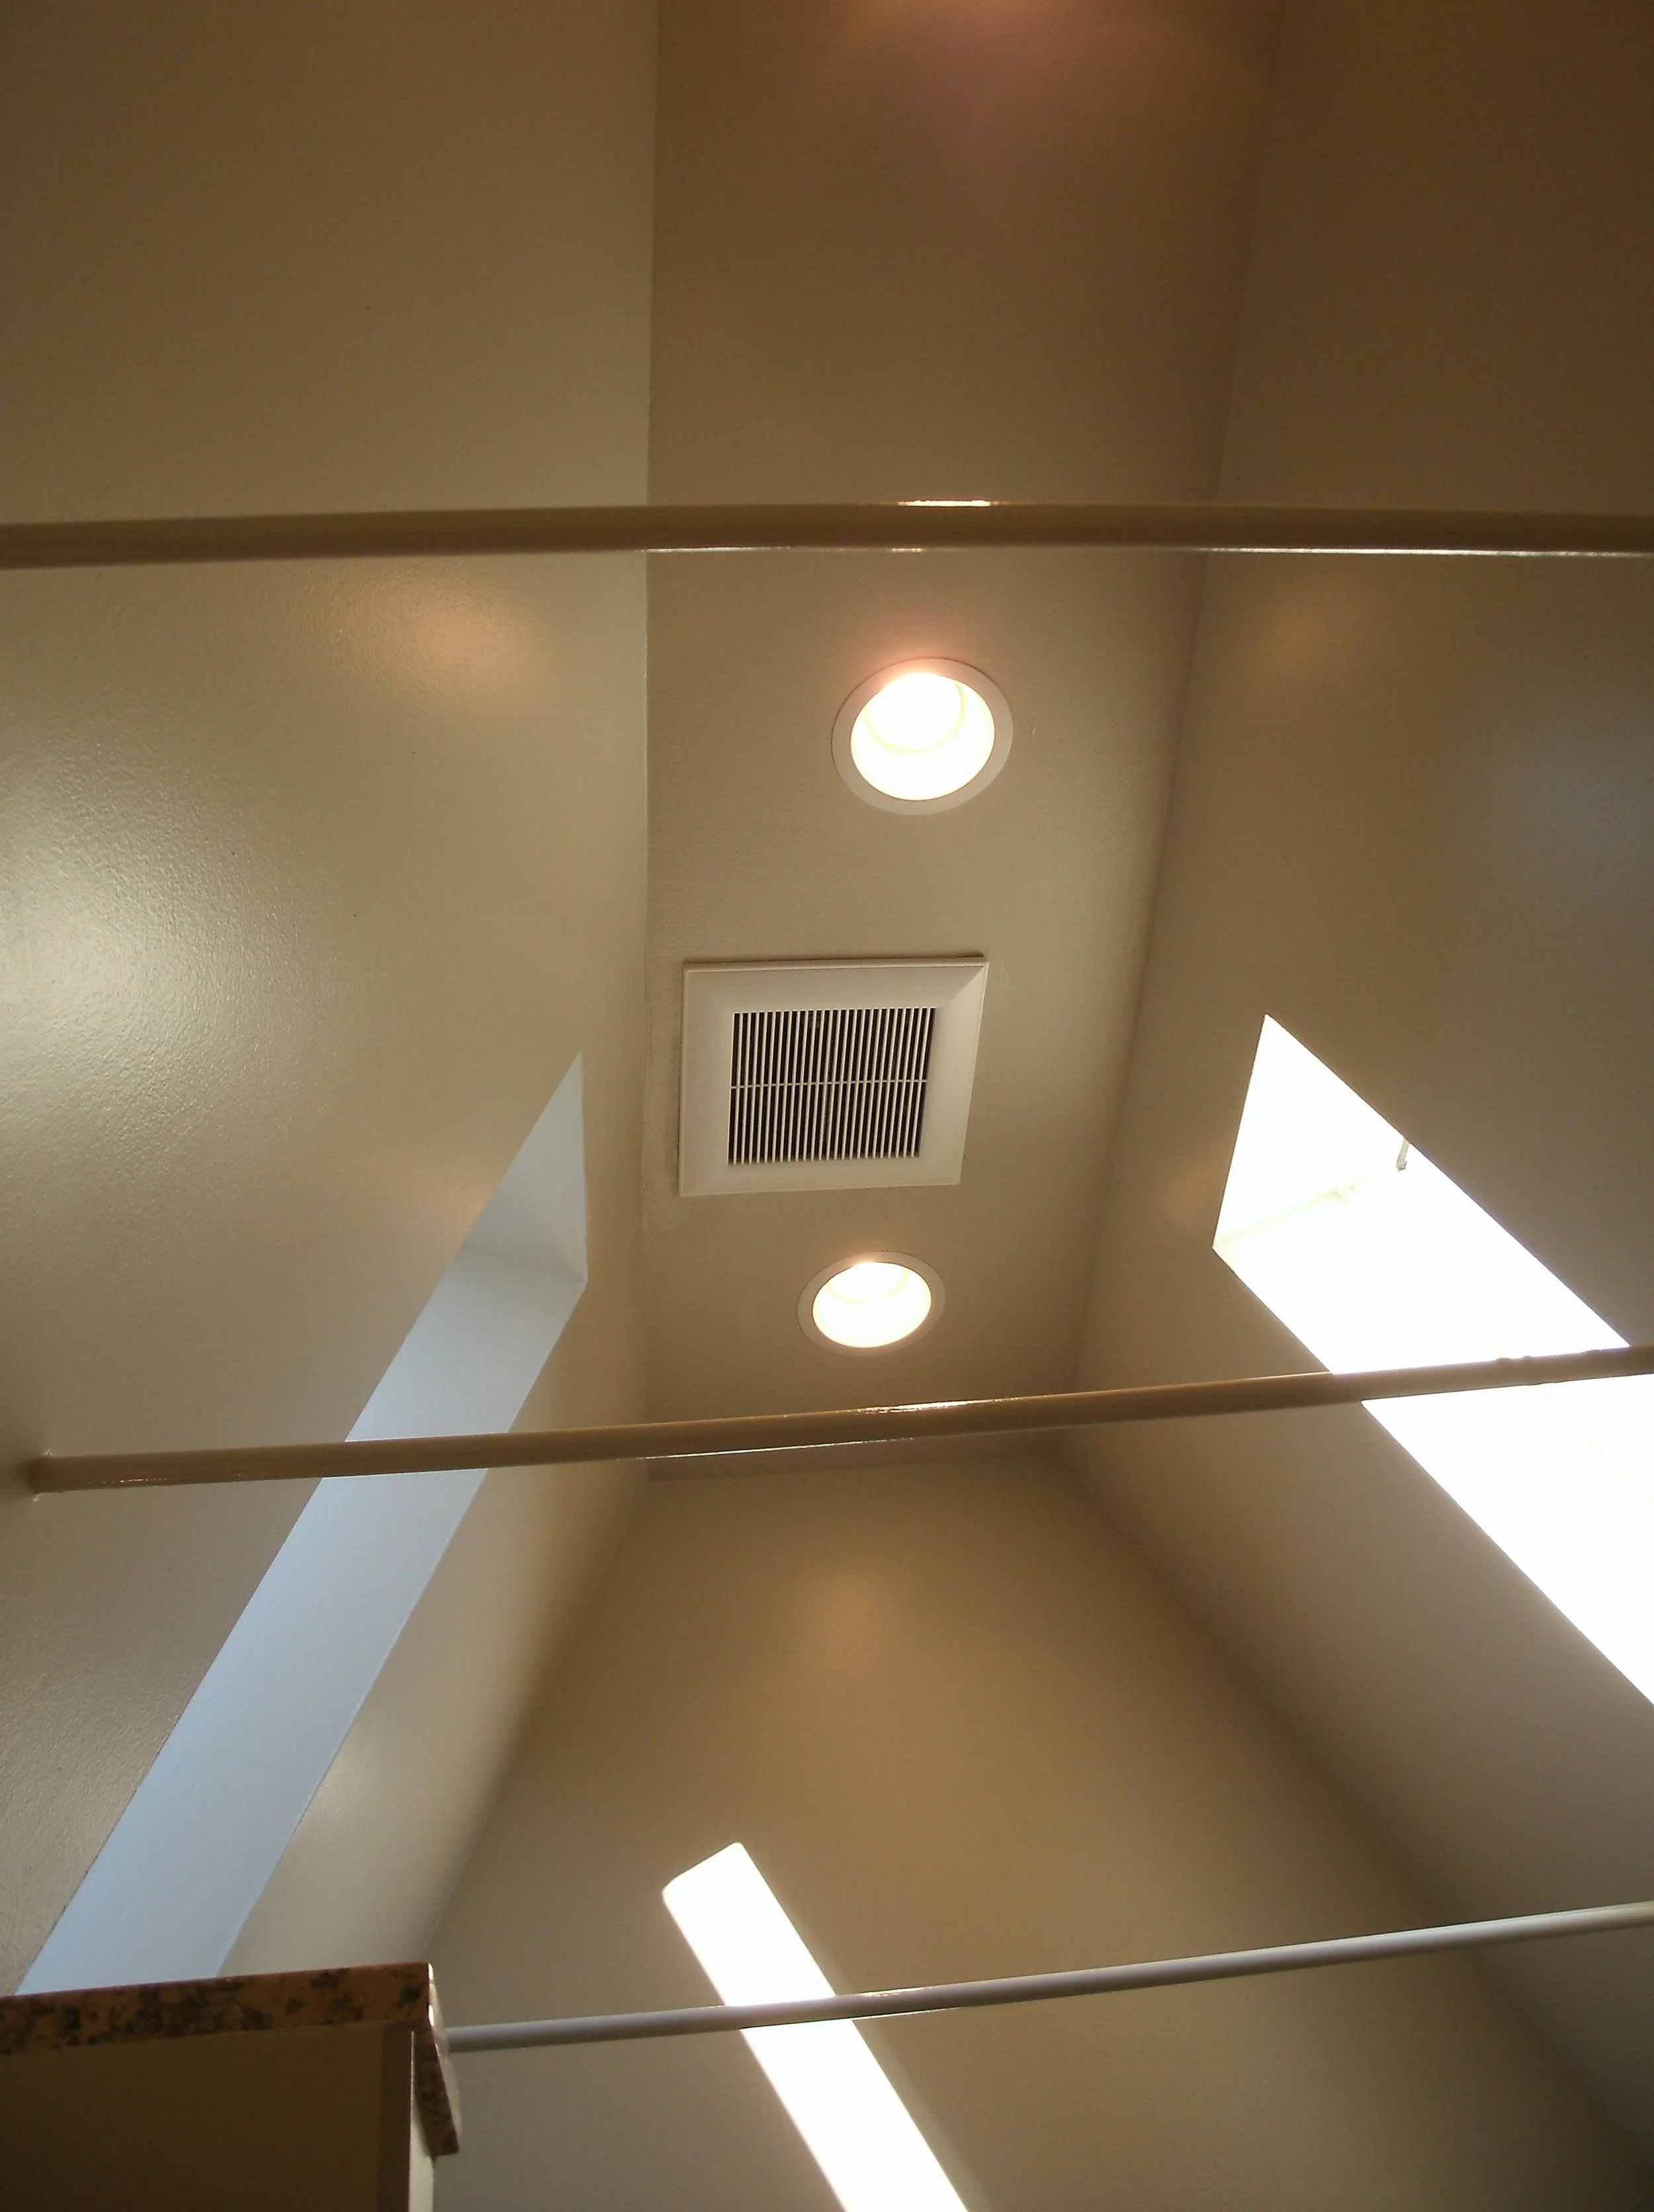
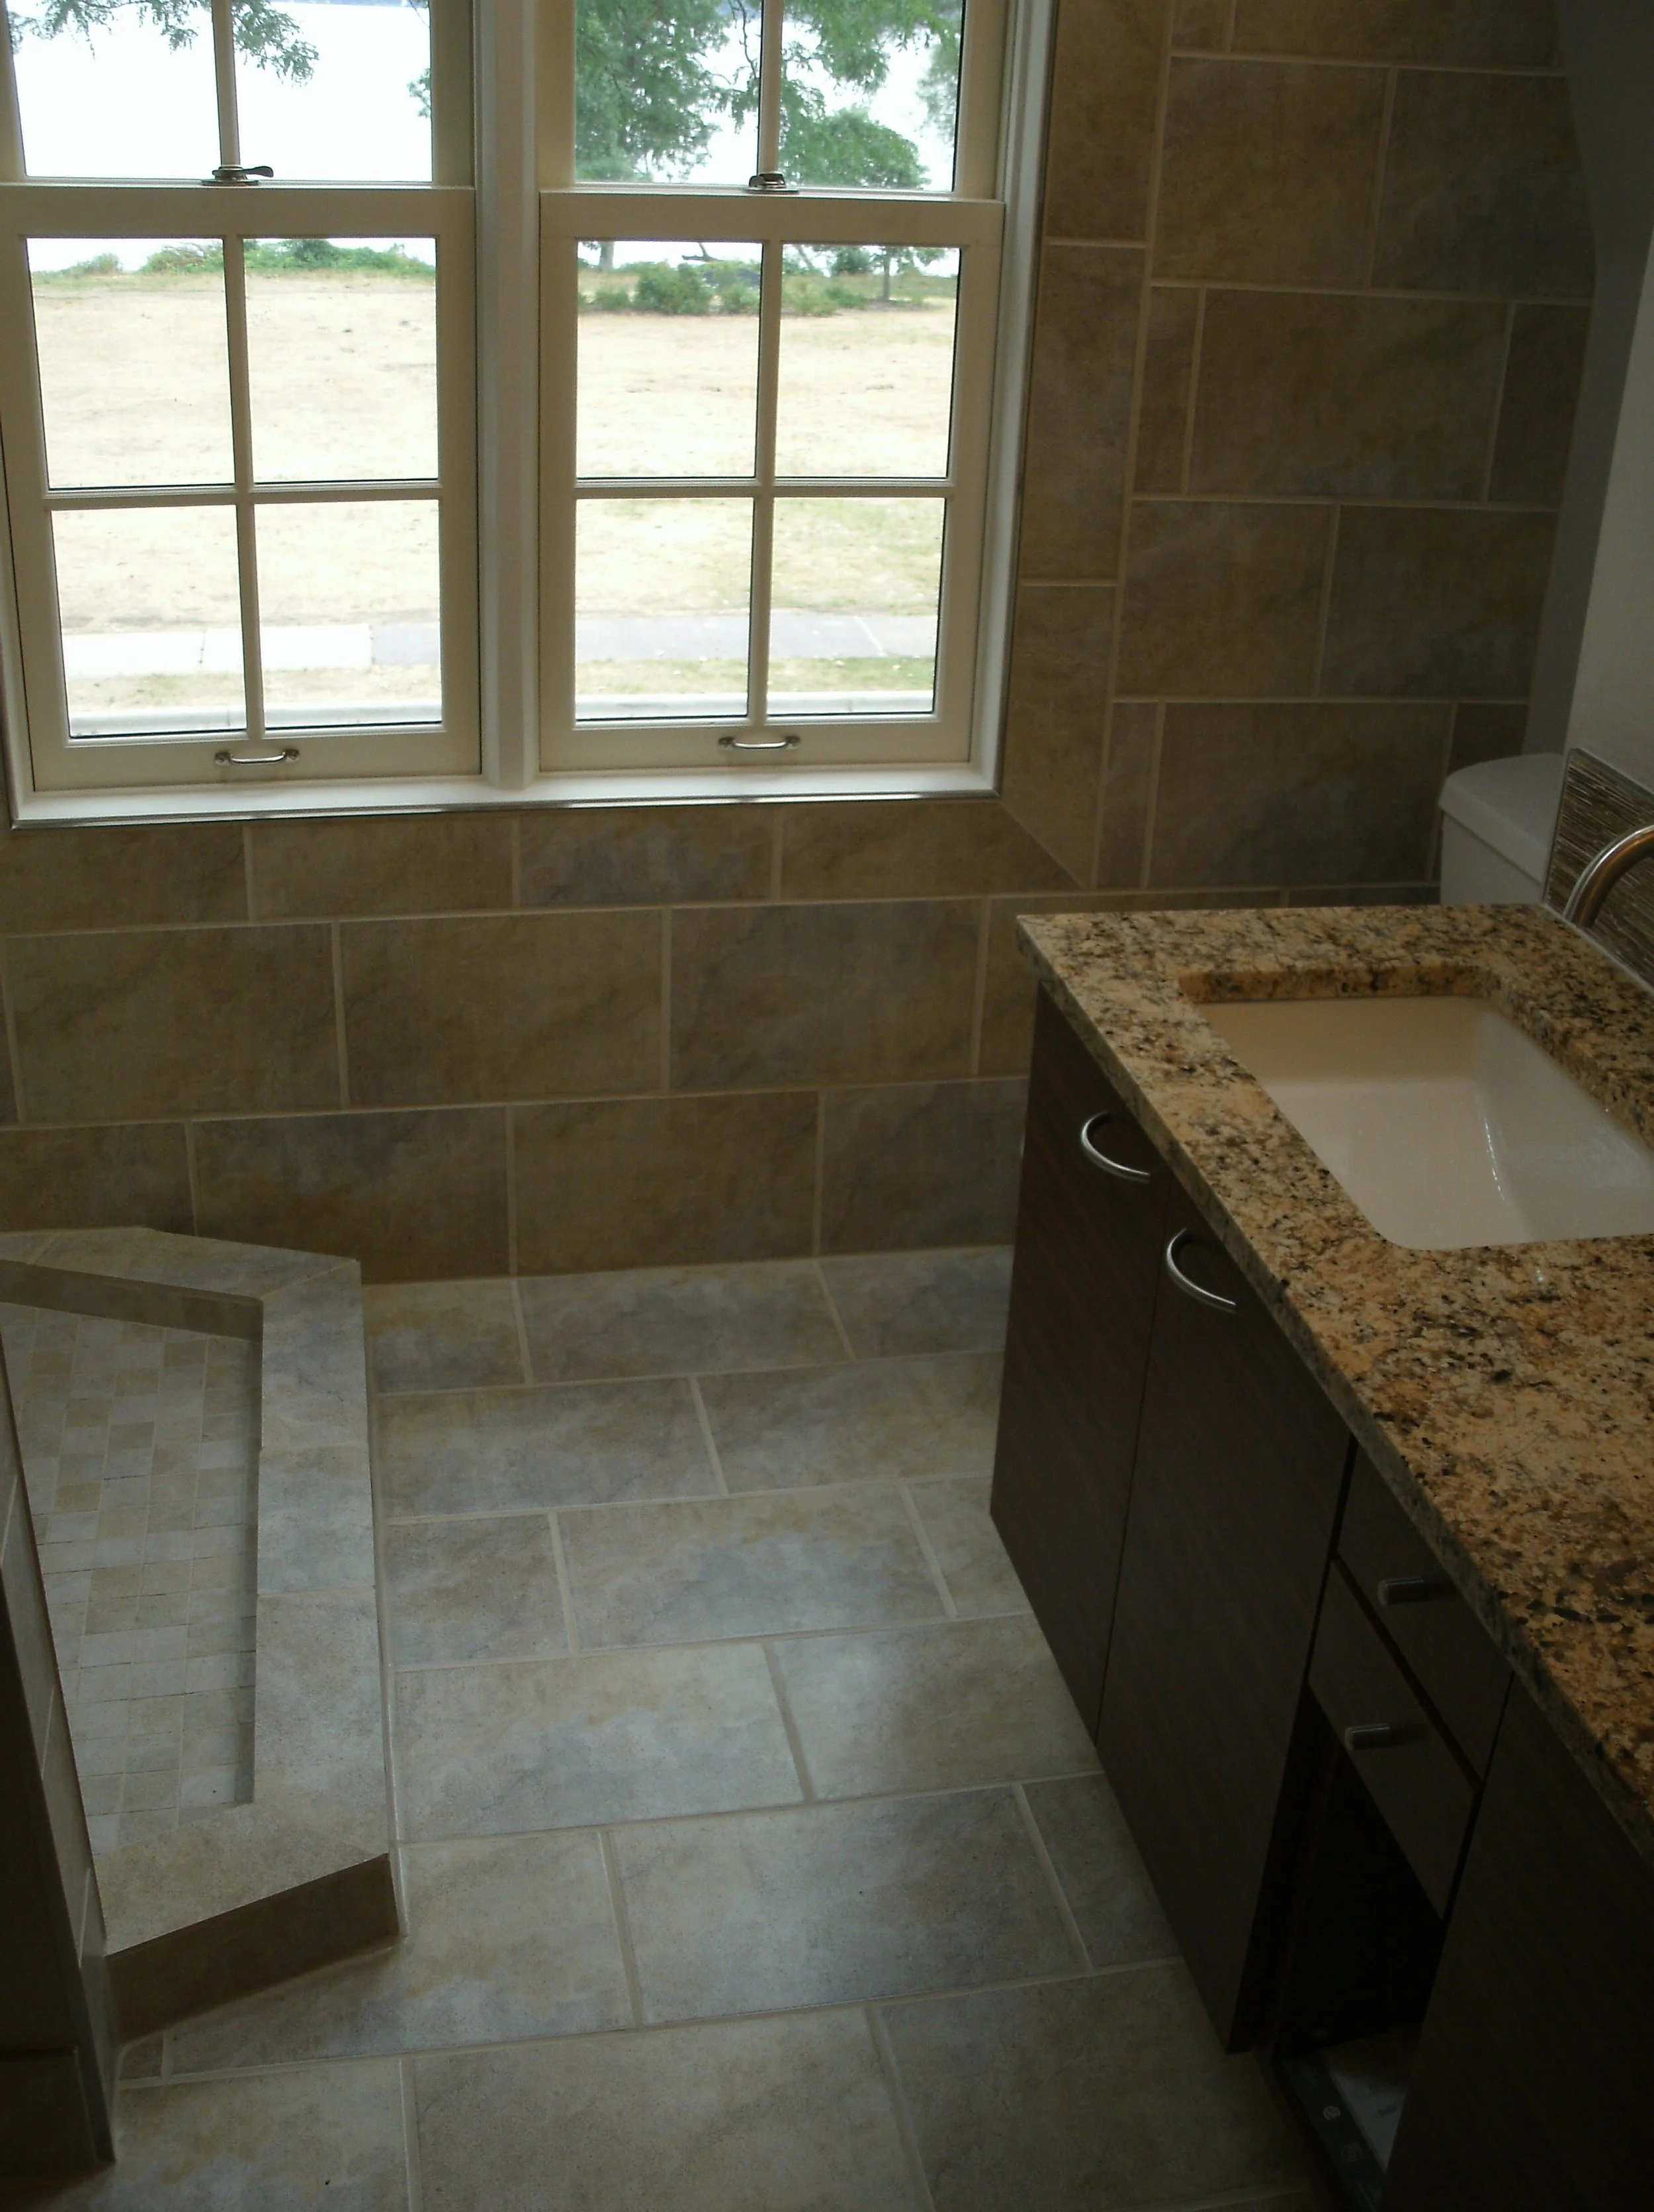
This was another job which grew. The task was to replace the old 1928 bathroom, which could not be rescued. We removed the old windows, strengthened all of the openings with the fabricated metal pieces. These were fabricated by Badger Diversified Metals in Madison. They are geniuses. We installed the windows. There was insufficient room to put in a decent walk-in shower, even after removing the old bathtub. At least not until I tore out the walls behind the old toilet and on the other side of the room. The steep roof intruded into the space on both sides, so the original carpenters boxed the wall straight, which wasted valuable floor space. When I discovered the hidden treasure of this extra floor space, the architectural designer was ecstatic. The room had a flat ceiling. We had to remove some of it in the demo and imagine our surprise to find a beautiful cathedral space within the old steep roof. Again when I showed the designer this she ordered that I remove the rest of the ceiling and extend the walls up to near the peak of the roof. The ceiling joists helped hold the exterior walls together plumb so I had to install three, 1 inch diameter, threaded rods across the room to strengthen the exterior walls and keep them stable. The designer also ordered two skylights to be installed in the beautiful exposed roof (now ceiling). The area which had been above the ceiling was open to the unfinished and unheated attic, so I had to add studs, sheathing and insulation to close the two spaces off from one another. I had to augment all existing rafters and add several extra rafters to strengthen the roof and provide bays for insulation and drywall. I framed a head wall so all of the plumbing was in inside walls and not exterior walls. The designer supplied counters, cabinets, and countertops, and I installed them. I tiled a backsplash behind the sink and the window wall and the shower area with curb. I installed the skylights. I painted all drywall and window trim.
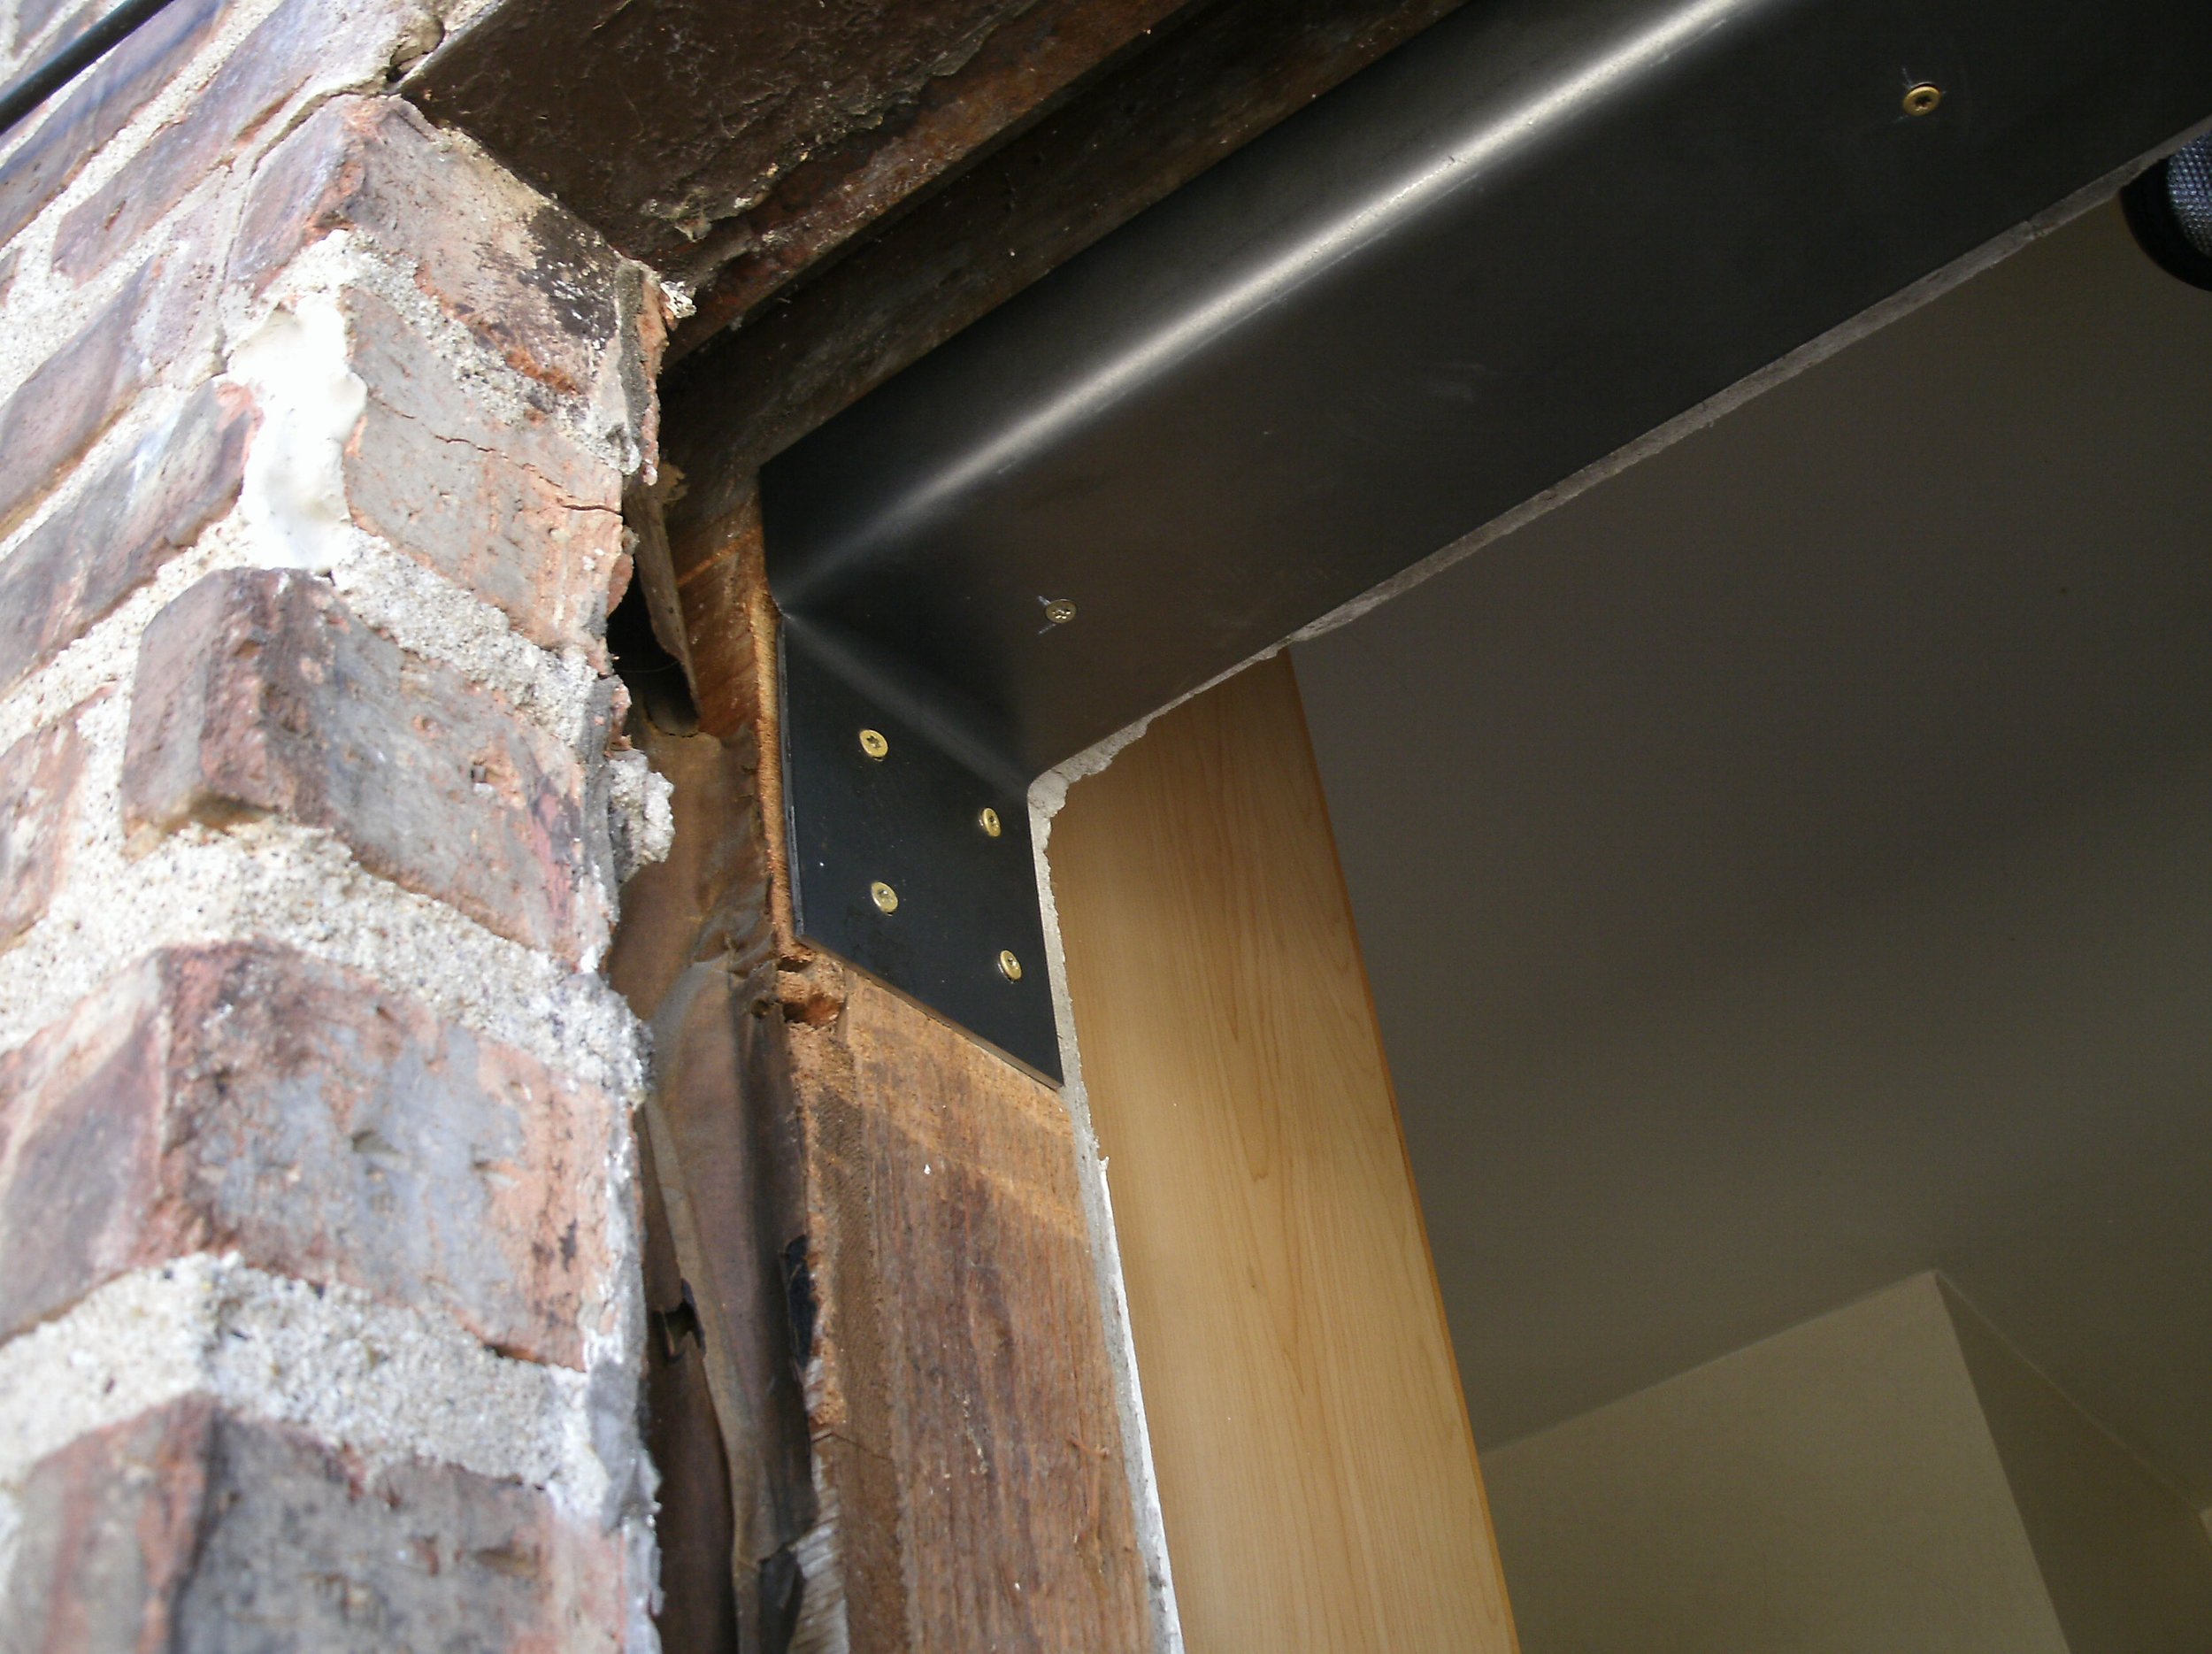
Added extra stiffening and support to opening before the installing new windows
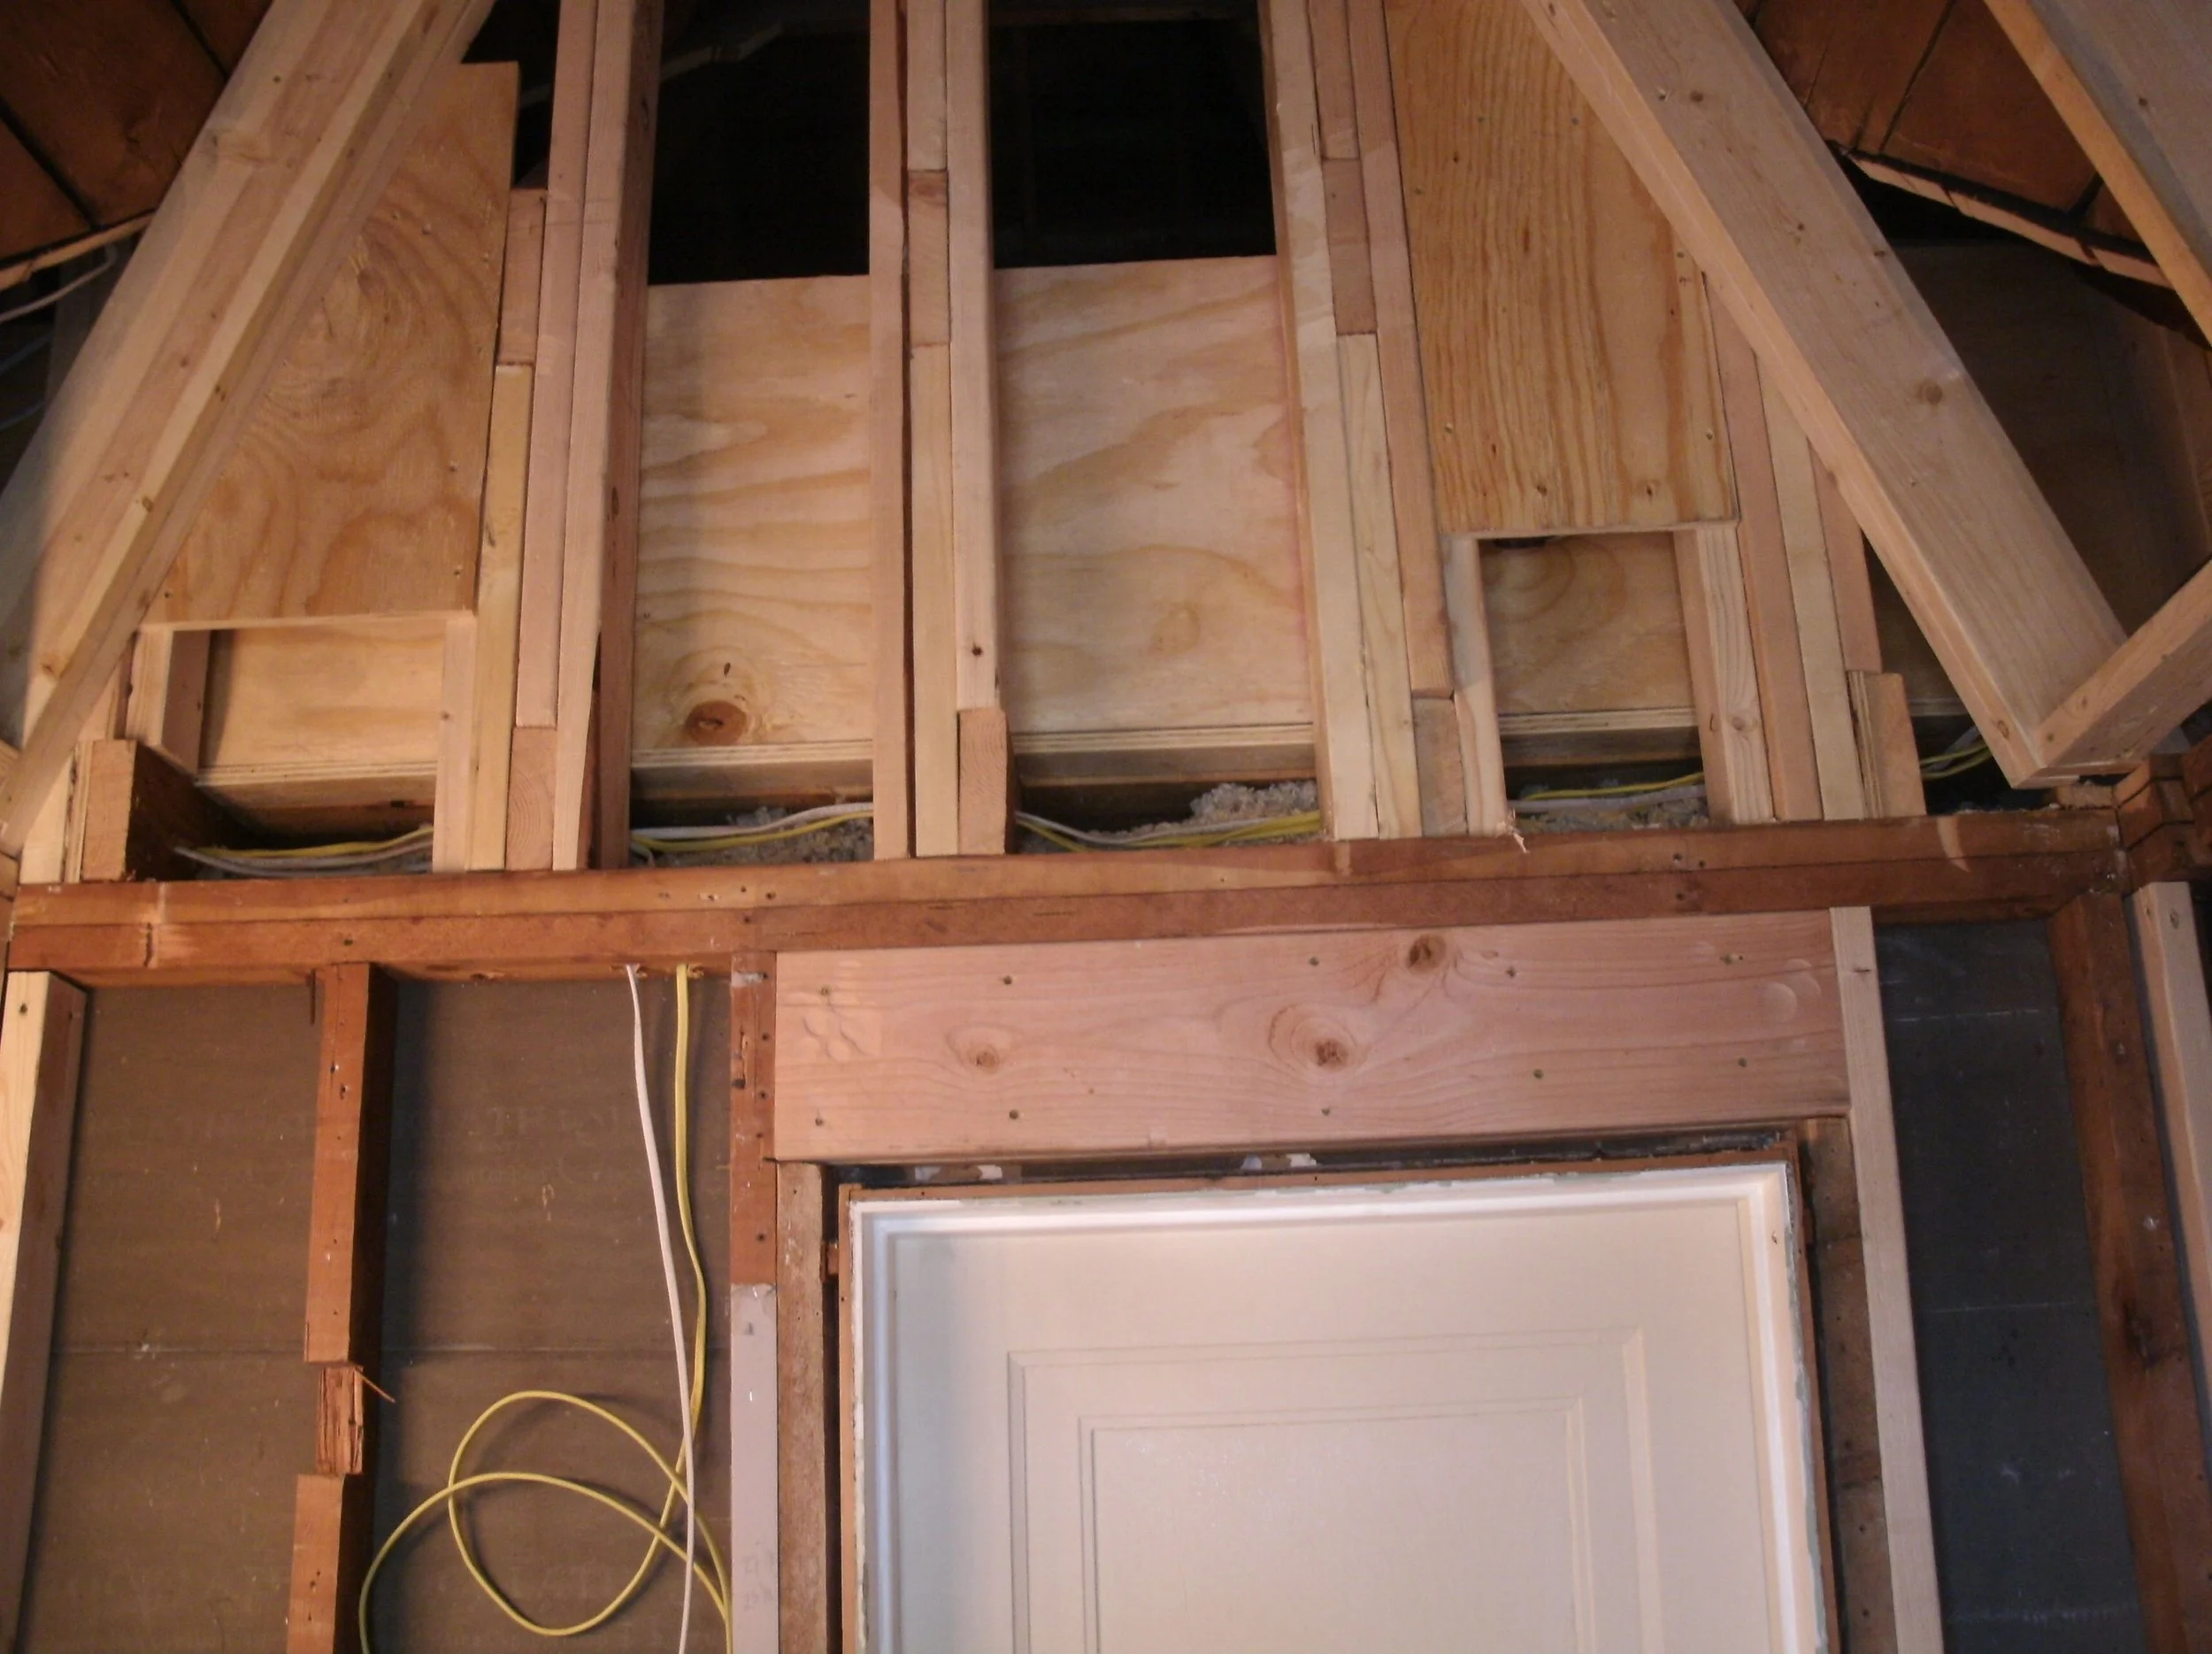
Ceiling out and studding begun. Separating new A-frame ceiling from attic.
New rafters installed and augmenting existing. New drop ceiling for fan/electric.
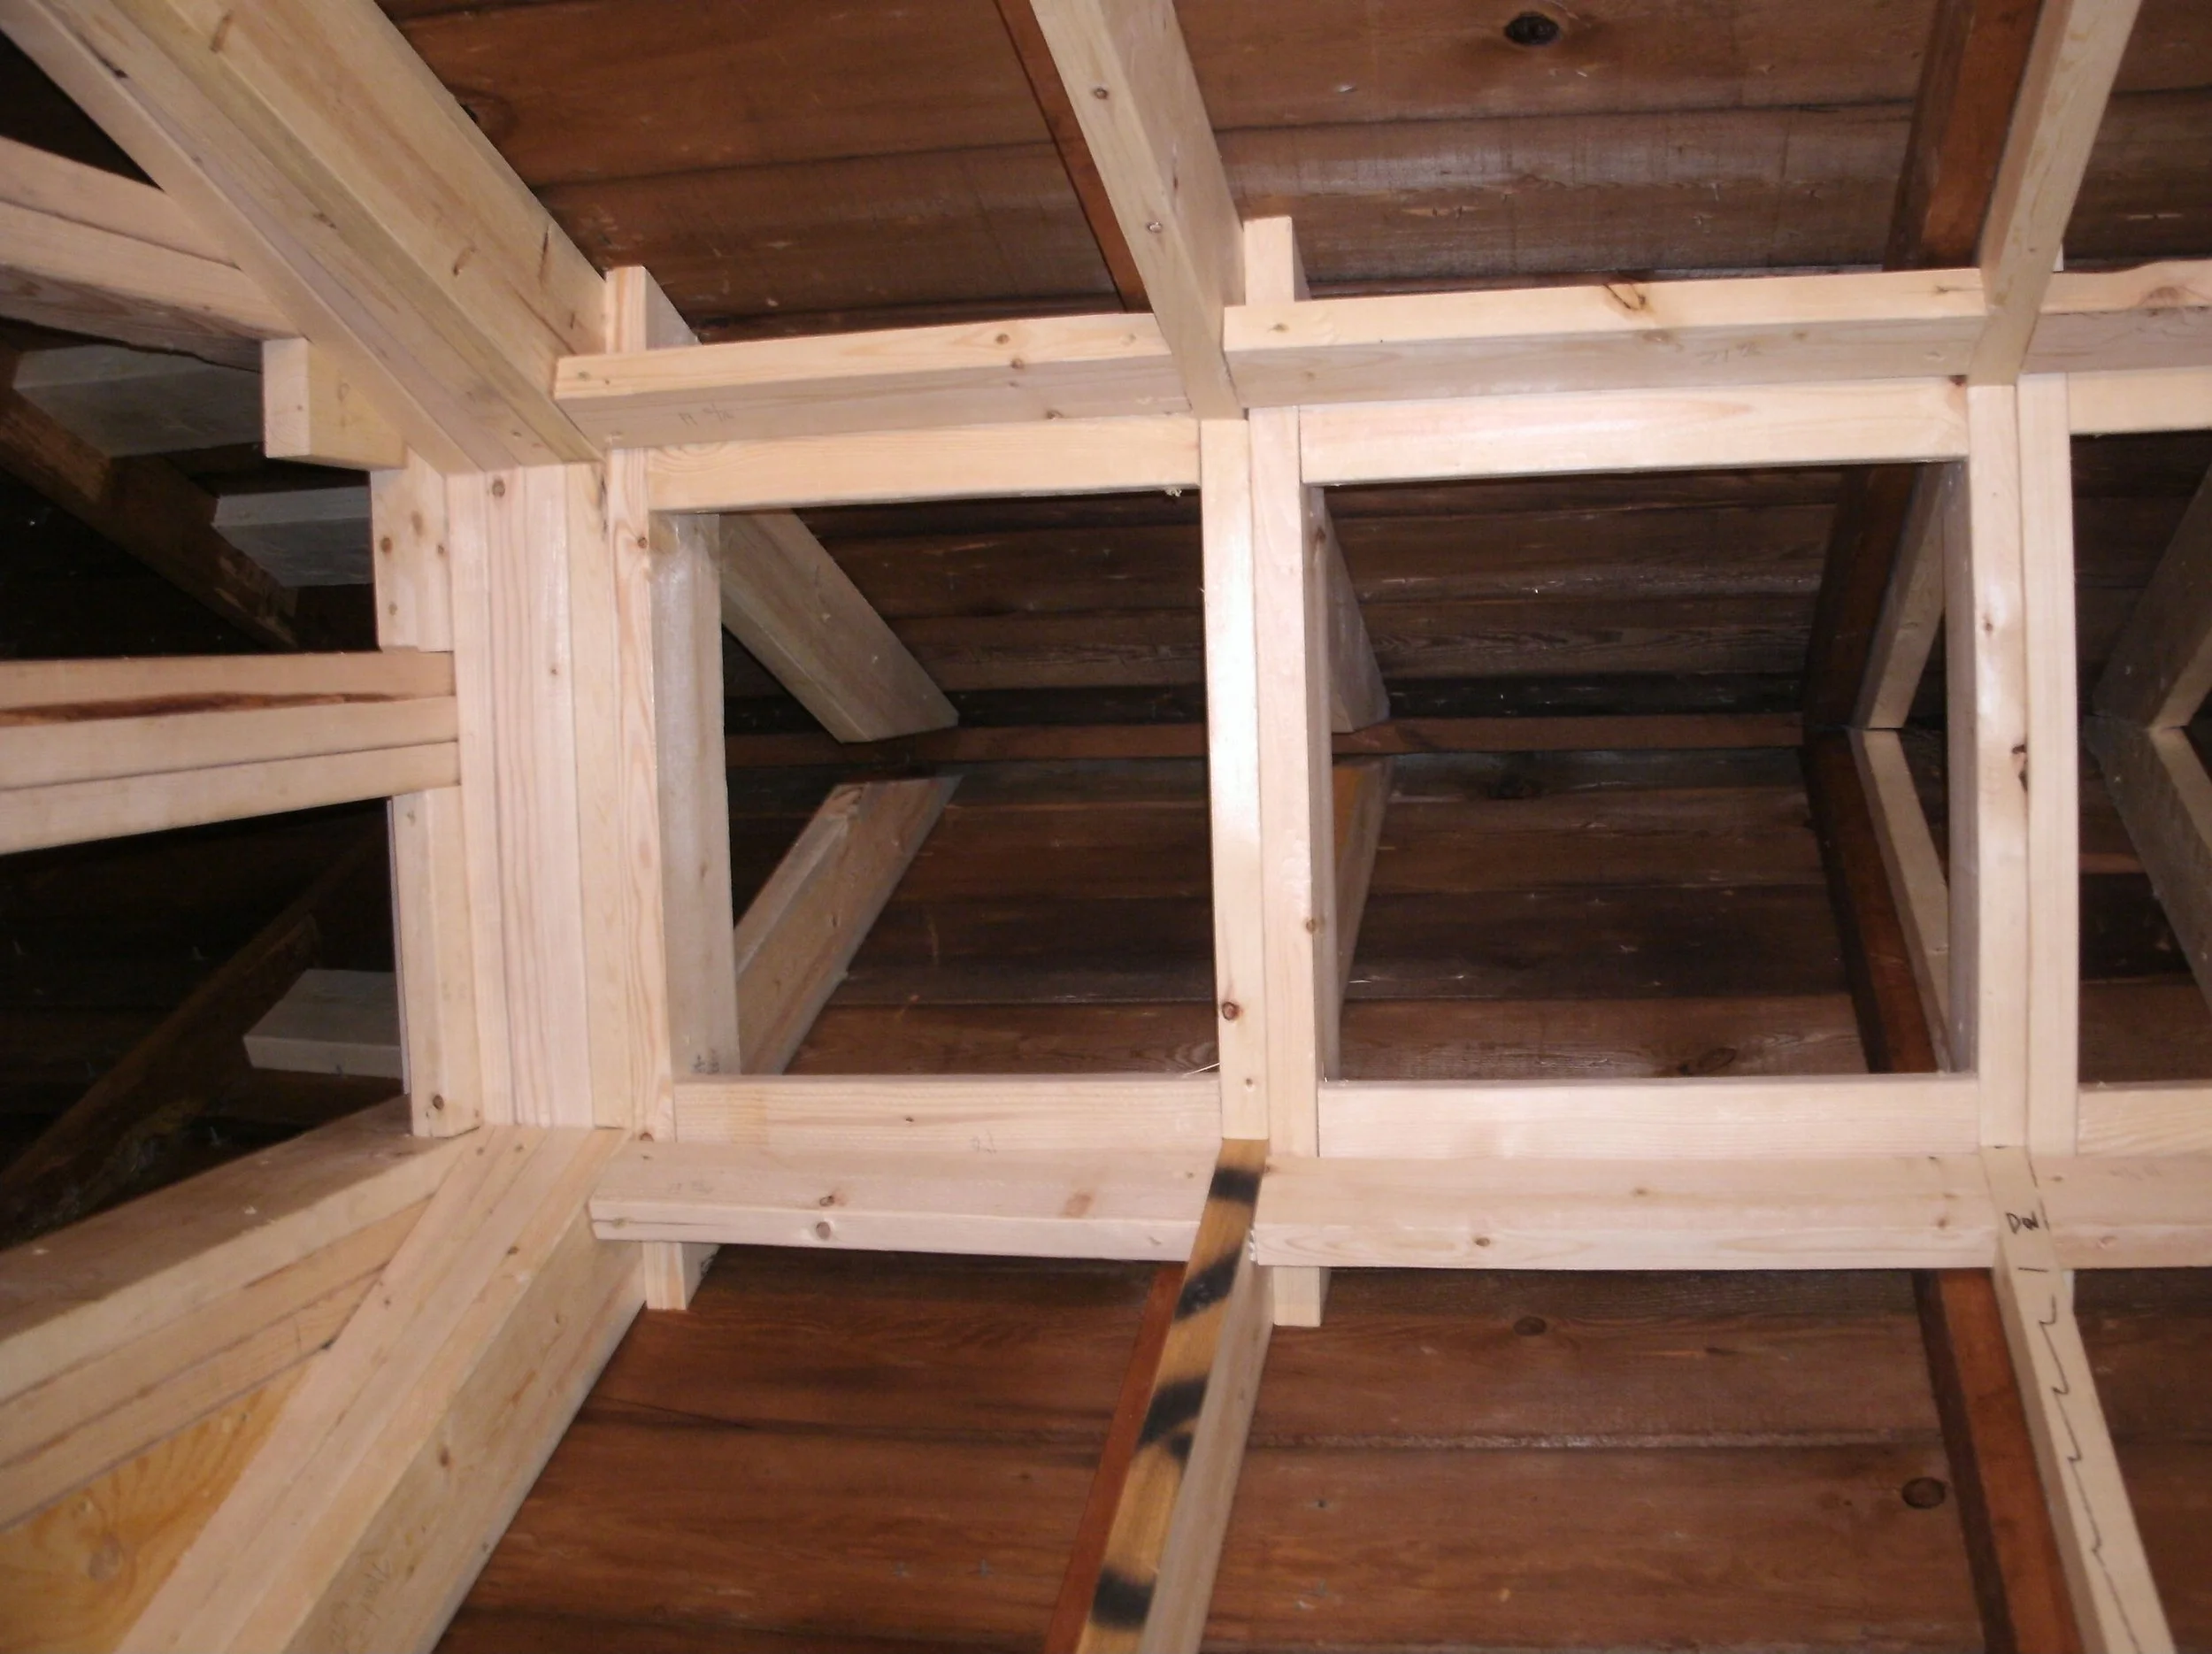
Another view of the drop ceiling for the fan and the electric
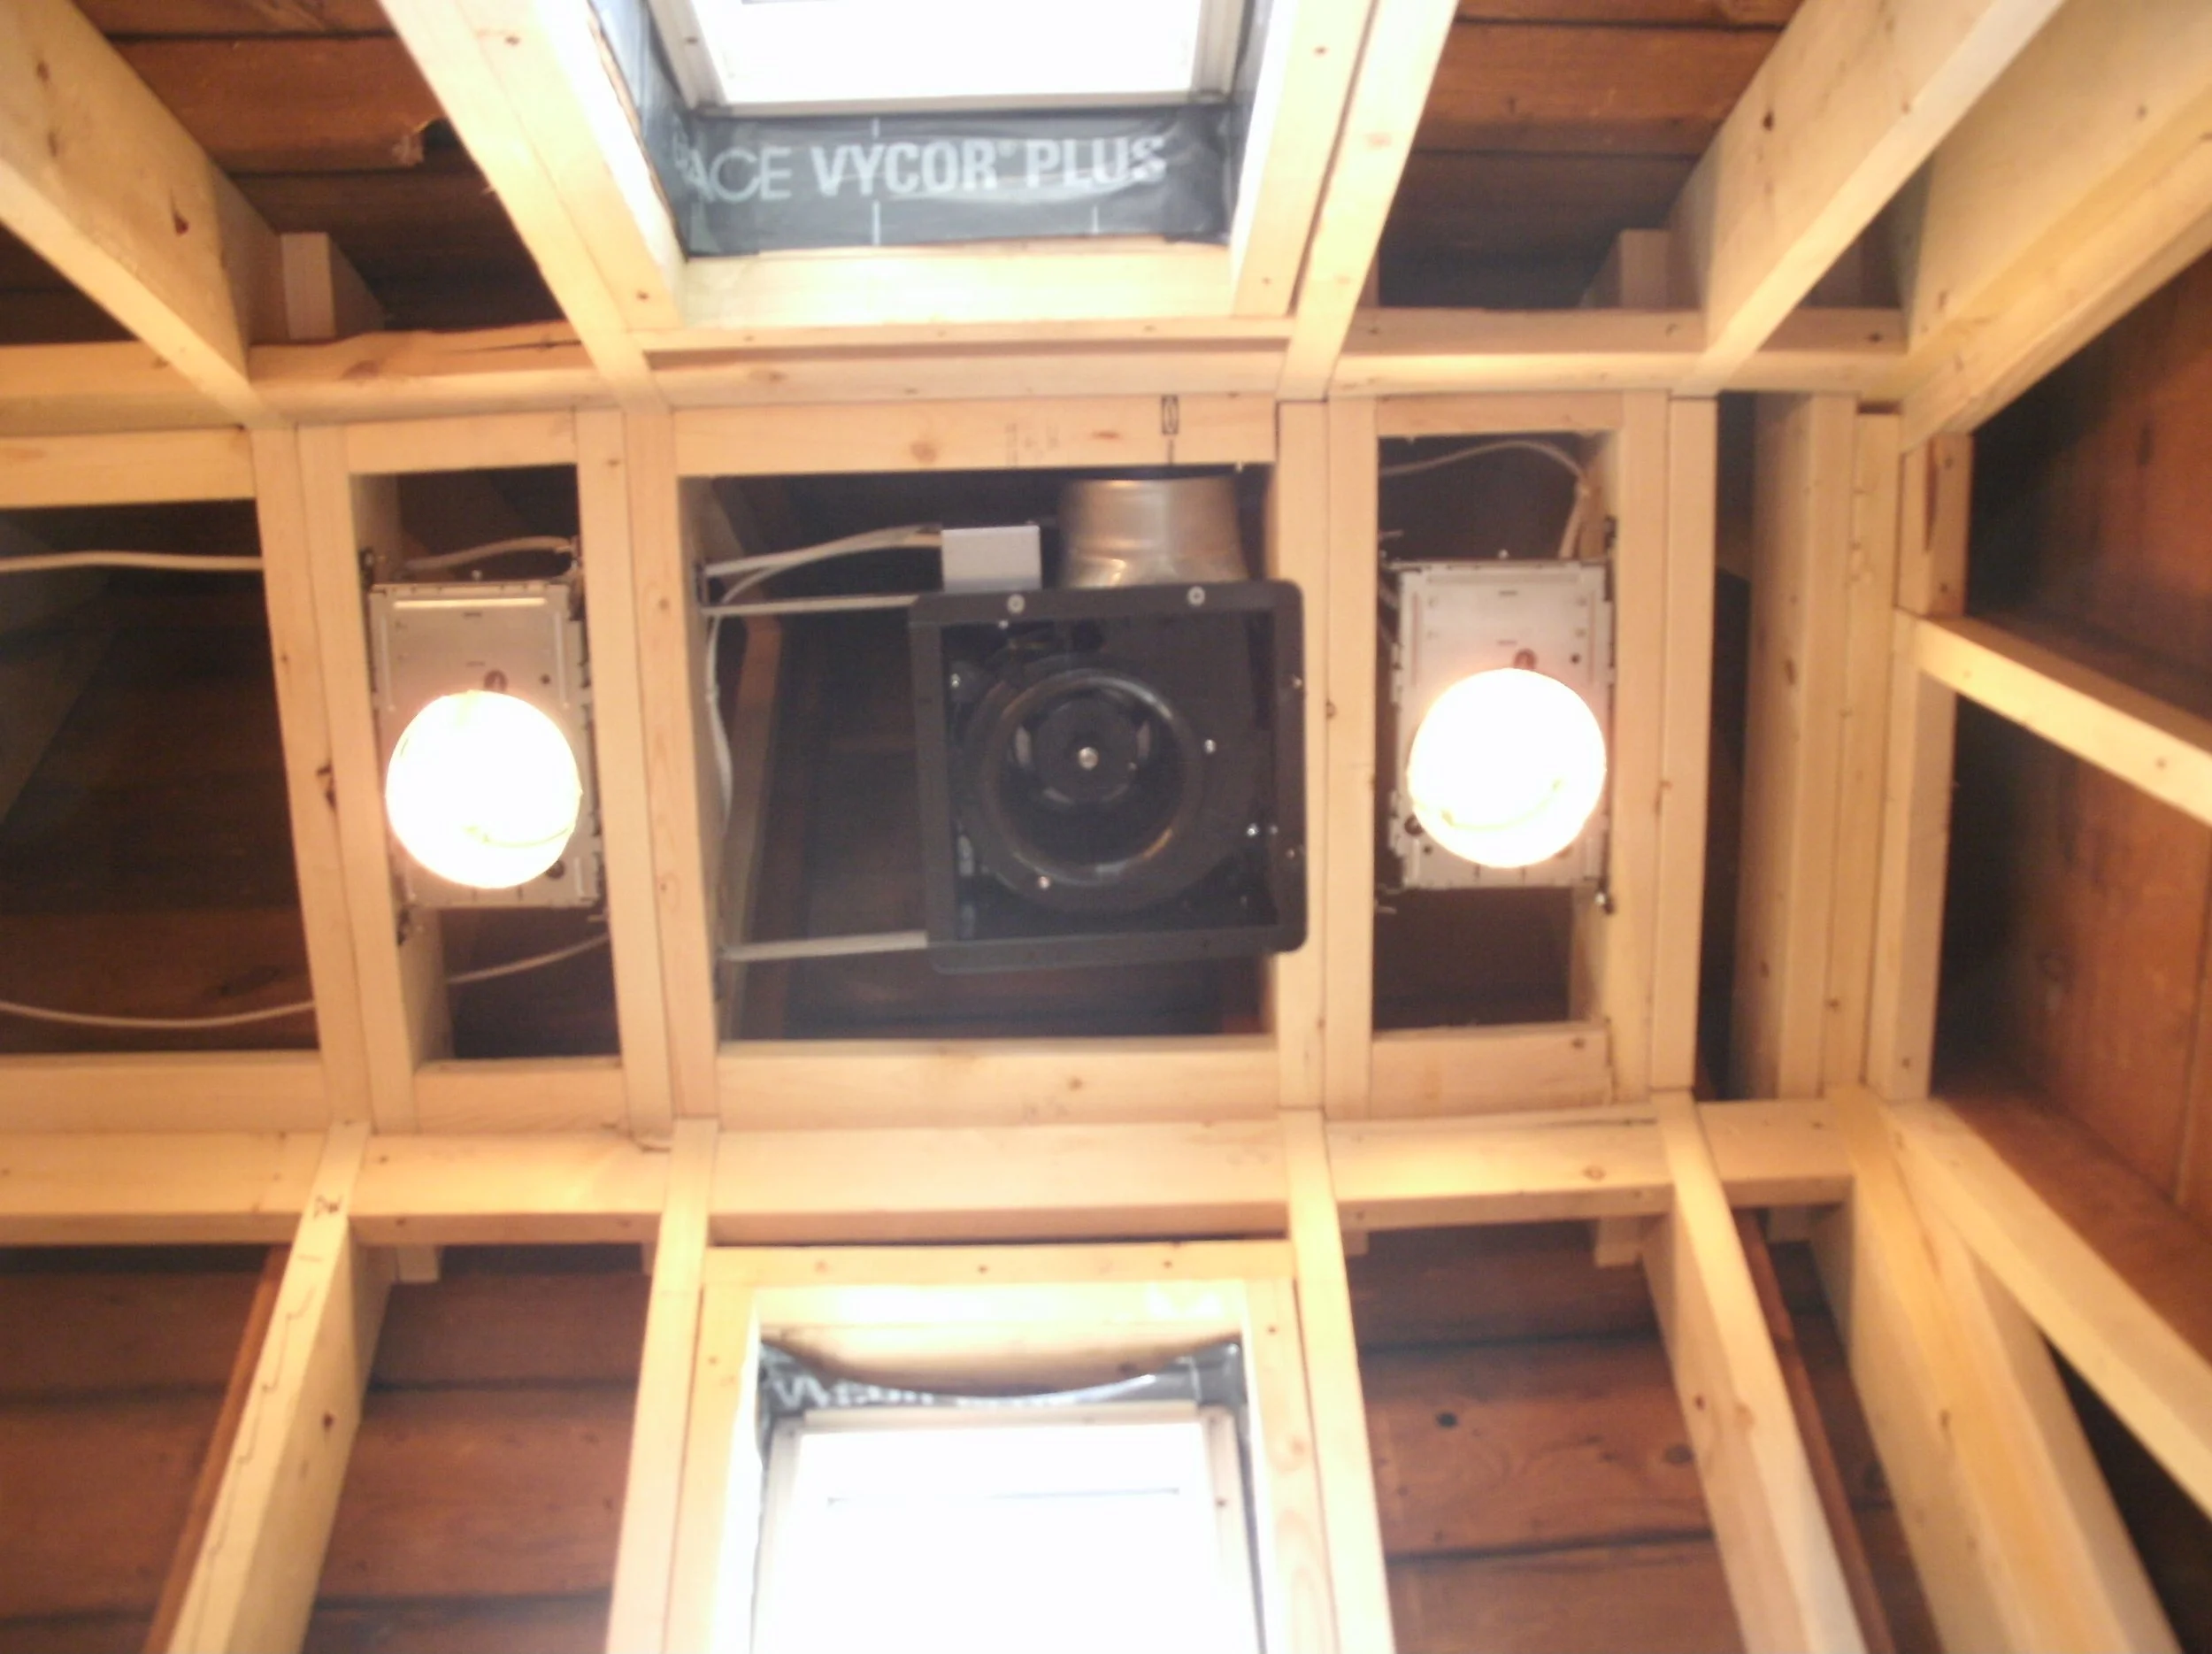
Fan and electric in. Skylights in.
Tiled floor and window wall, tile backsplash over cabinet counter installed.
Ceiling and walls drywalled and painted, threaded rods installed painted
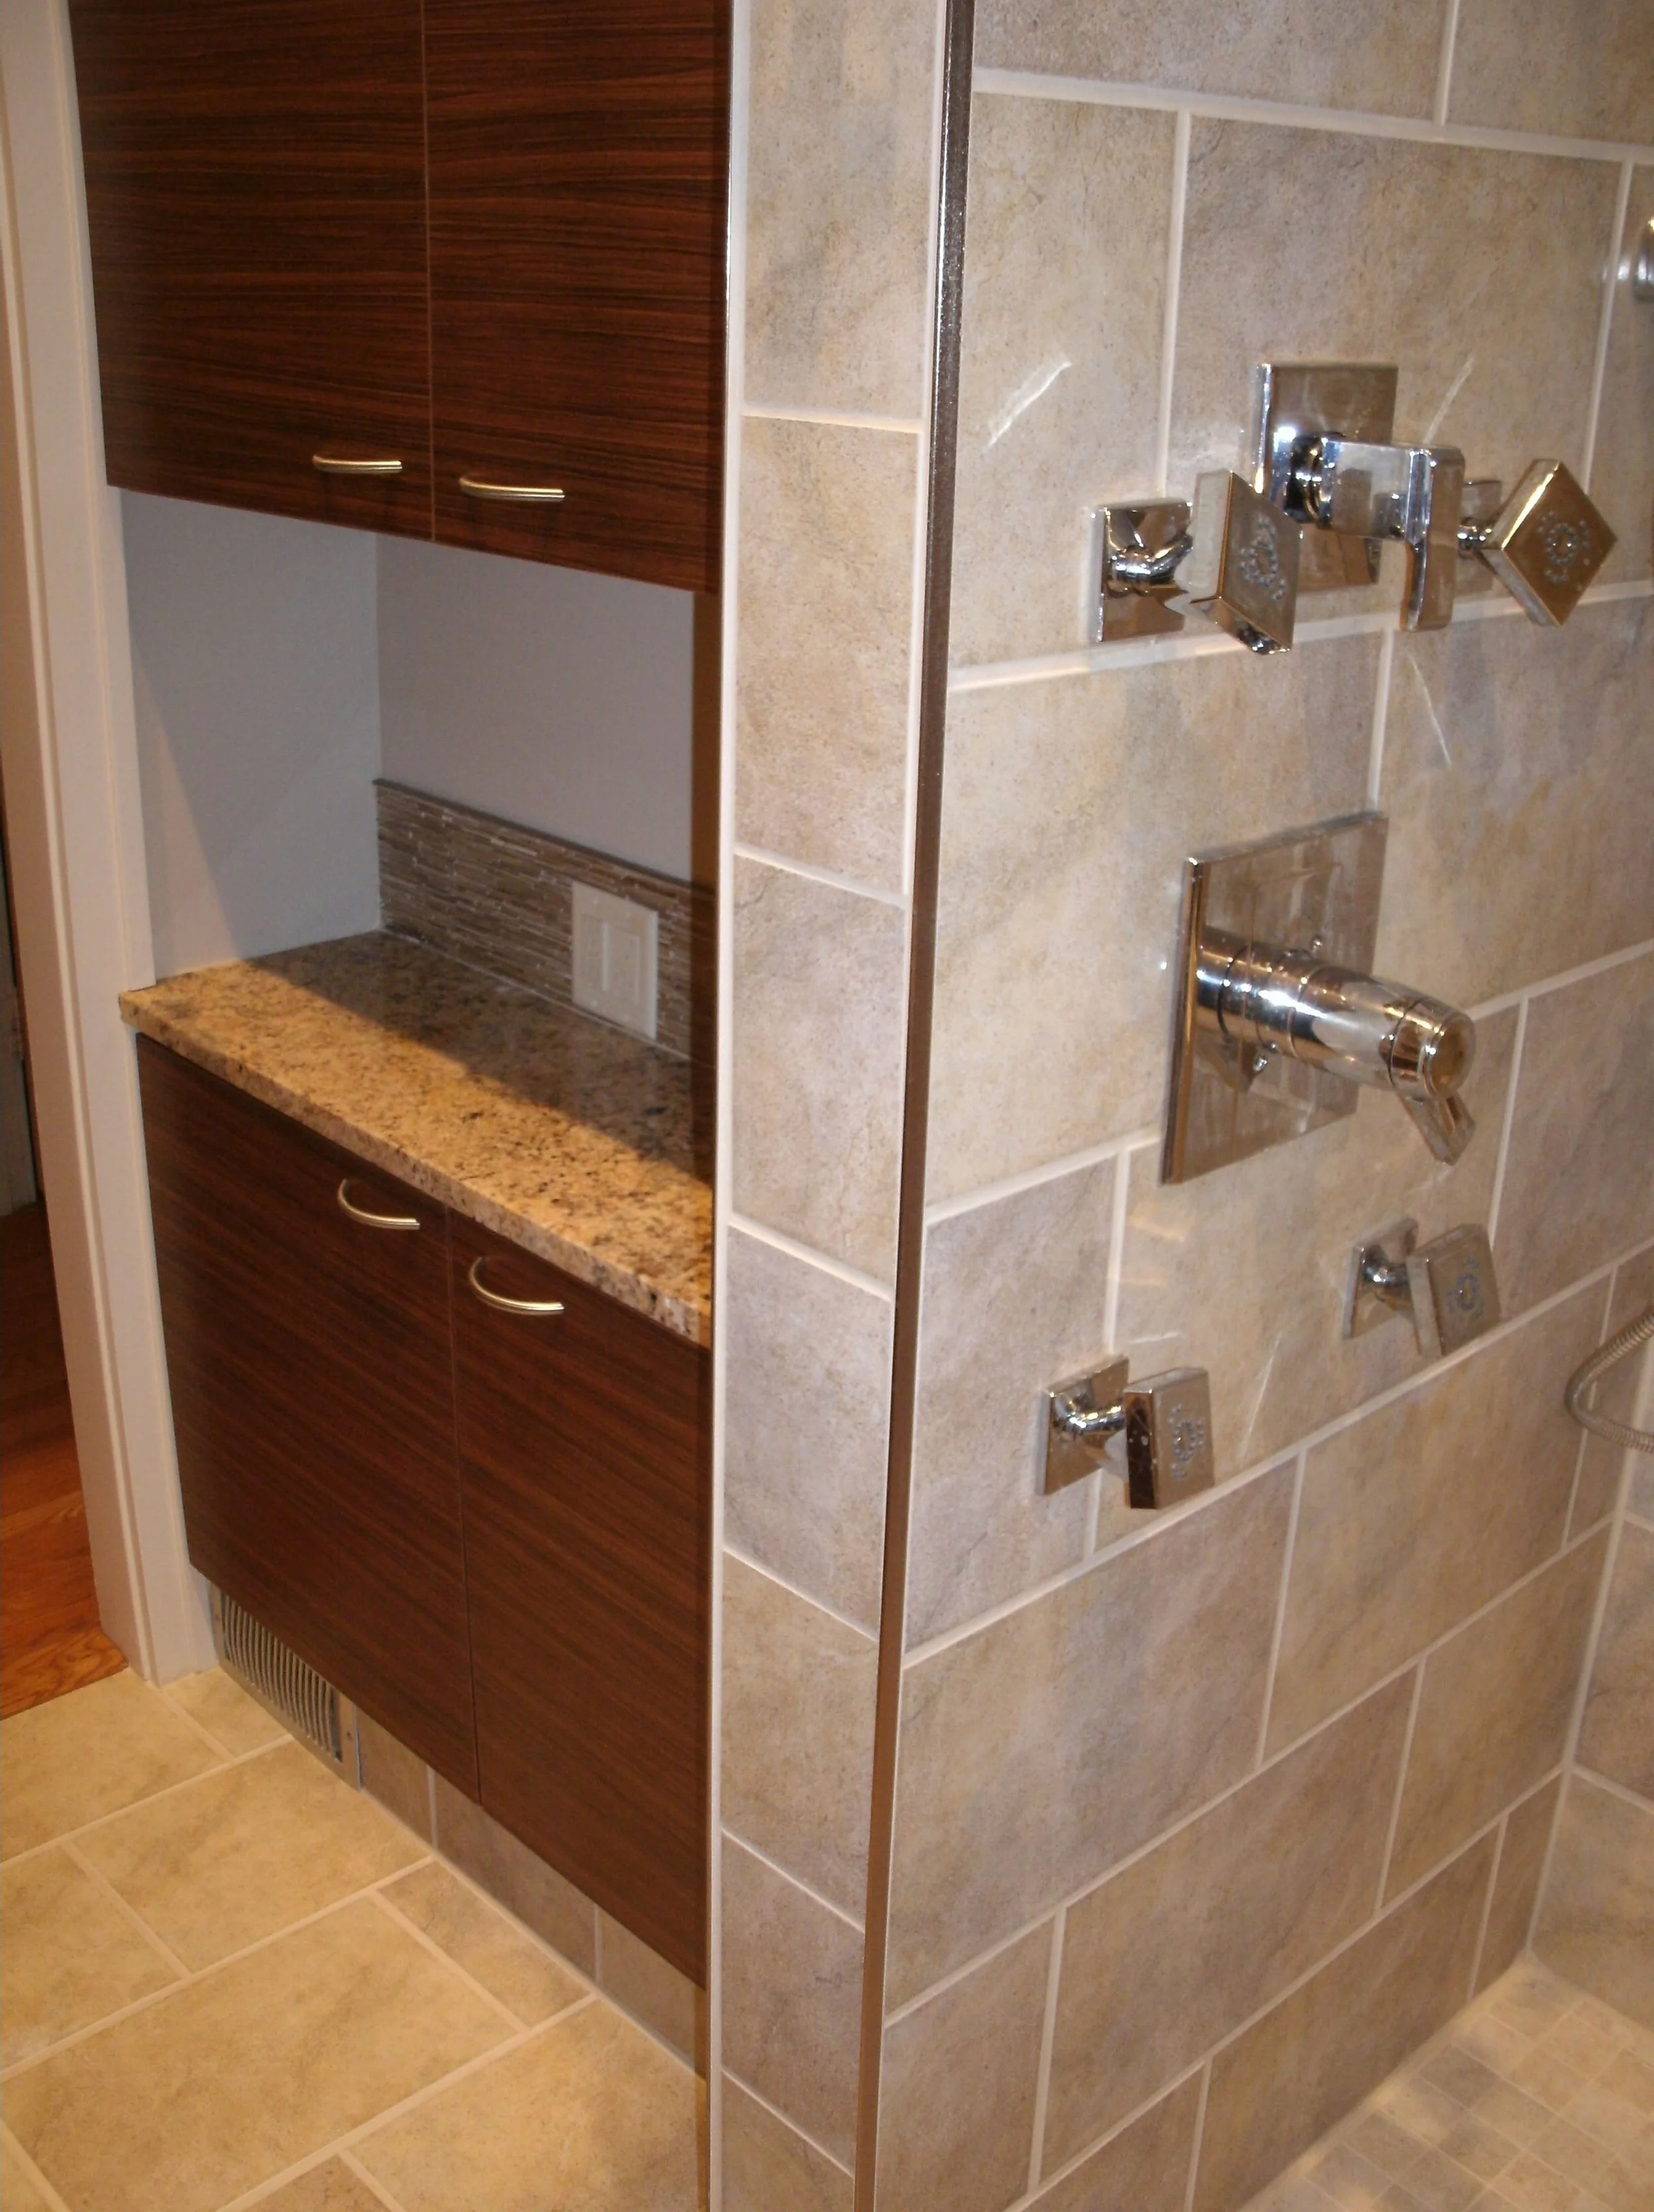
Head wall, shower wall with plumbing in after tiling
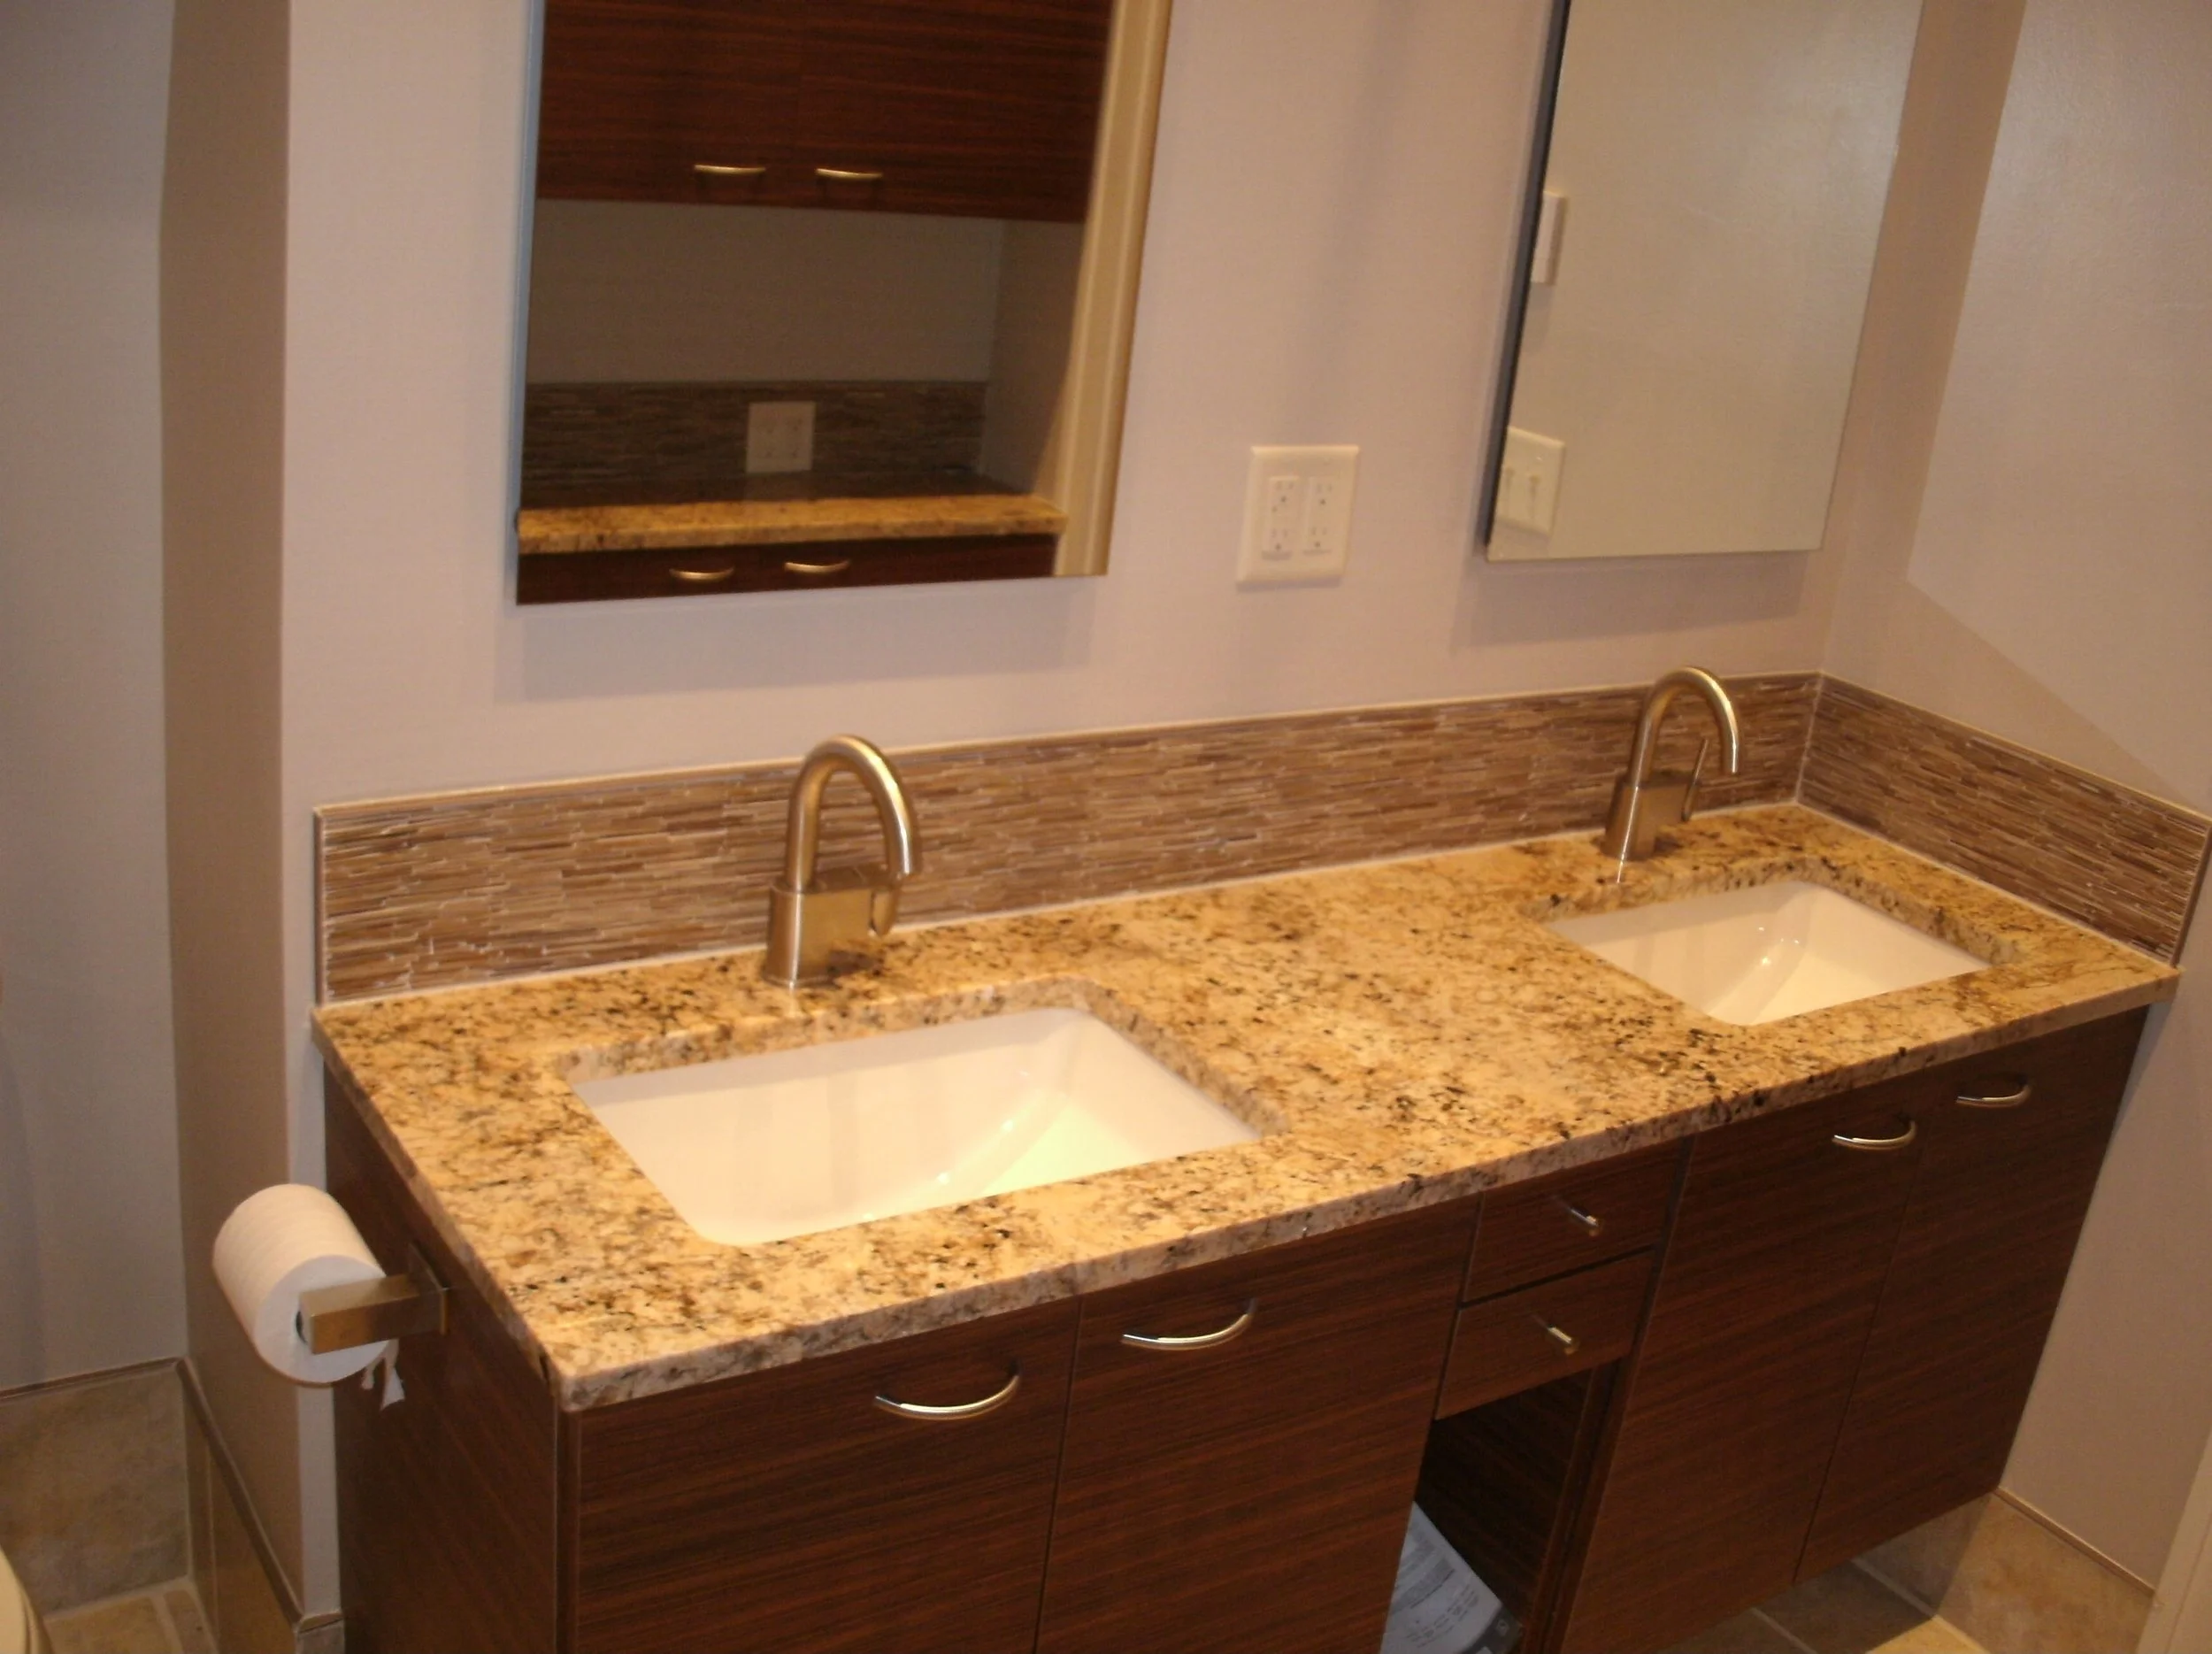
Another view of the twin sinks and twin medicine cabinets
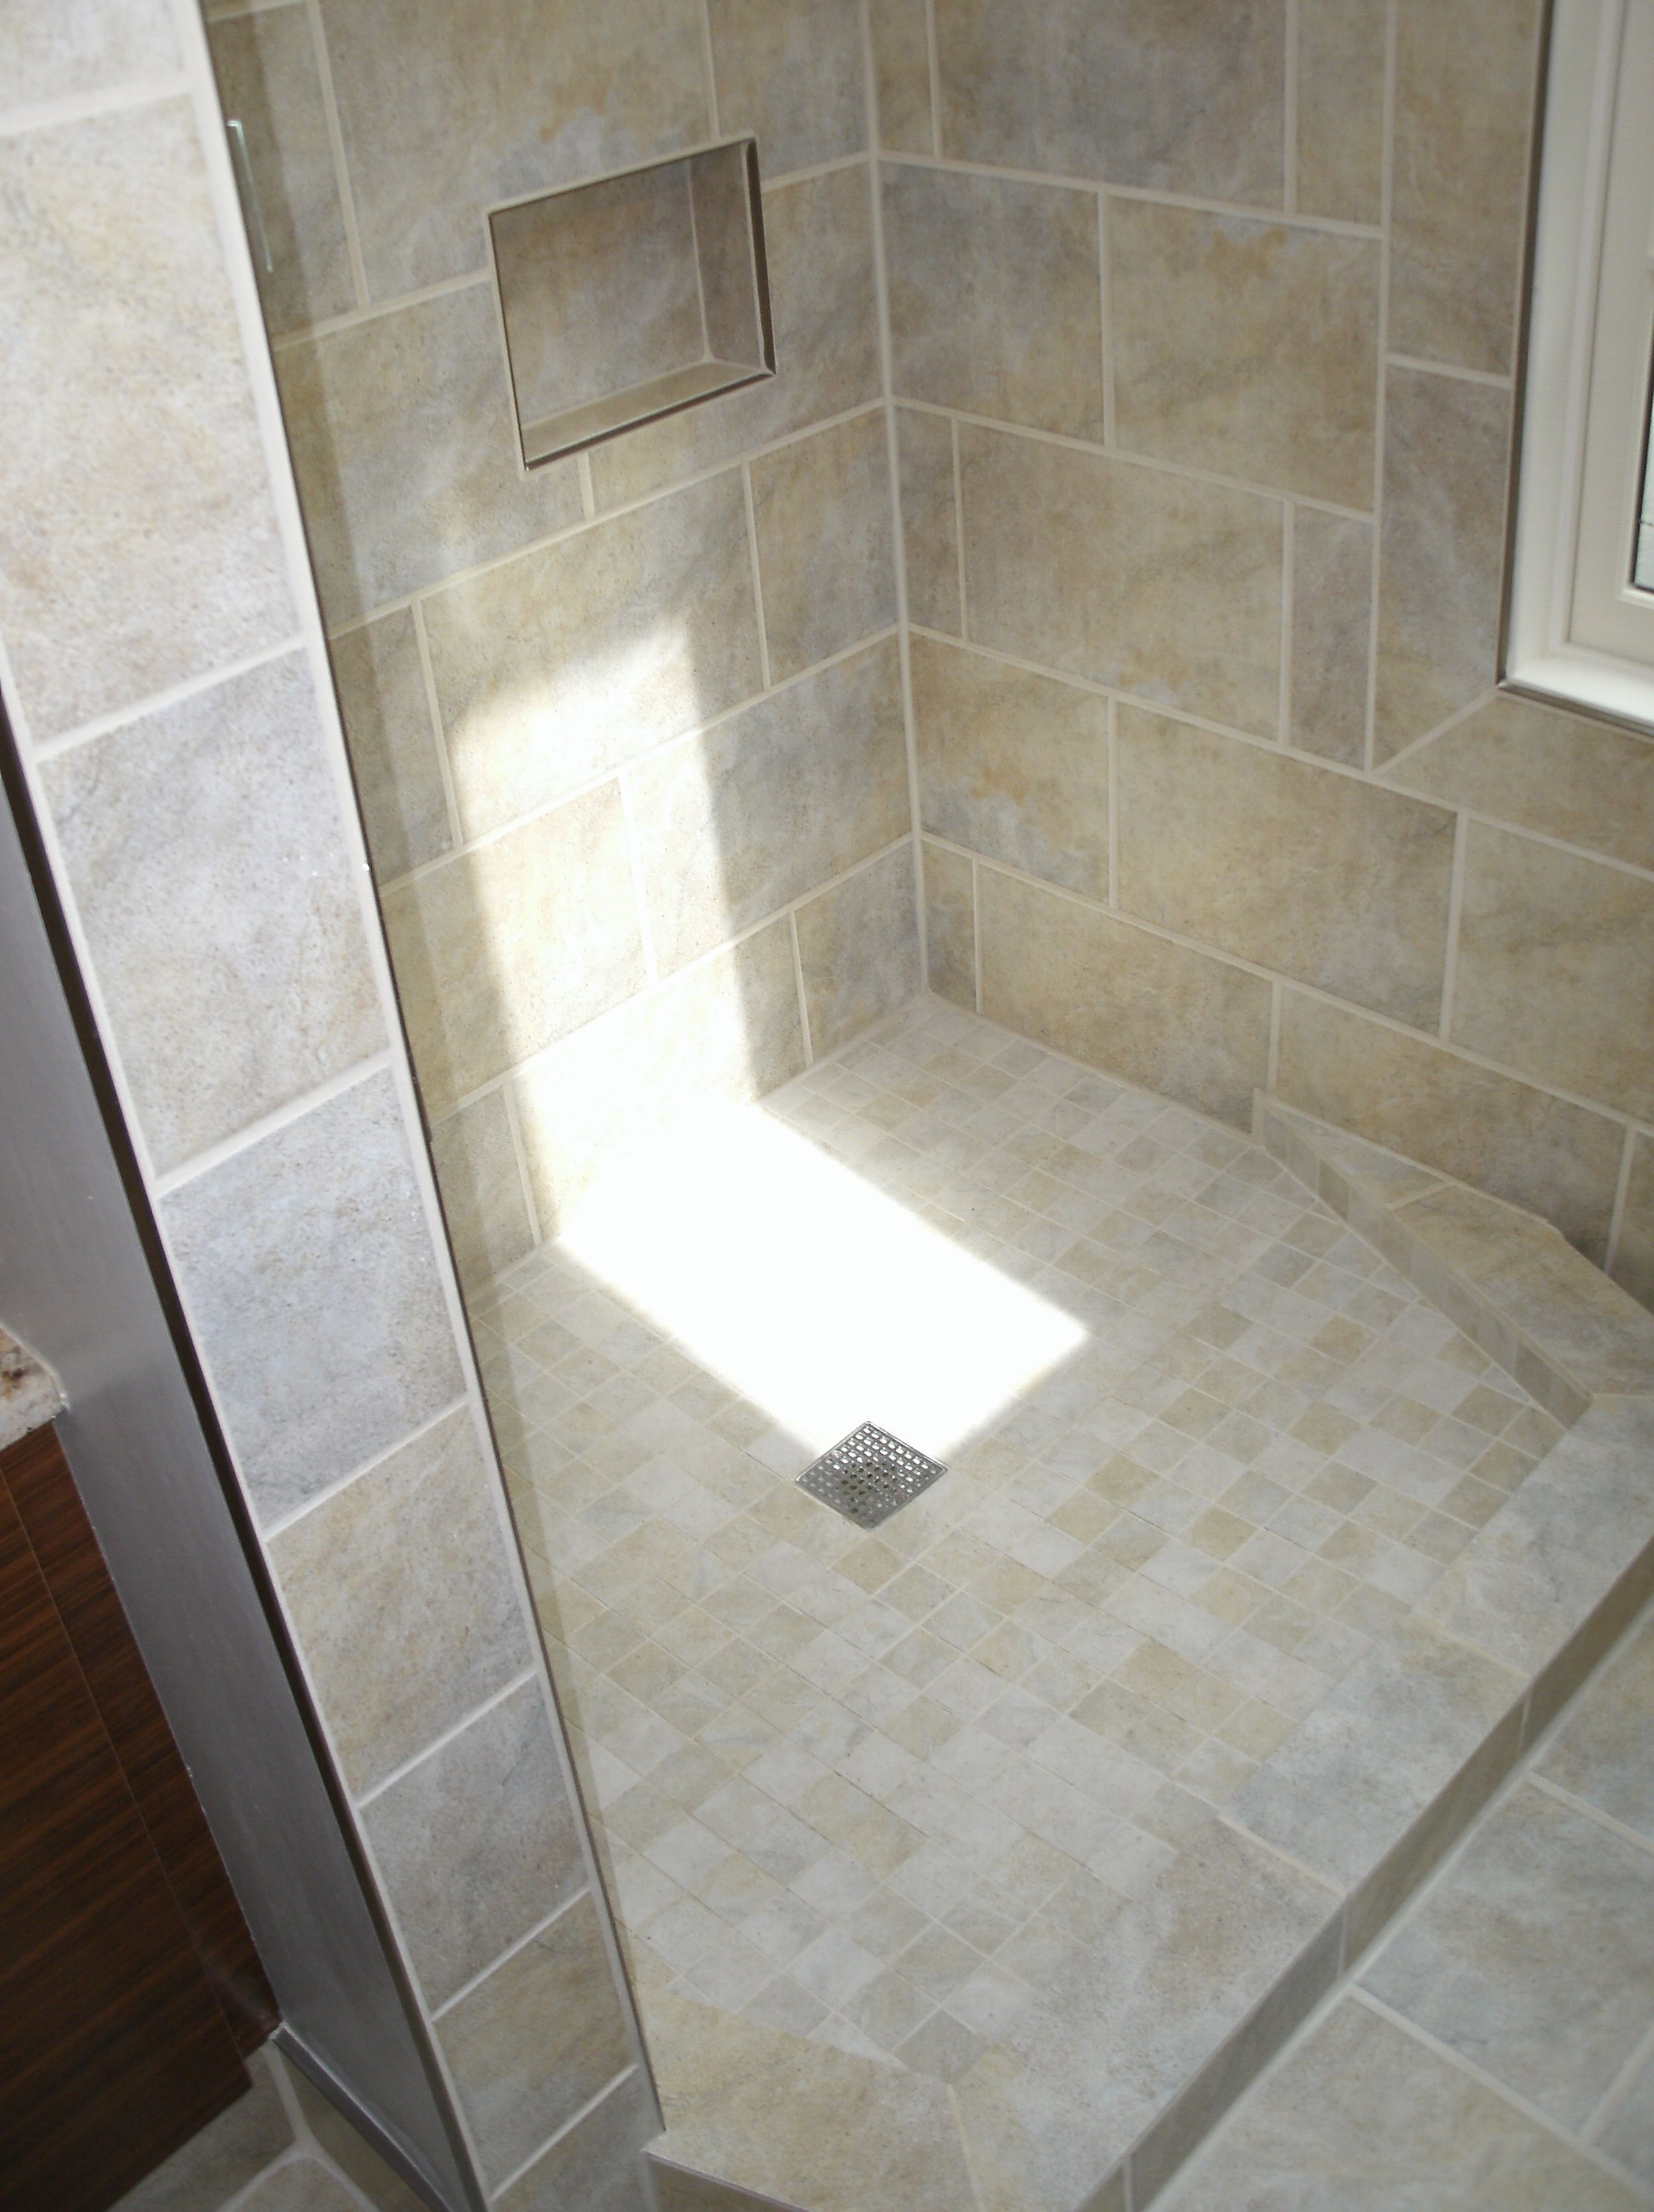
Walk in shower with curb all tiled. Nice skylight light element.

View of the room with glass shower door installed
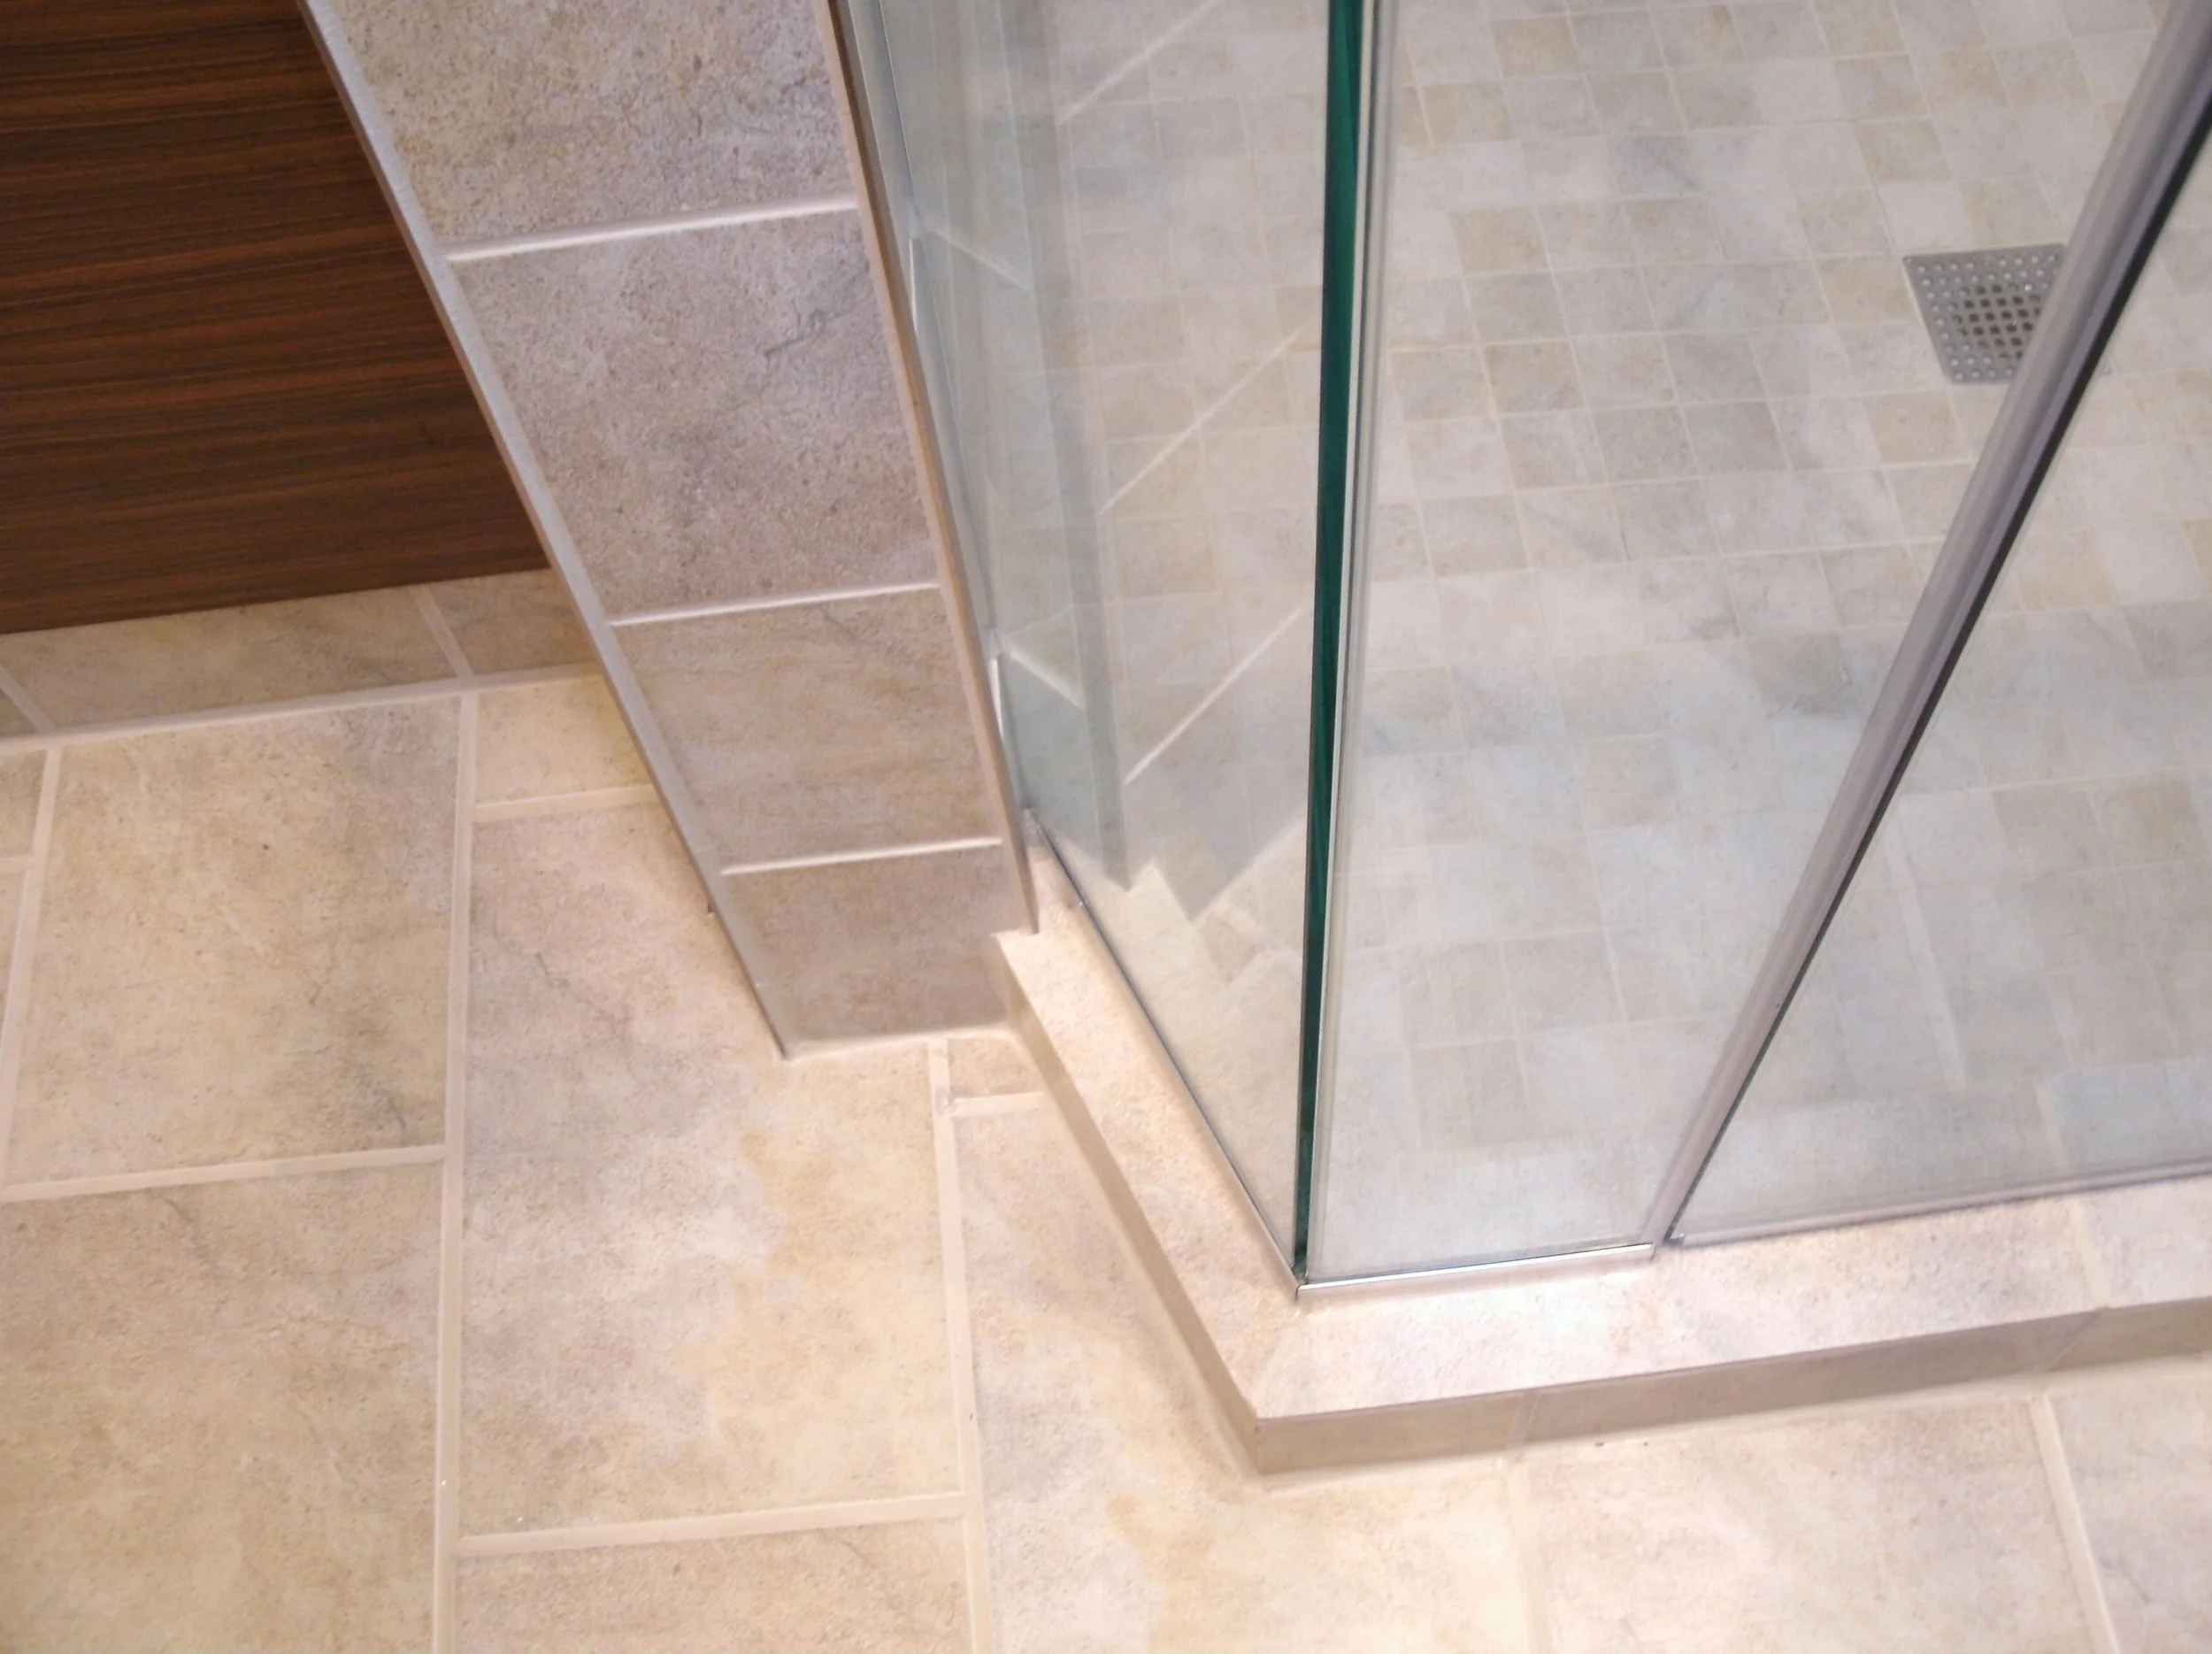
Glass shower door detail
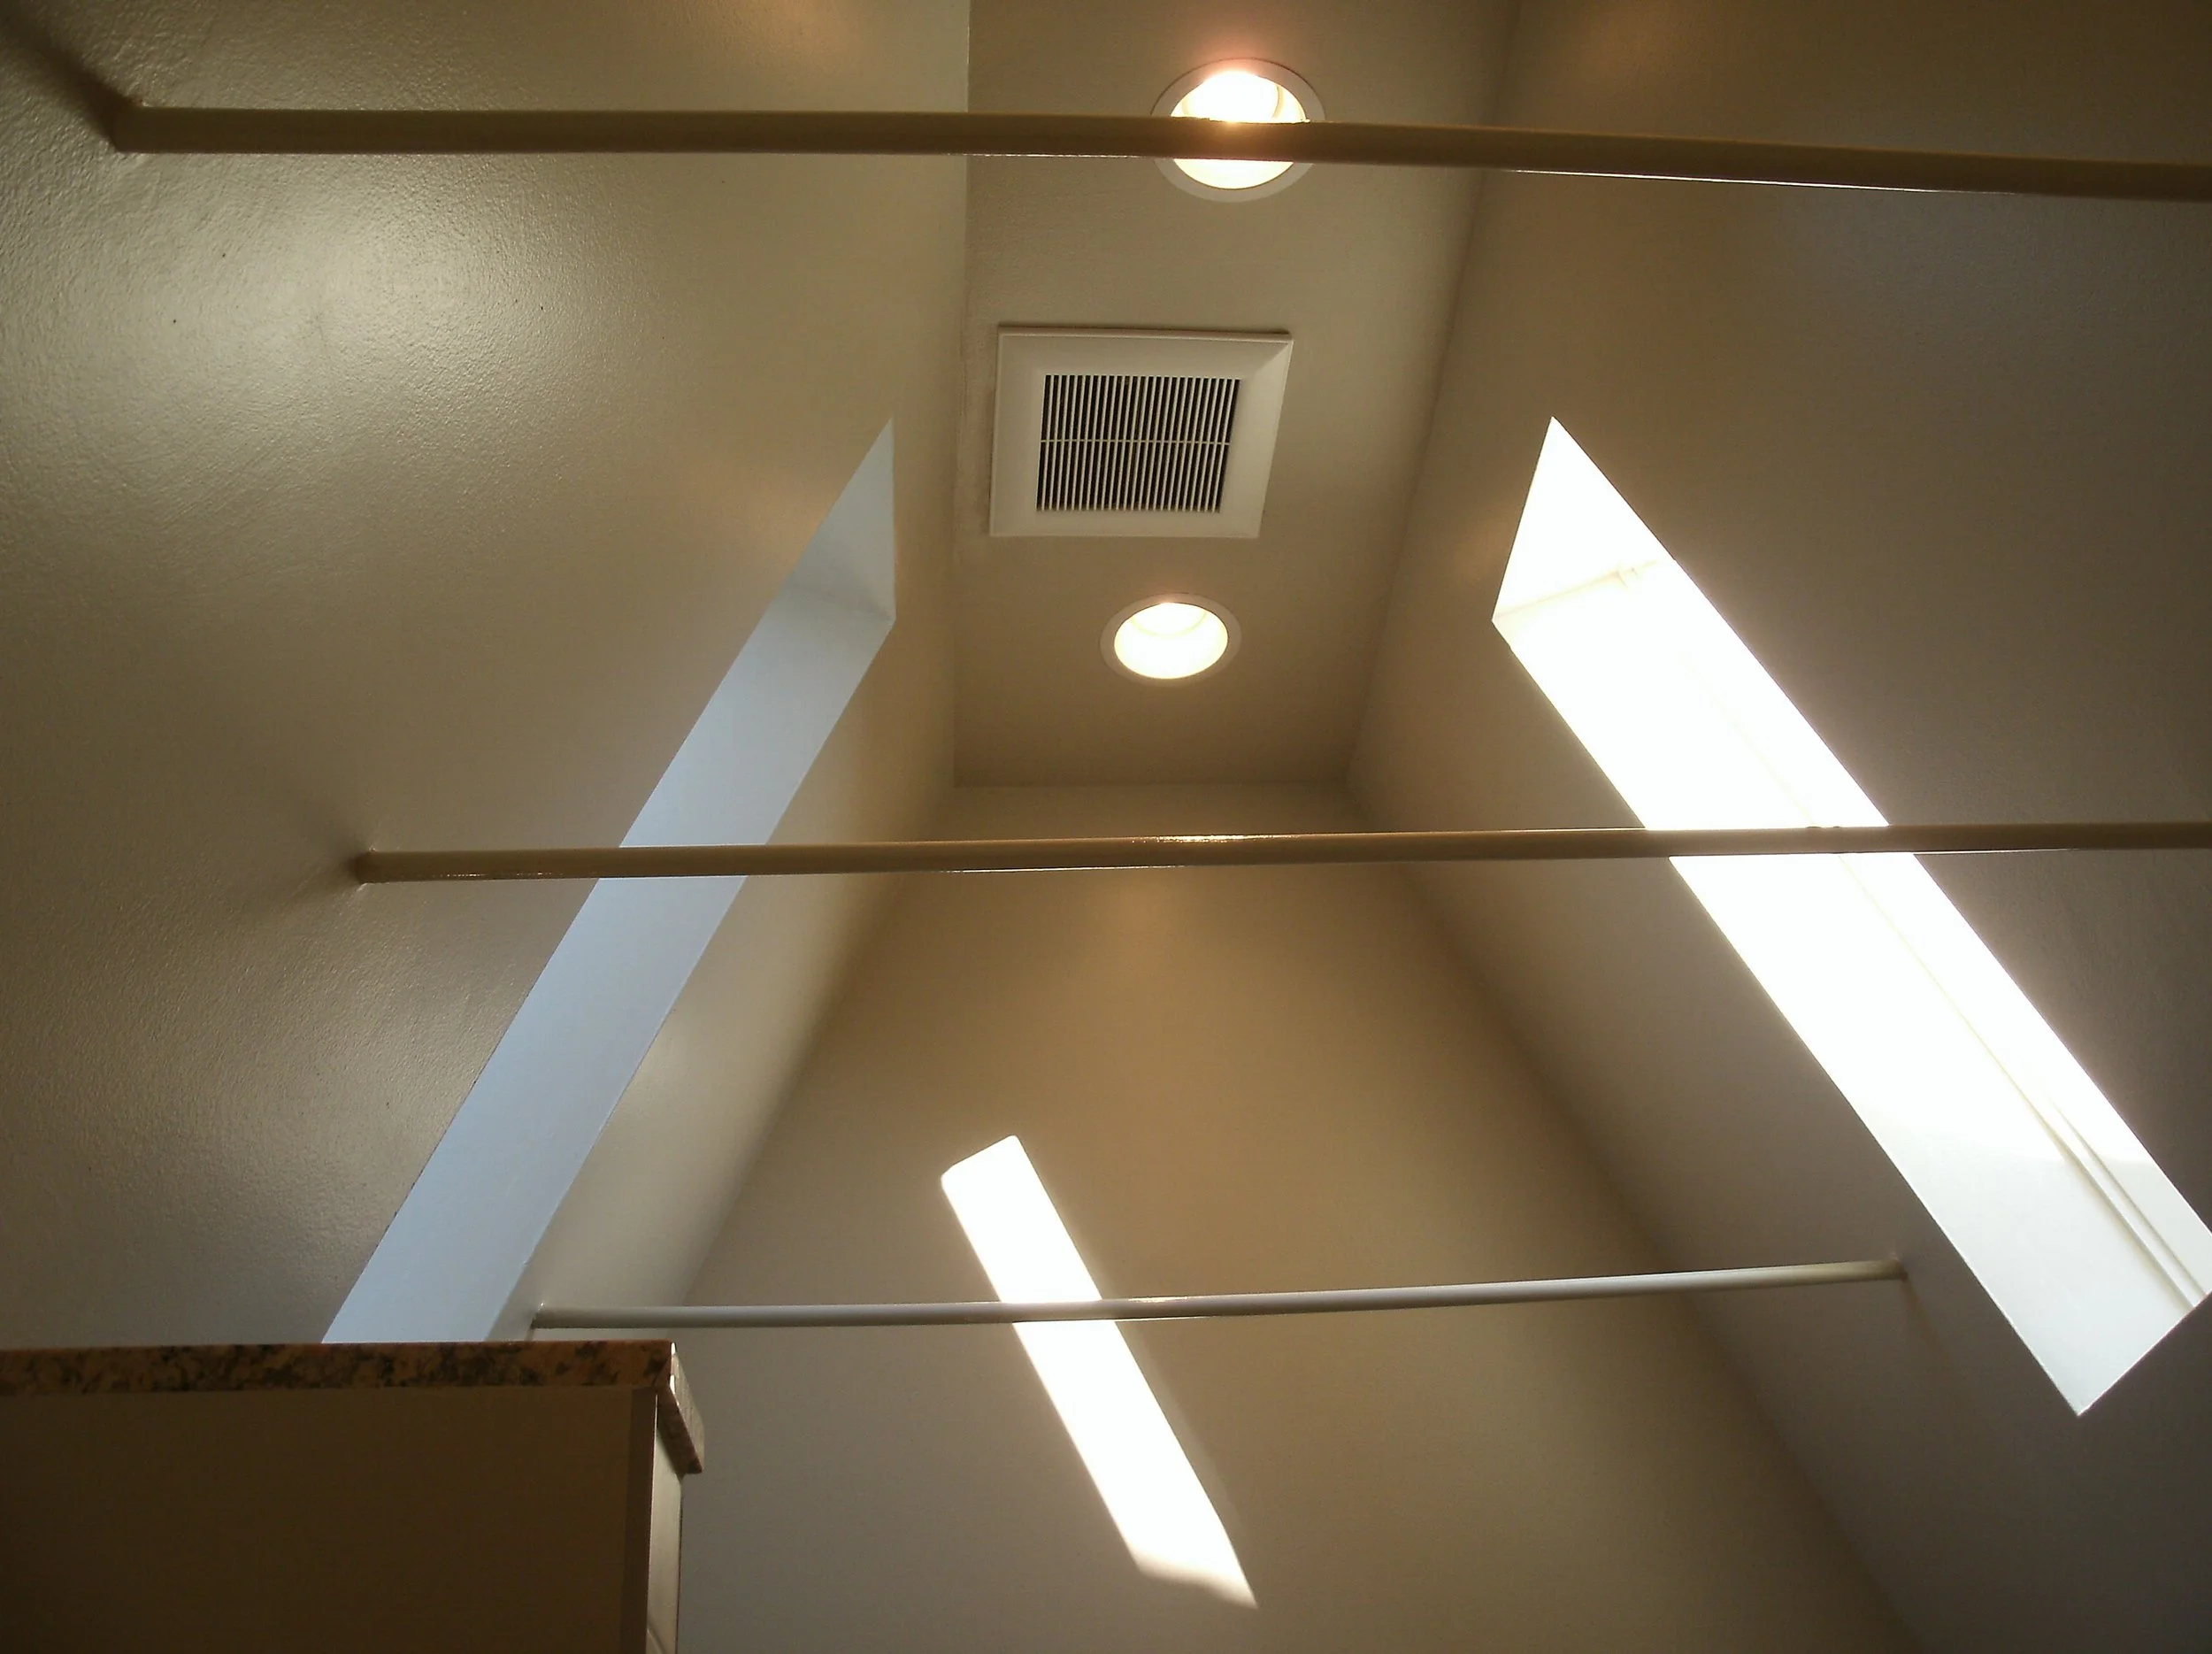
Another view of the dramatic ceiling. .
Wall with light shadow is wall between attic and bathroom
View of the room with tiled shower curb
Isthmus Bathroom
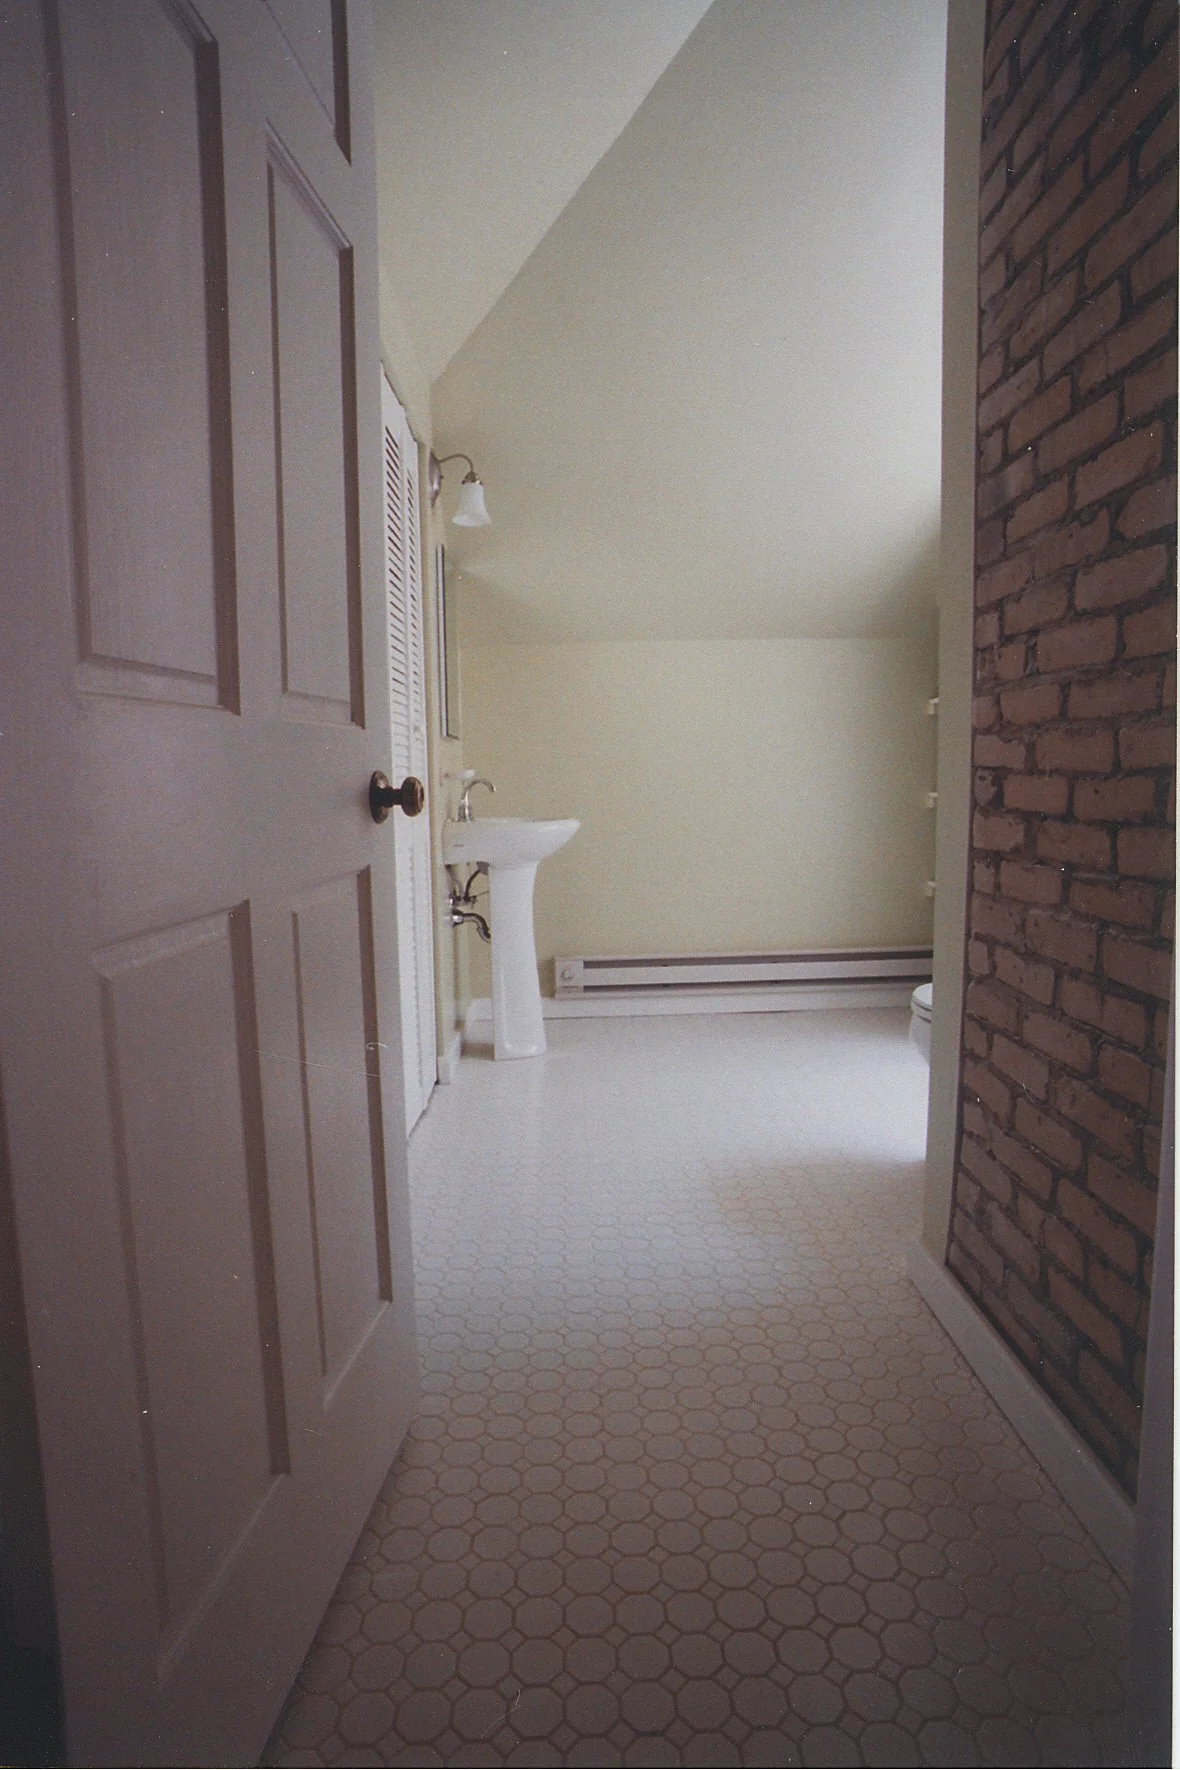
This bathroom was a gut rehab in a small house on the Isthmus. I had to remove the old subfloor, augment the floor joists, and put down thicker plywood floor sheathing, I framed up the shower walls and sheathed them with Duroc concrete board. I removed the old plaster on all of the walls that were going to get tiled and also installed Duroc on those walls. I replaced the door jambs and old school casing in the hall. Fabricated and installed an oak threshold. I then tiled the entire room floor and walls. I've always been partial to the old school floor tiles. With the corners and angled wall, the floor pattern was quite dramatic.
Welcome into the beautiful bathroom
A more full view of the floor I tiled. Angled wall on left is a new shower wall.
A view toward the shower
View of the wall with the sink with toilet alcove to the left
View of sink and medicine cabinet. I tiled all the walls.
Floor to toilet
Tiled toilet alcove, tiles walls, strip of tiled roof line
Full view of the toilet alcove. Note space right of toilet for eventual shelving unit.

A second view of the toilet alcove and the wall tile

A view of the shower, curb, and tile floor
A view of the shower enclosing wall, I built and completely tiled
Another view of the shower wall and floor
End of the tour of the beautiful bathroom
Henry St. Bathroom
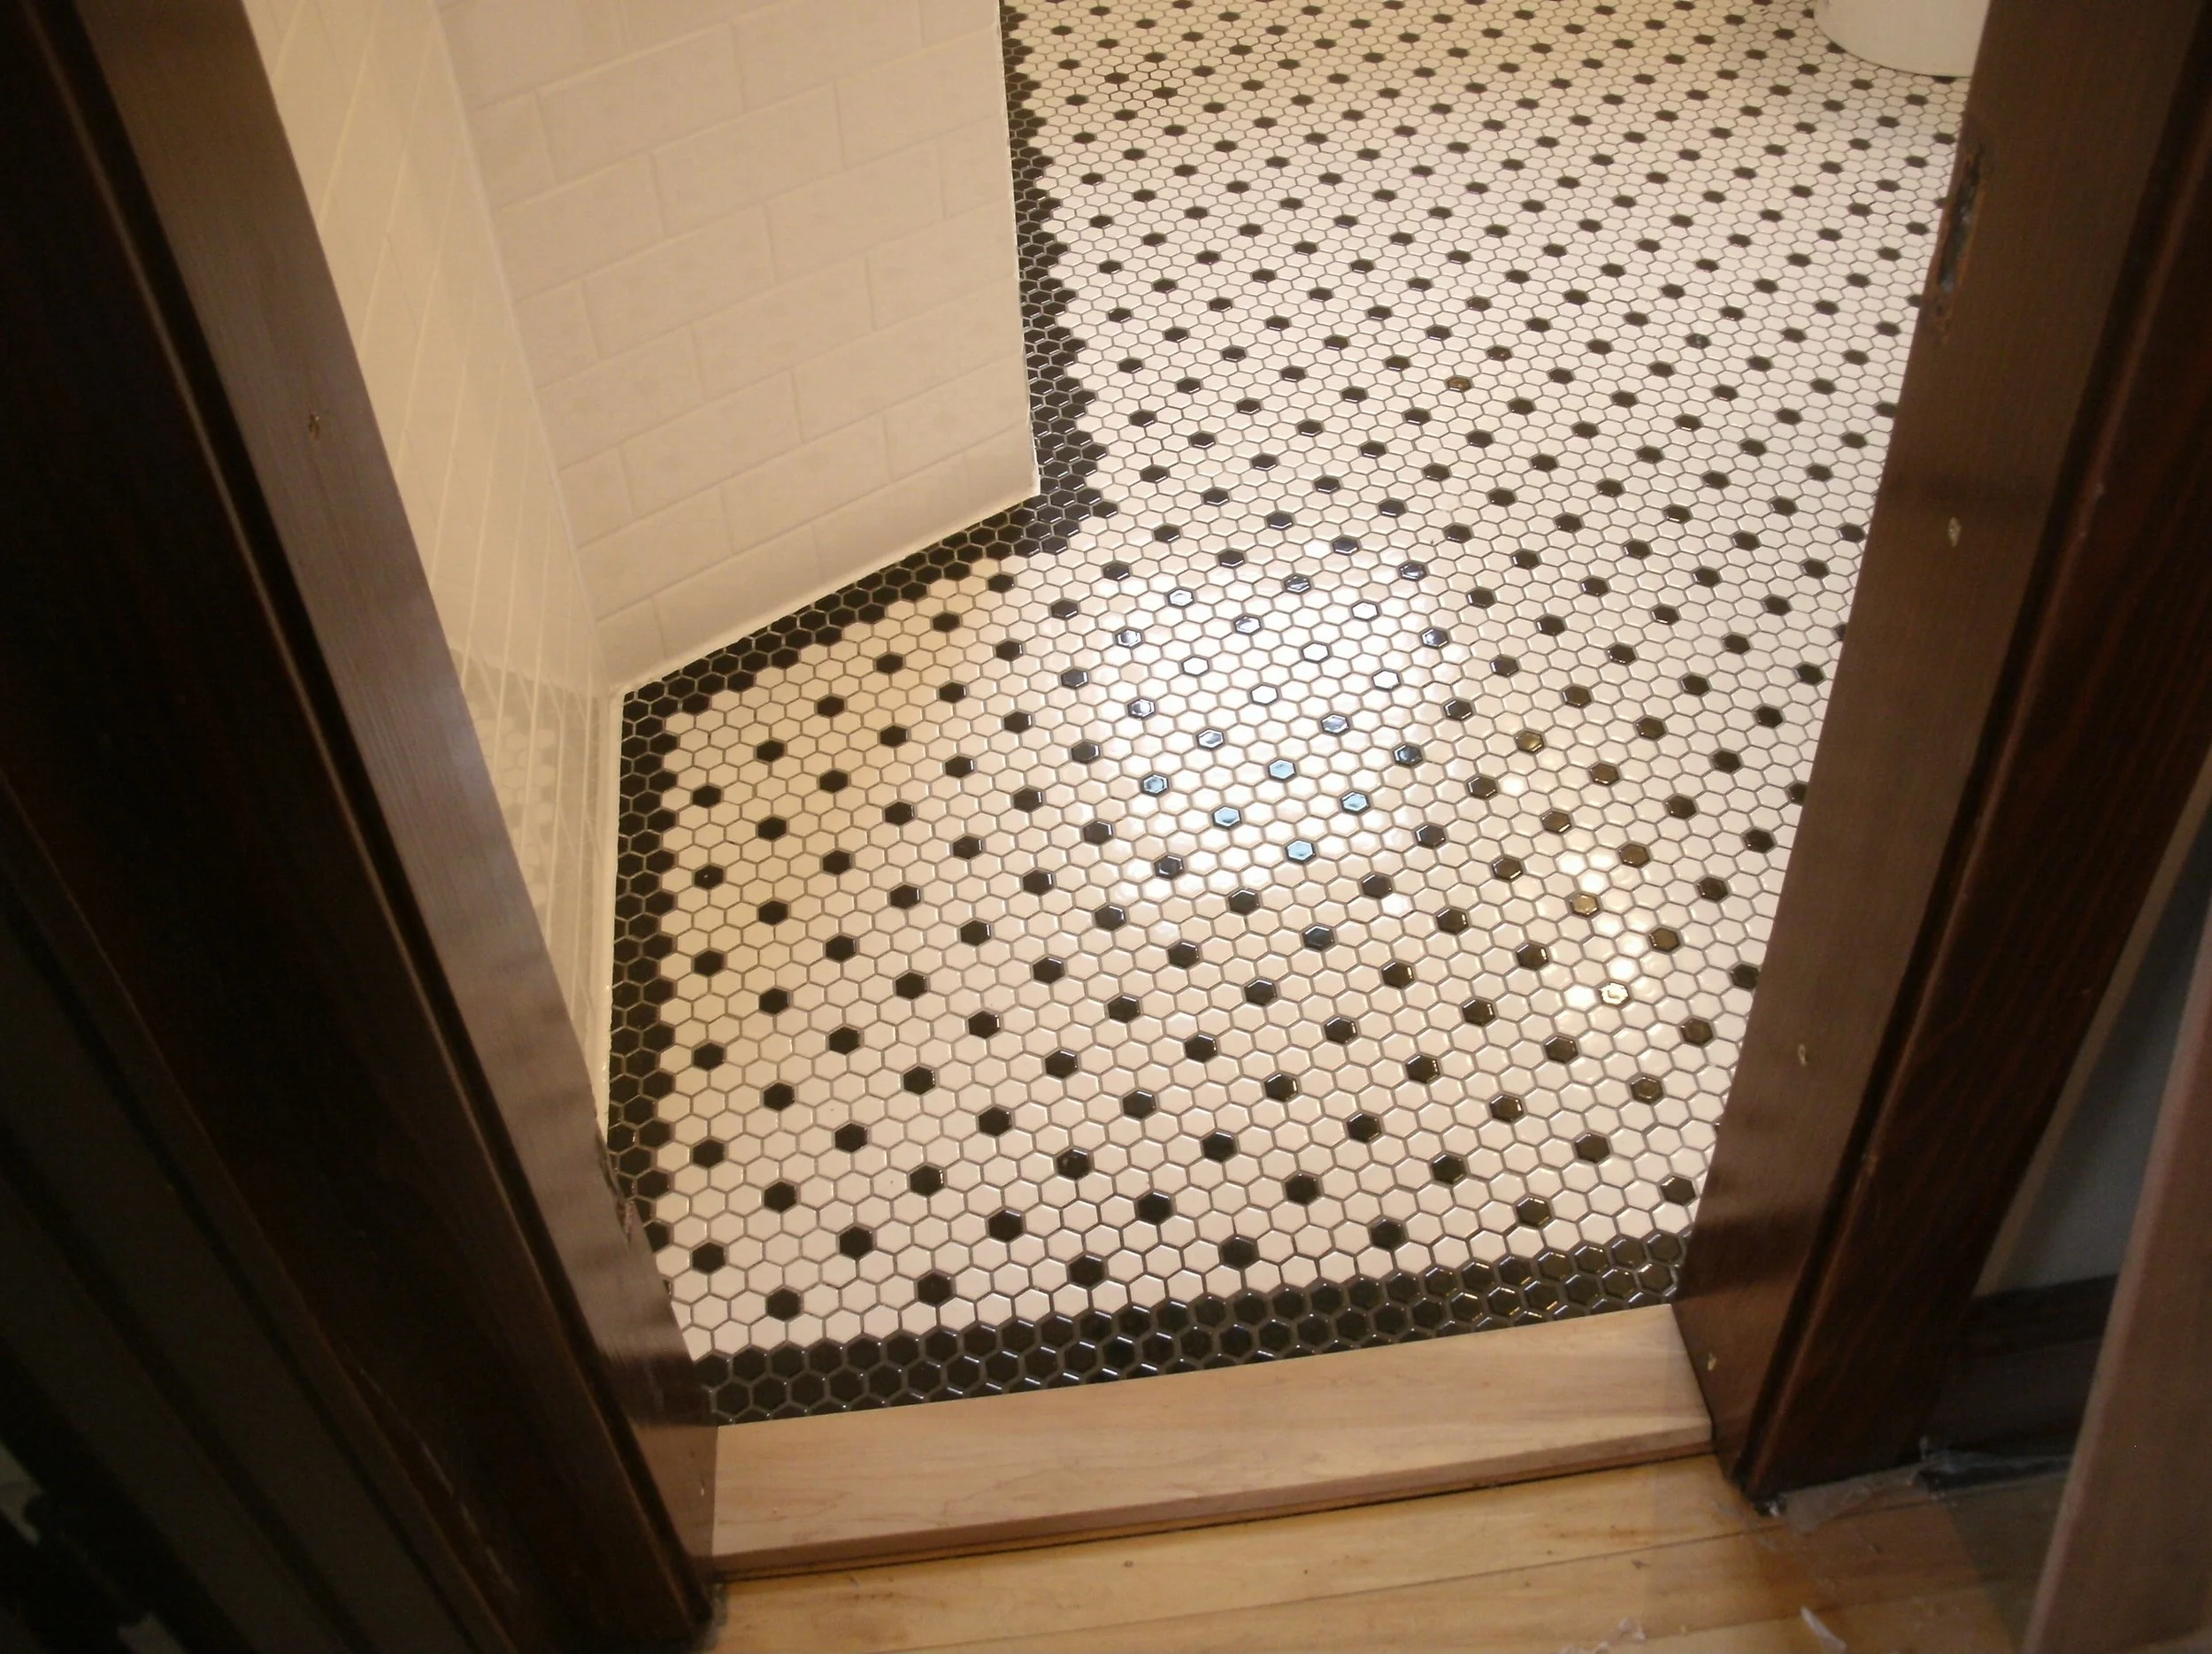
Way before downtown Madison was gentrified, much of the housing stock was unpretentiously built for working class people. This house was such a house. Sometime in the decades before my customers bought the house, it had been chopped up into a single room occupancy situation. I removed an odd galley kitchen from their bedroom. Pictures of that do not exist. I then gutted and rebuilt the bathroom. It had served as the bathroom for multiple people for sometime. It was a typical Isthmus bathroom: tiny.
After much discussion, we decided to move the back wall of the bathroom back 3 feet. The room adjacent had been a tiny bedroom which they were now using as an office. With this 3 feet annexed the room was much bigger. The 3 foot wide space took the bathtub so the old full room floor space was now that much bigger without the tub. We sawed down the floor joists, augmented them, and then put in a double thickness of three-quarter inch plywood subfloor. Super floor! After this subfloor was in, I went out to lunch, came back and the plumber stood there with a 1 1/2 inch thick piece of wood he had cut out for the P-trap. He had never seen an inch and a half thick subfloor. I told him that I liked the customers, but I did not want to be called back when the tiles popped loose because of the insufficient subfloor. I installed Duroc concrete board everywhere there would be tiles and drywall everywhere else.
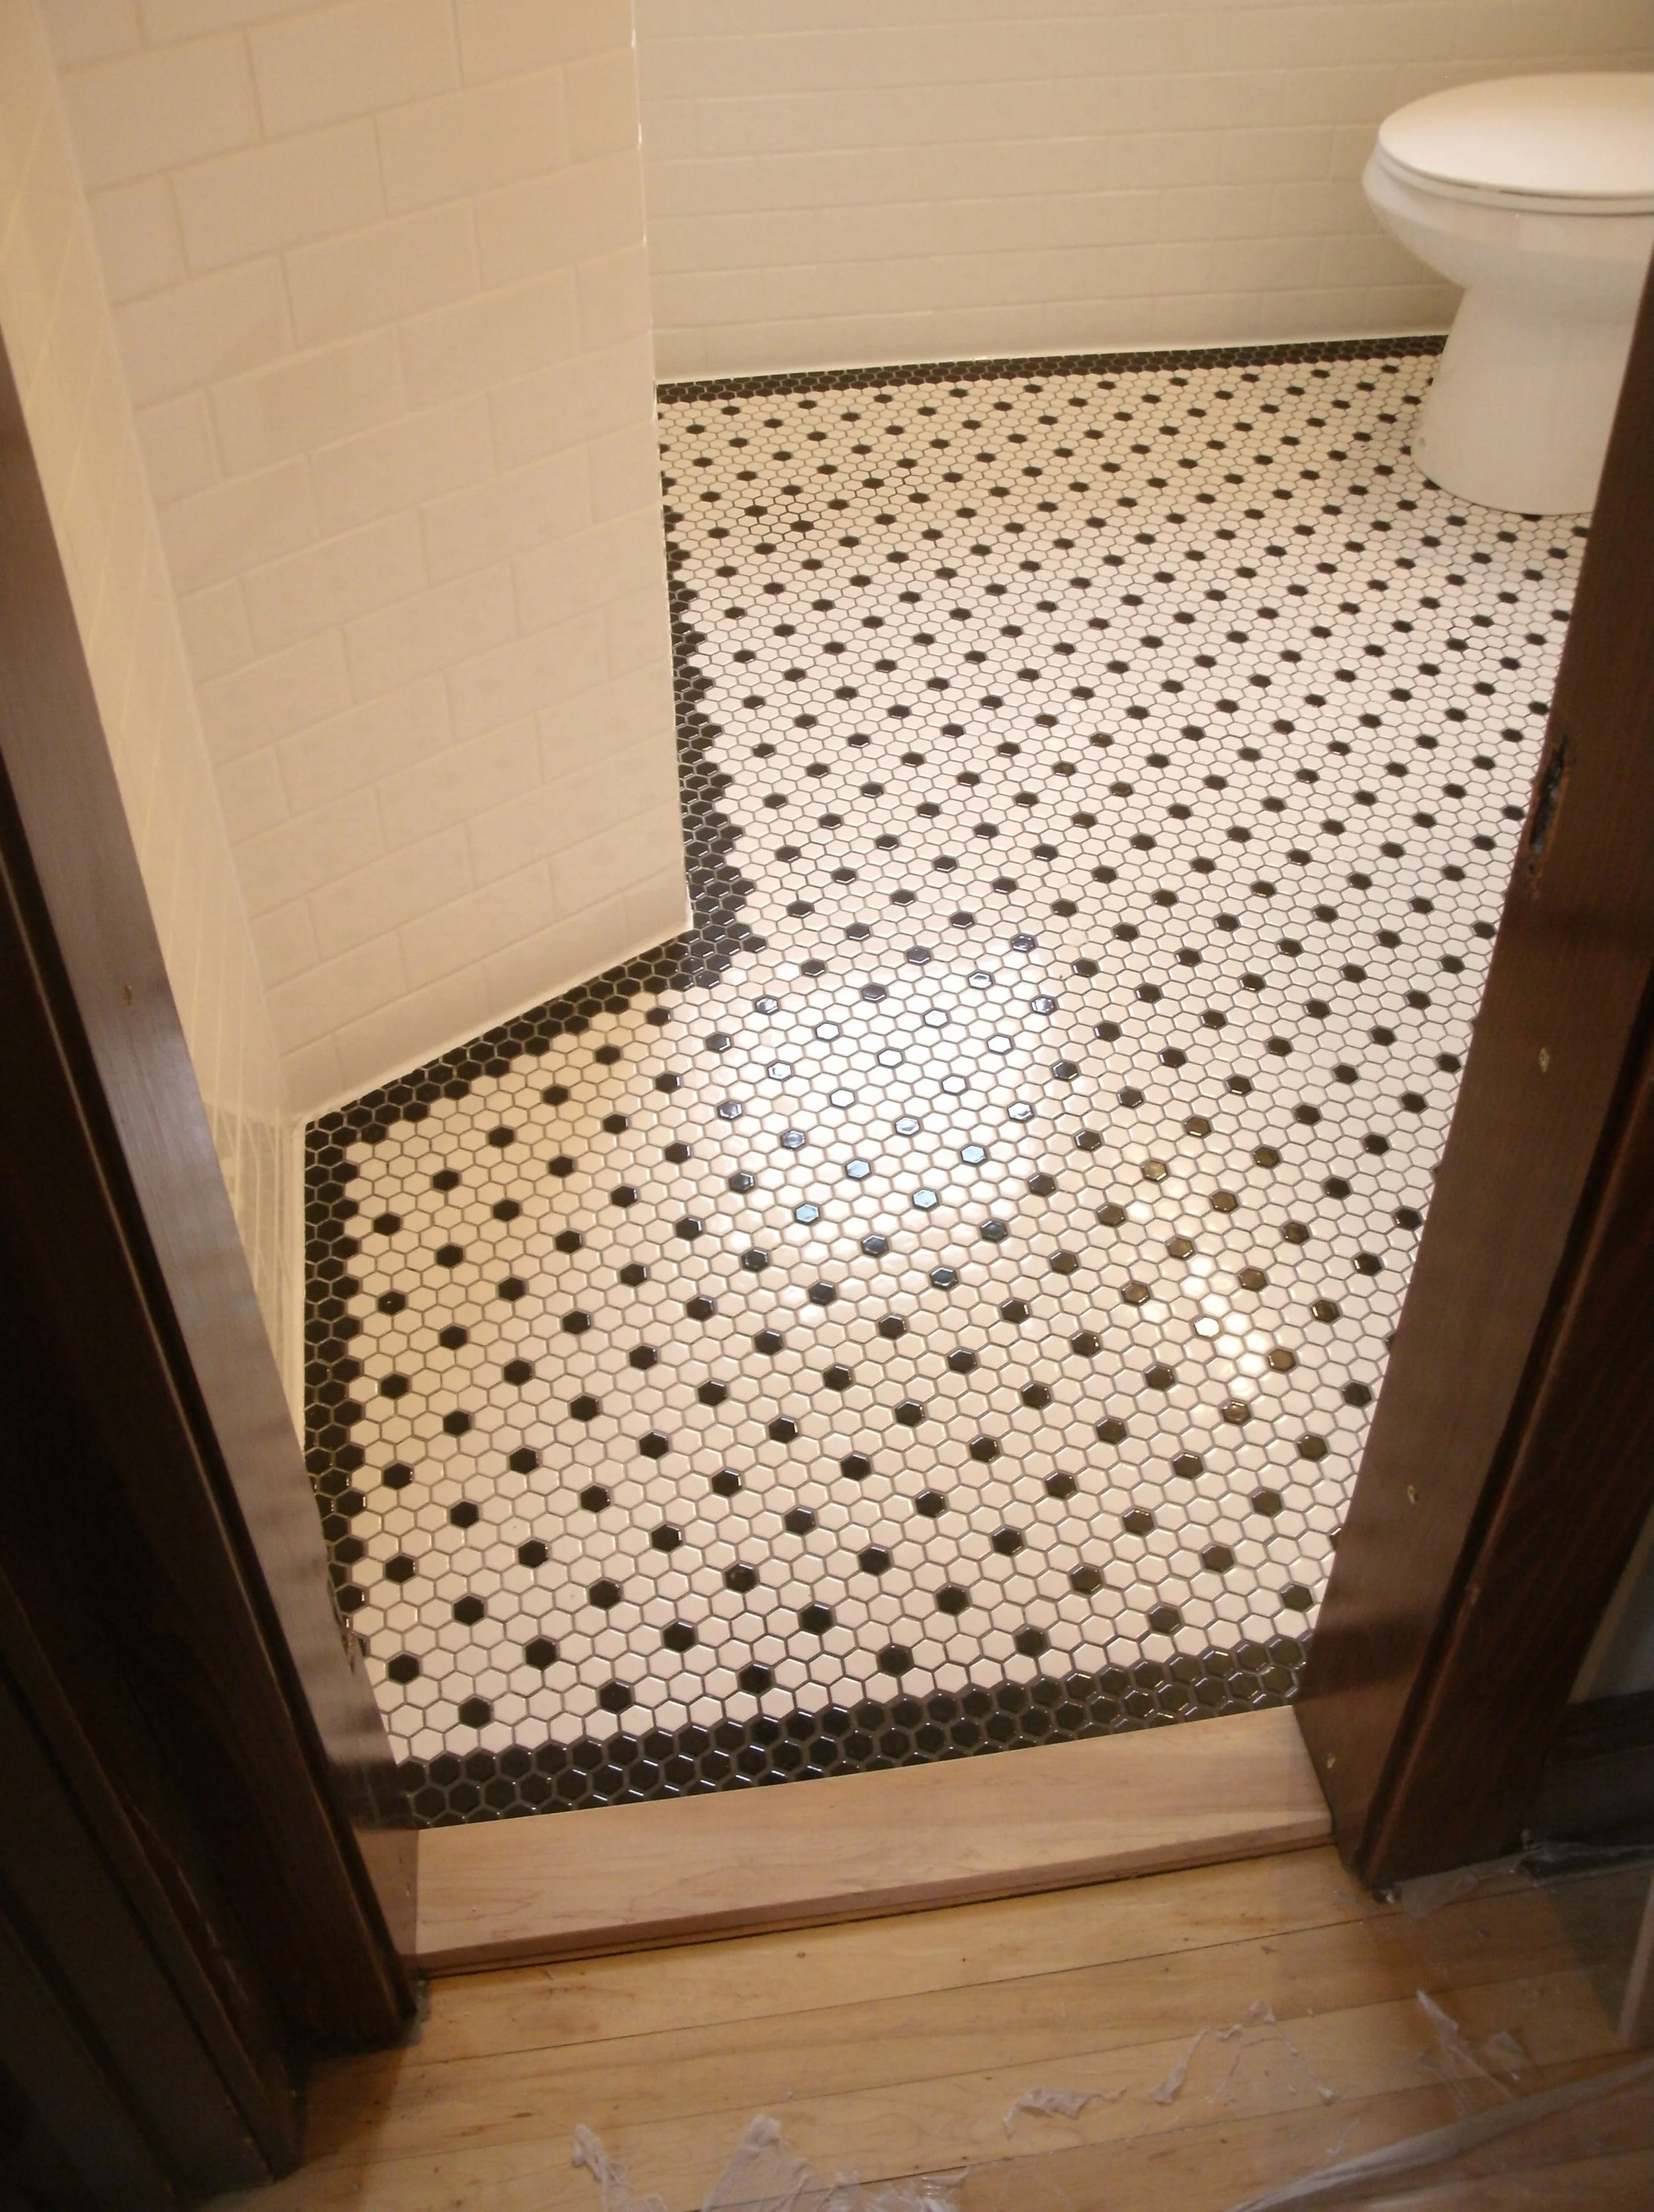
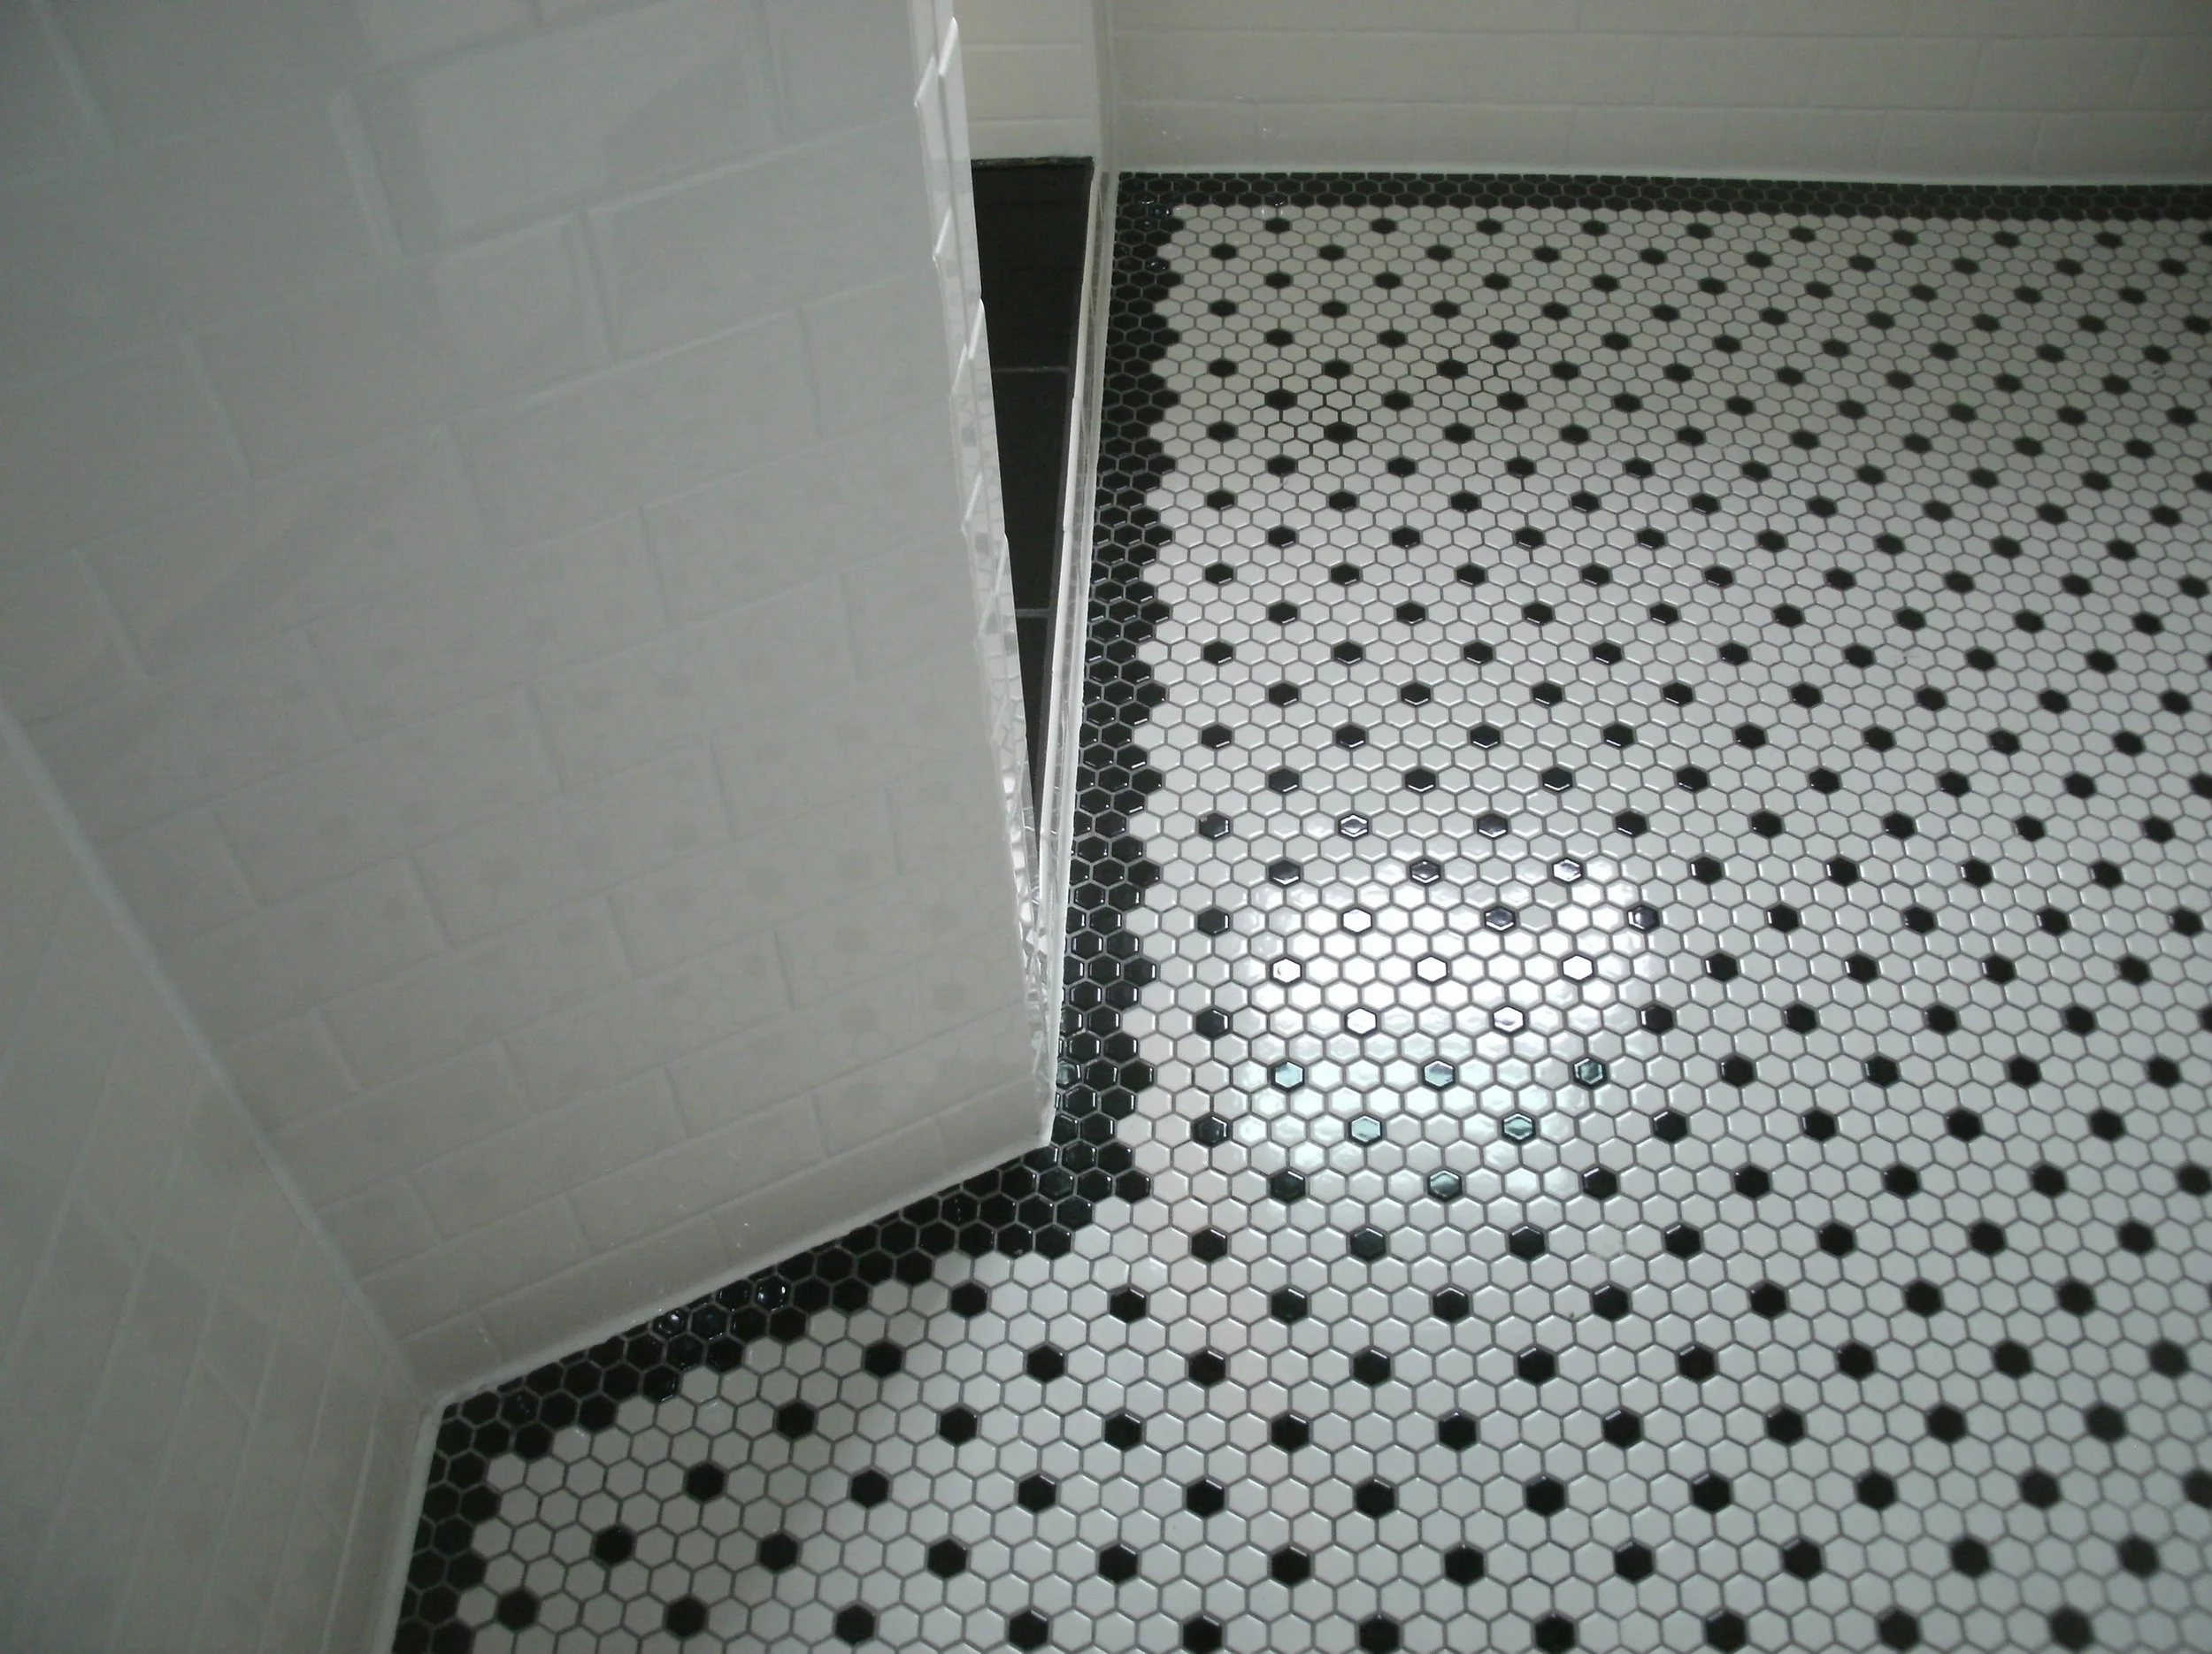
We didn't have endless budget so instead of trying to match the trim over the window and over the door I simulated the trim, which would’ve exactly matched the rest of the house. I used a piece of clear pine with cut outs along each side edge. This was pre-Internet so customers and I were happy with this creative compromise. I tiled the walls and the floor. I installed the medicine cabinet and fabricated the shelves next to the medicine cabinet. I painted the walls, ceiling and the window. I stained and sealed the door. The final photograph was reprinted from an article about downtown living which ran in Madison Magazine in 2007.
This is a view of the tiled floor and the black tiled baseboard.
This is a view of the lower part of the window wall.
This is the view of the sink and the toilet, and the medicine cabinet and storage shelving.
Another view of the window, sink, medicine cabinet, and storage shelving.
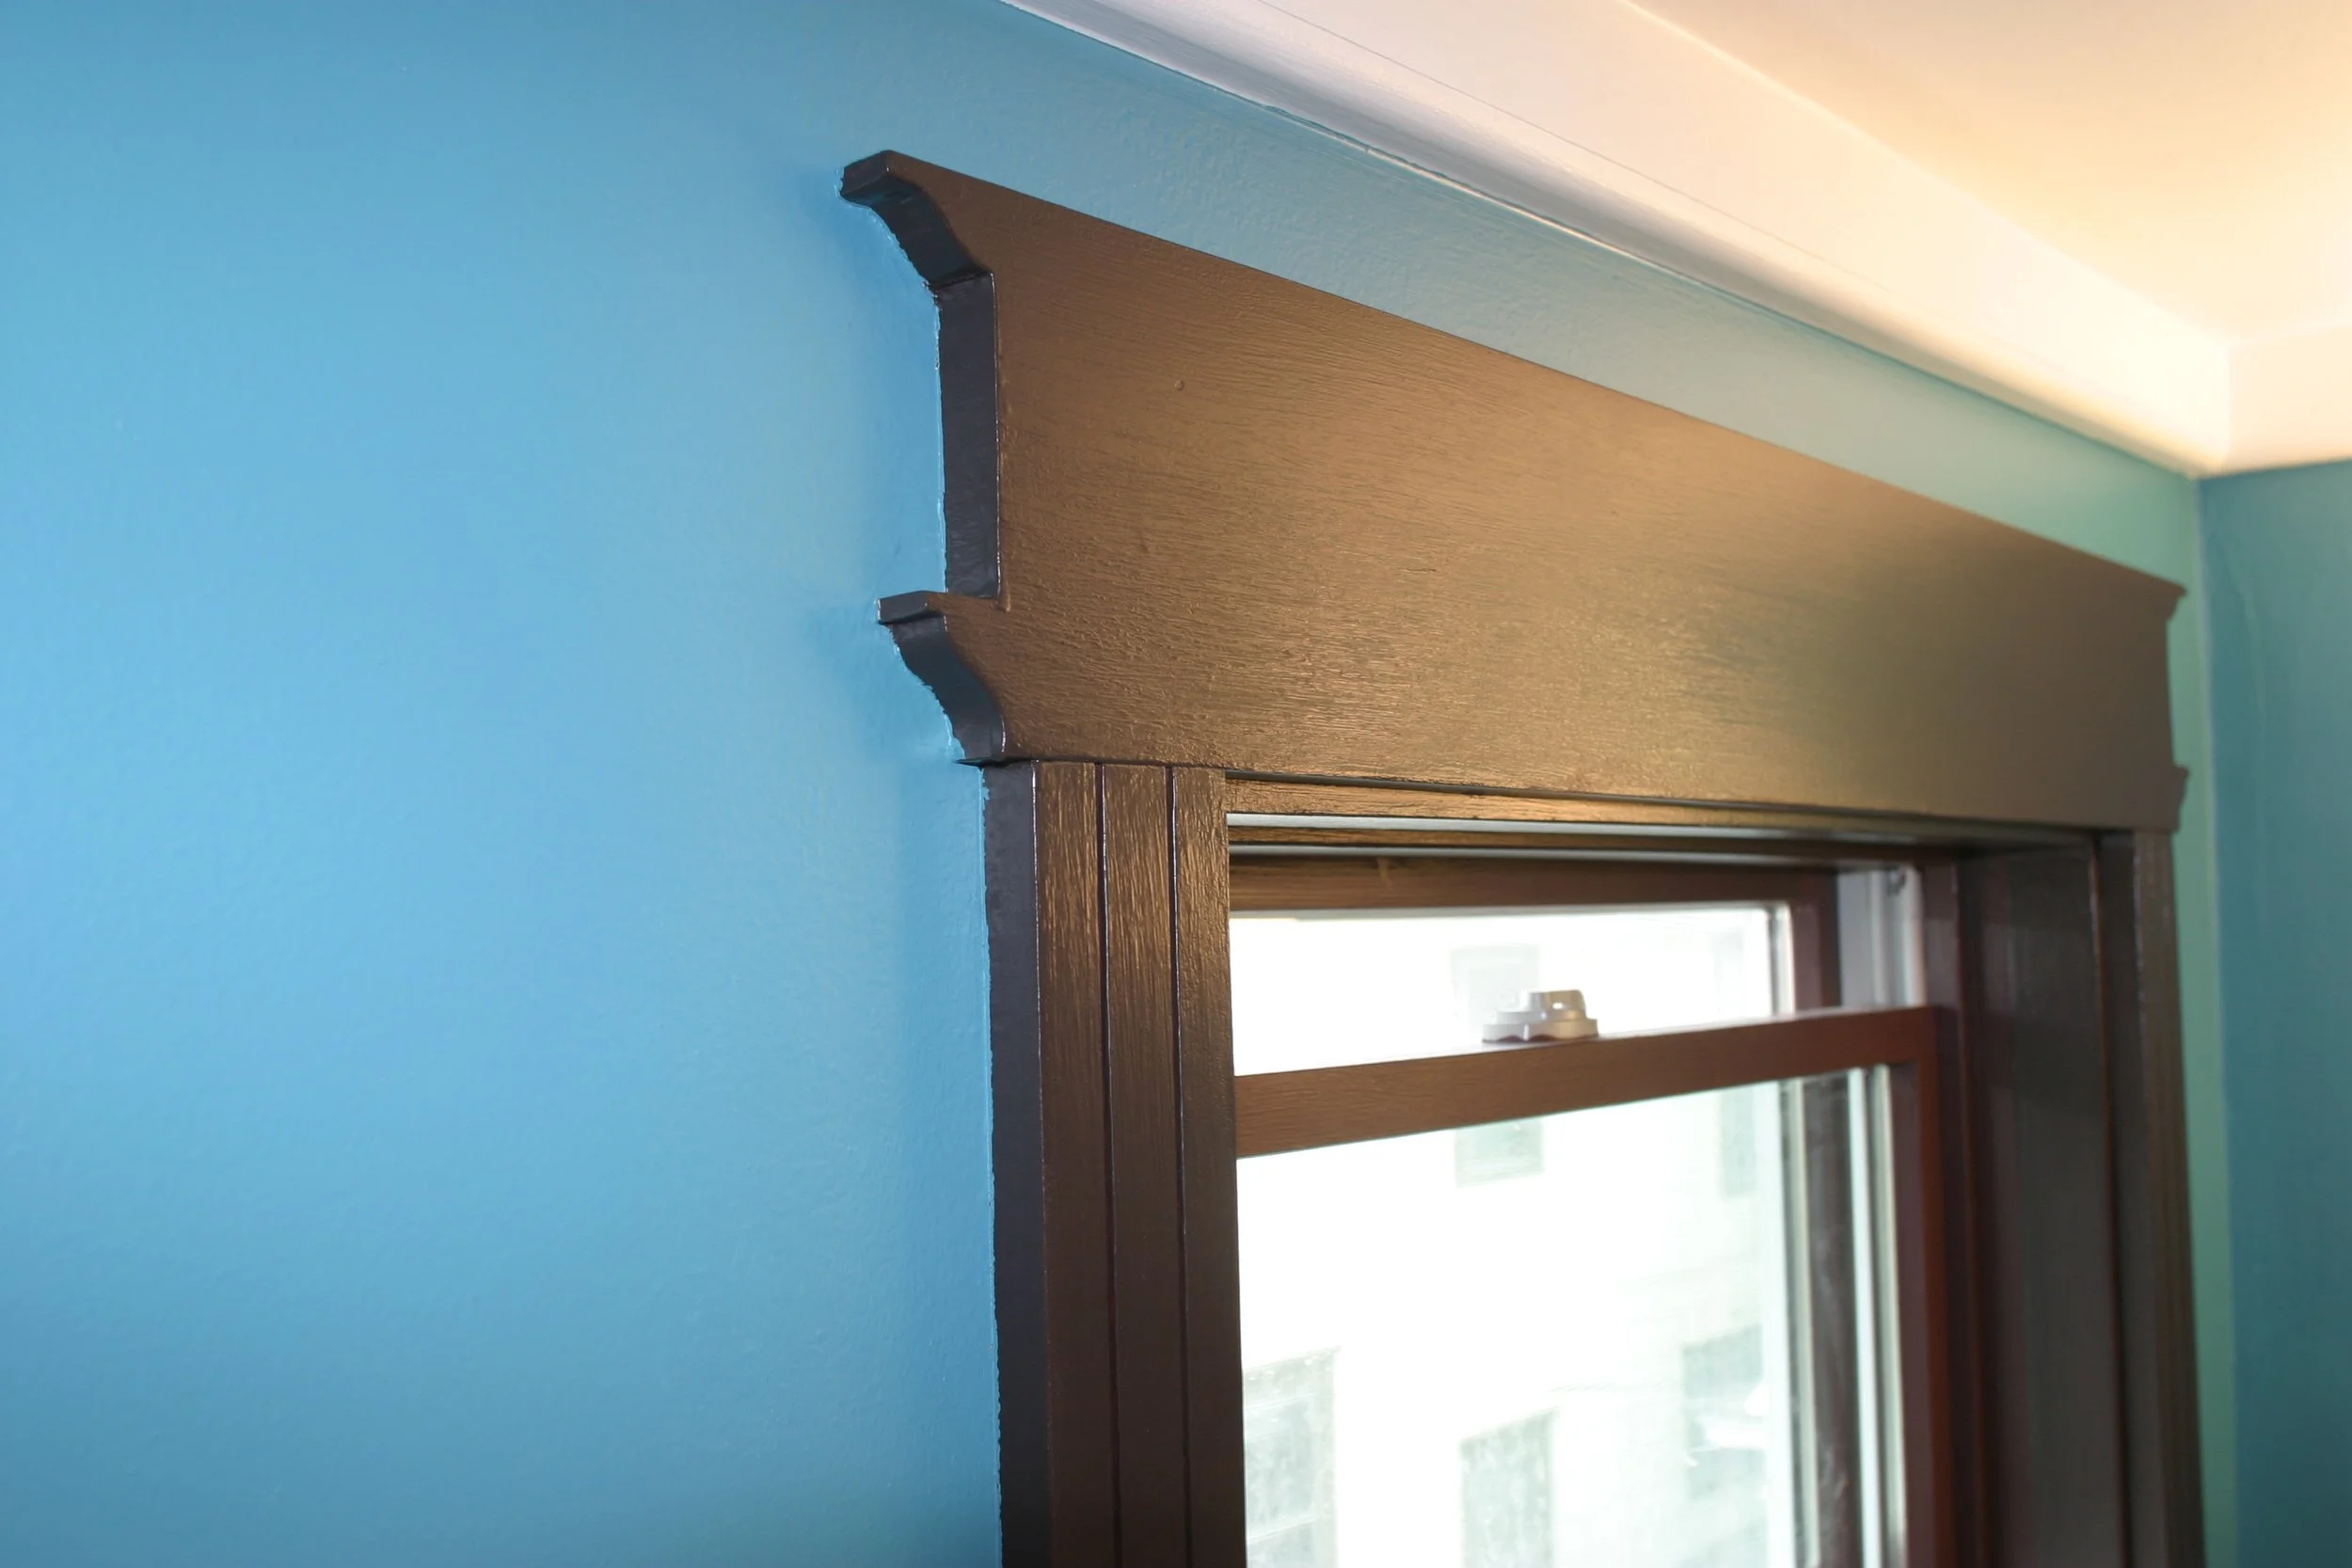
A detail of the Victorian-Ish top window trim.
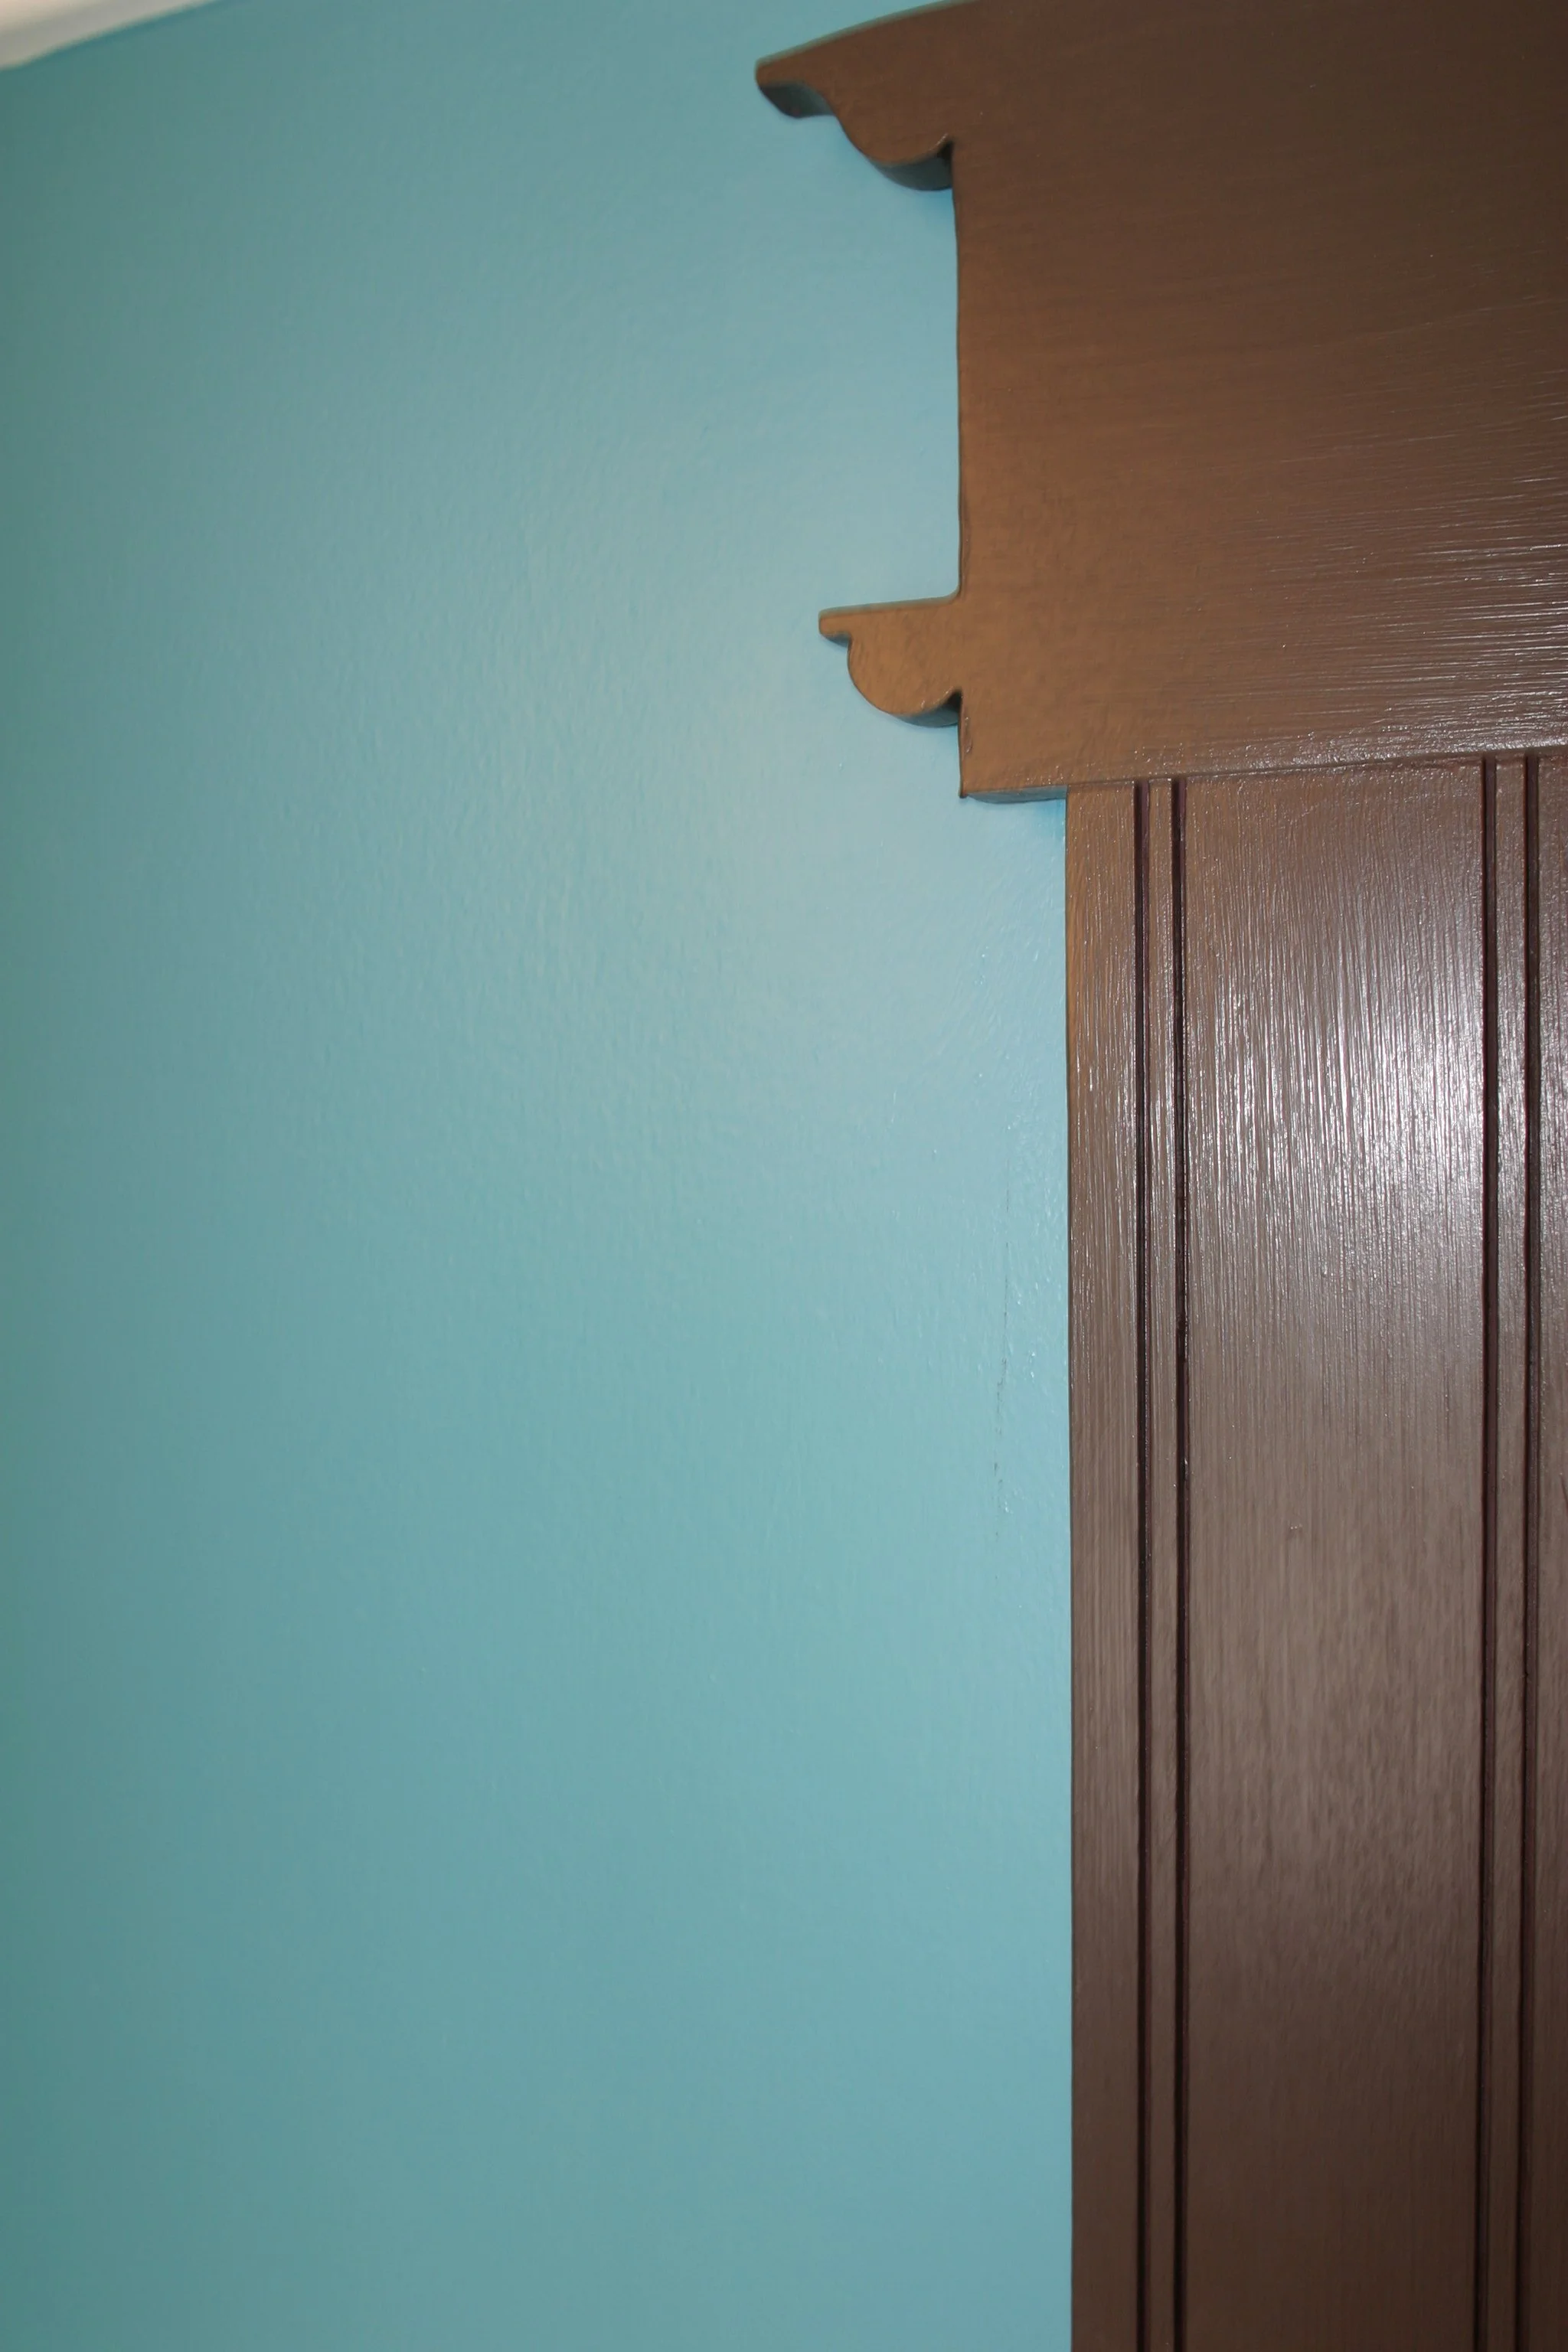
The door trim side casing was just passed through the table saw four times shallowly.
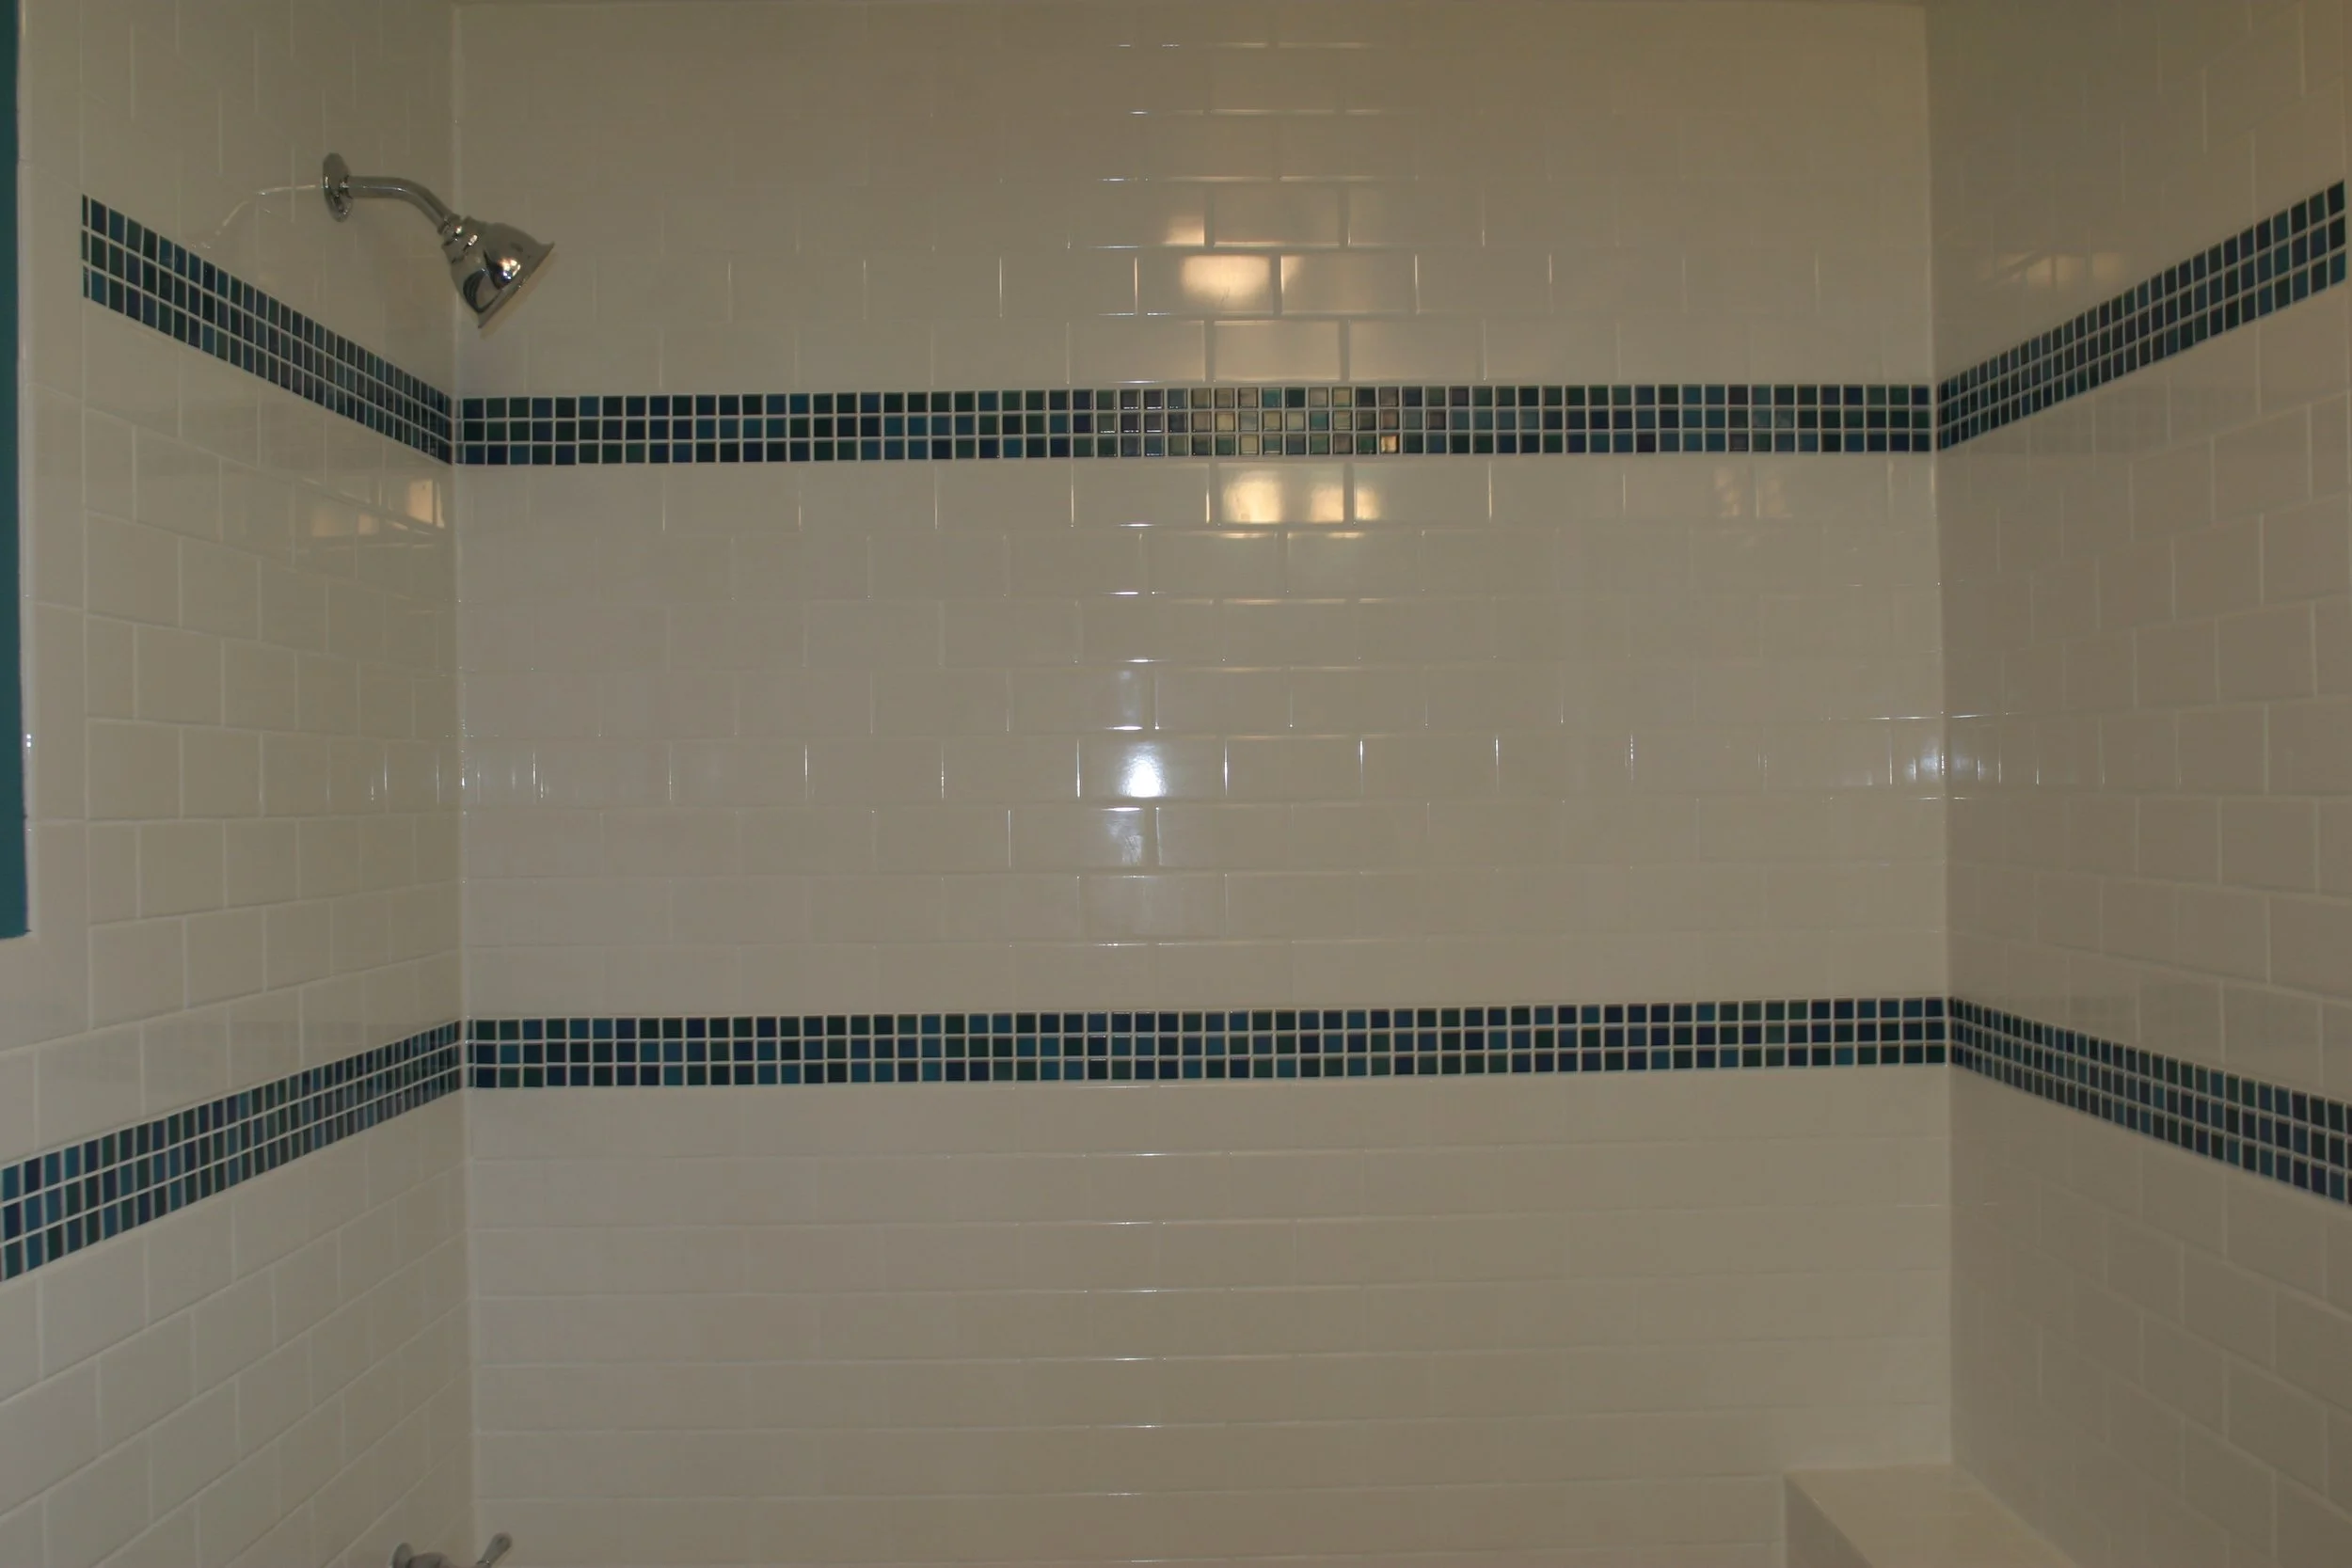
Sexy shower tile.
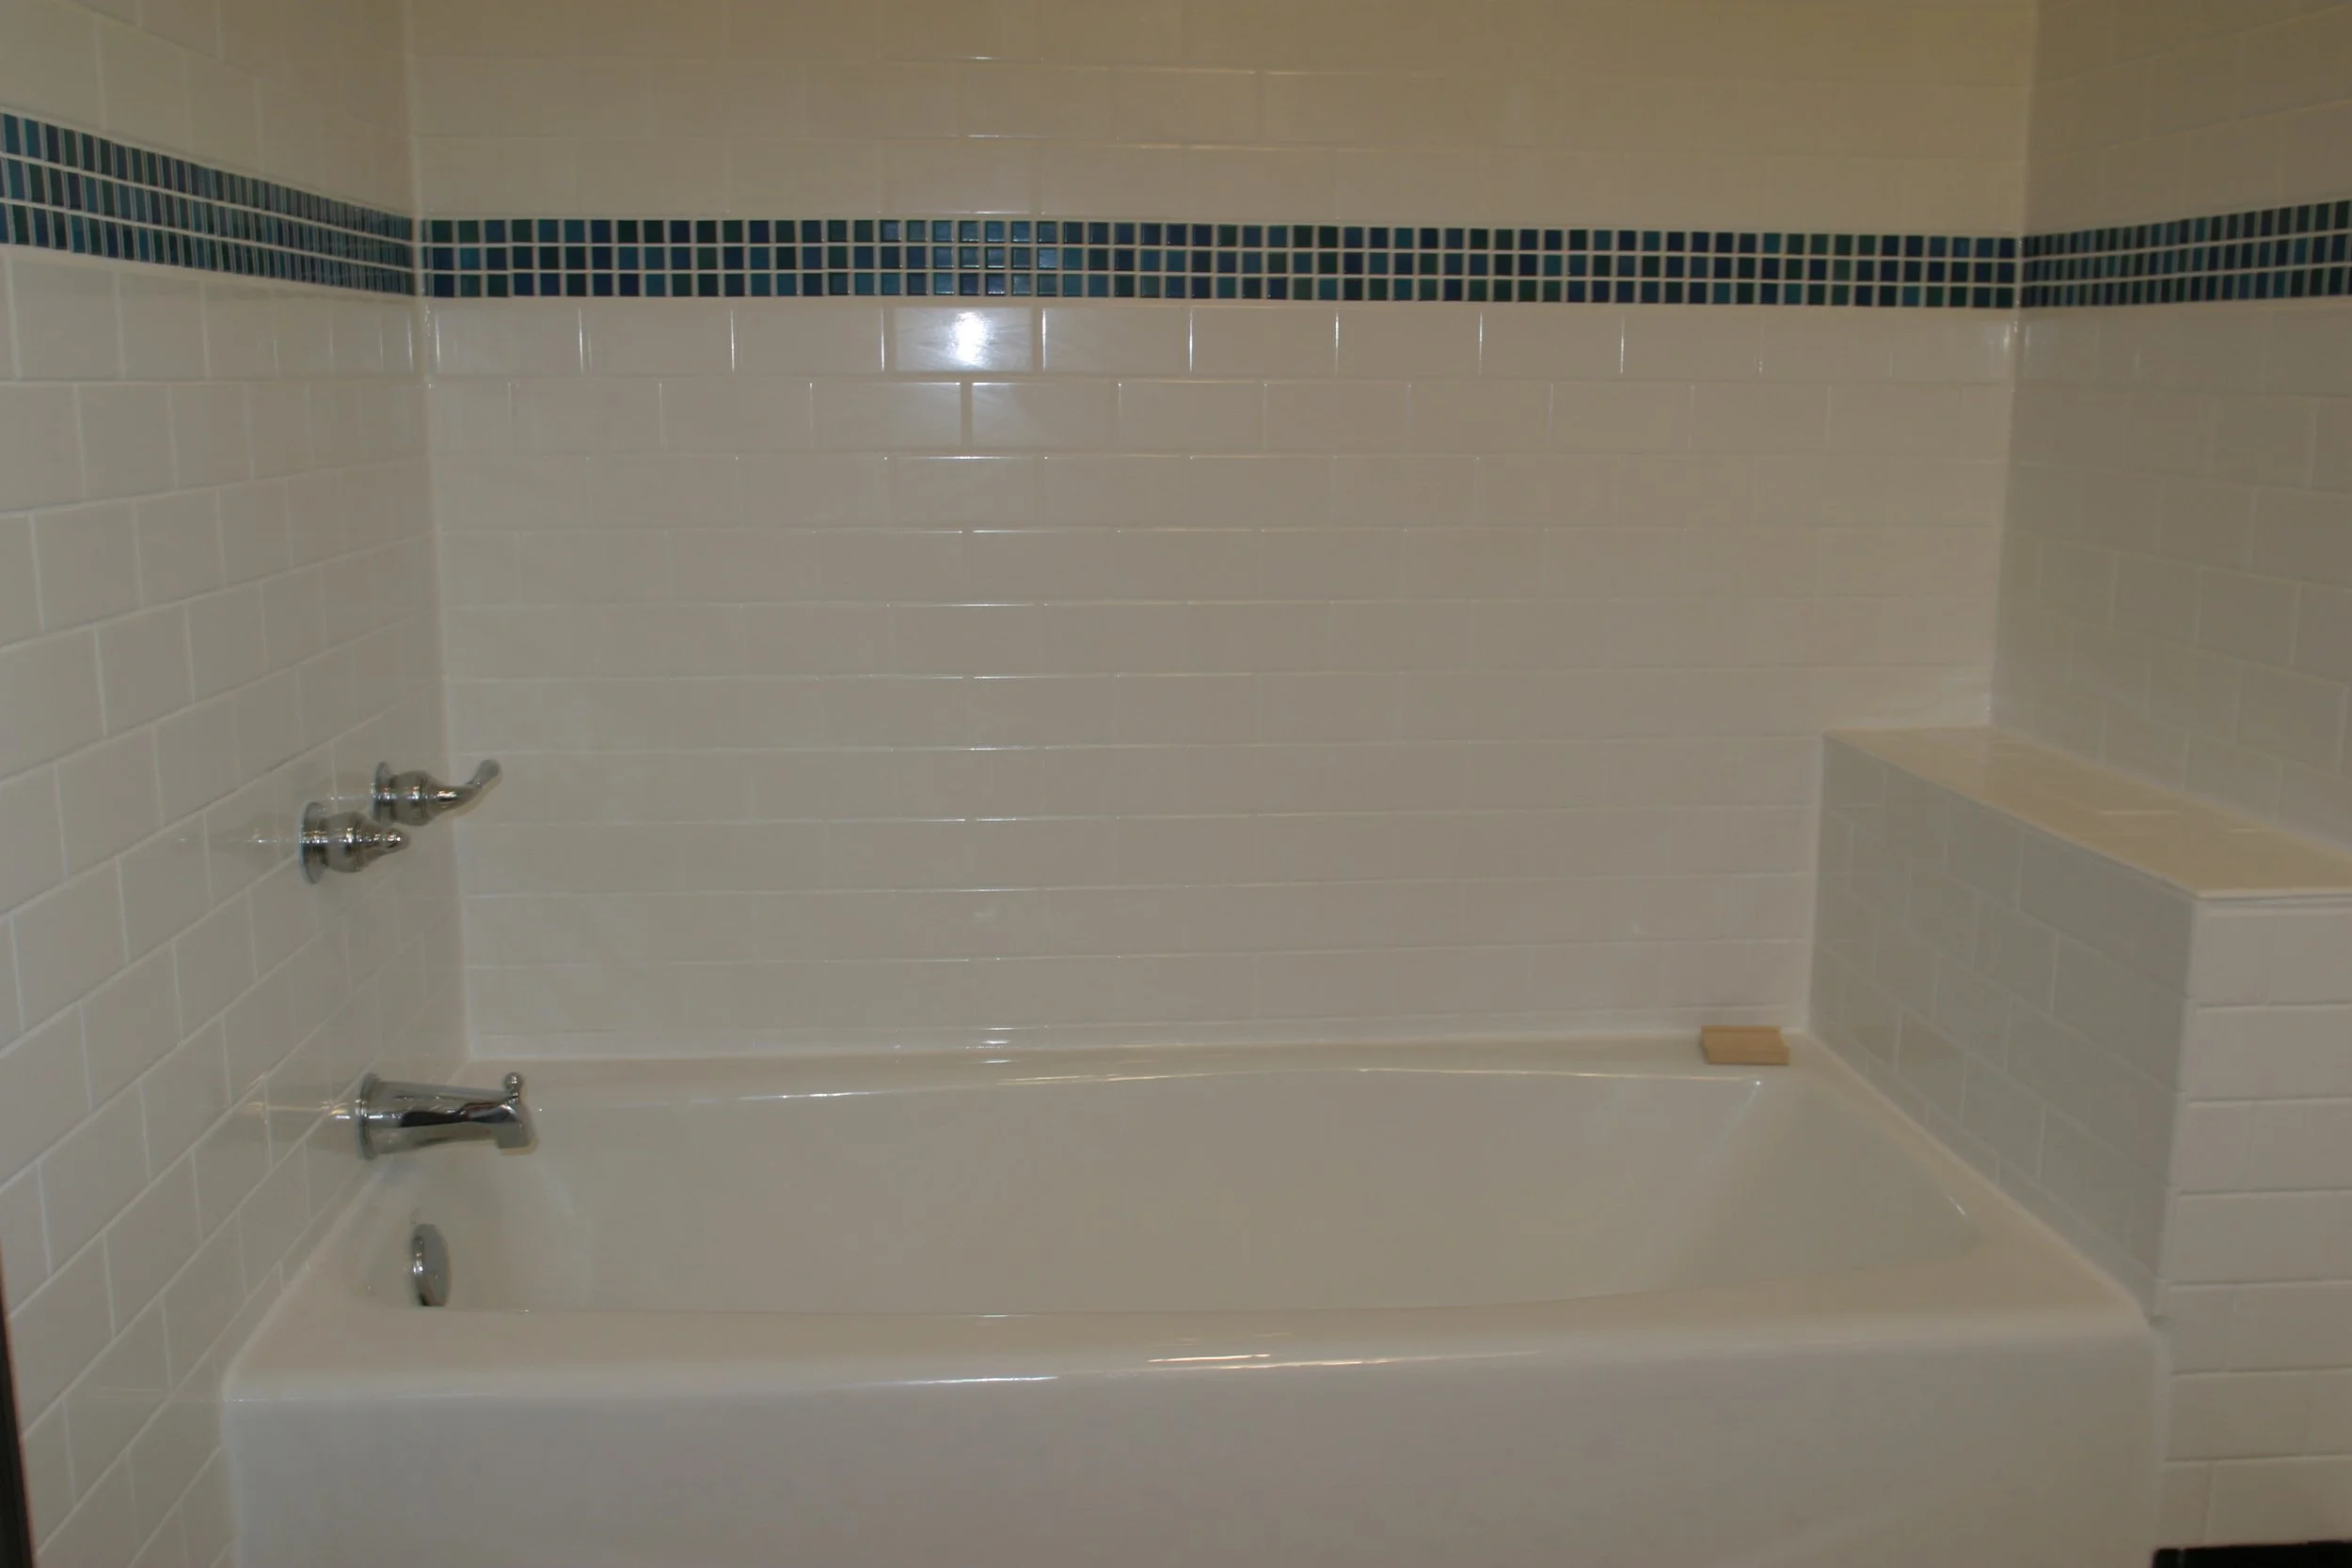
Bathtub and tile.
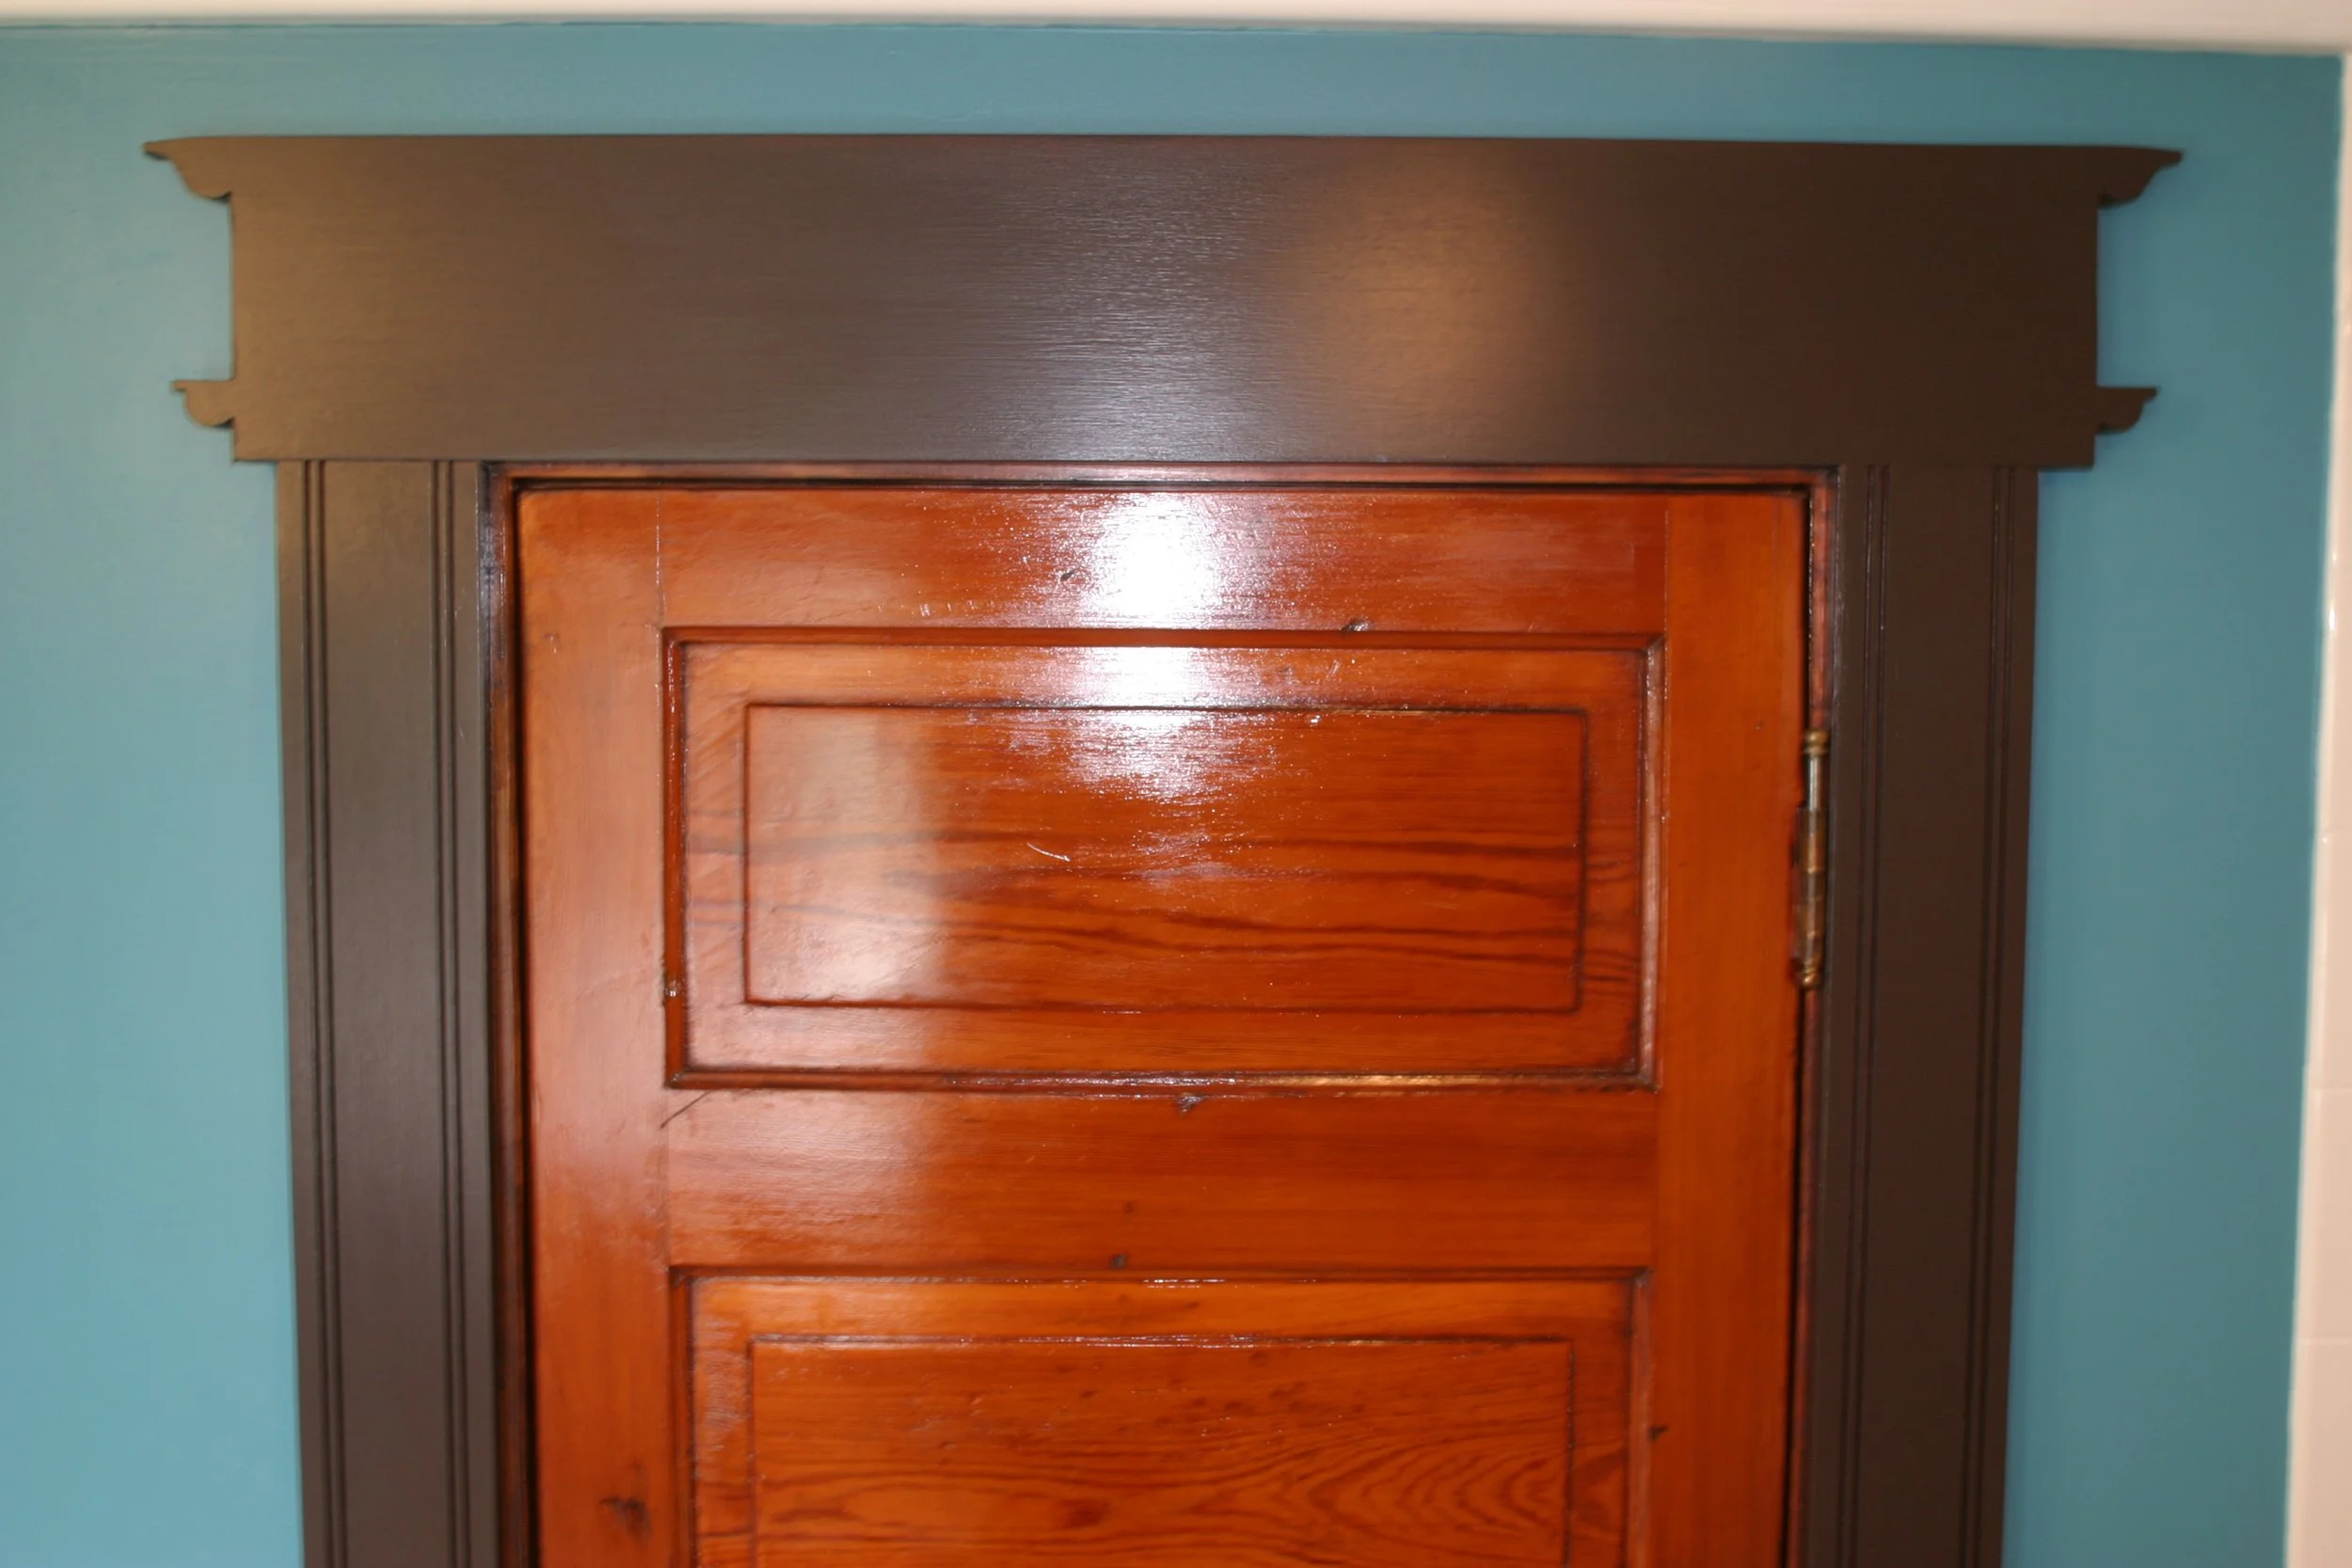
Stained and sealed door and Victorian–ish trim.
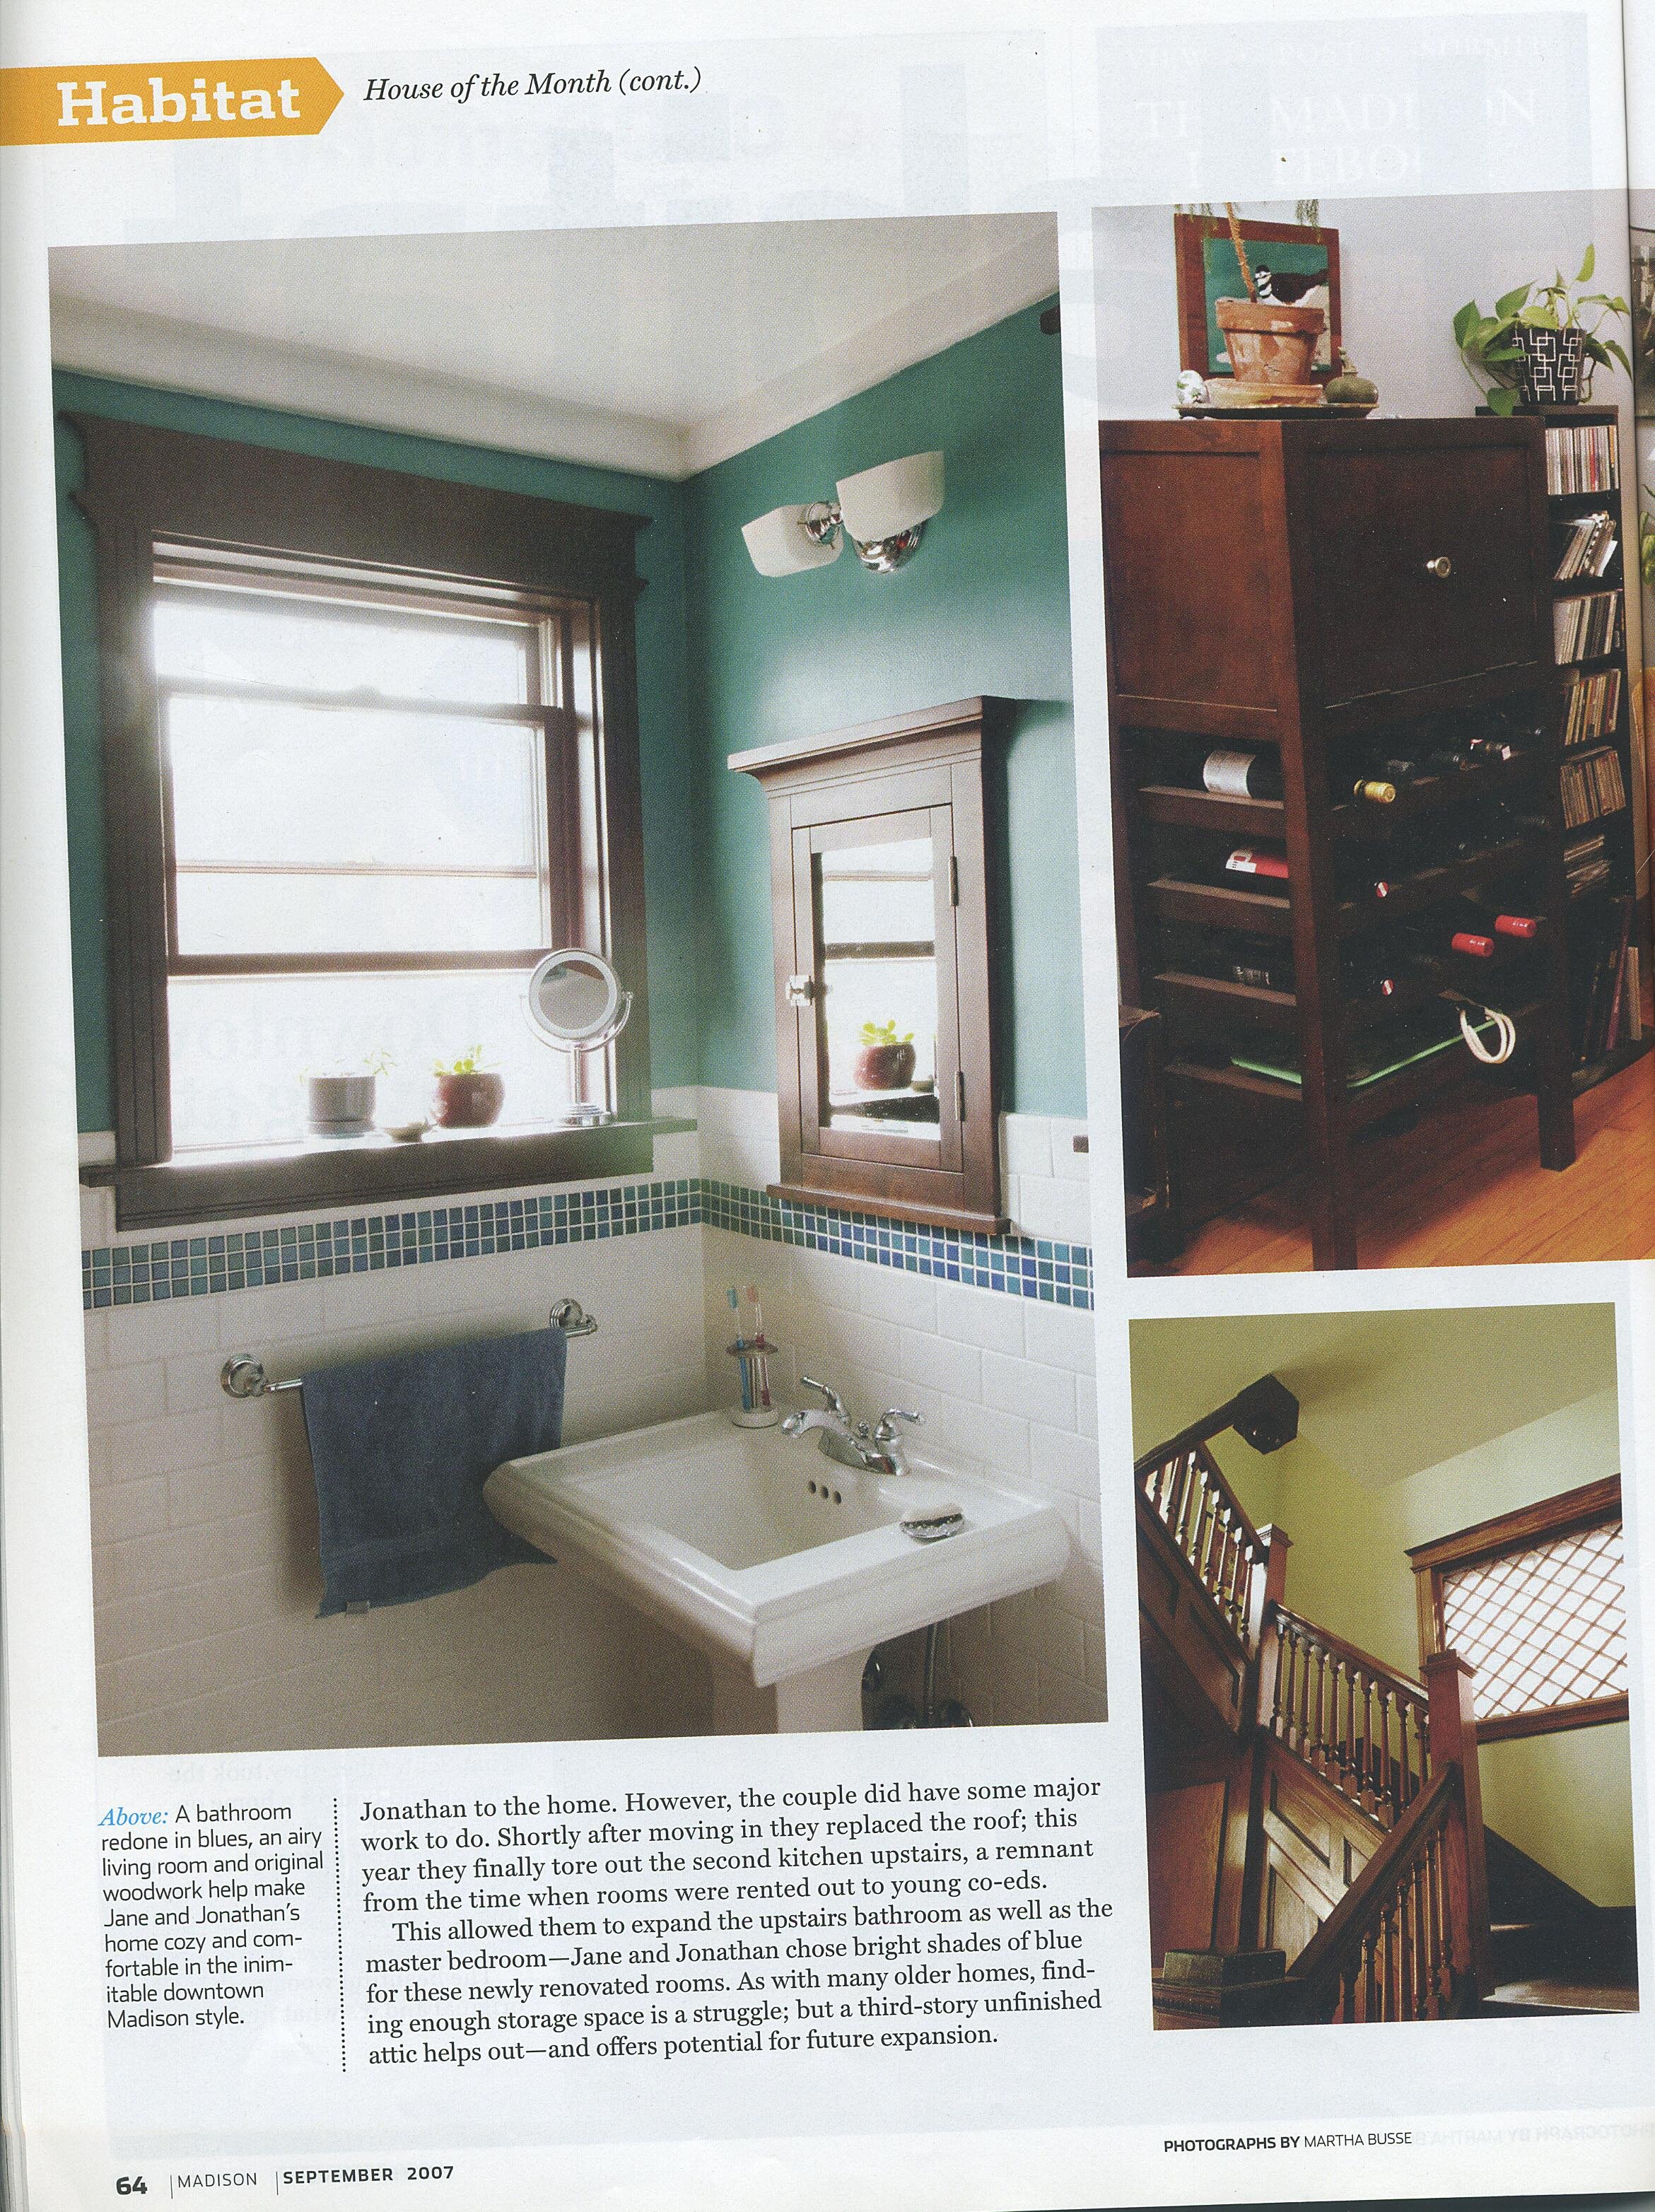
Page from Madison Magazine article about downtown living.
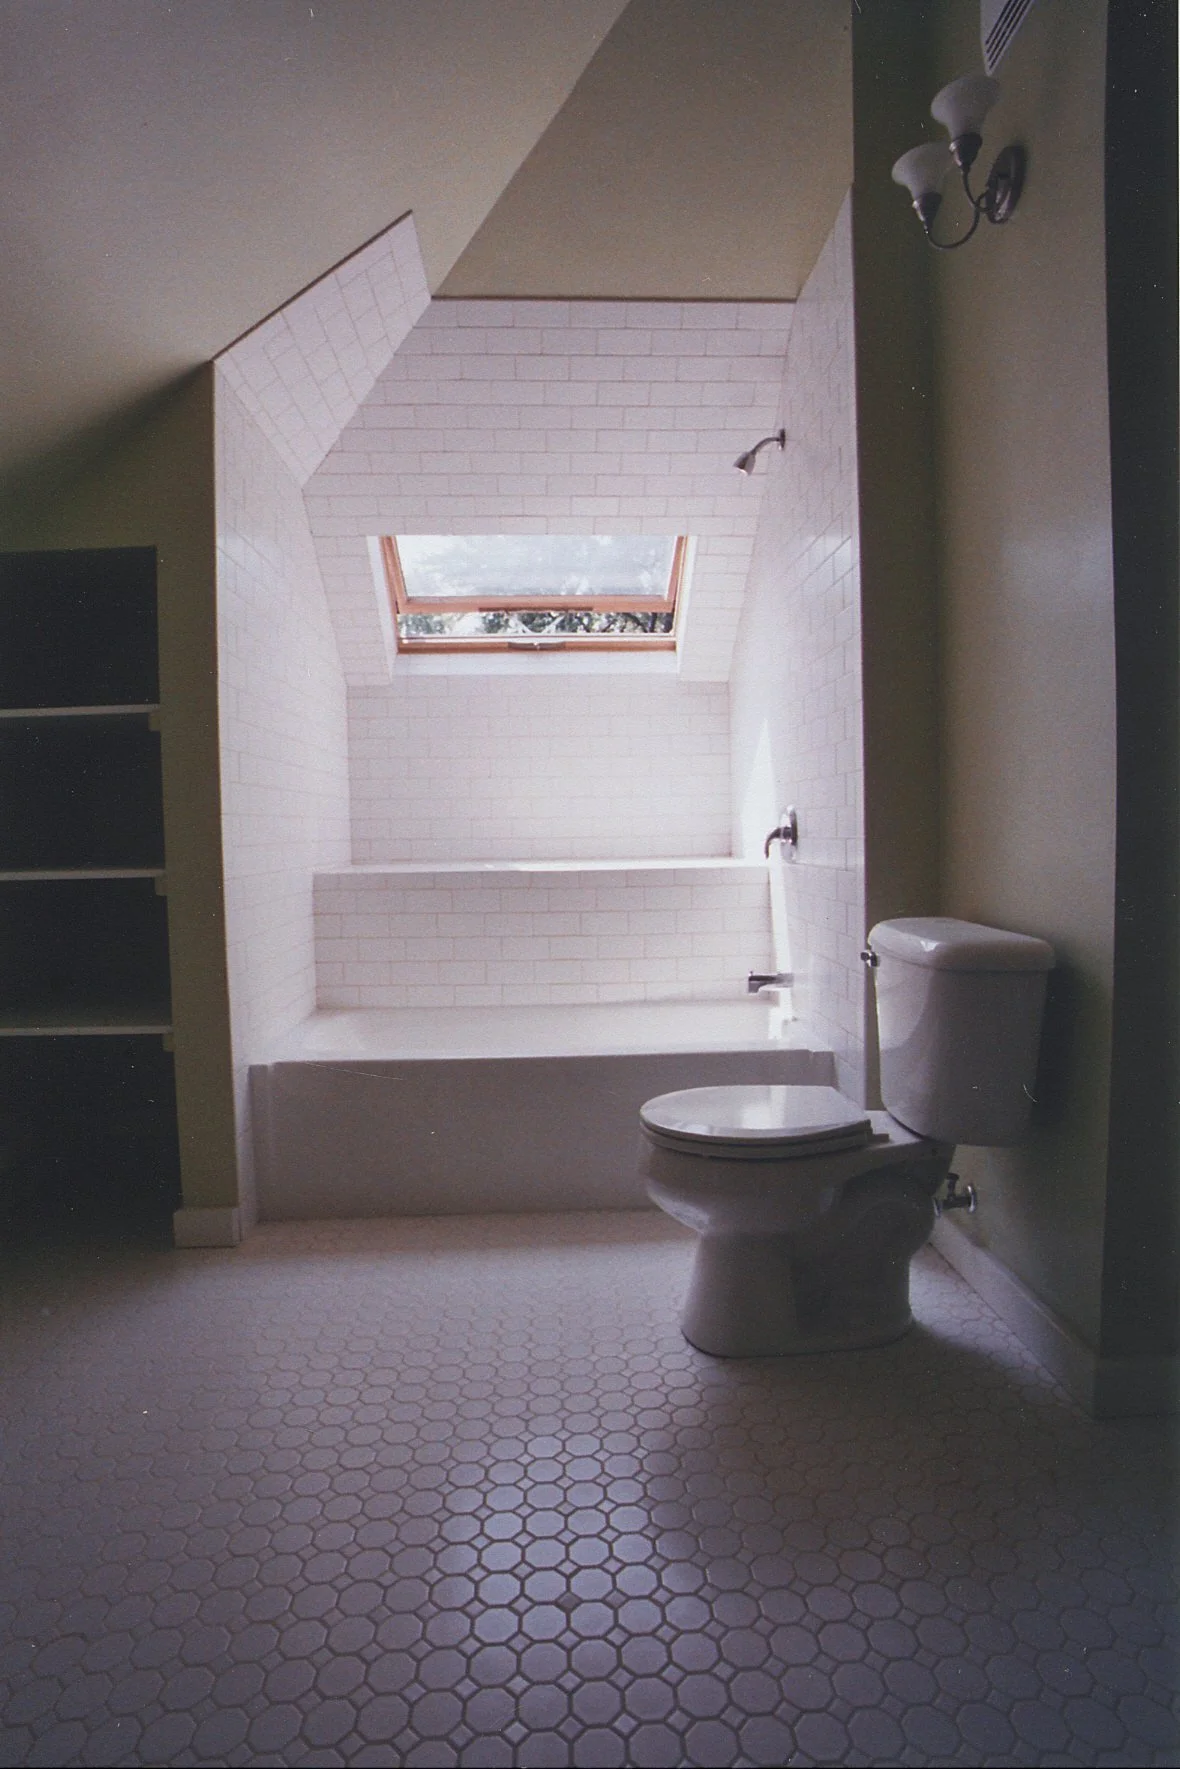
Bungalow Bathroom
This became quite an undertaking. It turned out that the original builders had dramatically undersized the floor joists. They were long 2x6es! So I needed to triple up each joist screwing a second and third 2x6 to each joist. The customer took this opportunity to pull out some of the last knob and tube electrical and replace it. I installed a thick subfloor and tiled the floor. I framed the storage closet, the two built-in shelving units, the head wall of the shower, the tub enclosure, the large boxed in shelf next to the tub. I tiled the tub enclosure. I restored the drywall on all exposed walls and painted all plaster and trim.
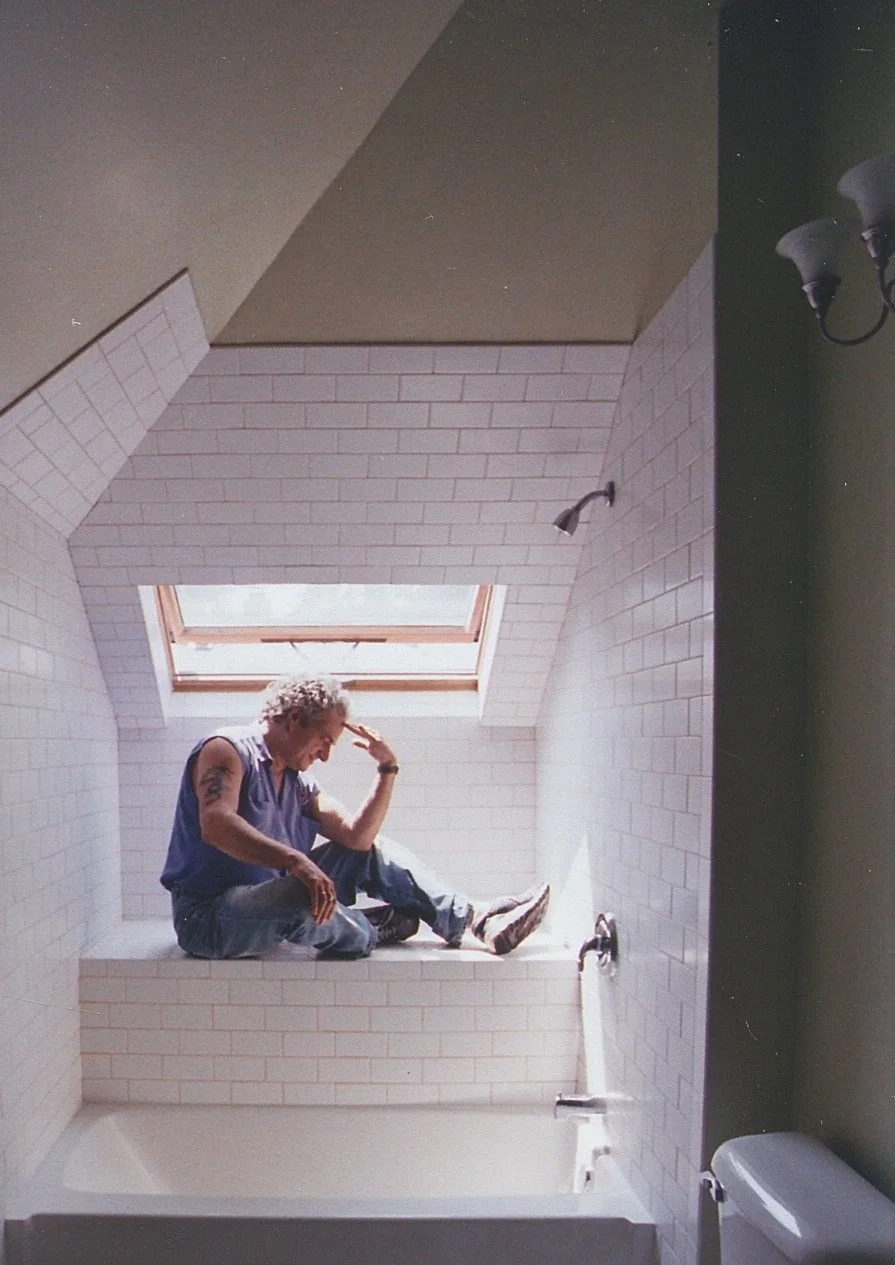
Portrait of the Artist/Carpenter as A Young(er) Man

Welcome into the bathroom nestled under the roof. Chimney is exposed on right.
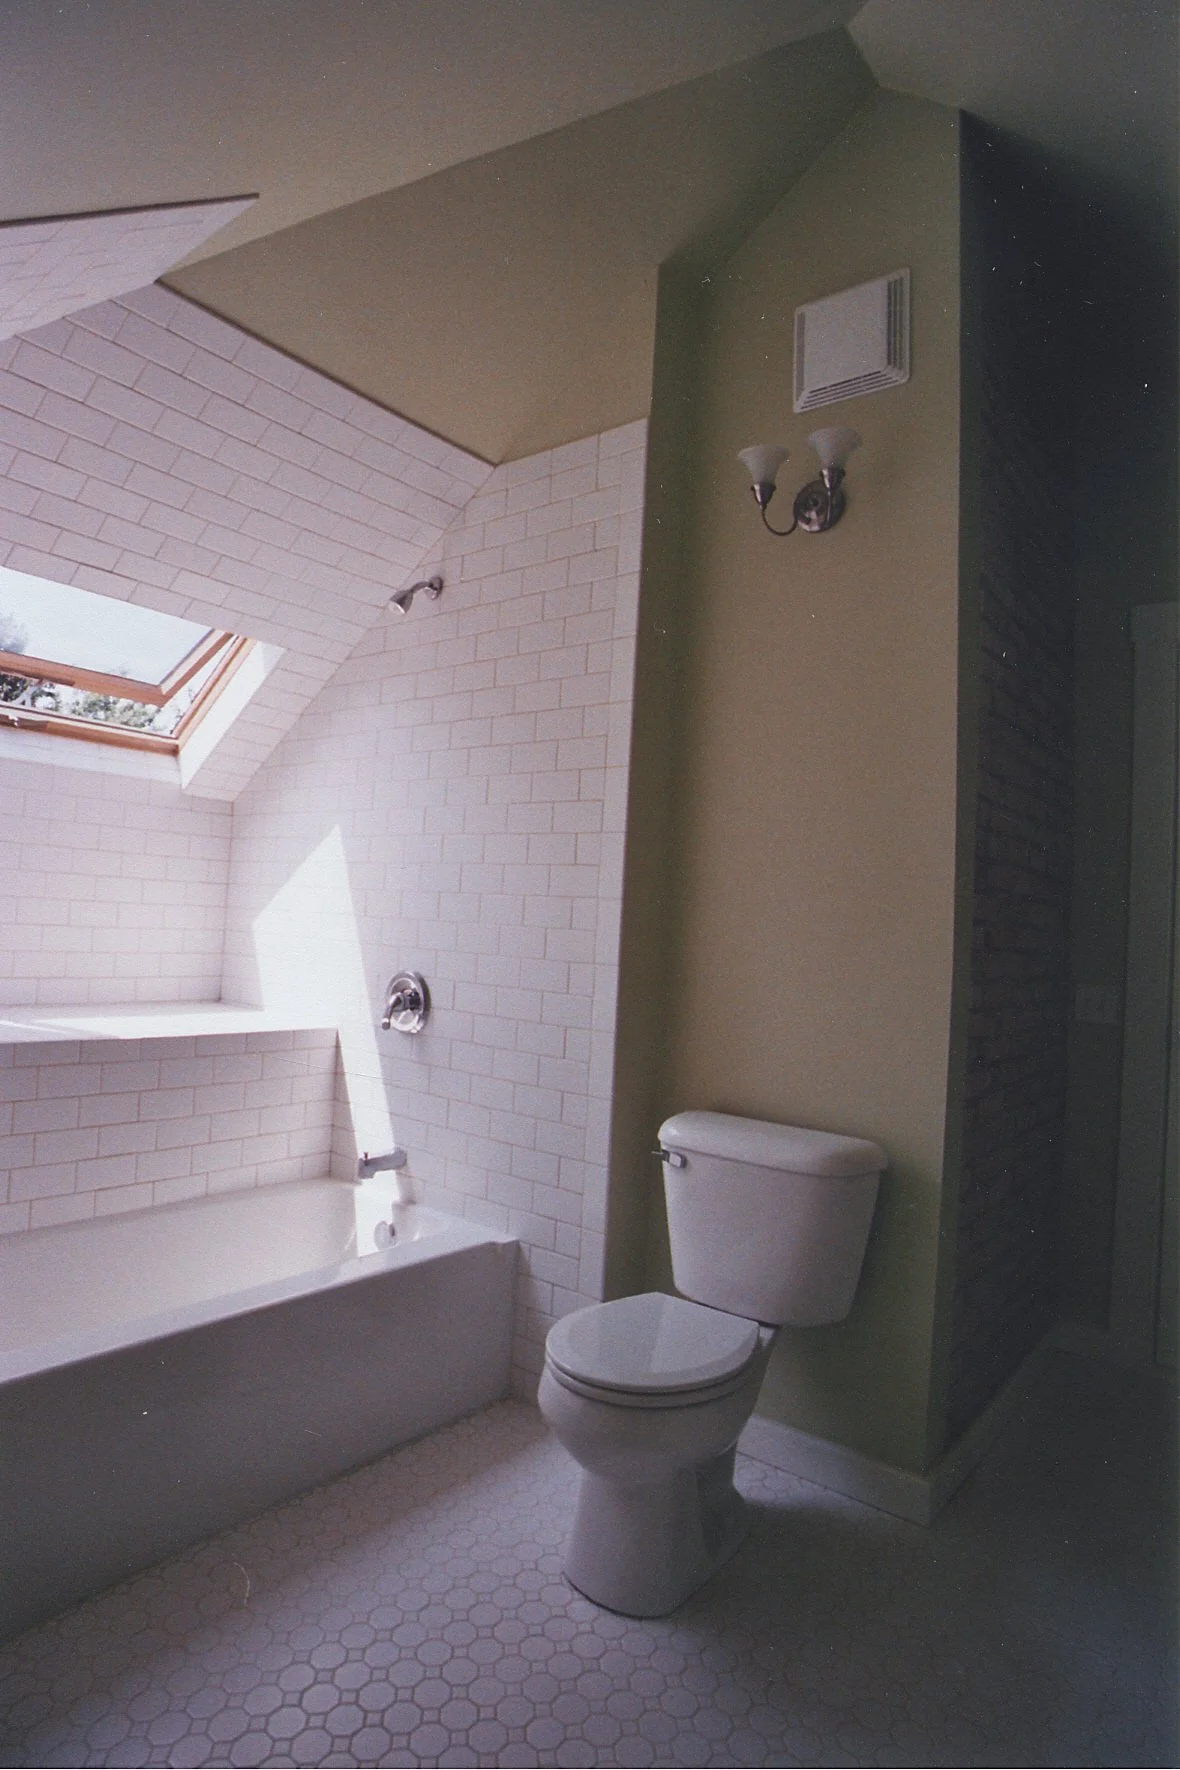
Tub siting was constrained by skylight and attic framing details.

I built in the storage shelves on left.
Another view of the tub/tiles. Very dramatic view.
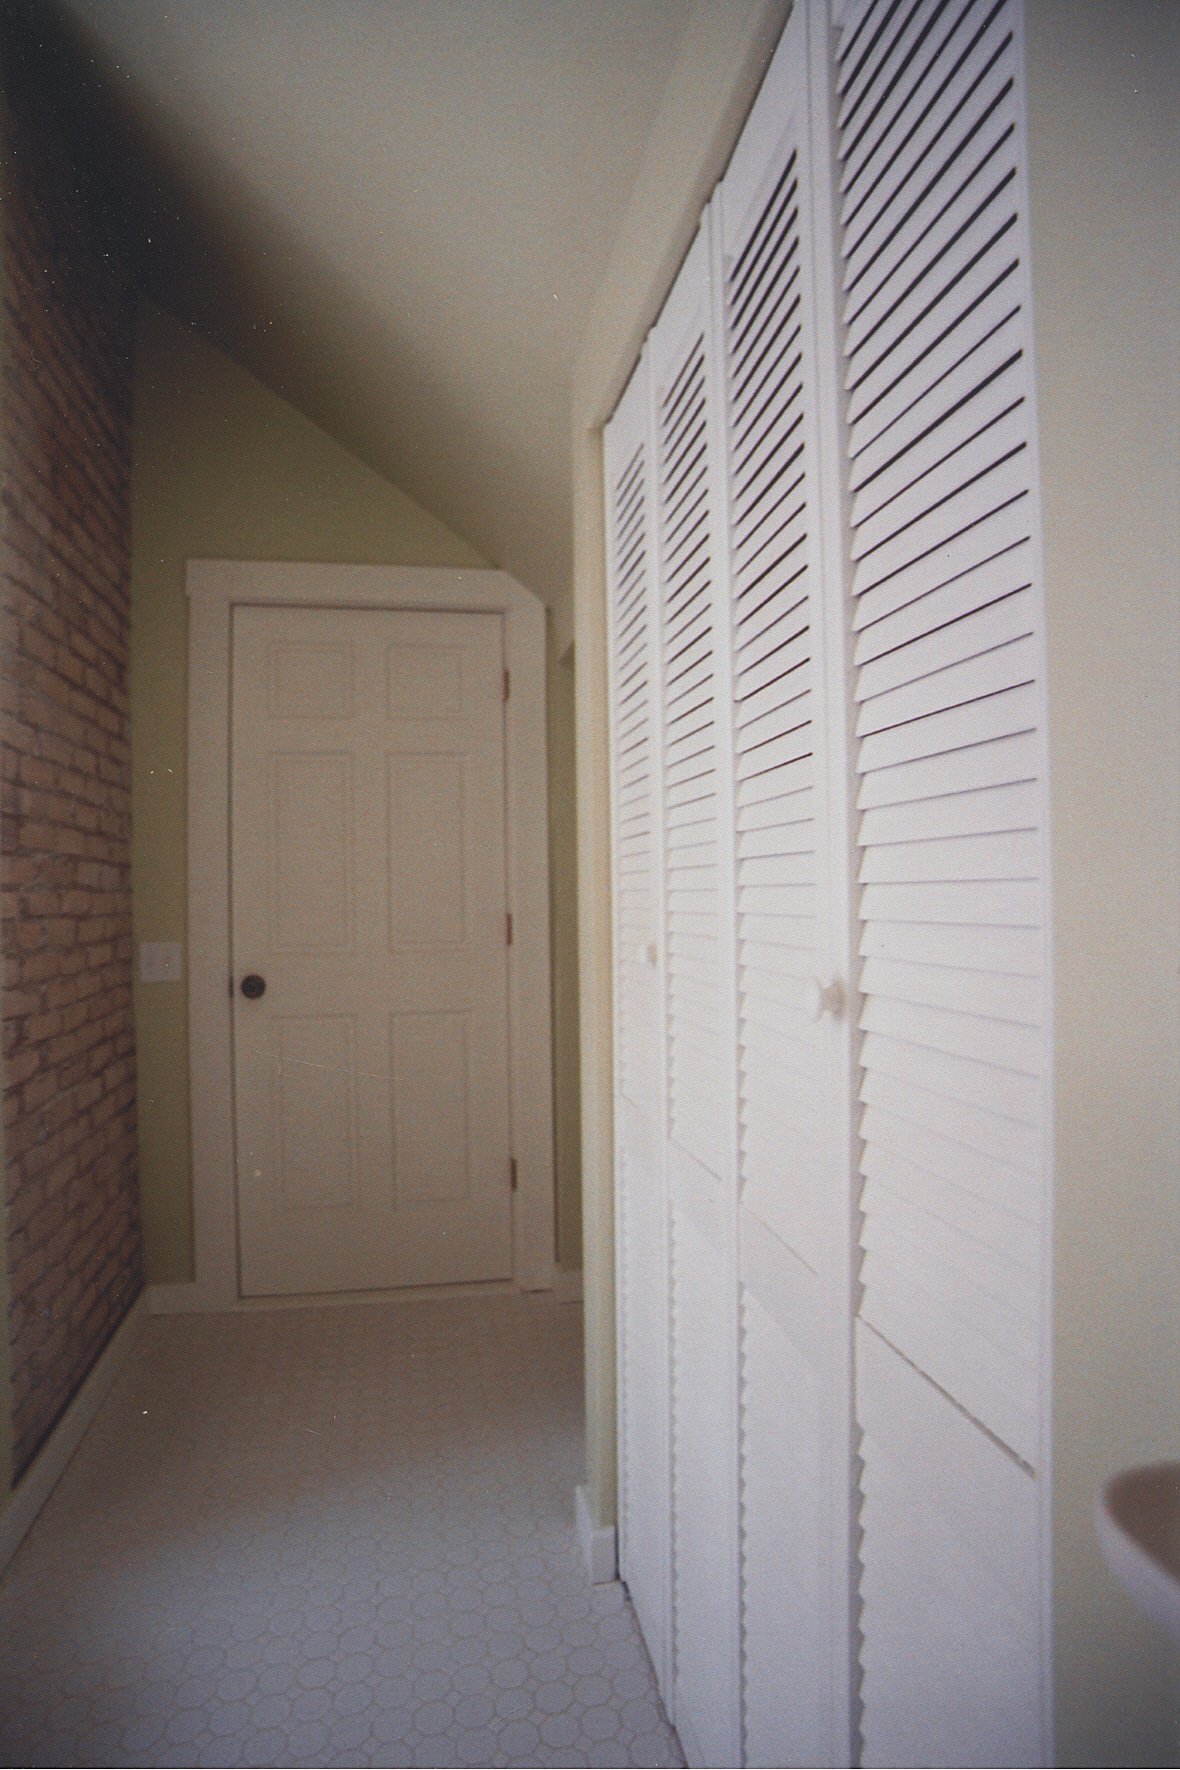
Storage built in under the roof creates a “hall” to the doorway.
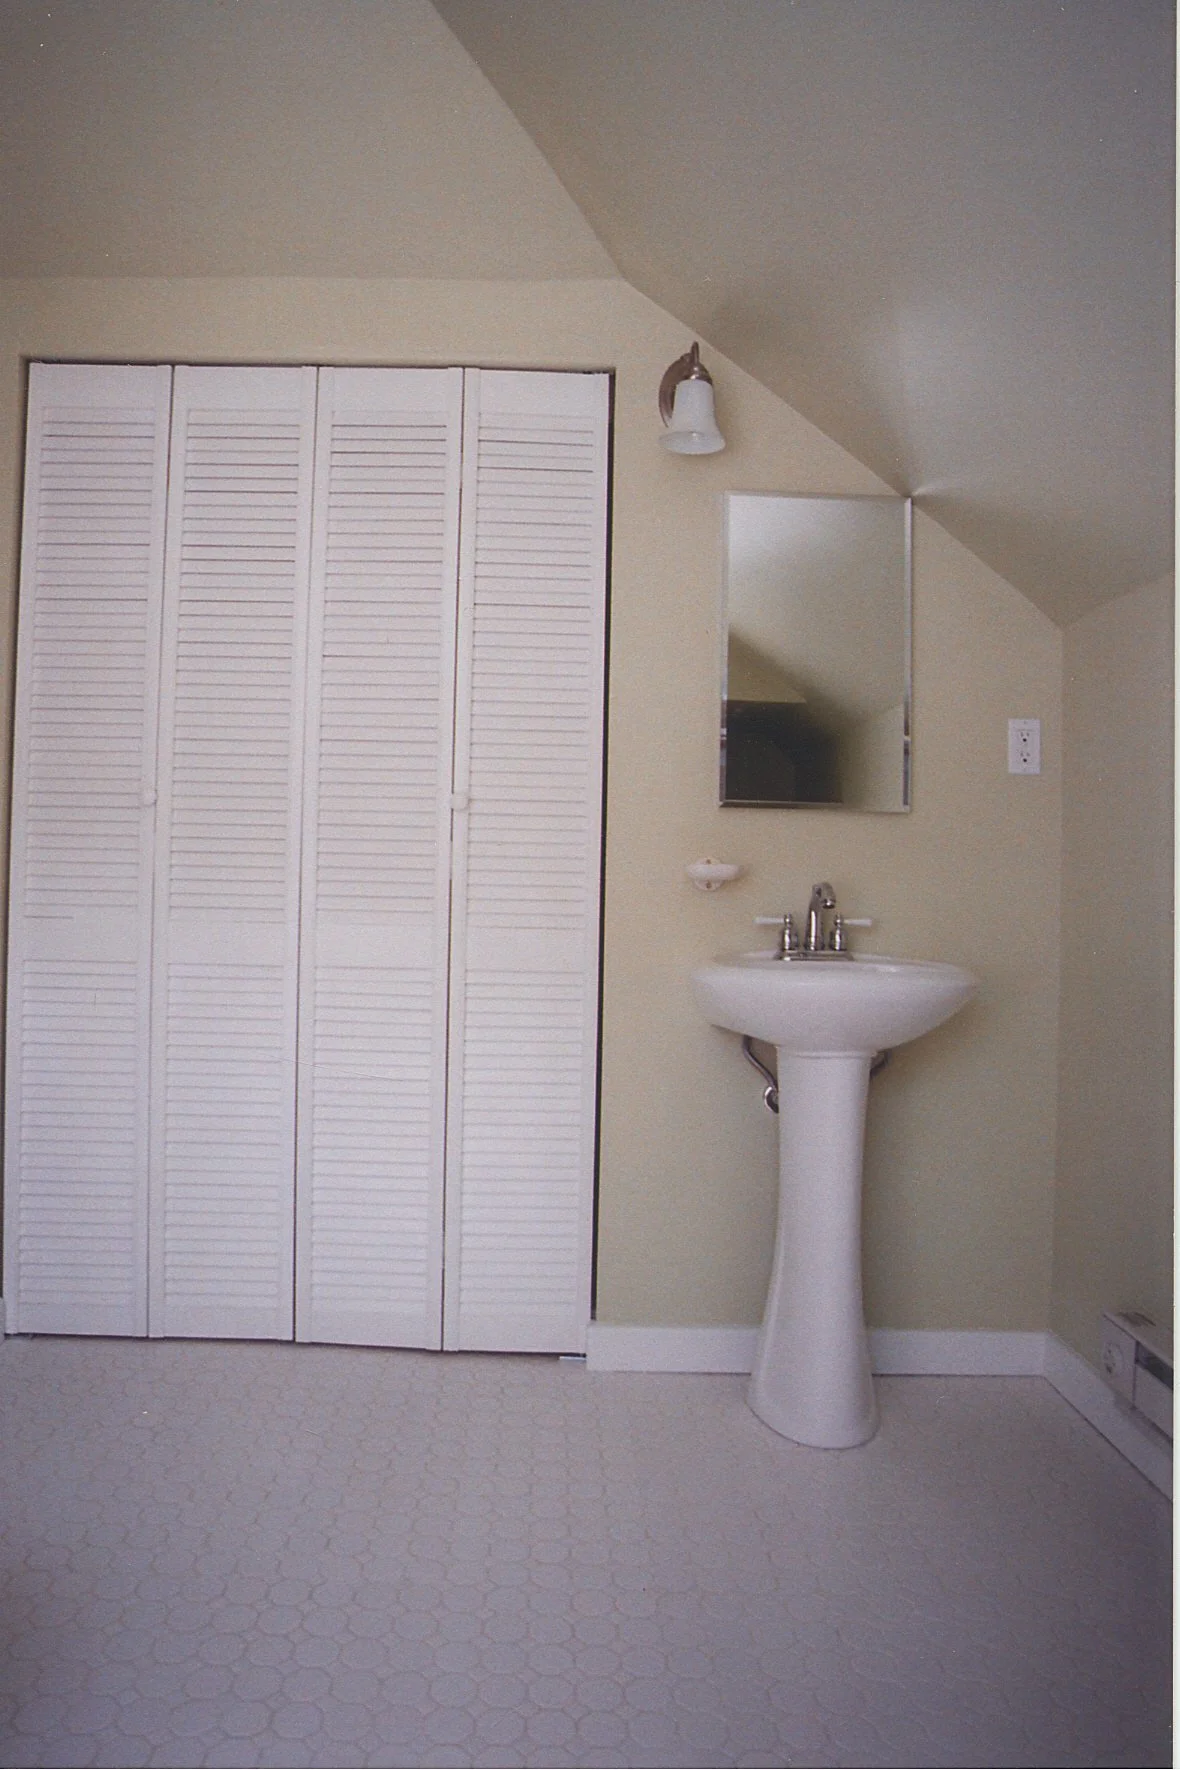
Storage closet and sink.
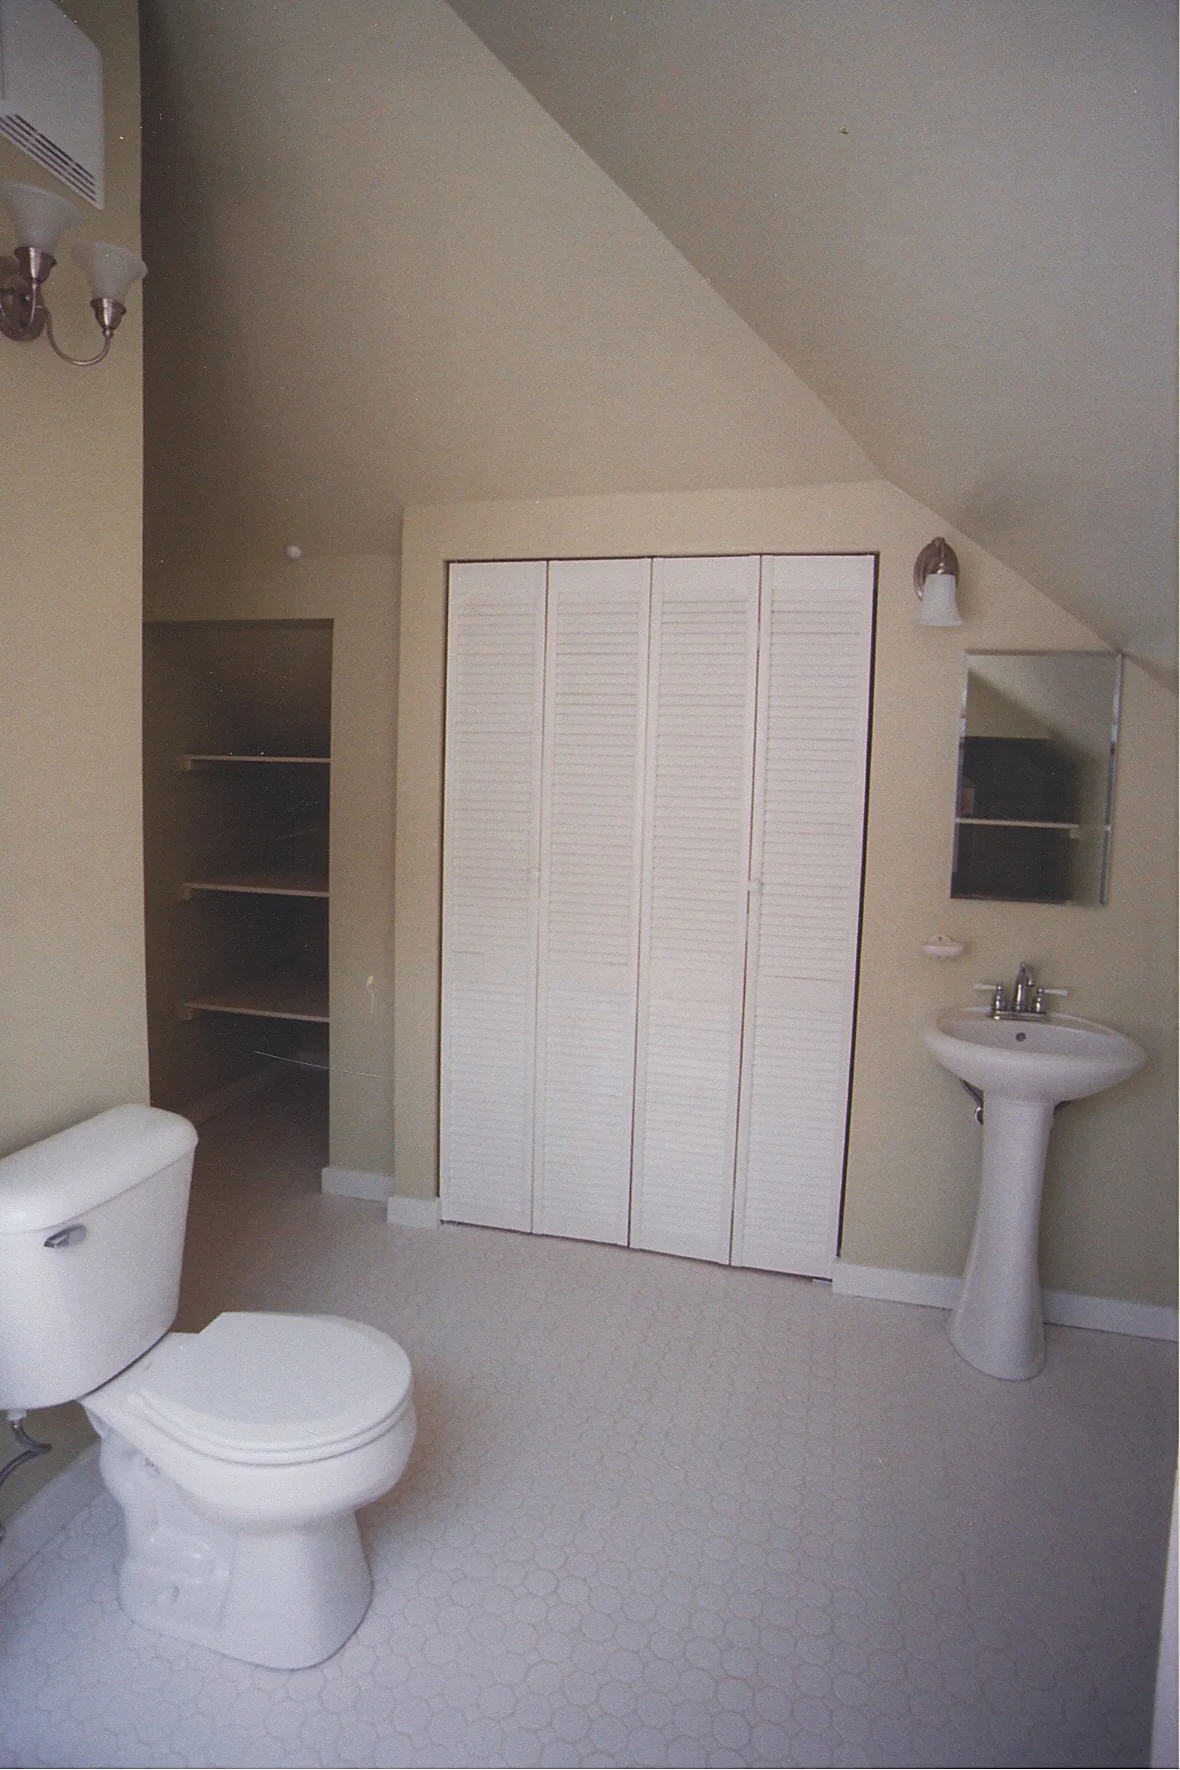
Toilet, sink, closet, and more built-in storage shelves to the left.
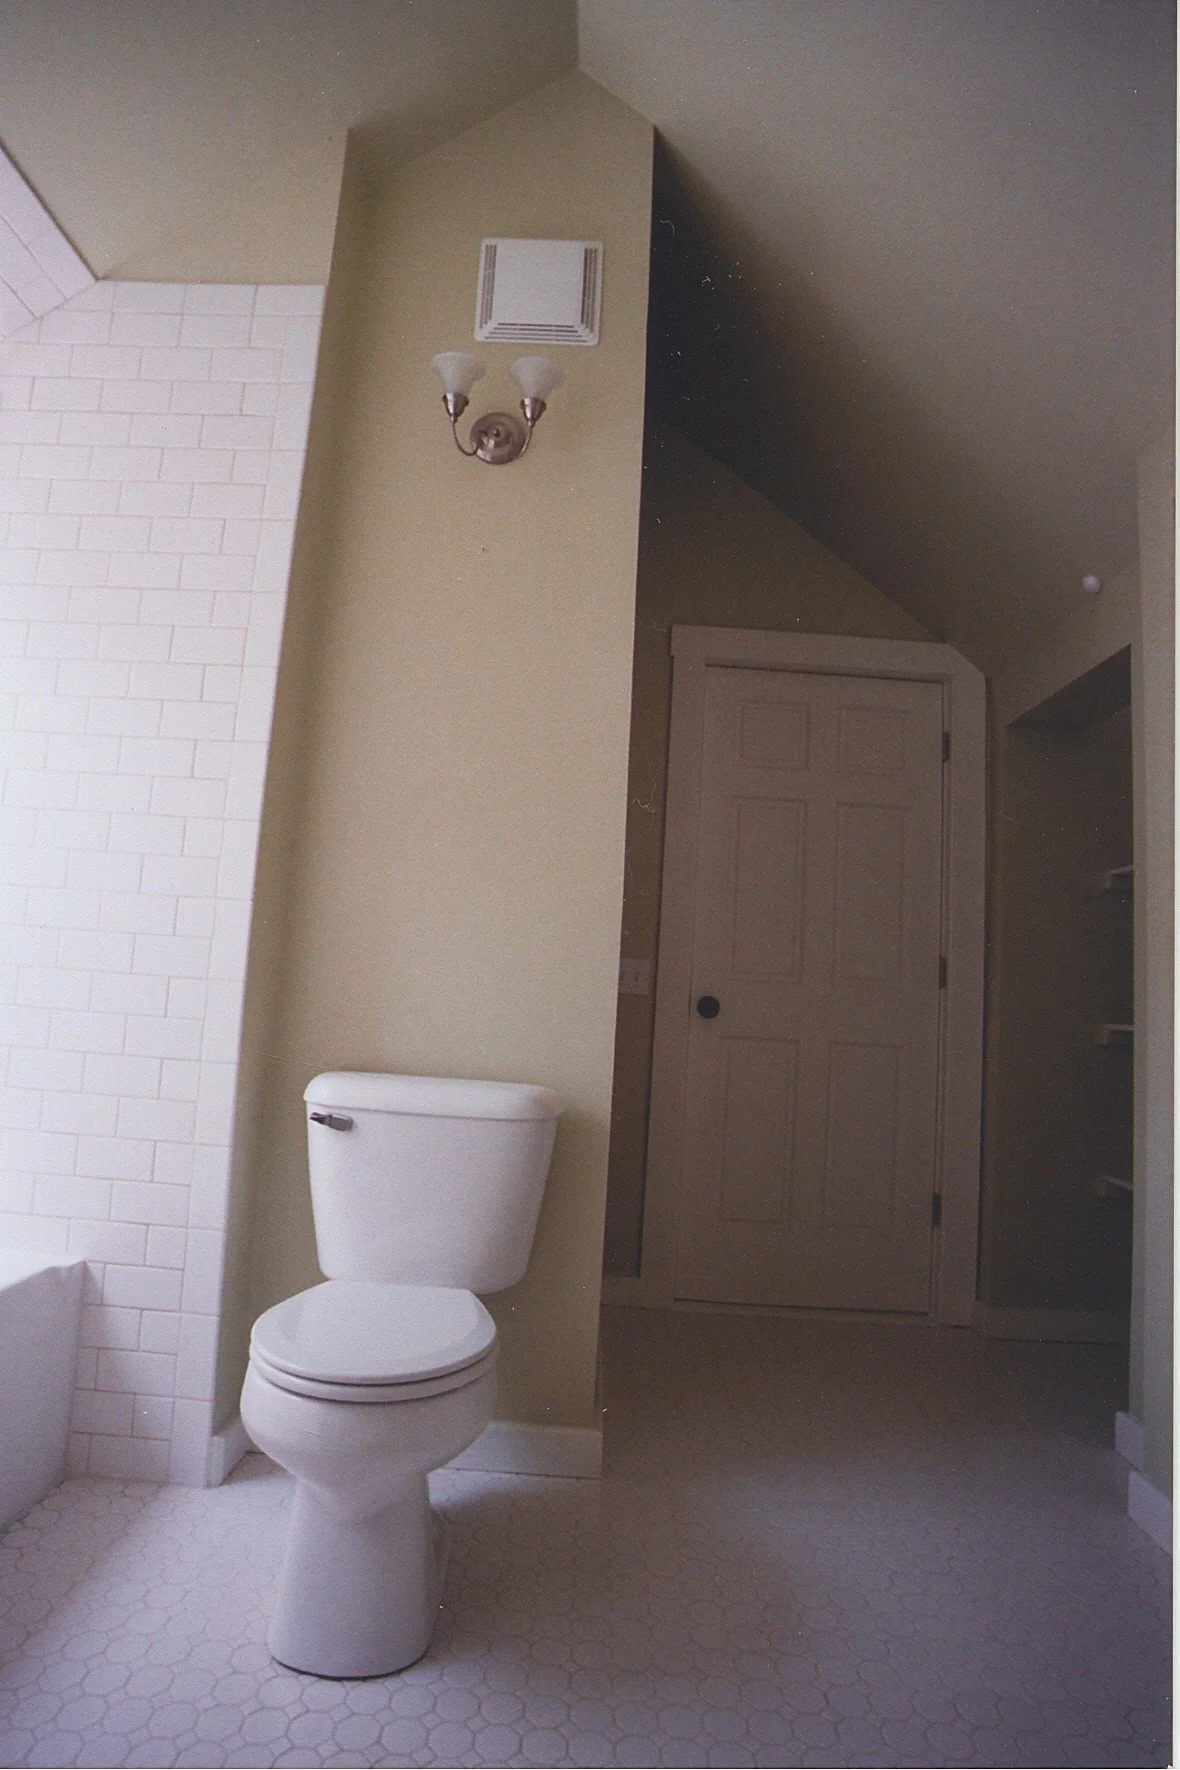
Toilet with uplifting high ceiling. I am so glad they let me remove the original low, flat ceiling!
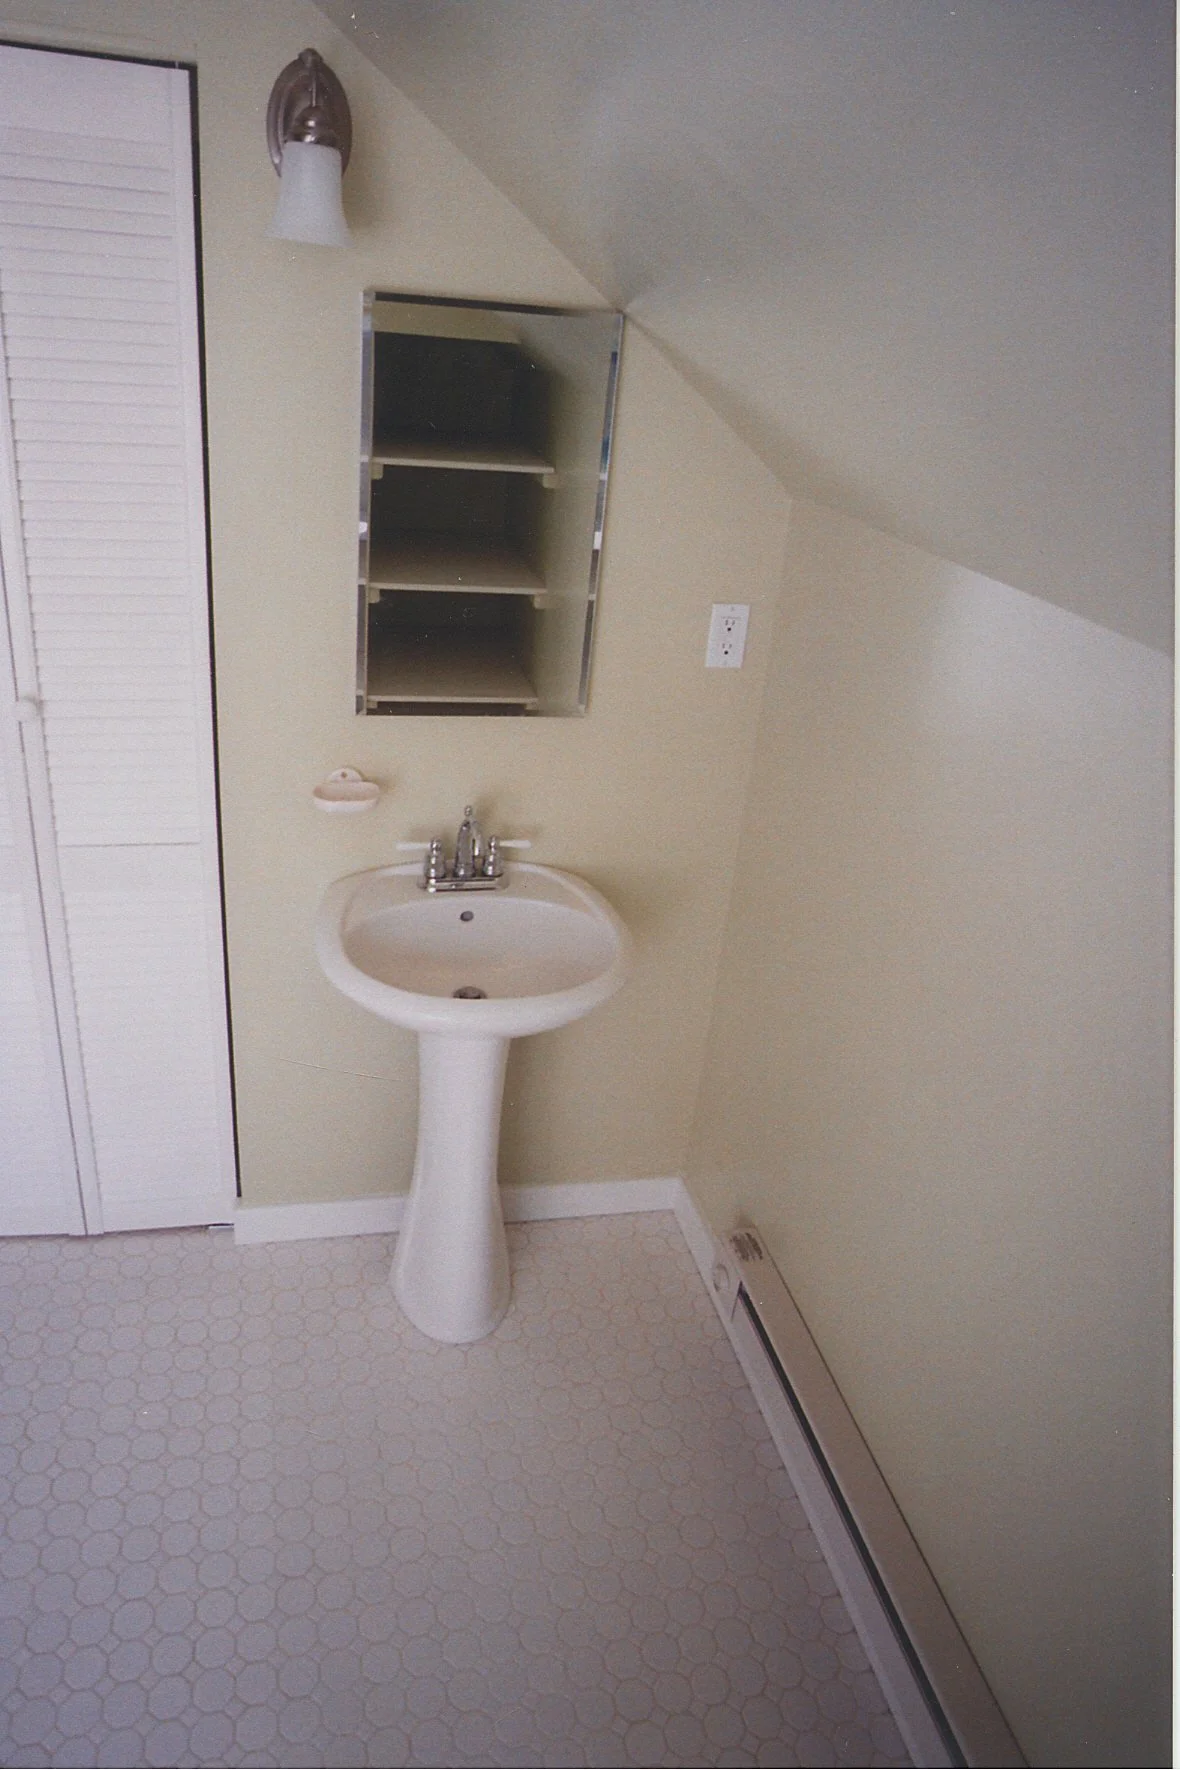
Another sink view.
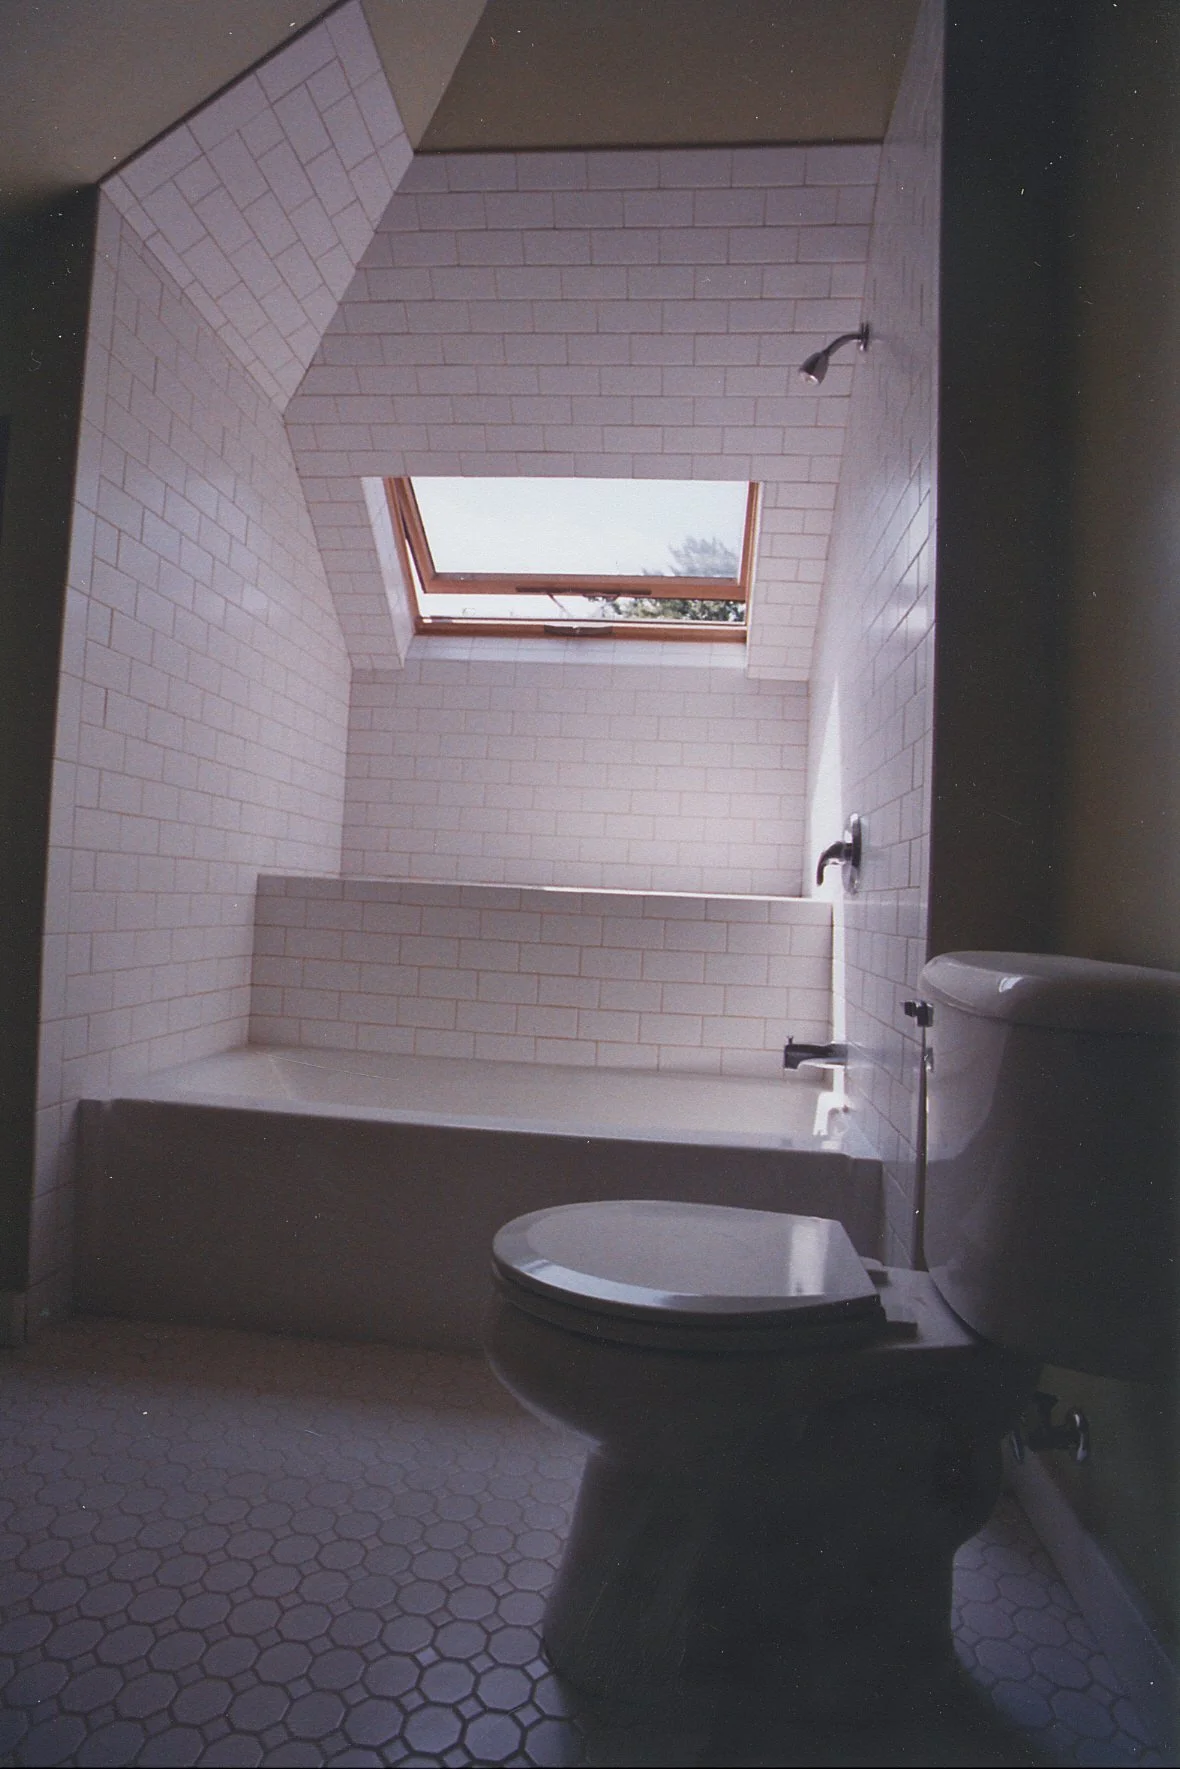
Moody lighting toilet and tub enclosure.
Another dramatic view.