Exteriors
Urban Farmhouse Front Door
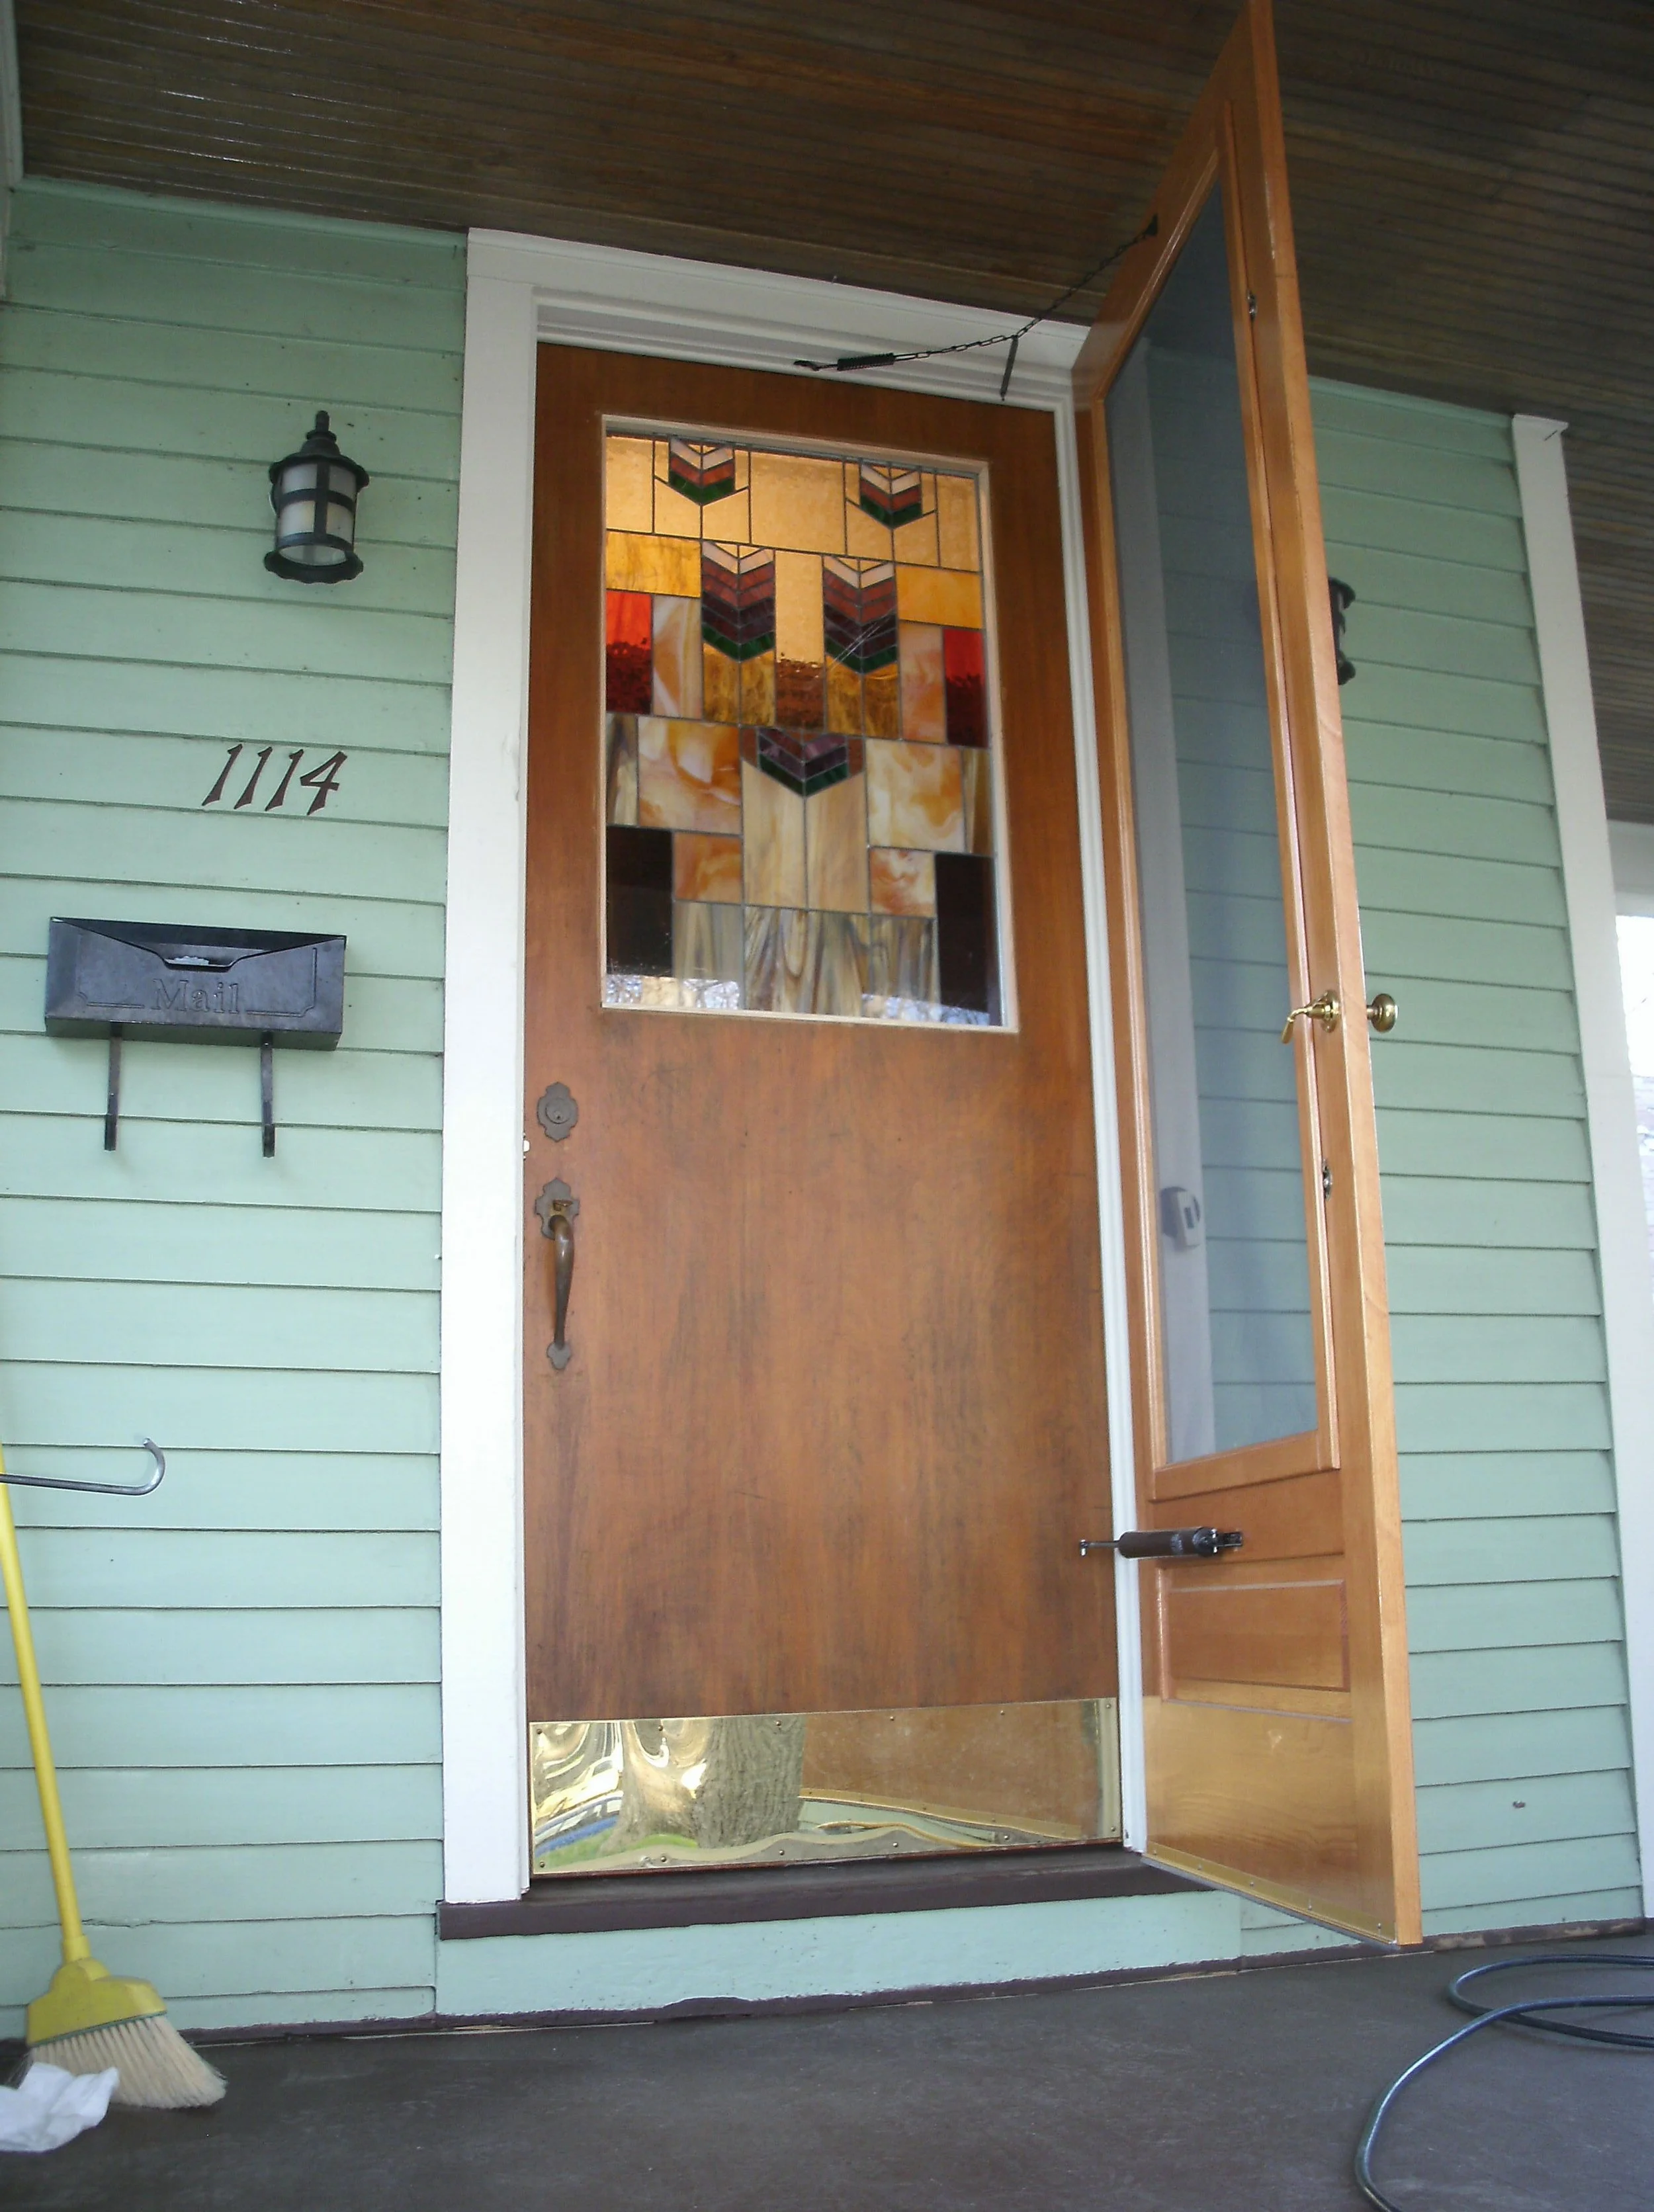
Another fun job! I have done multiple large jobs at this house for now the second owner. The first of the two owners was a talented stained glass artist in his spare time. At some point in the distant past, someone had removed the trim on the outside of the front door to the house. He was planning to make a stain glass insert for the window, but wanted a simulation of the original trim in two rectangular panels and around the window. There is no trim like 1880s trim easily available in the big box stores. I used the untouched original inner door trim as my pattern for fabricating the new trim. Since there was a new wooden storm door, we set the two decorative panels higher than we might have so that they would be fully visible through the storm door window. I installed it, and the last step was to match stain and sealer over the new trim and in fact the entire door. Everyone was happy!
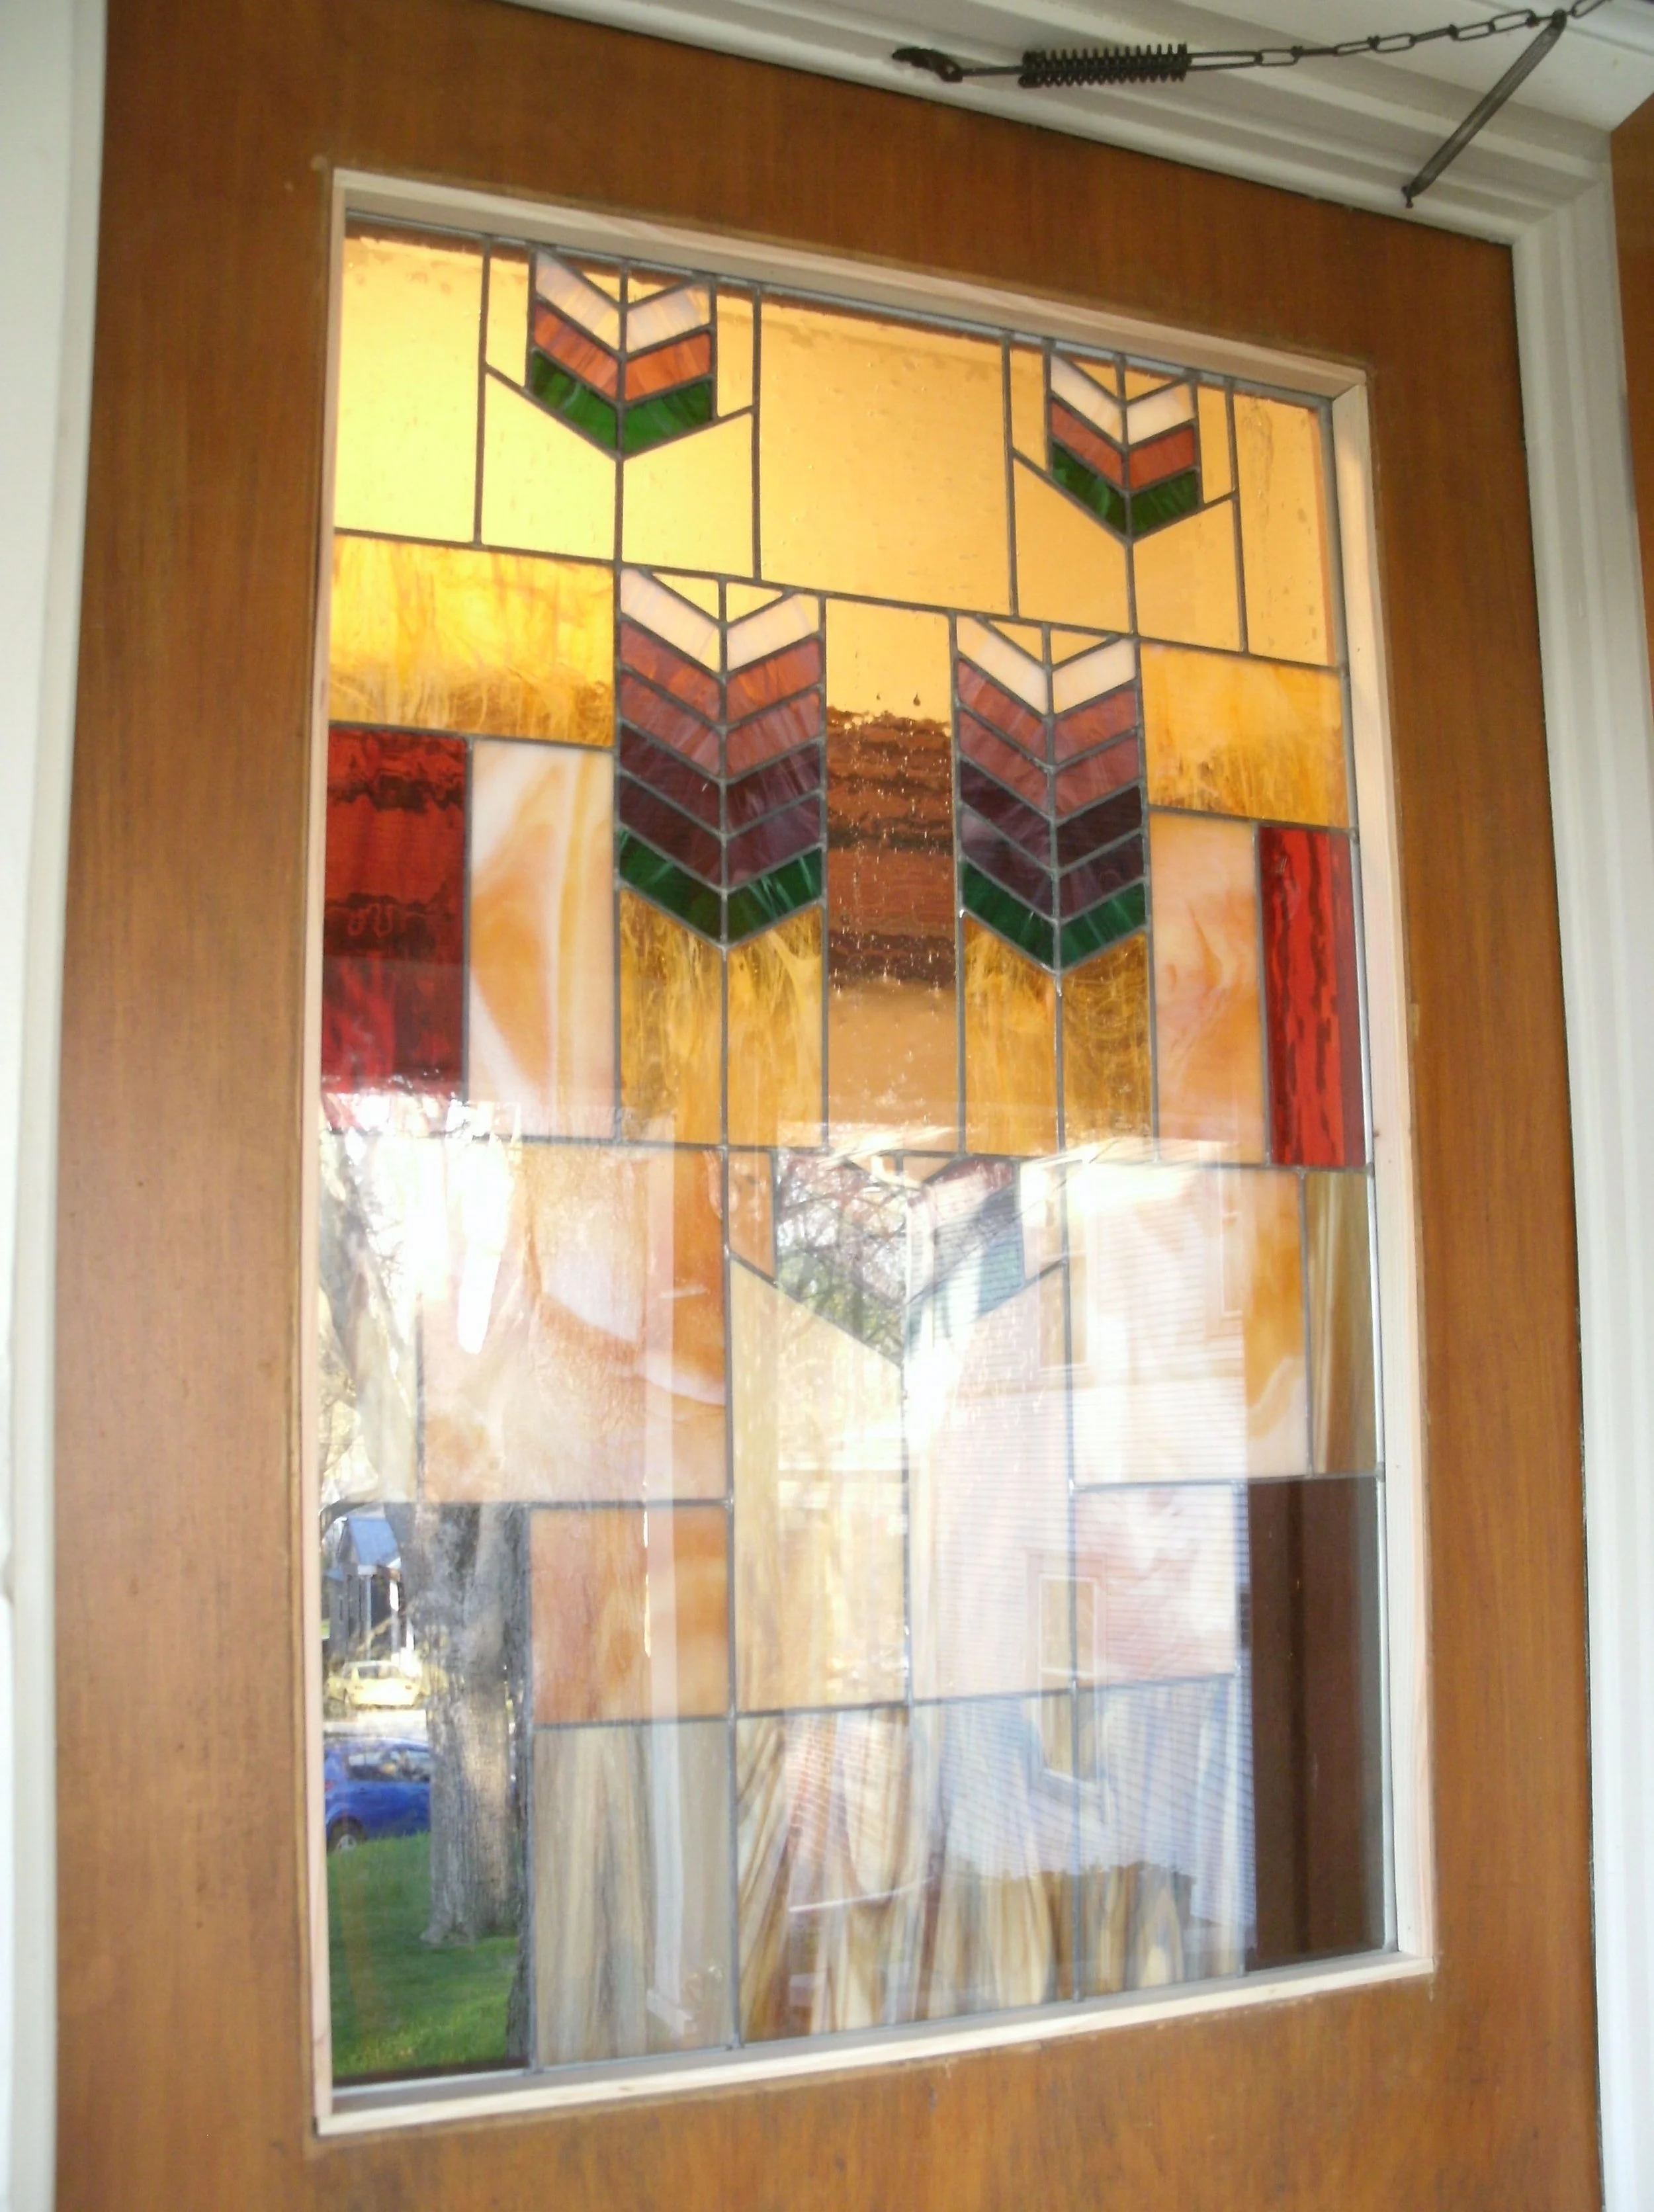
The new stained glass window insert!
The door with insert, but before the trim installation
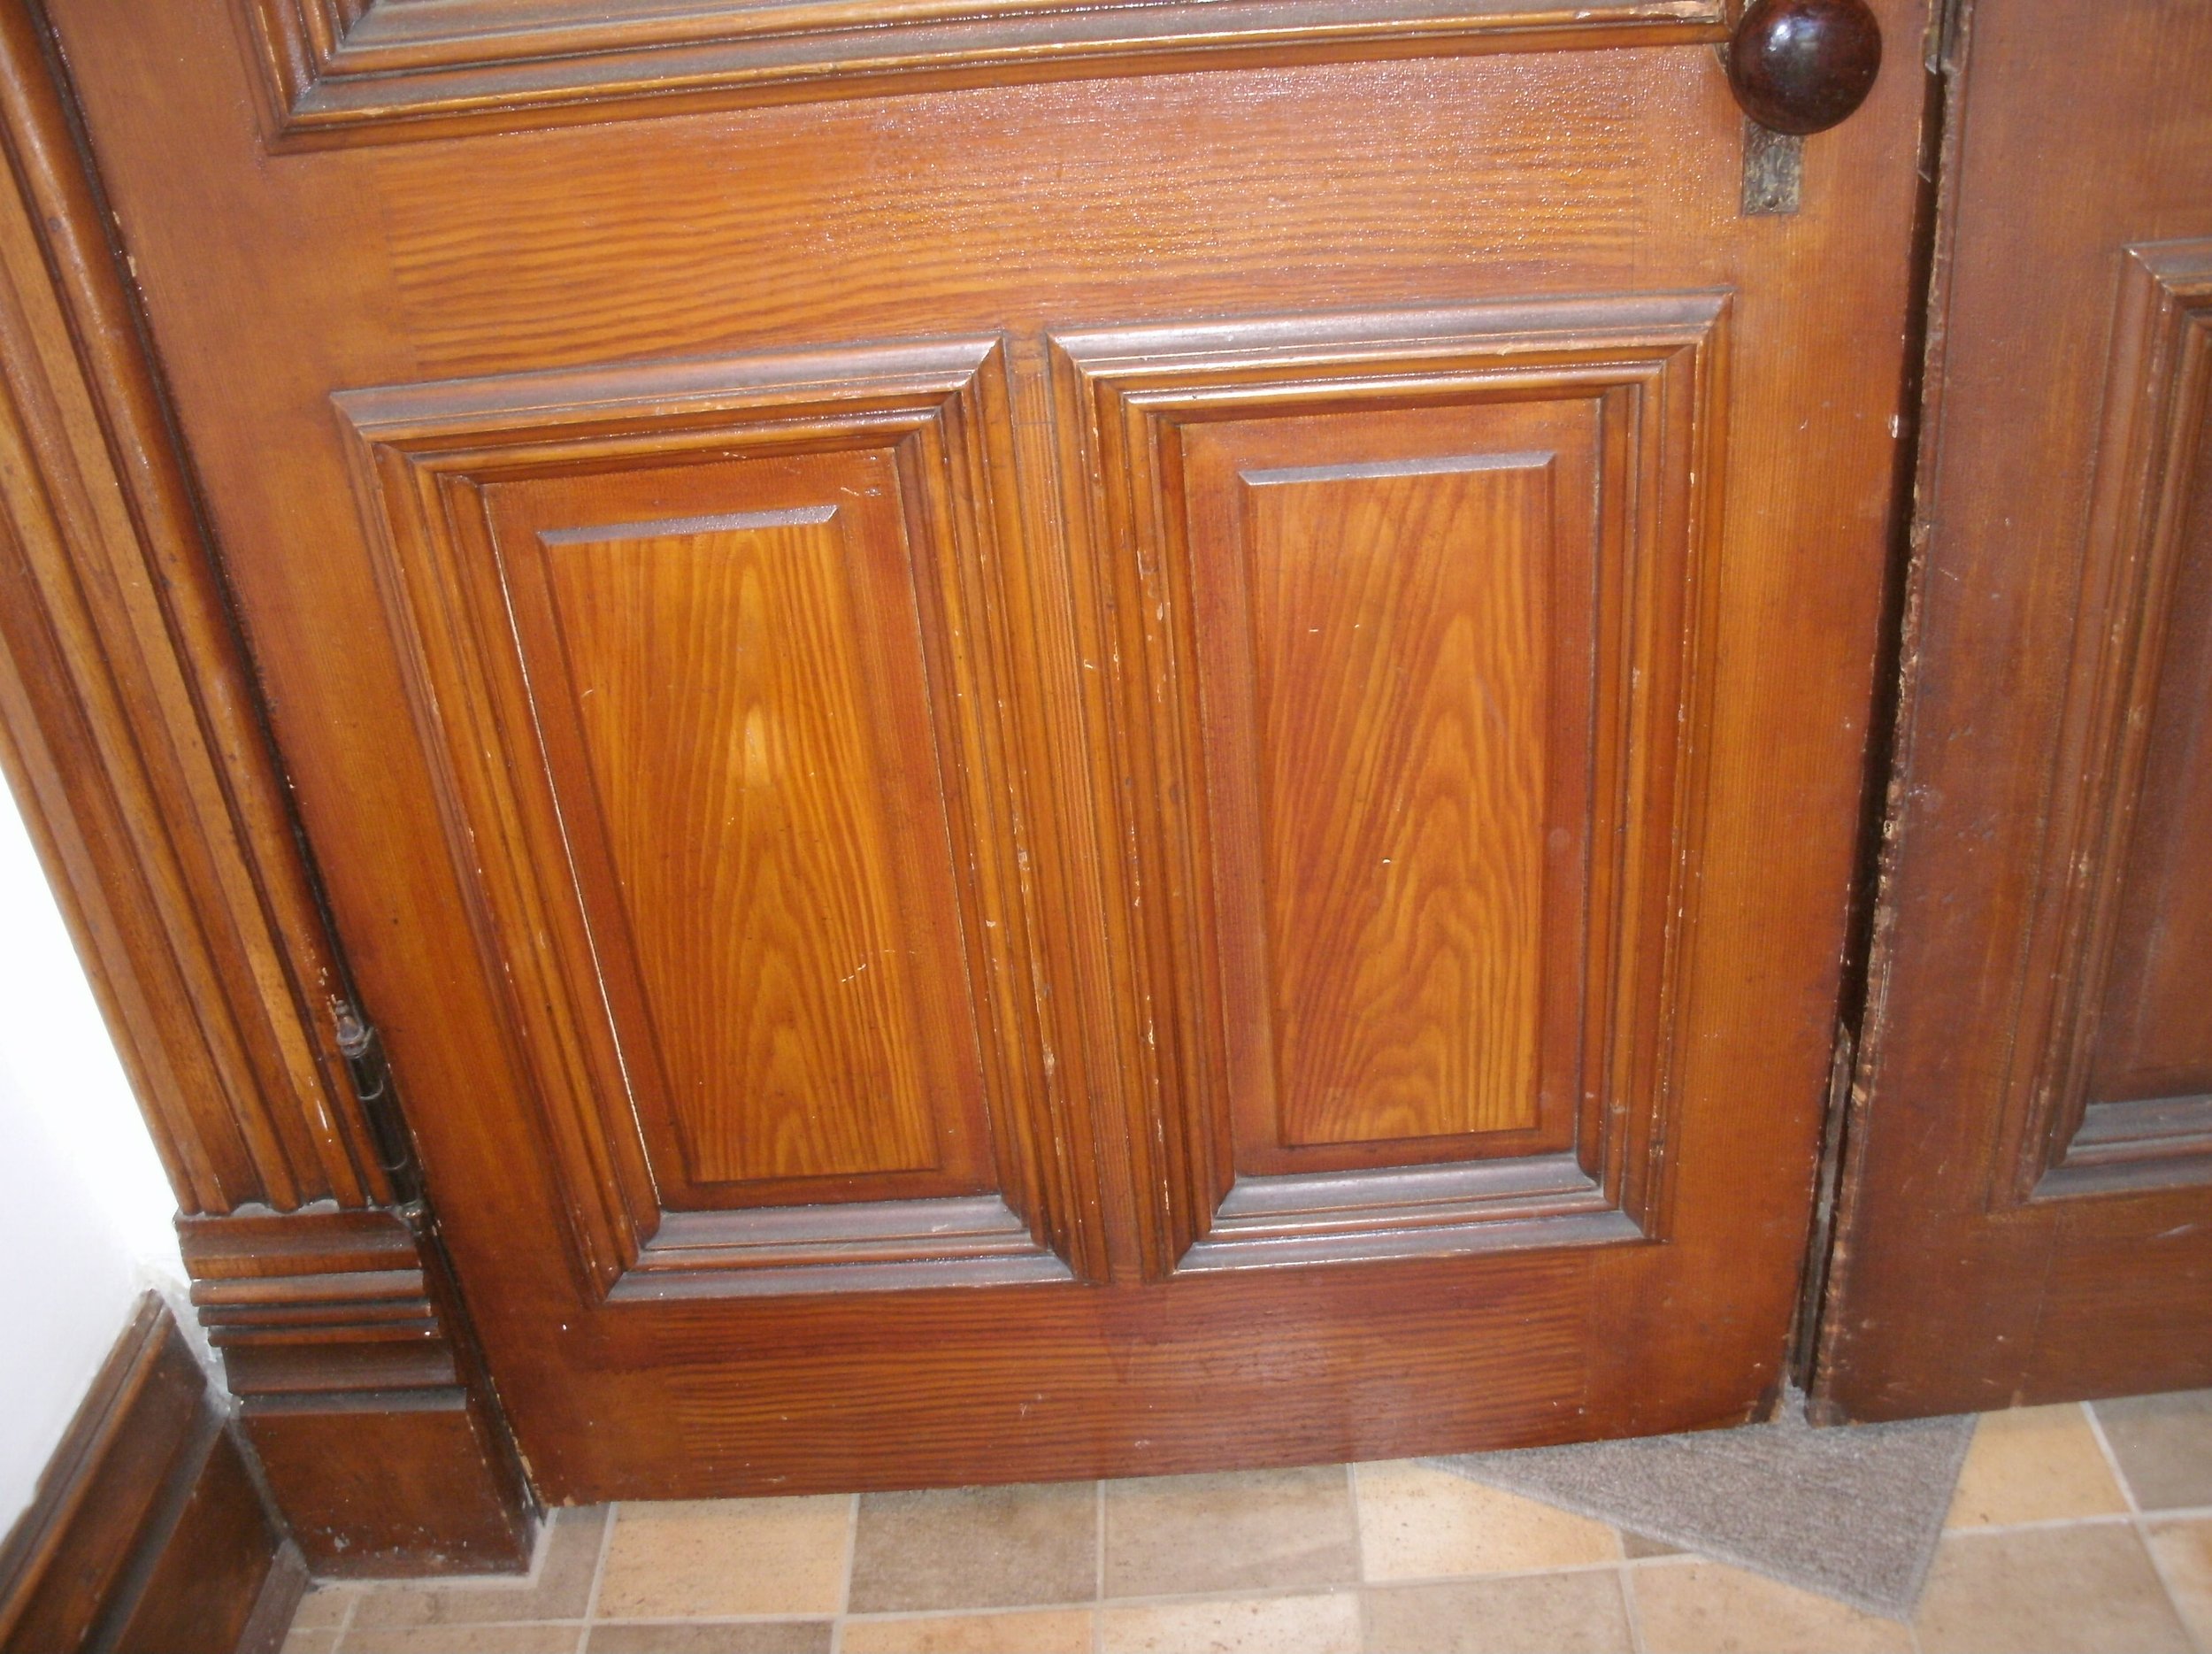
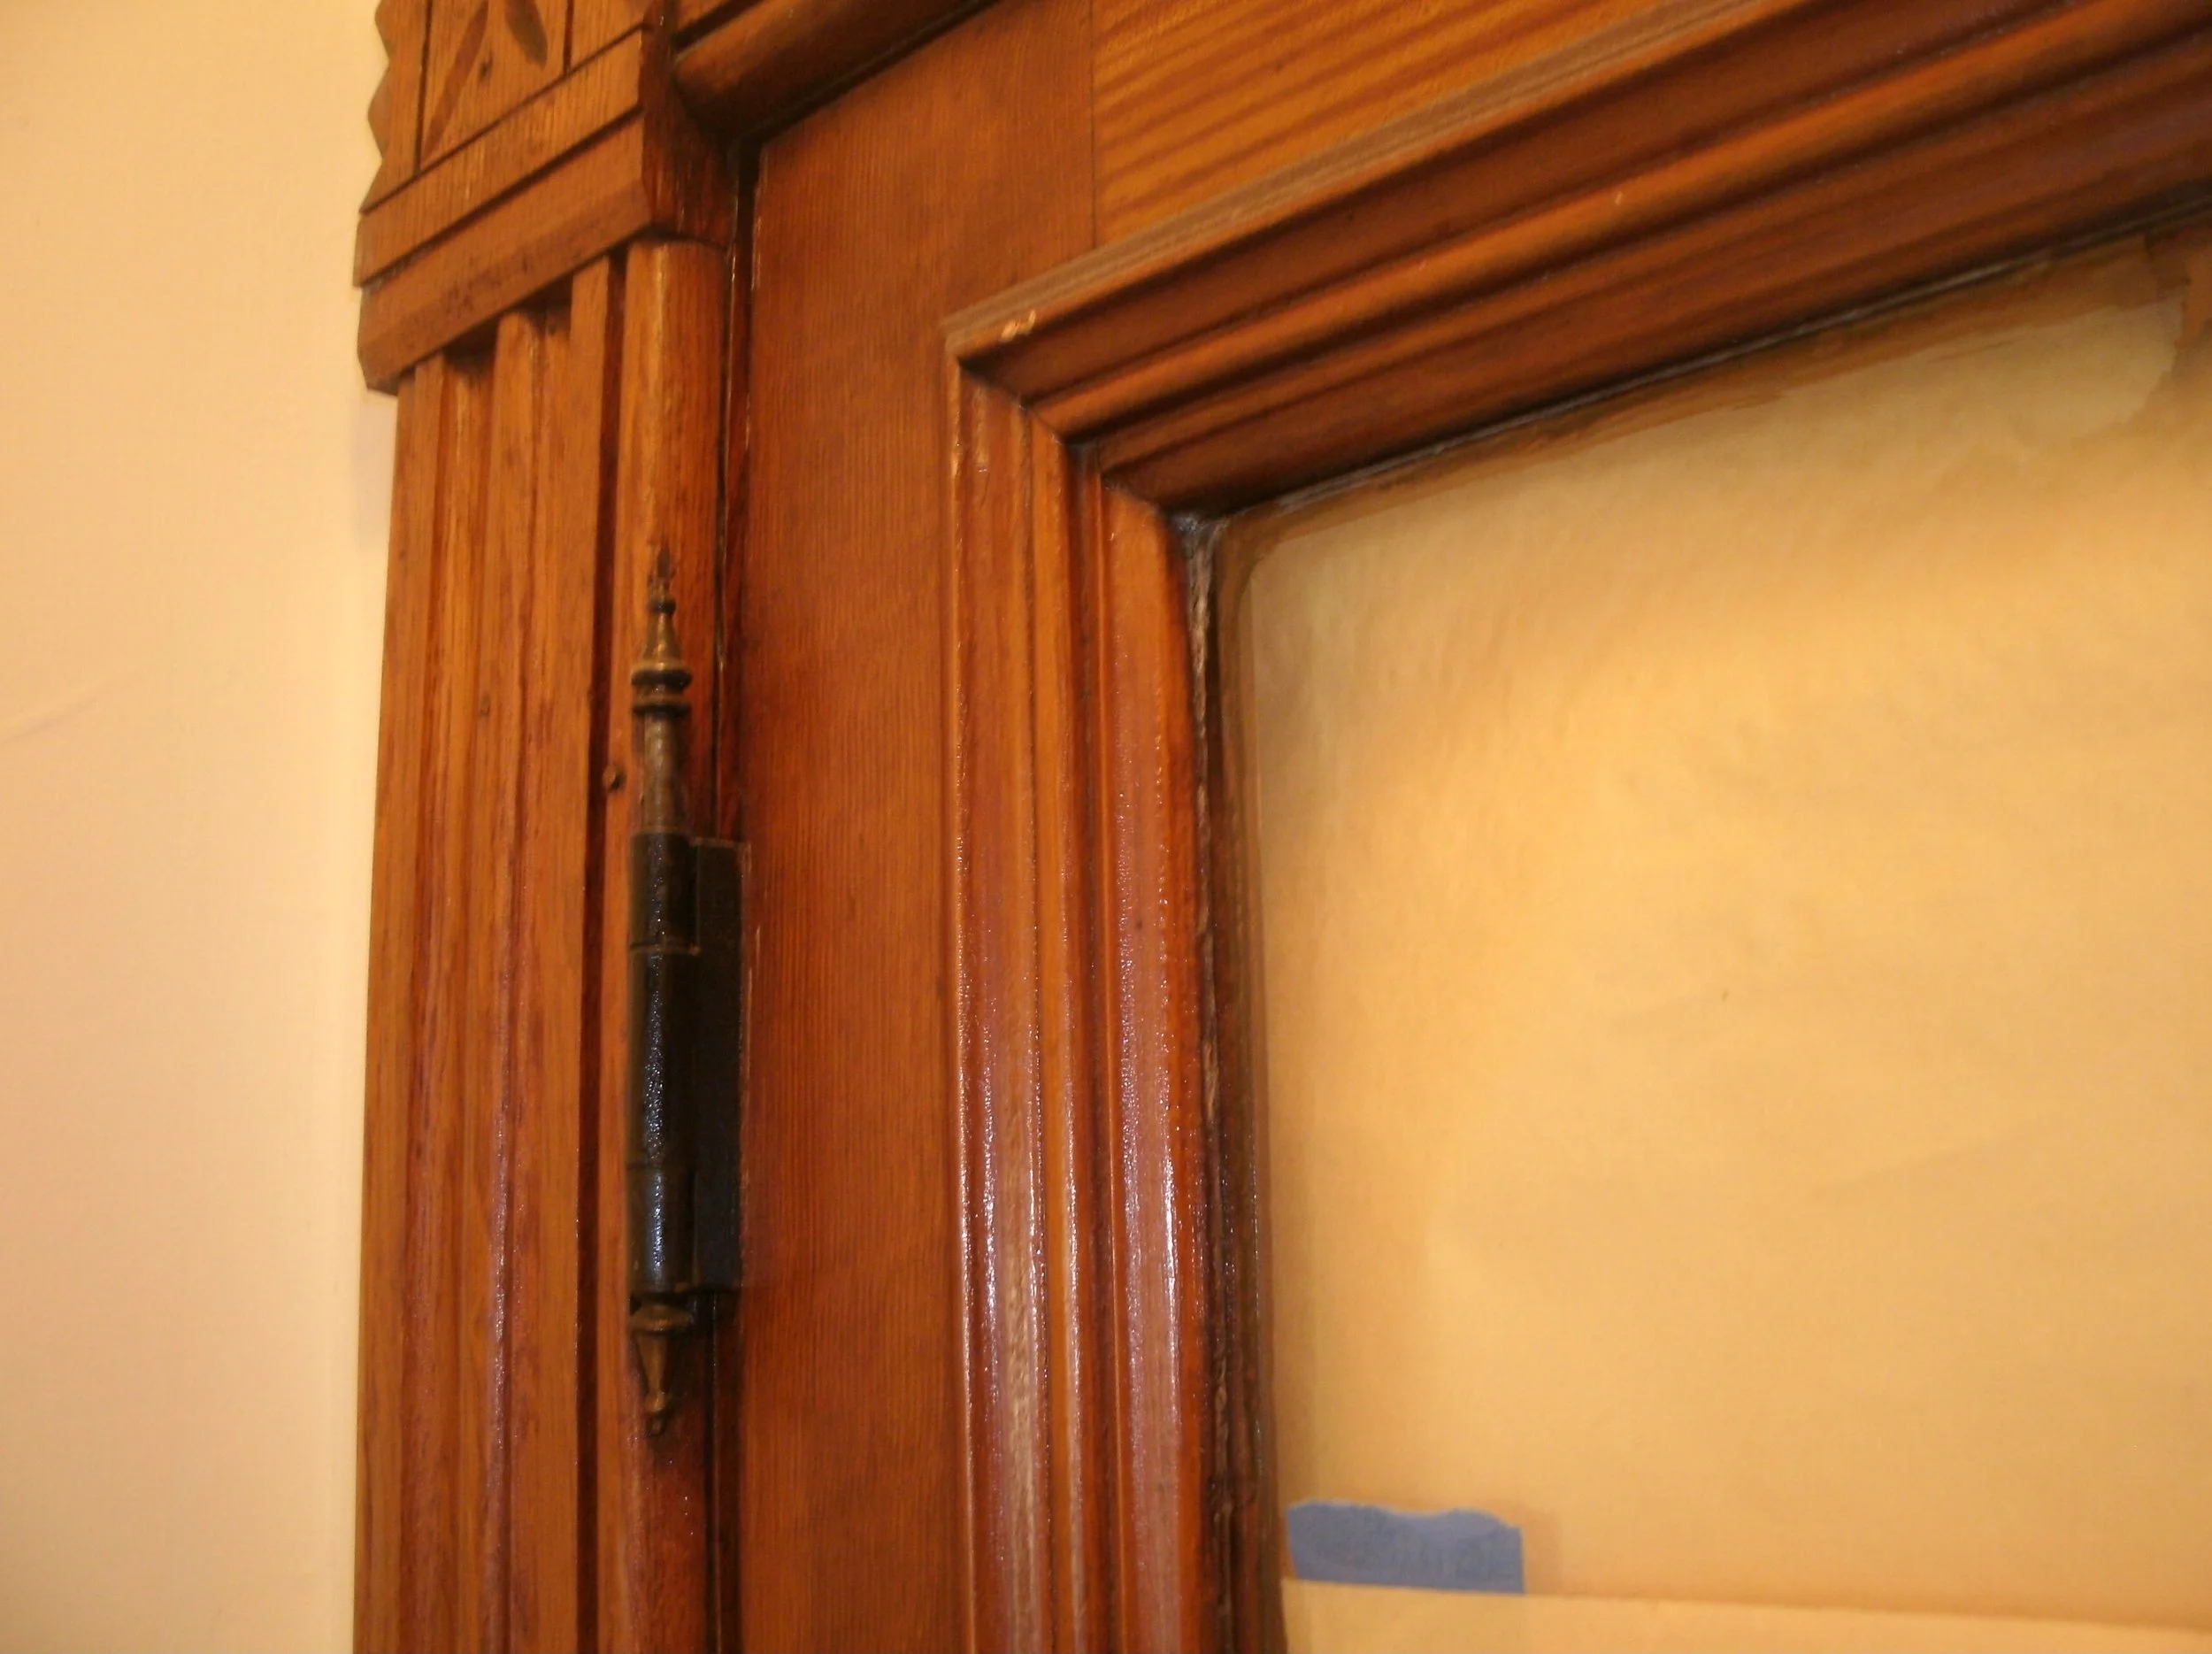
The inner airlock door with the original trim I replicated
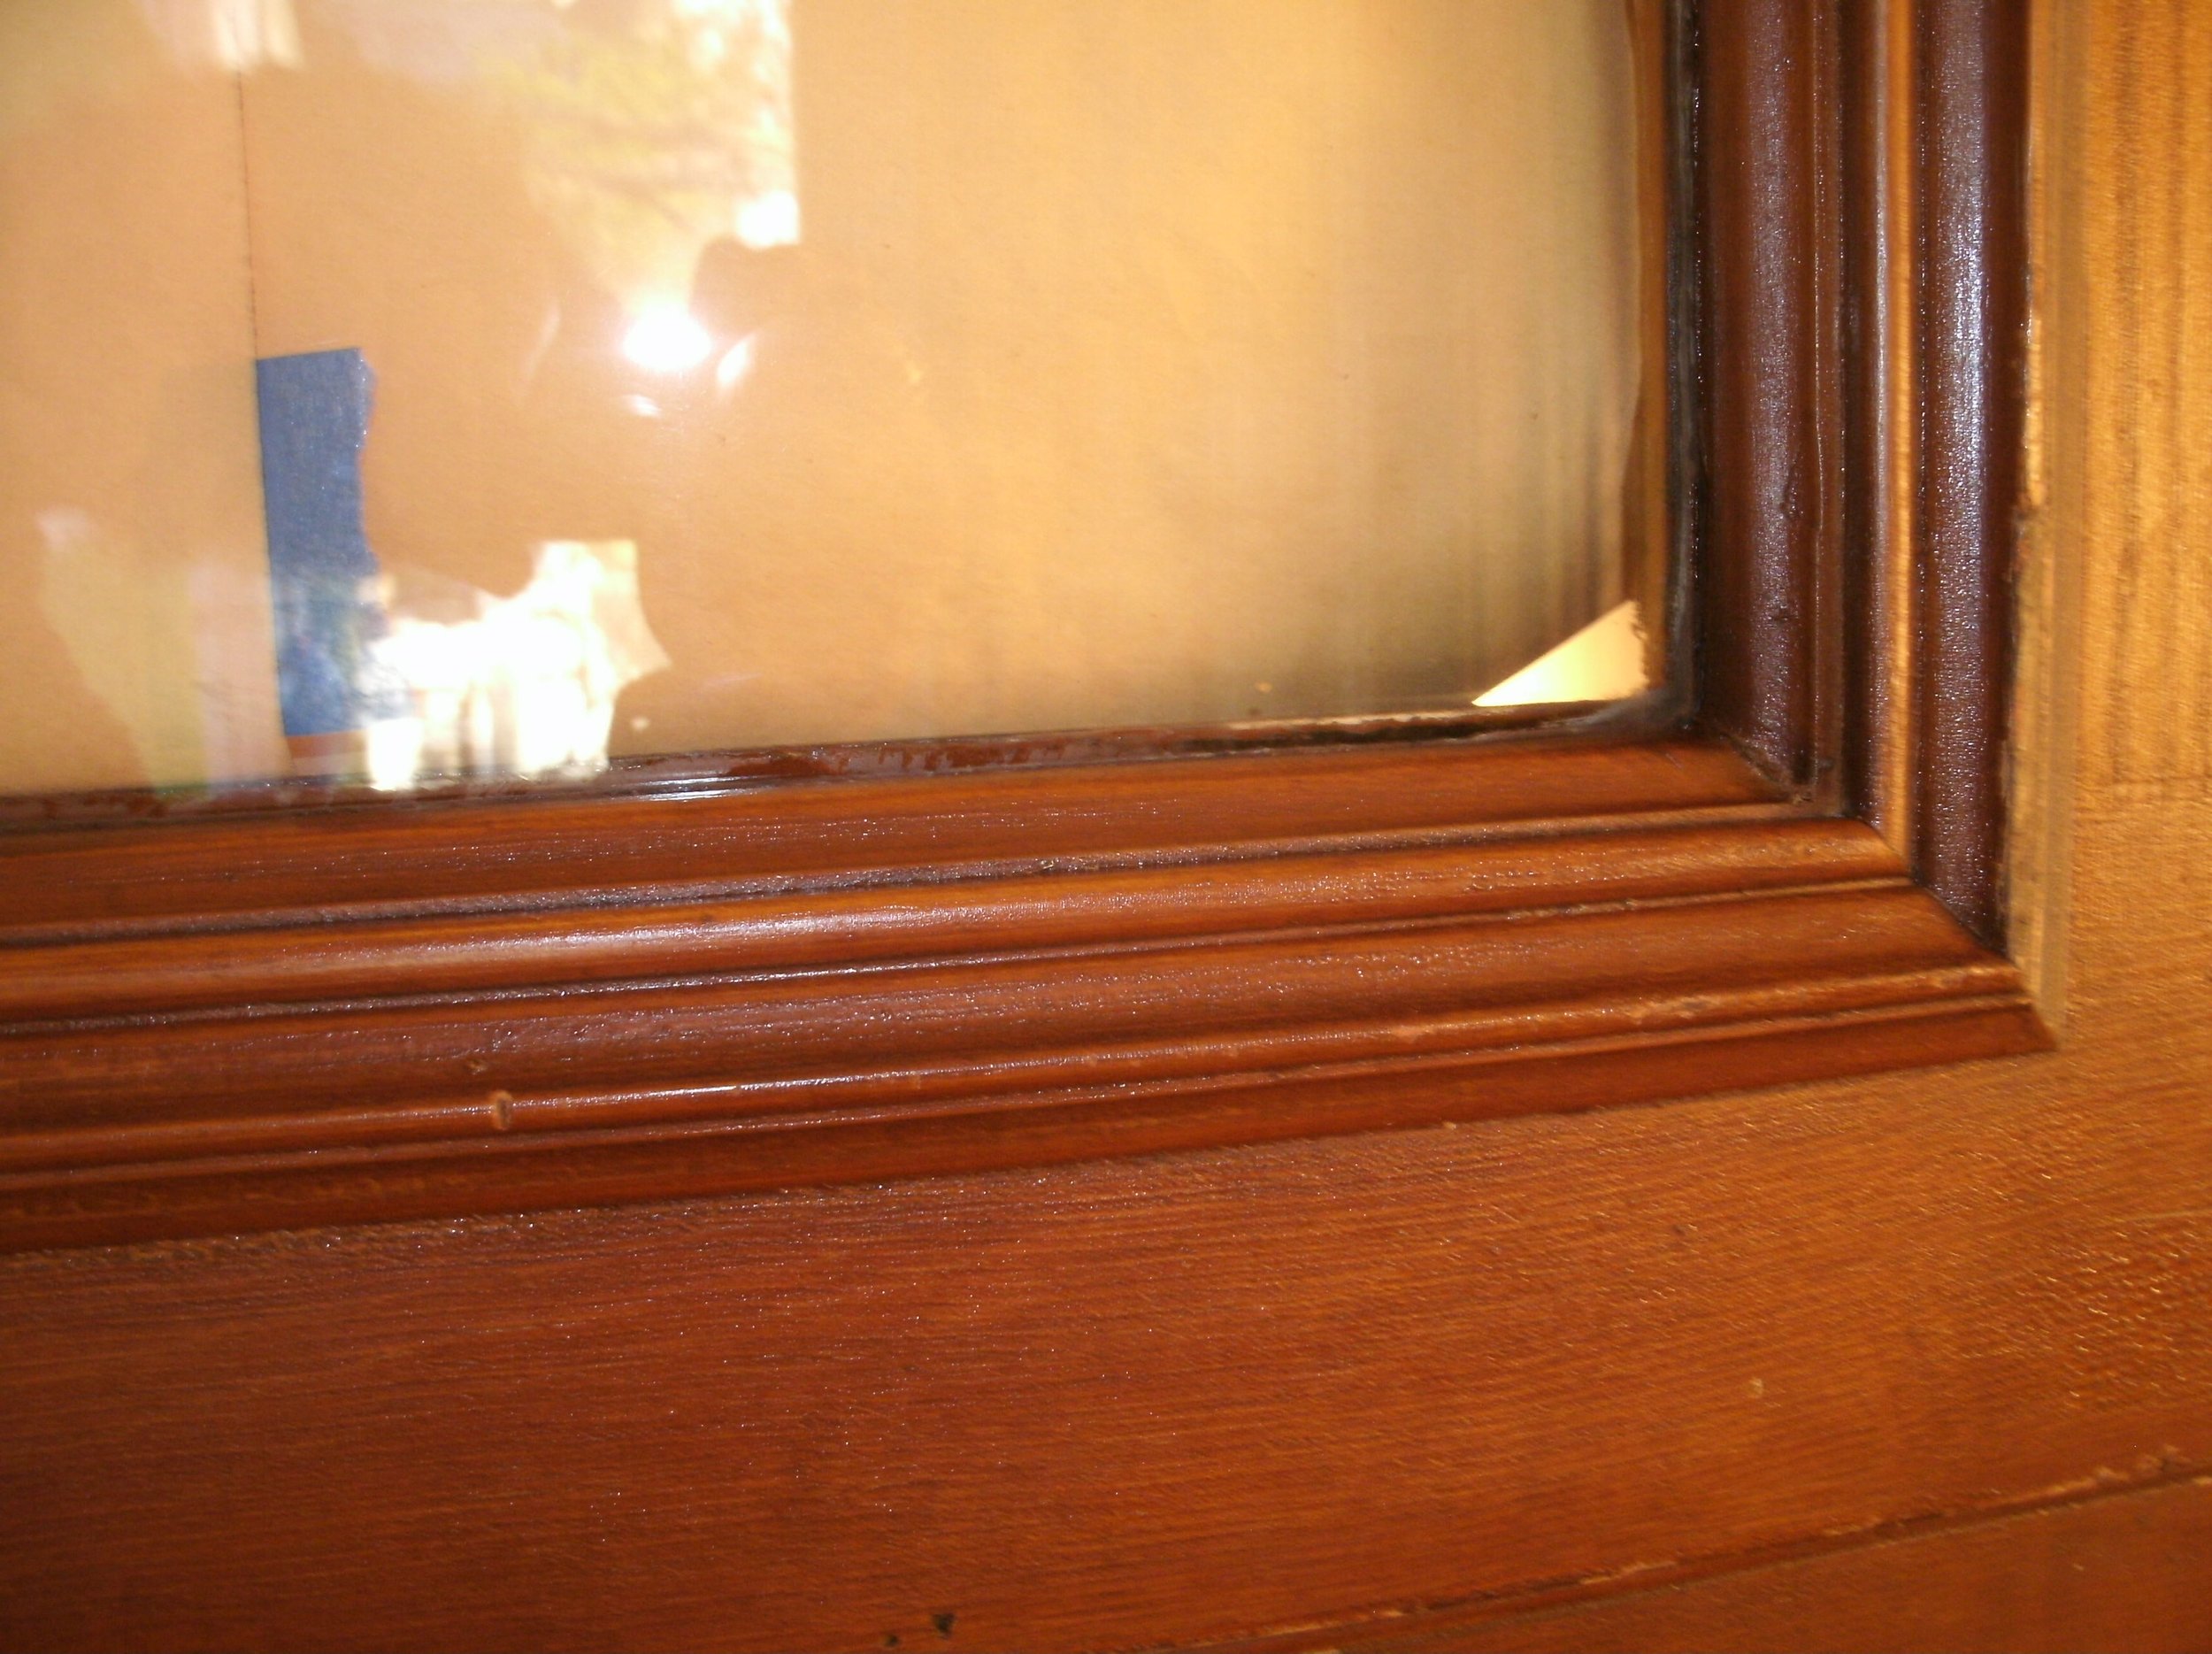
Another view of the old trim to be replicated
Another view of the old trim to be replicated
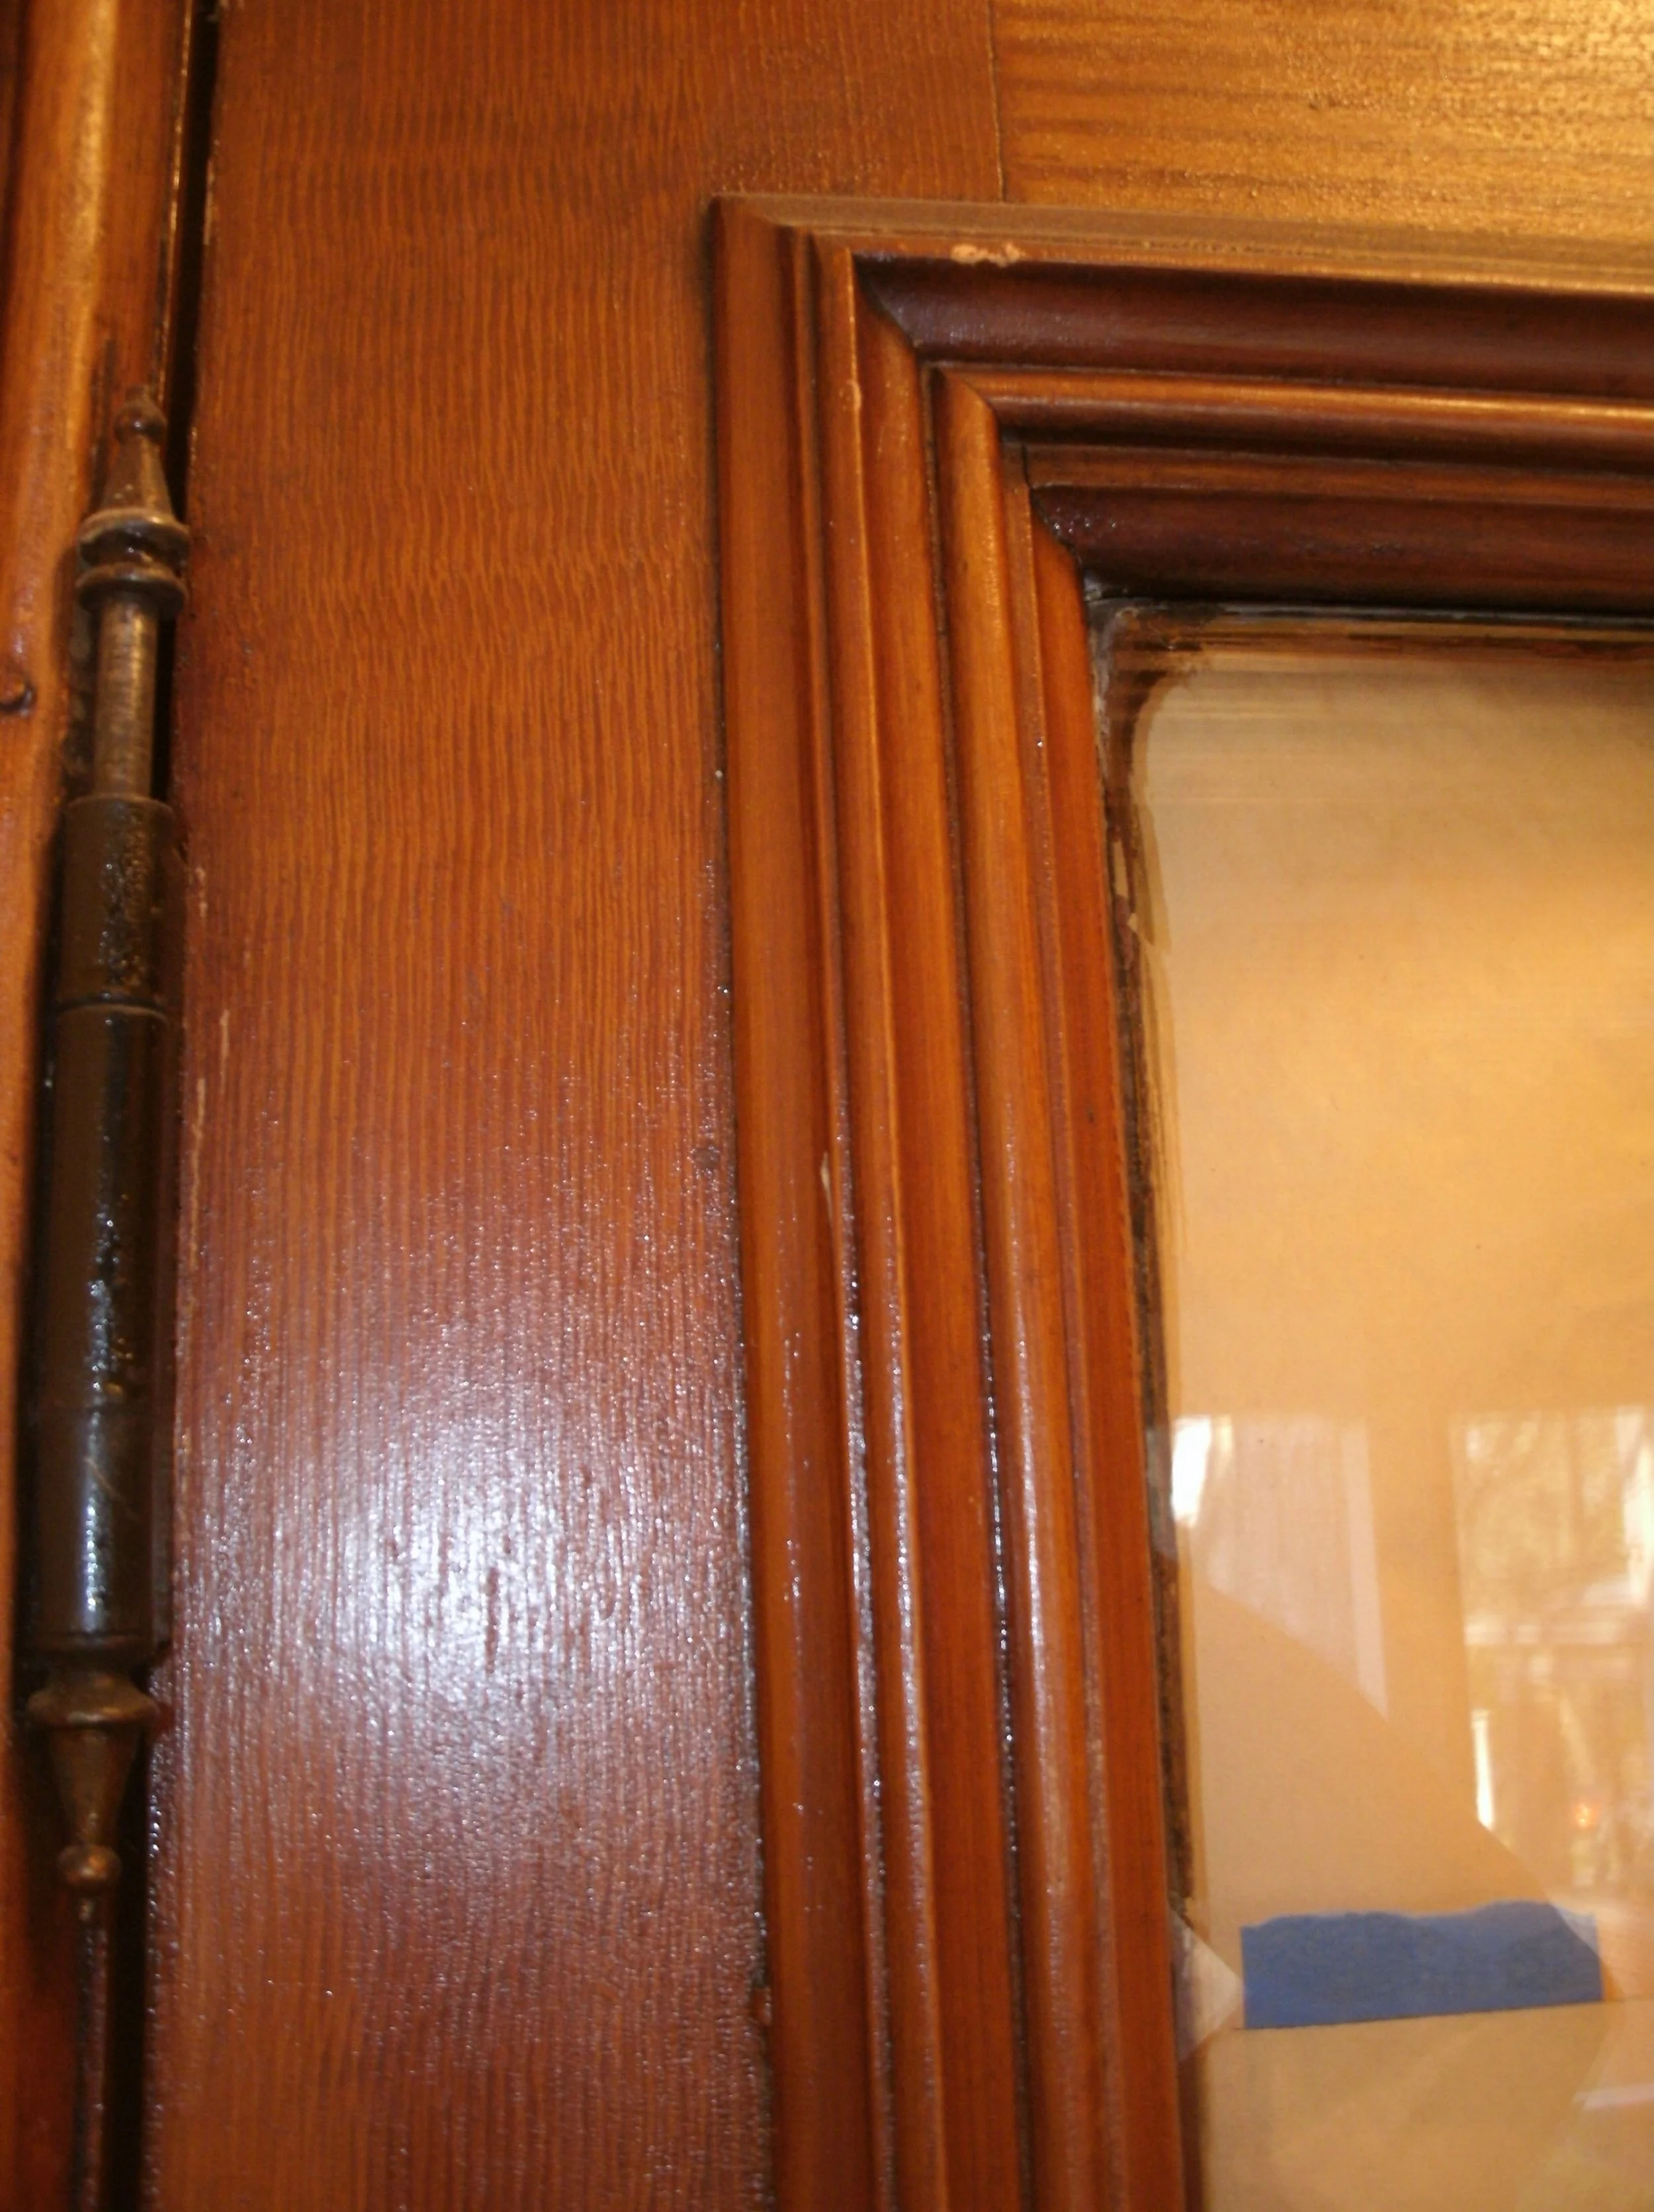
Another view of the old trim to be replicated
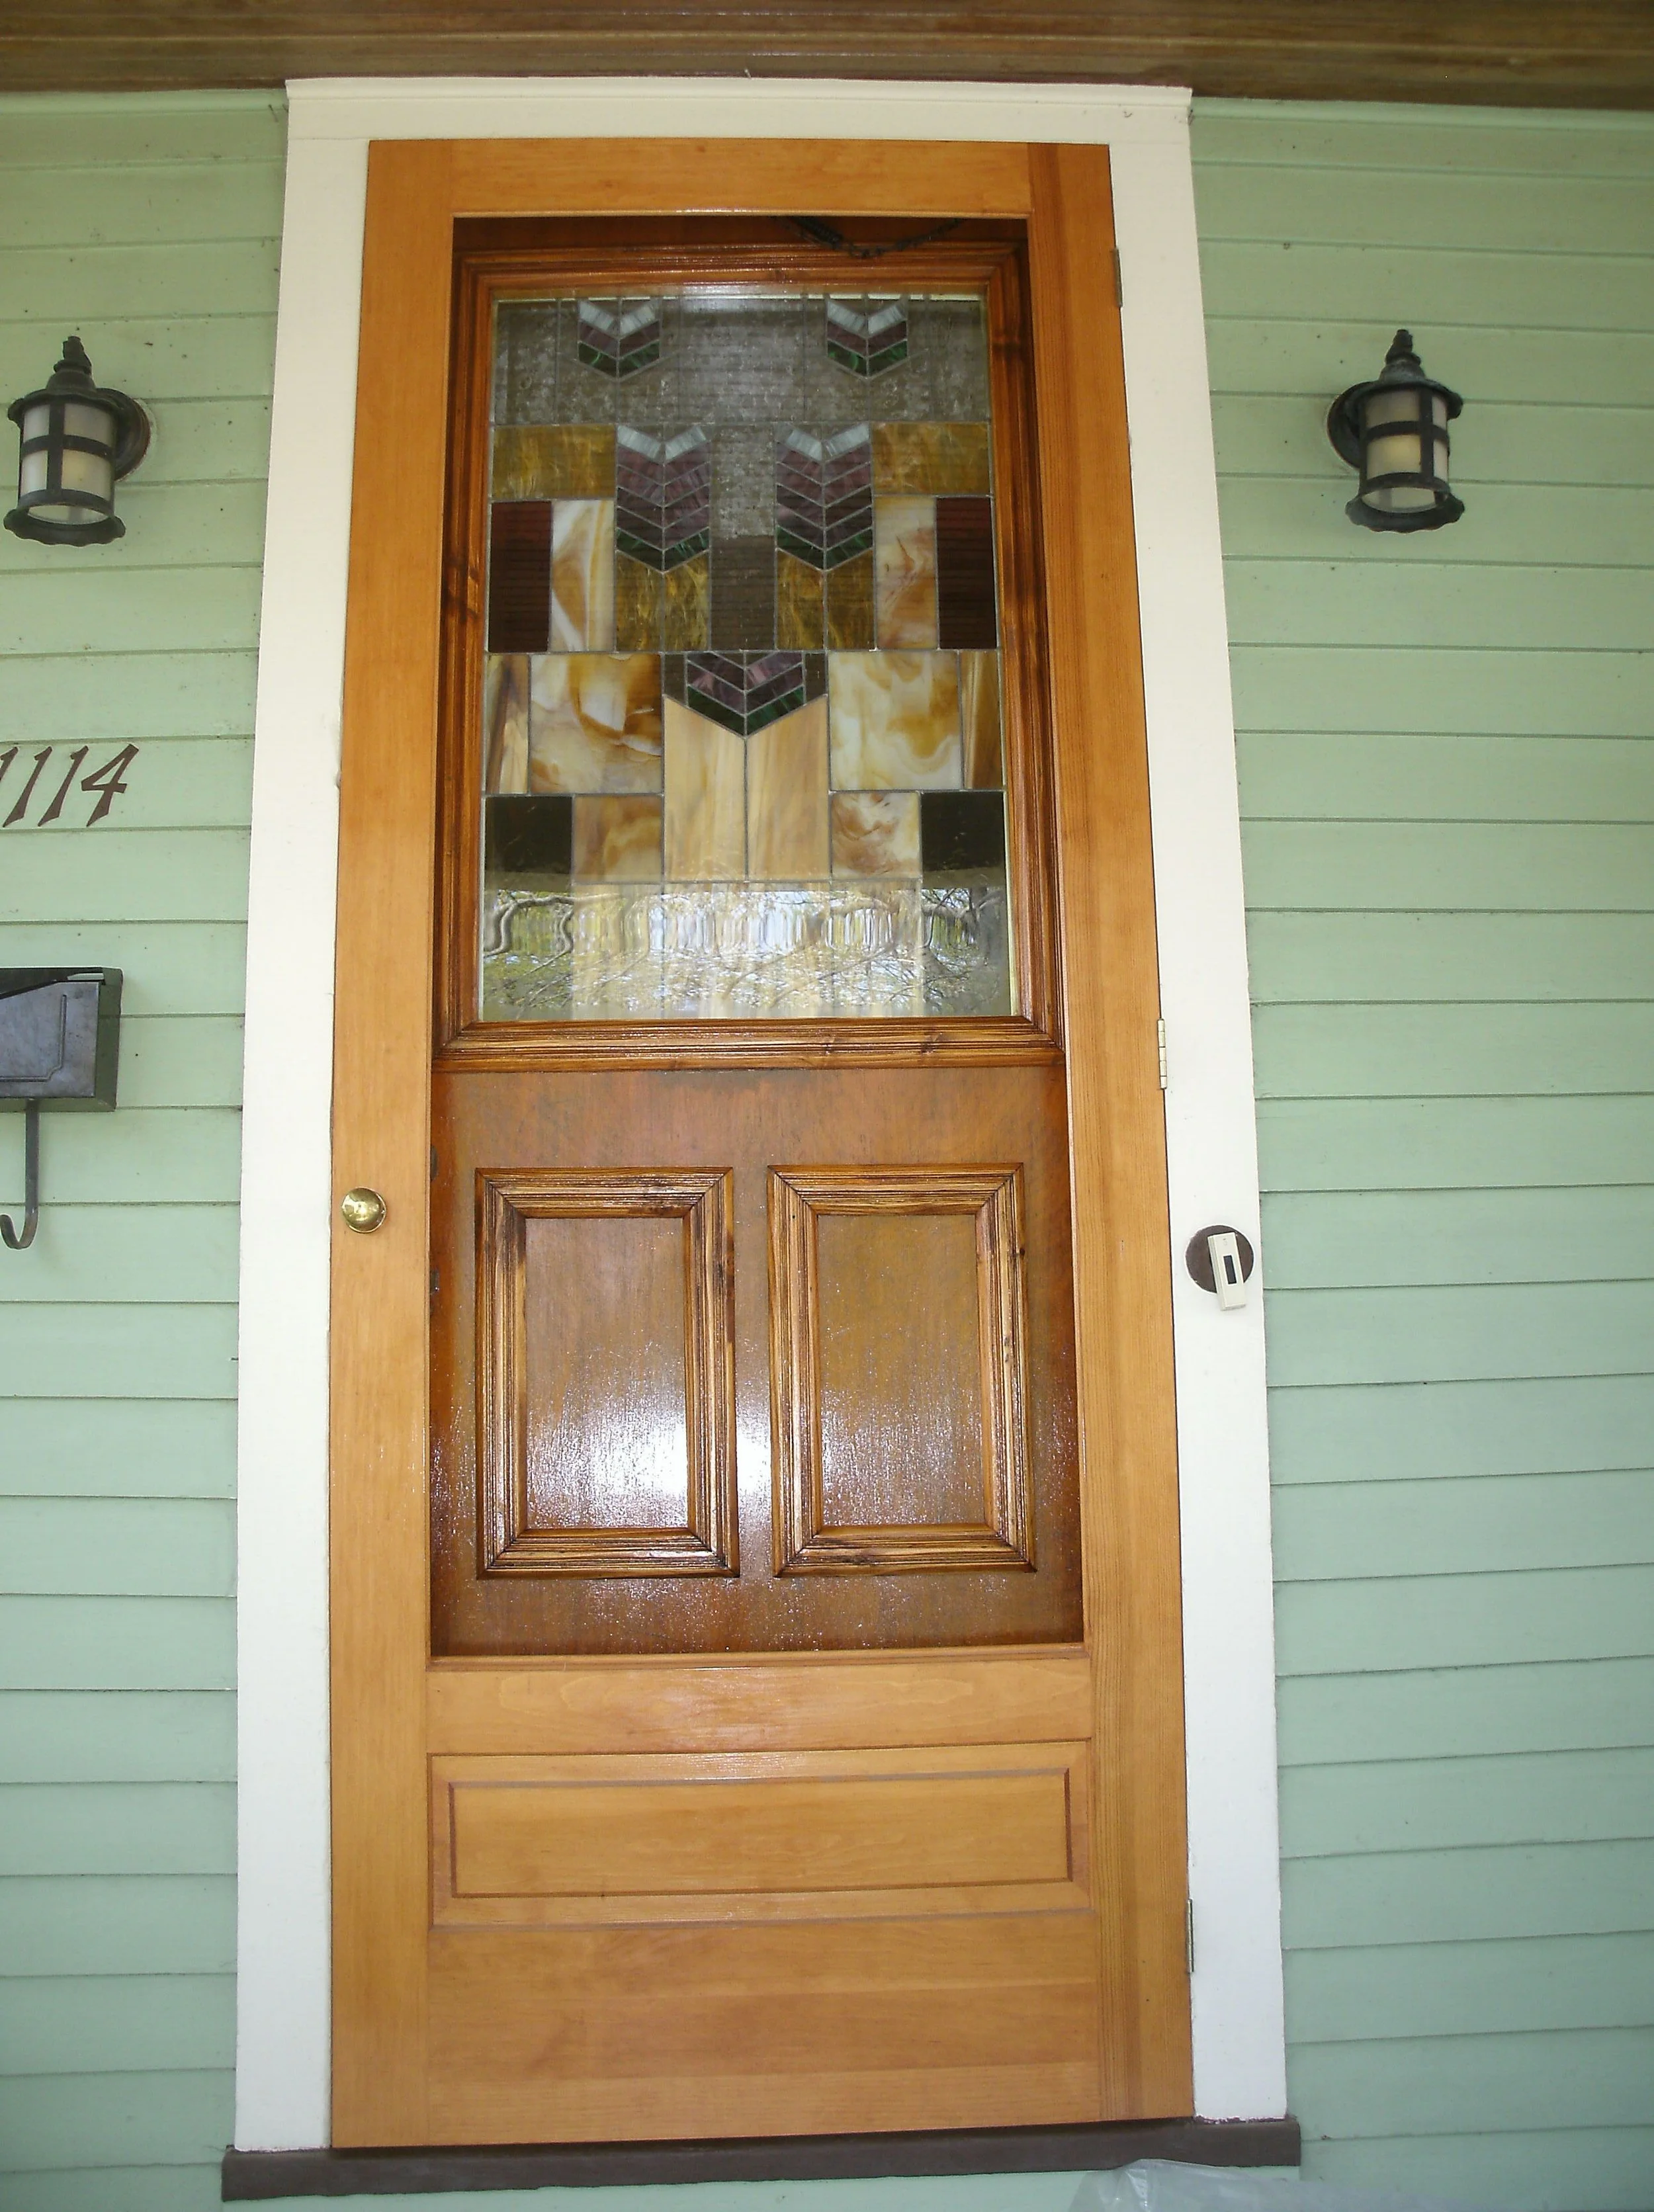
Front door brought back to glory plus the stained glass artistry
Second view of the finished, restored front door

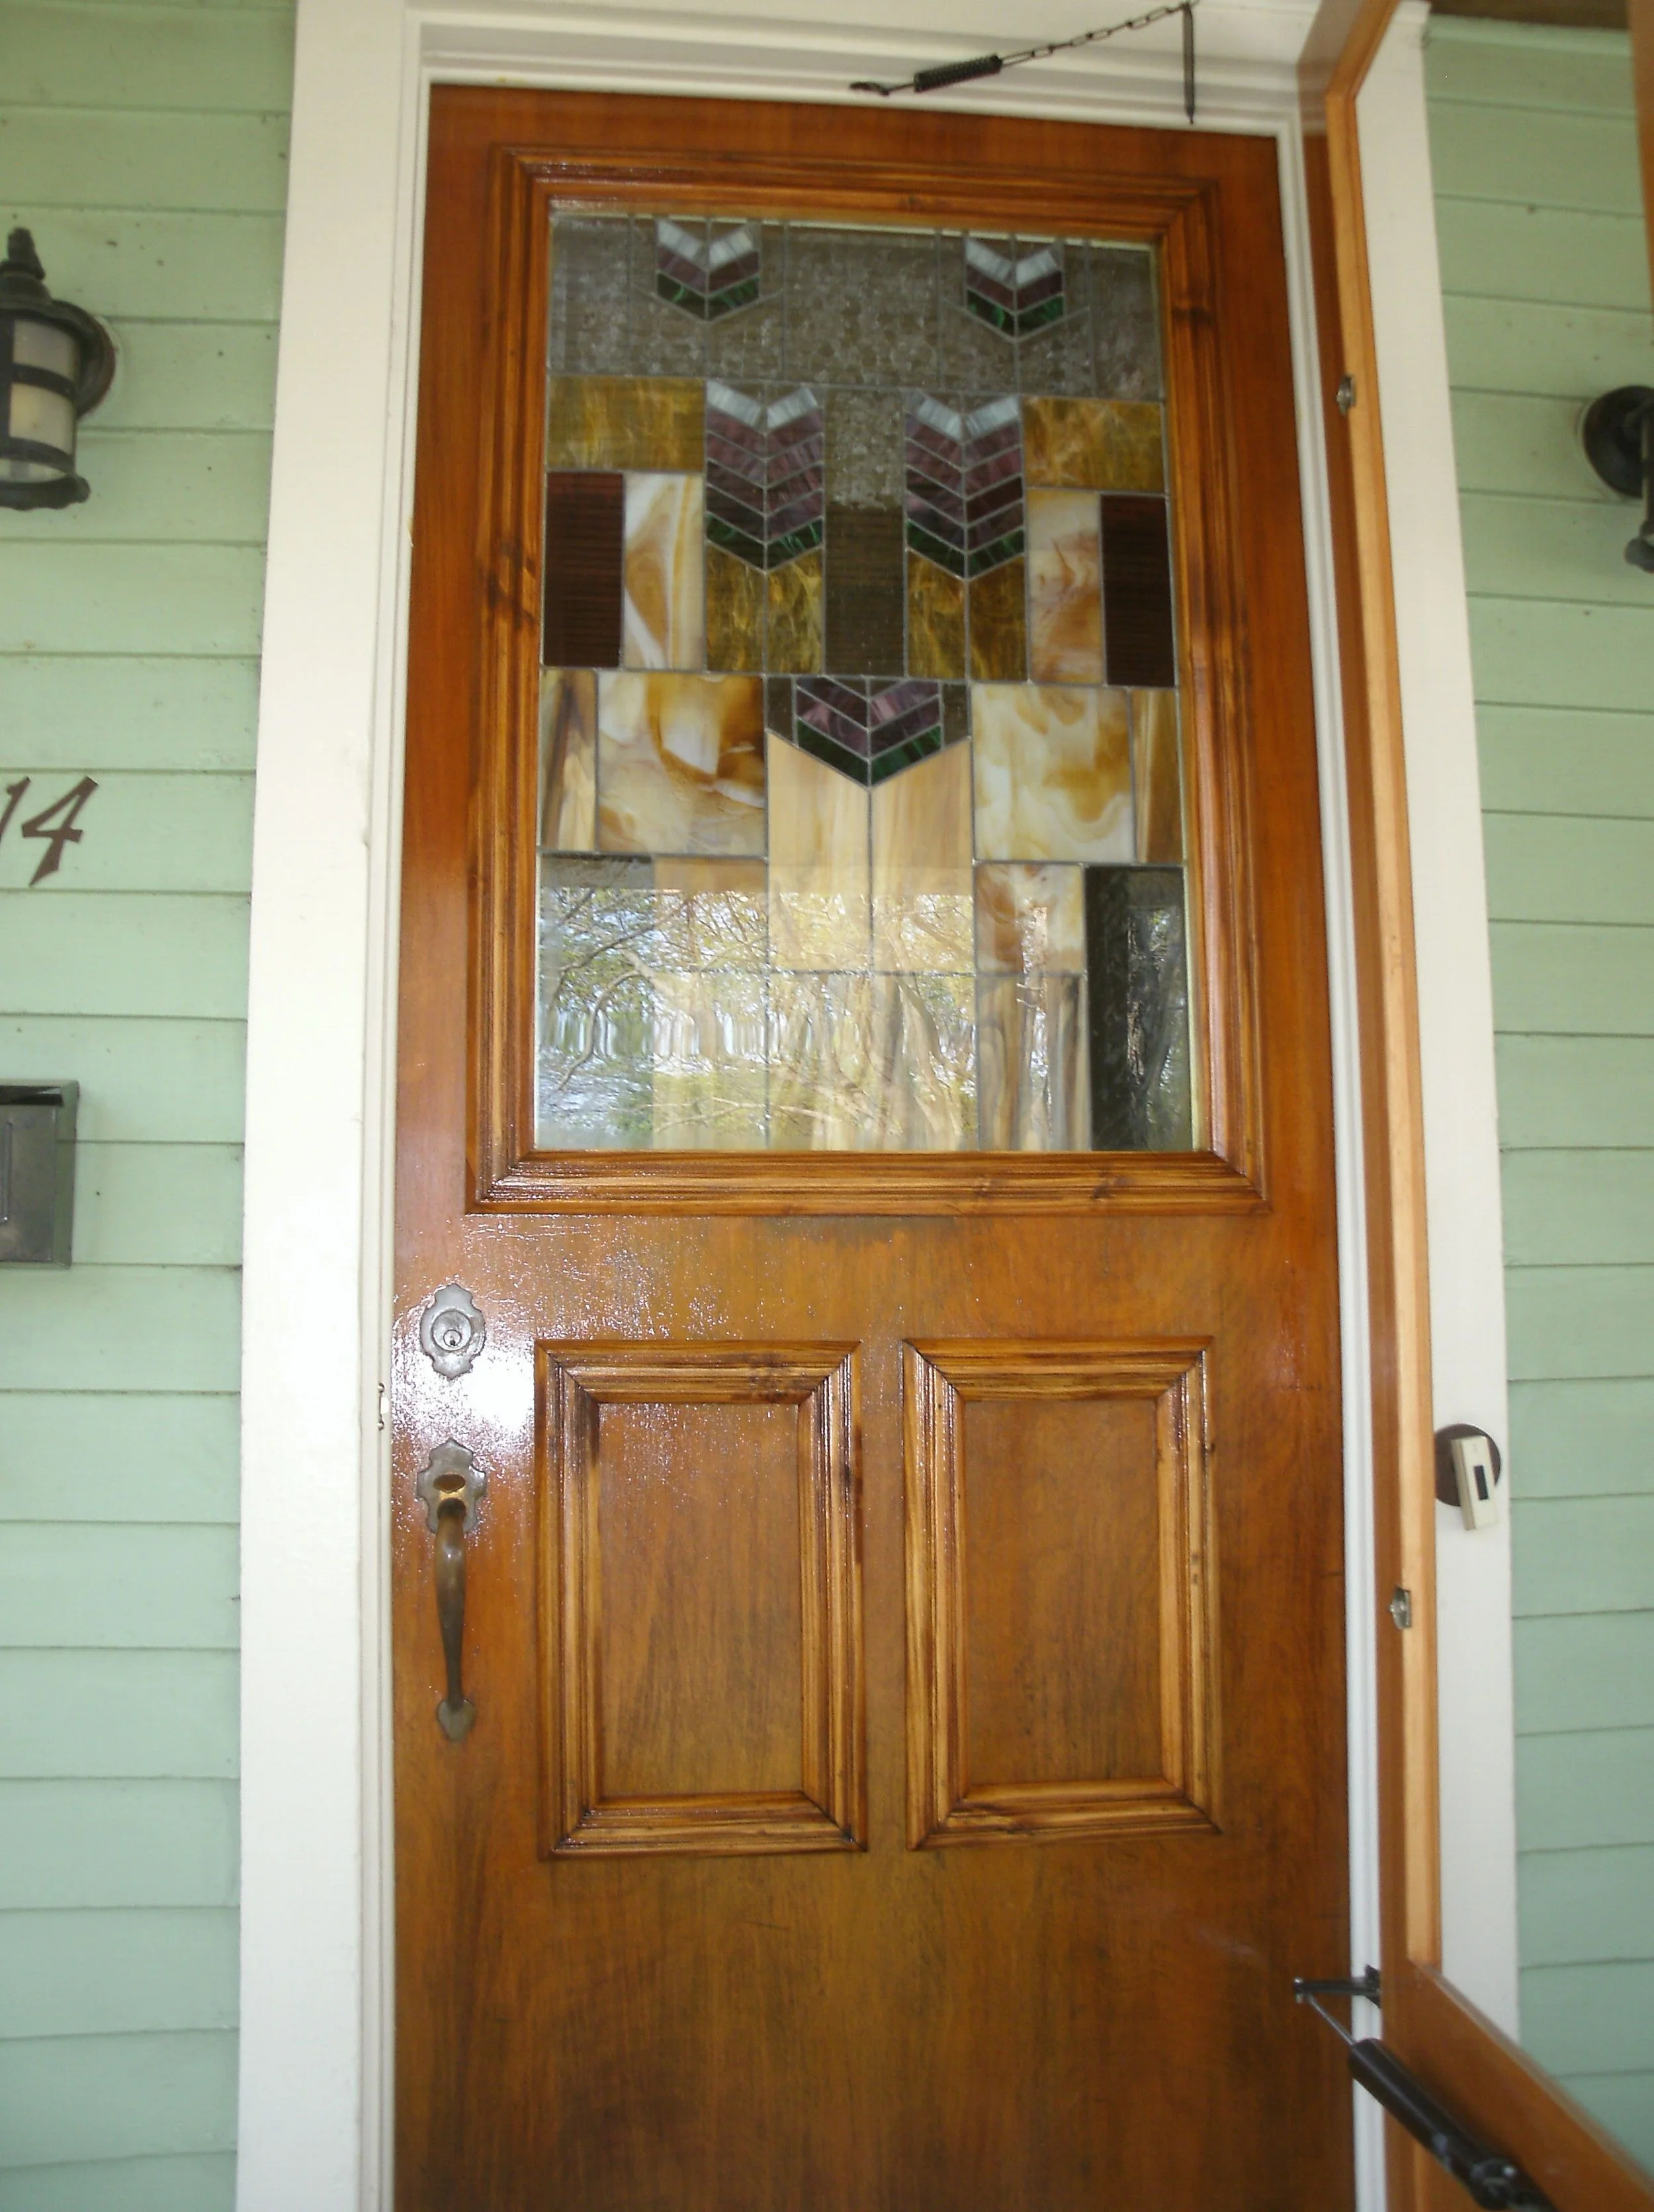
View without the storm door
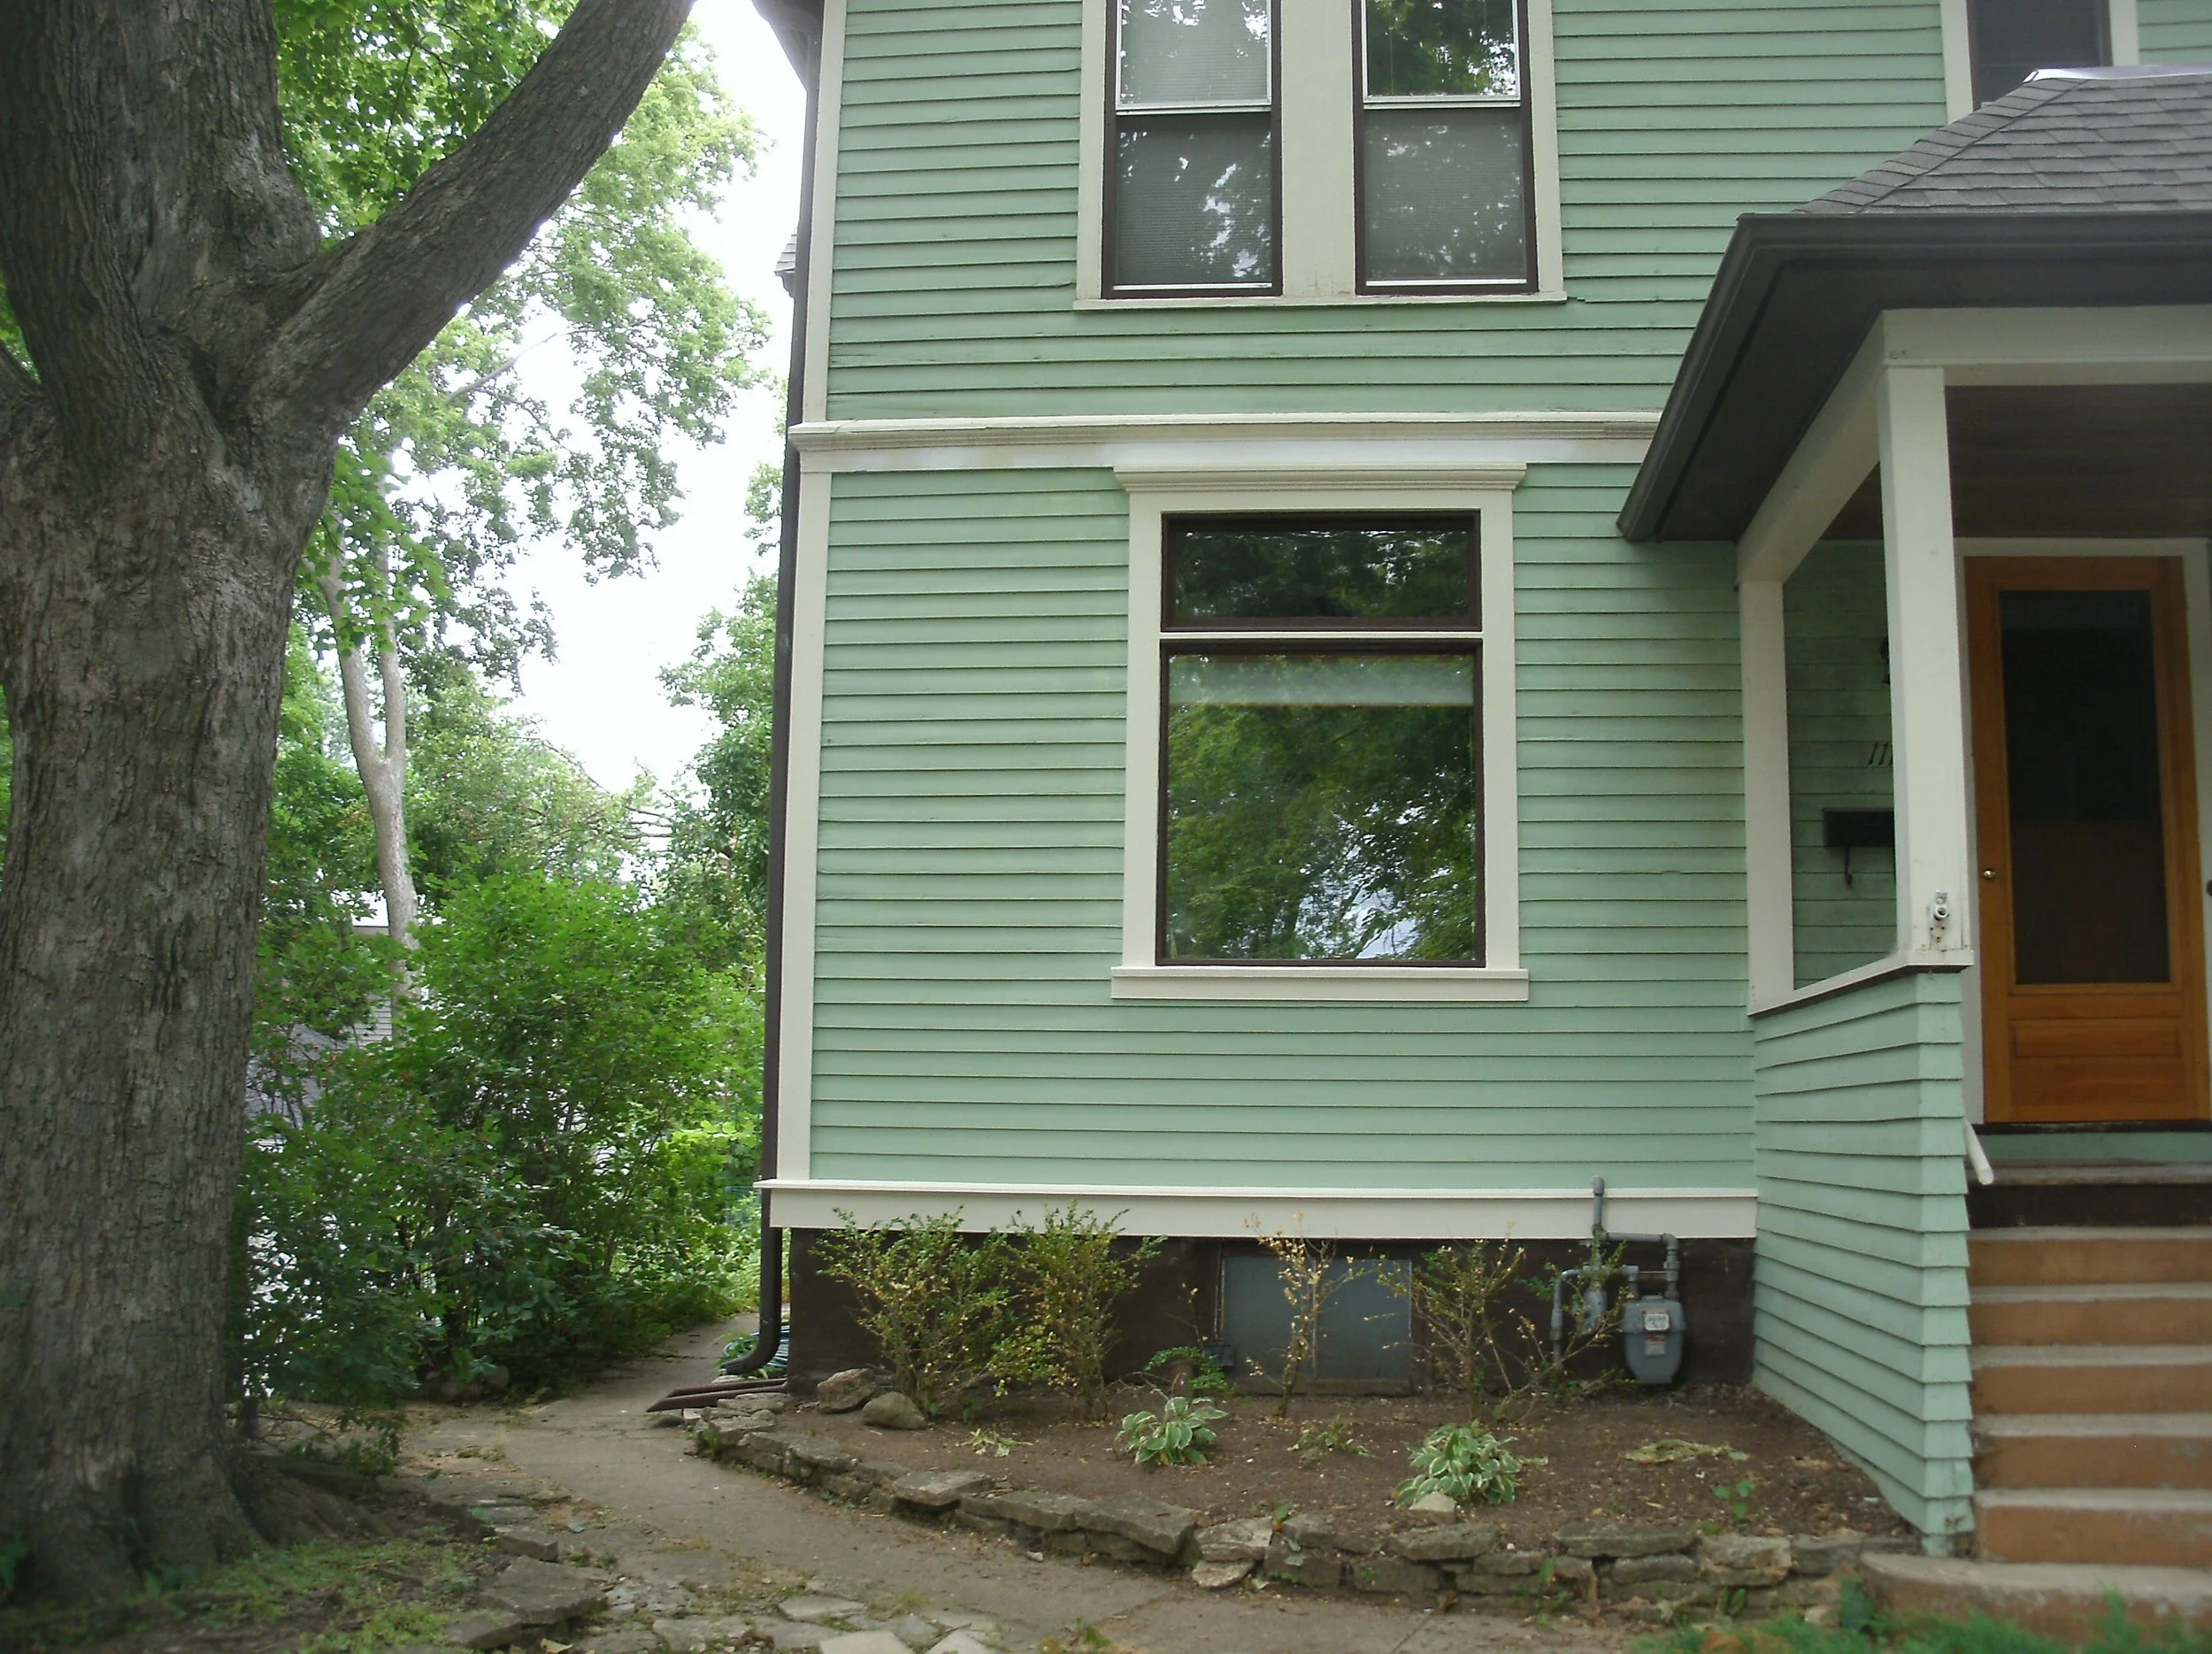
Urban Farmhouse Exterior
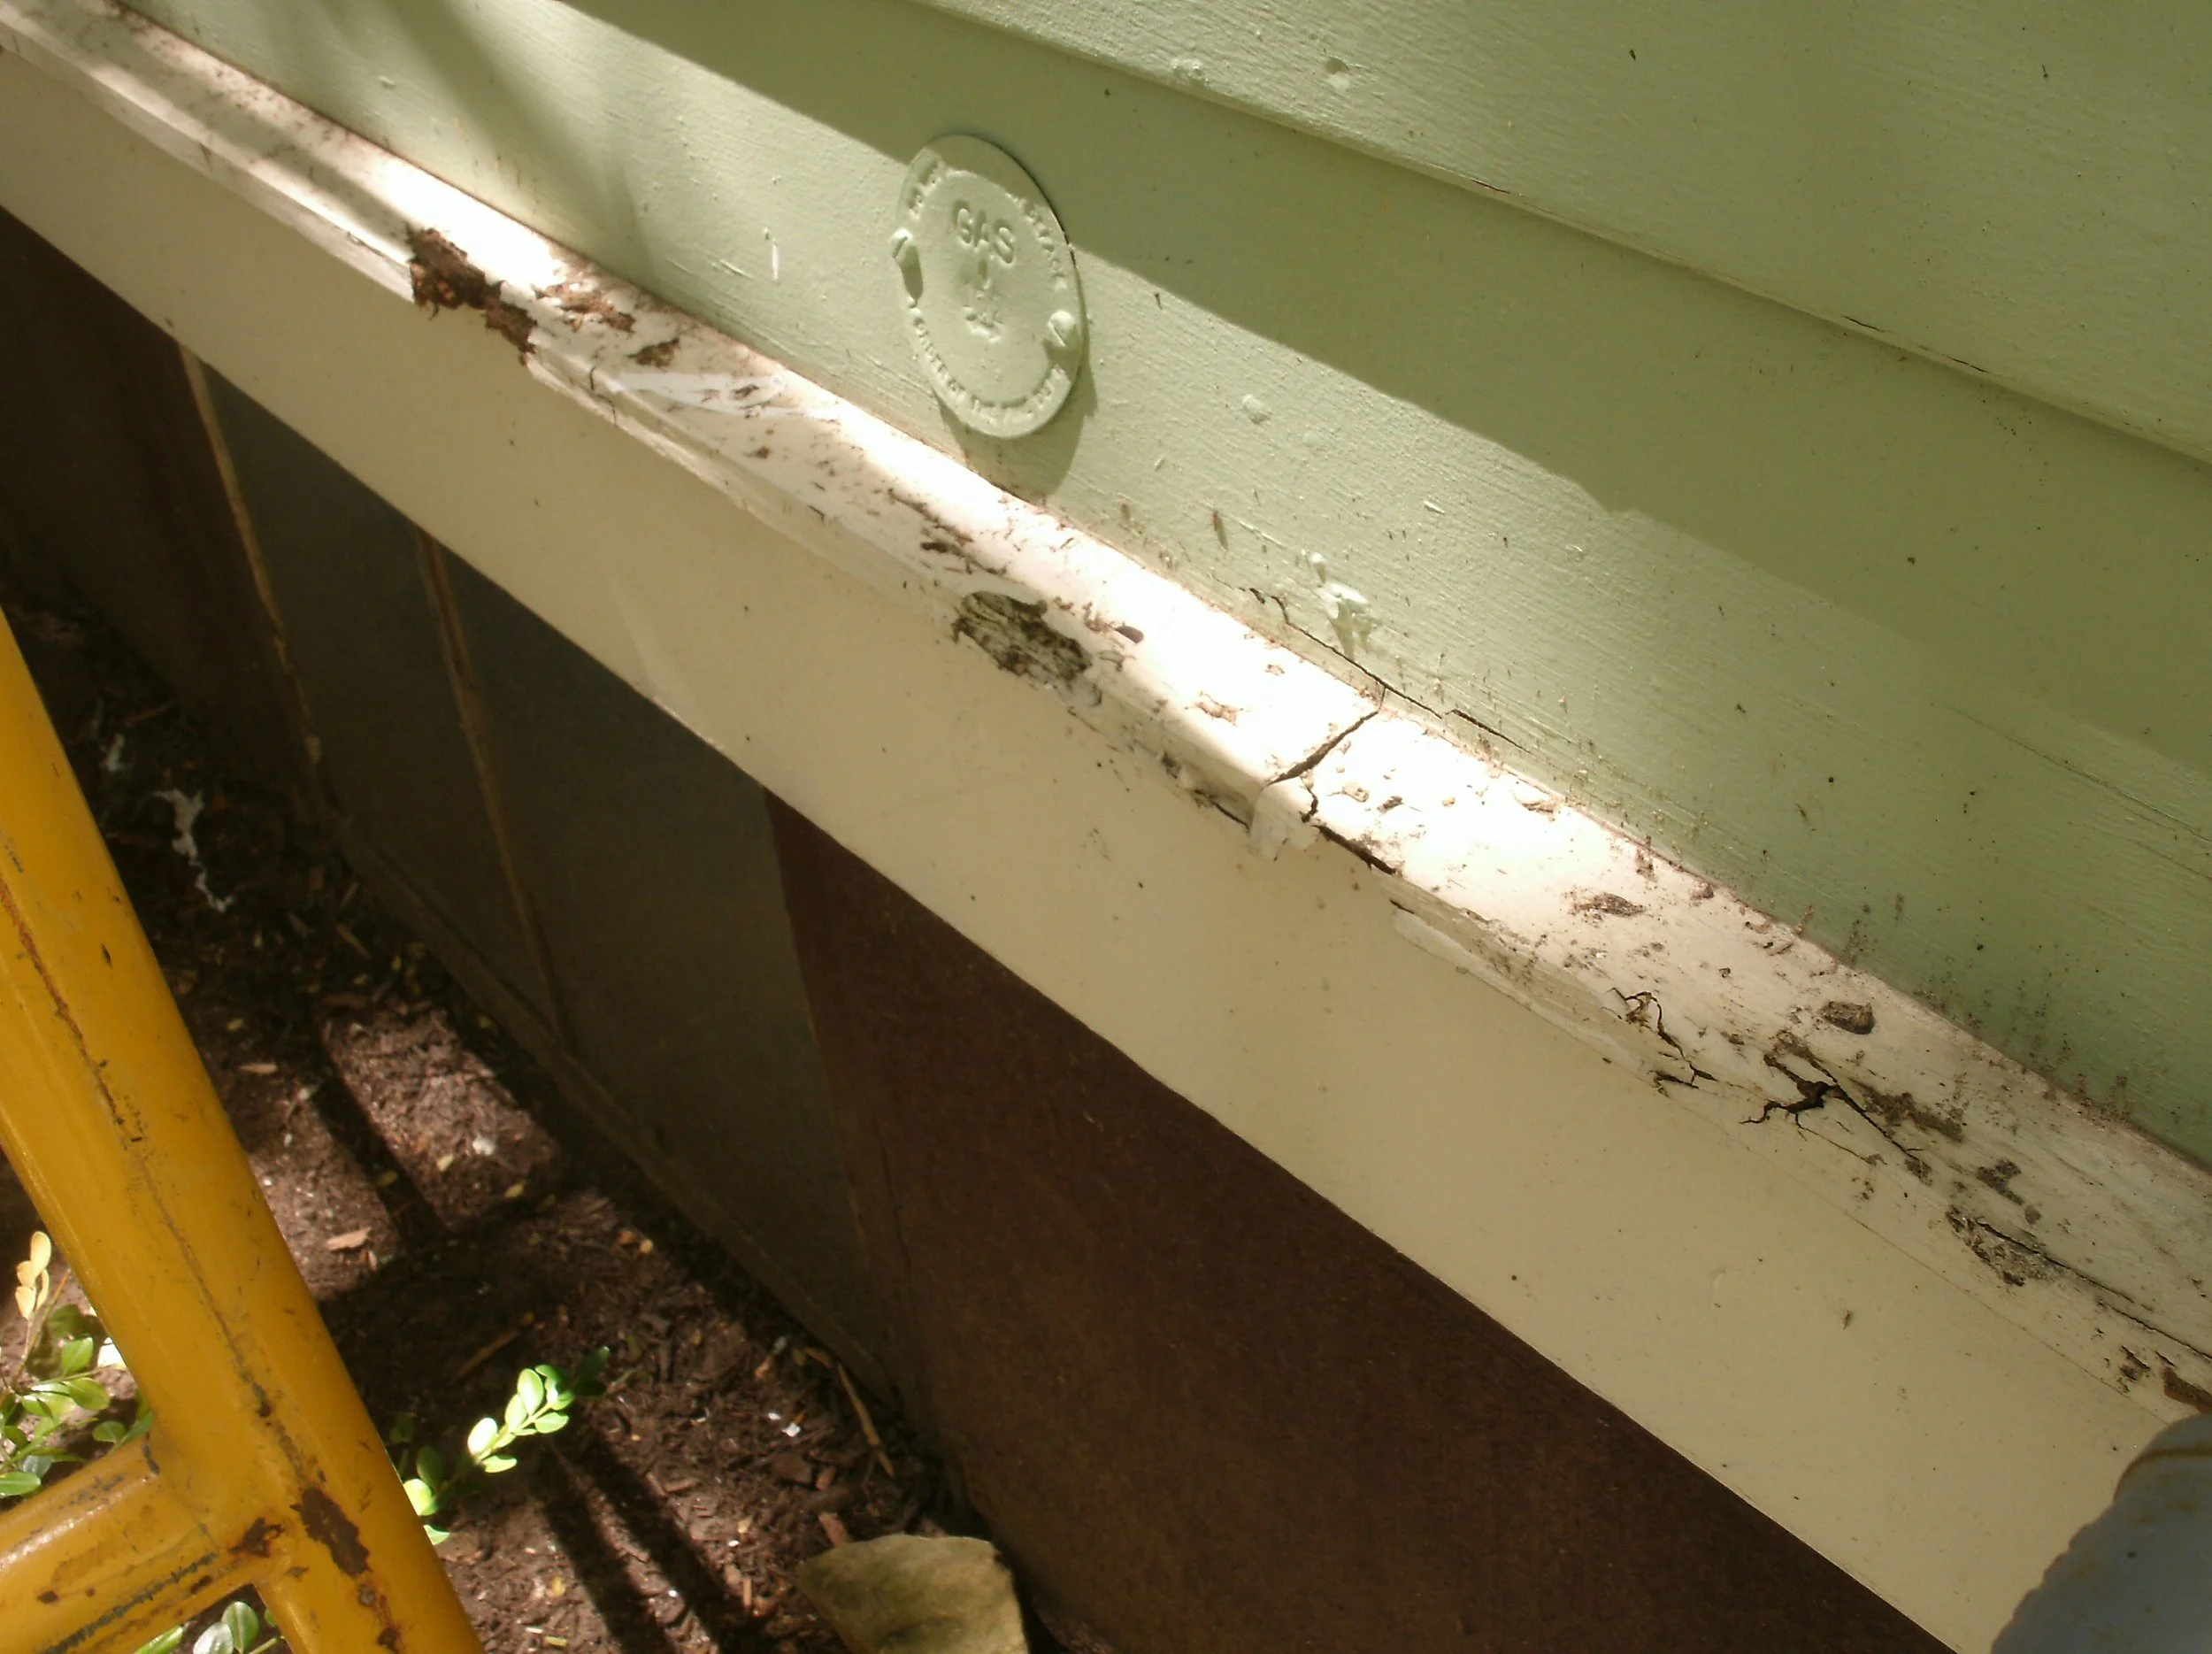
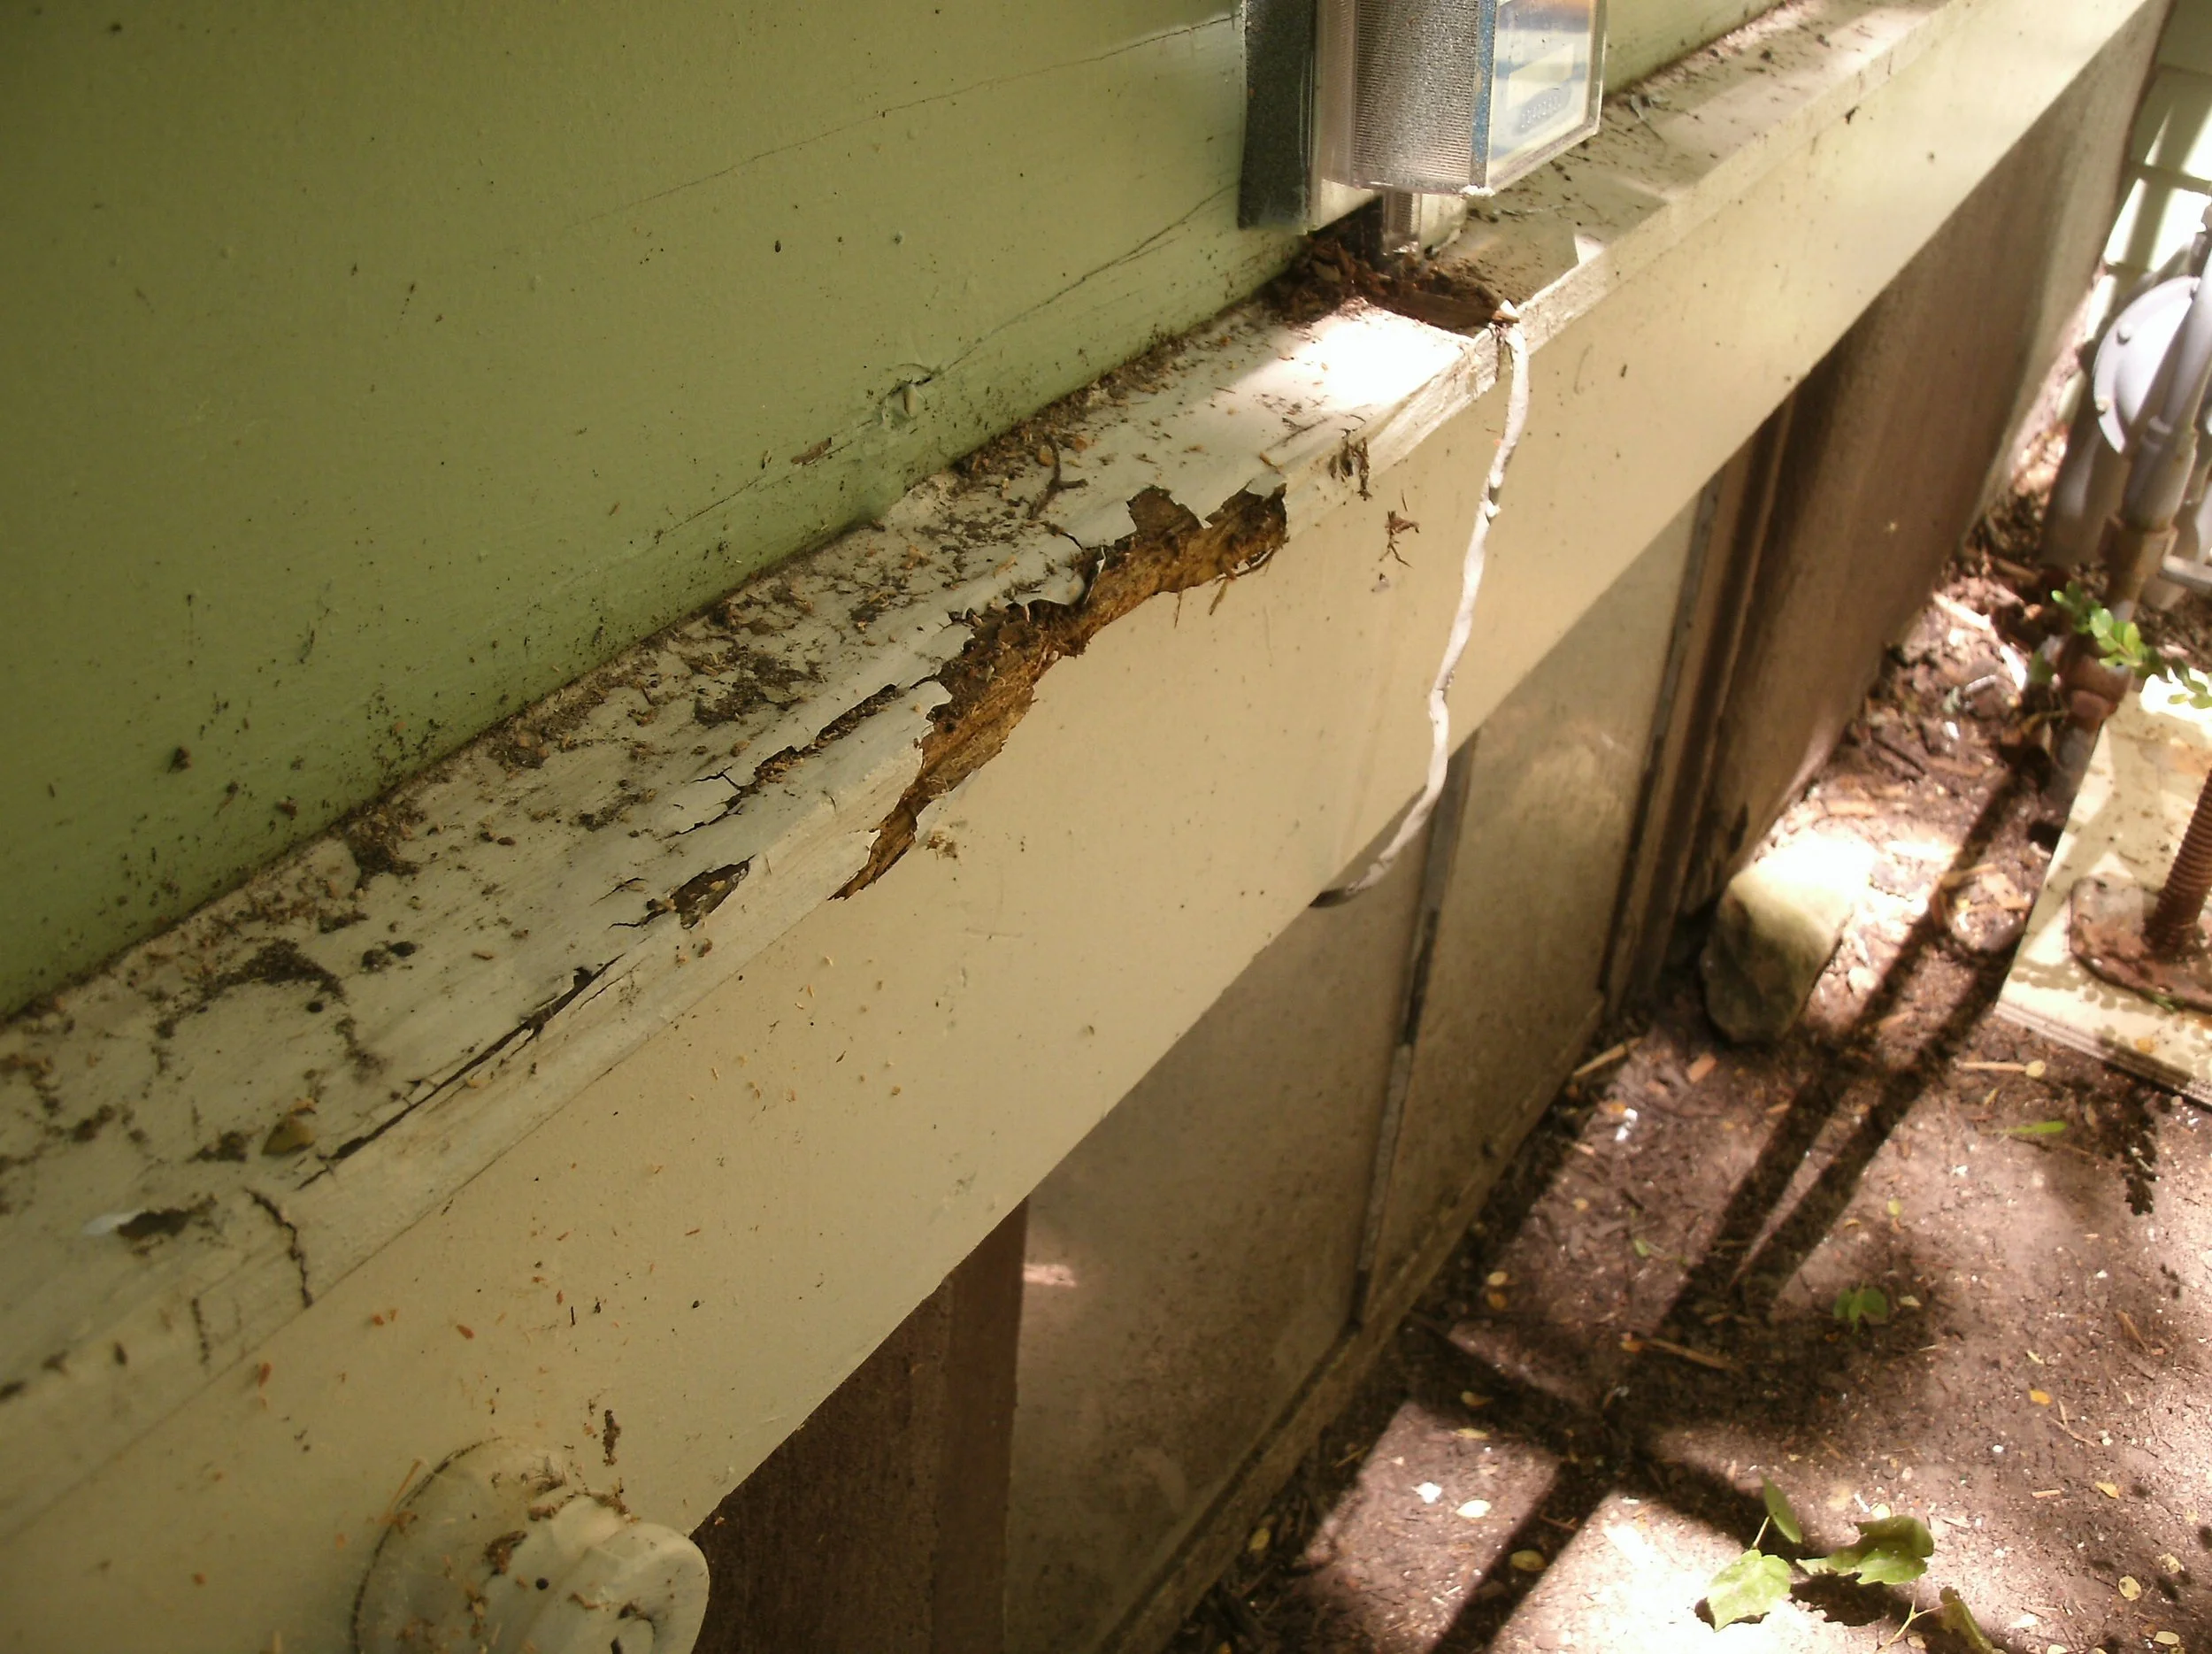
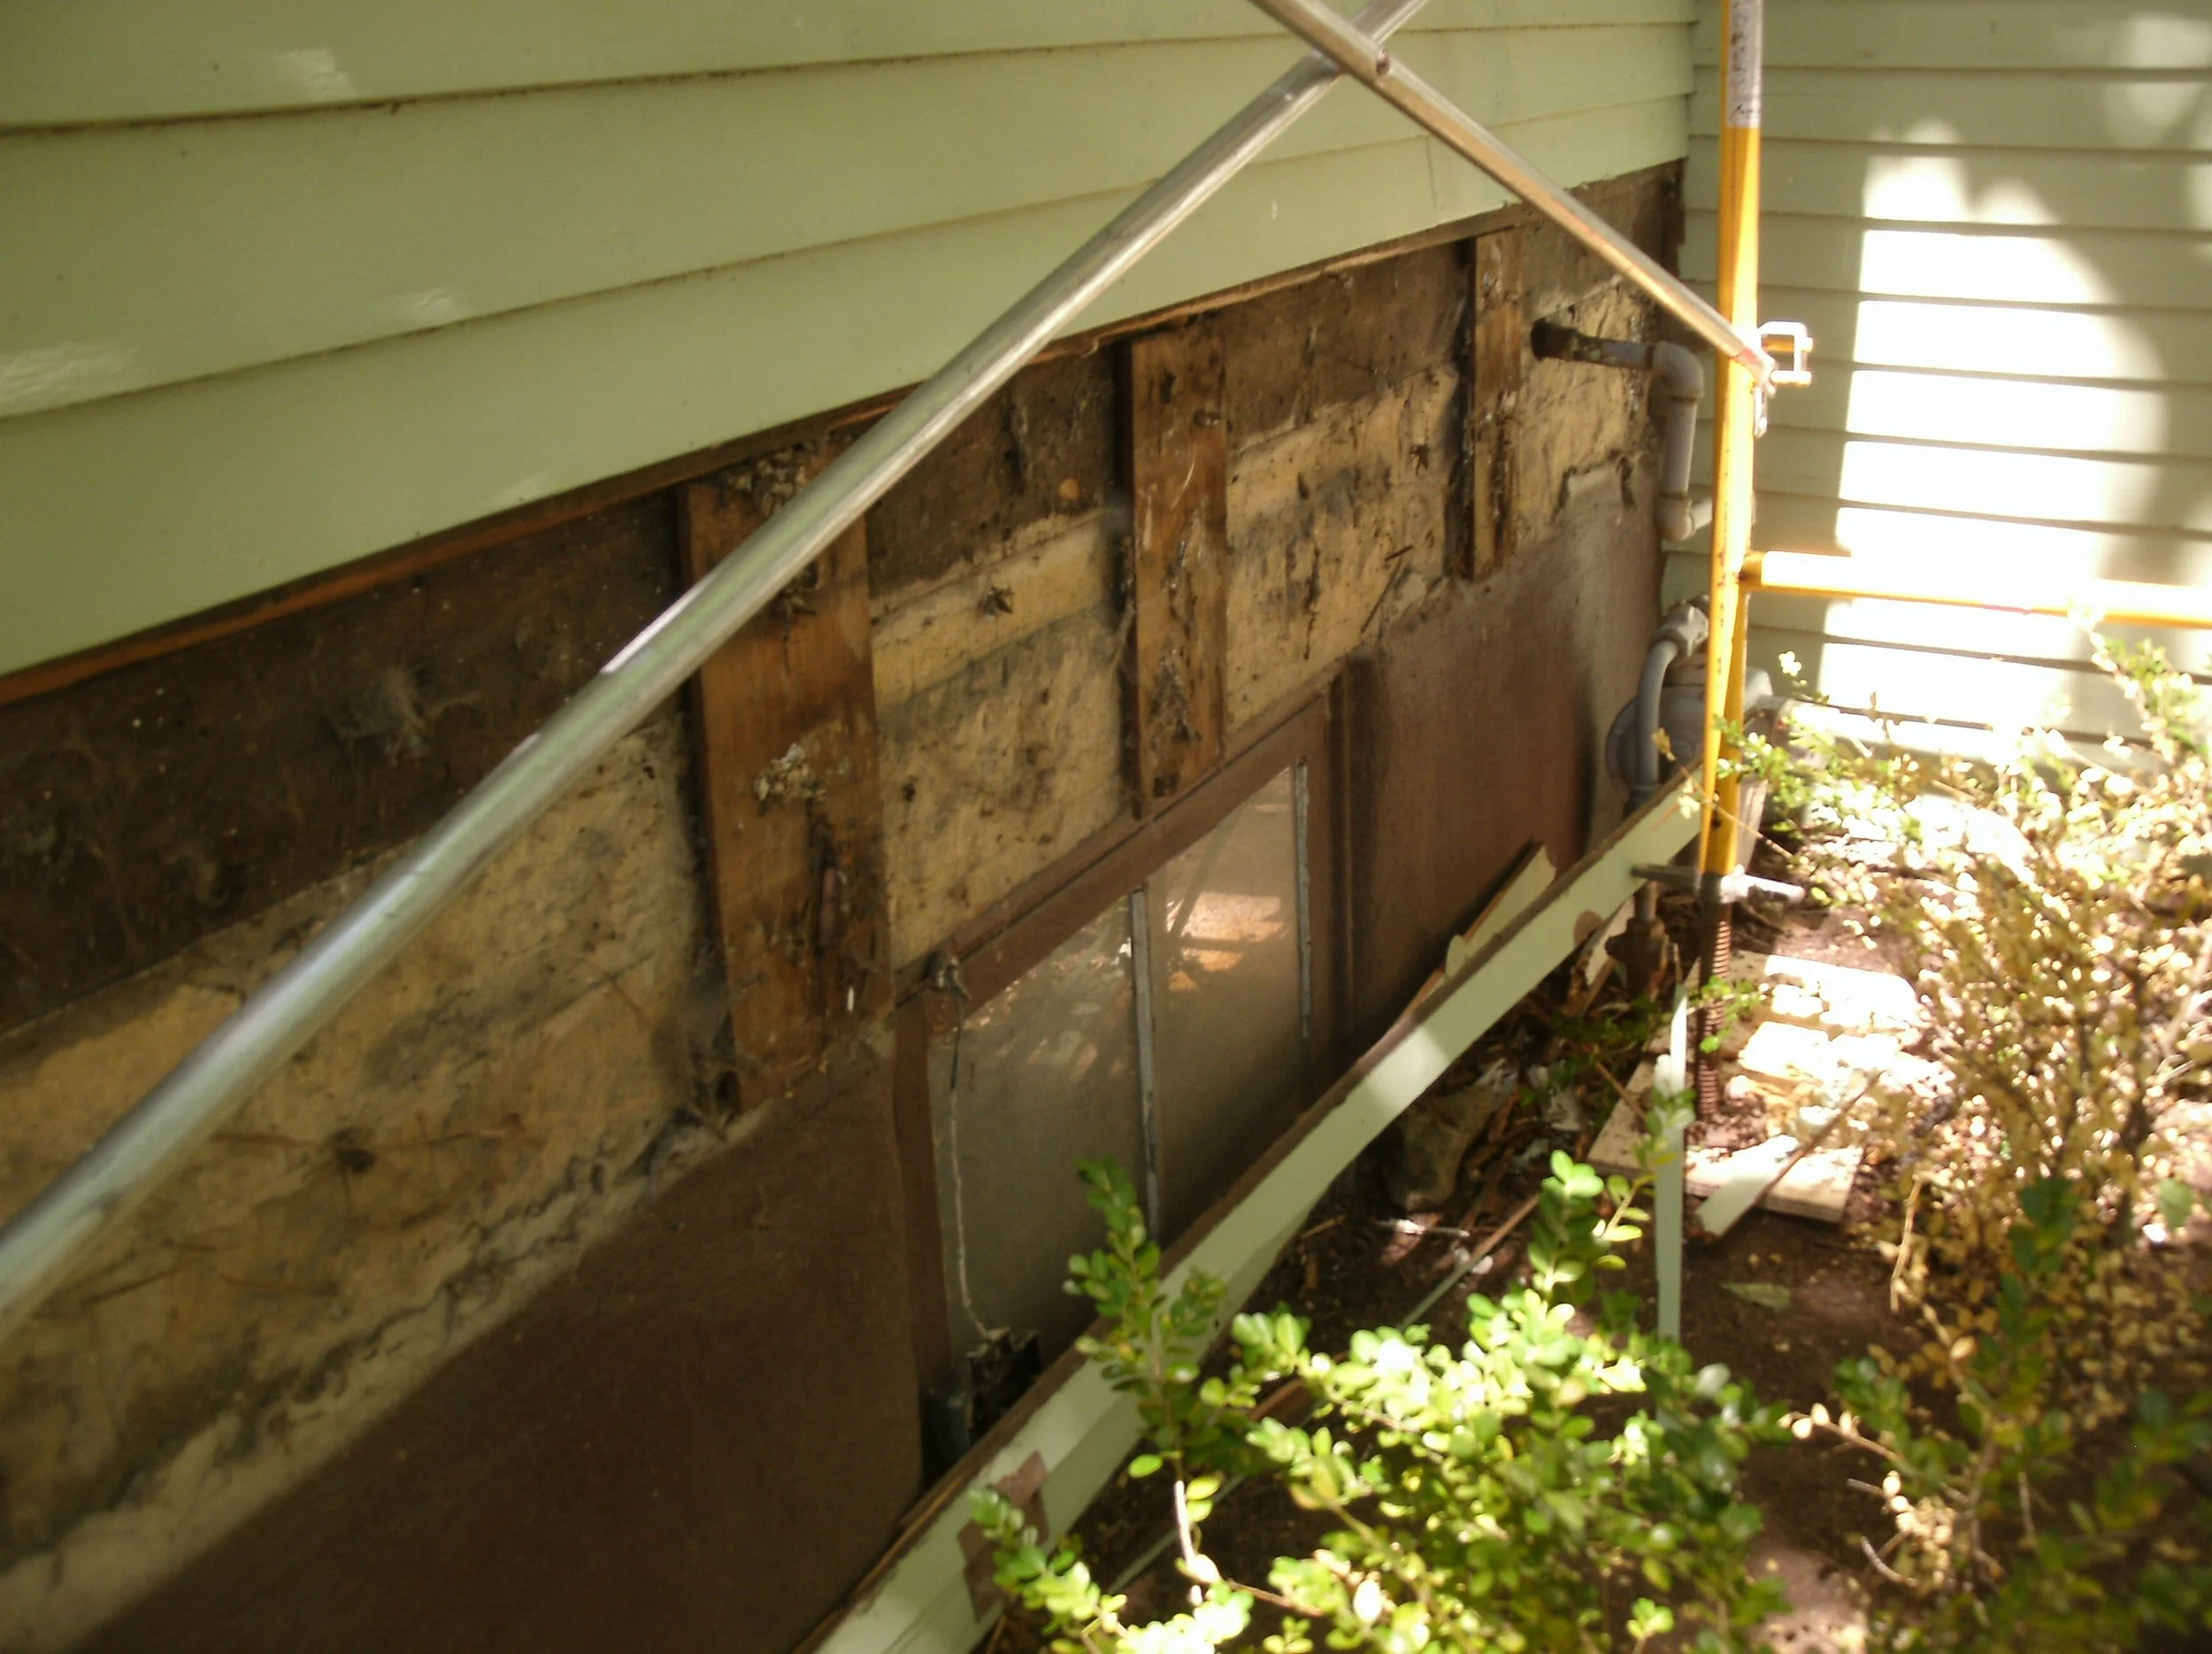
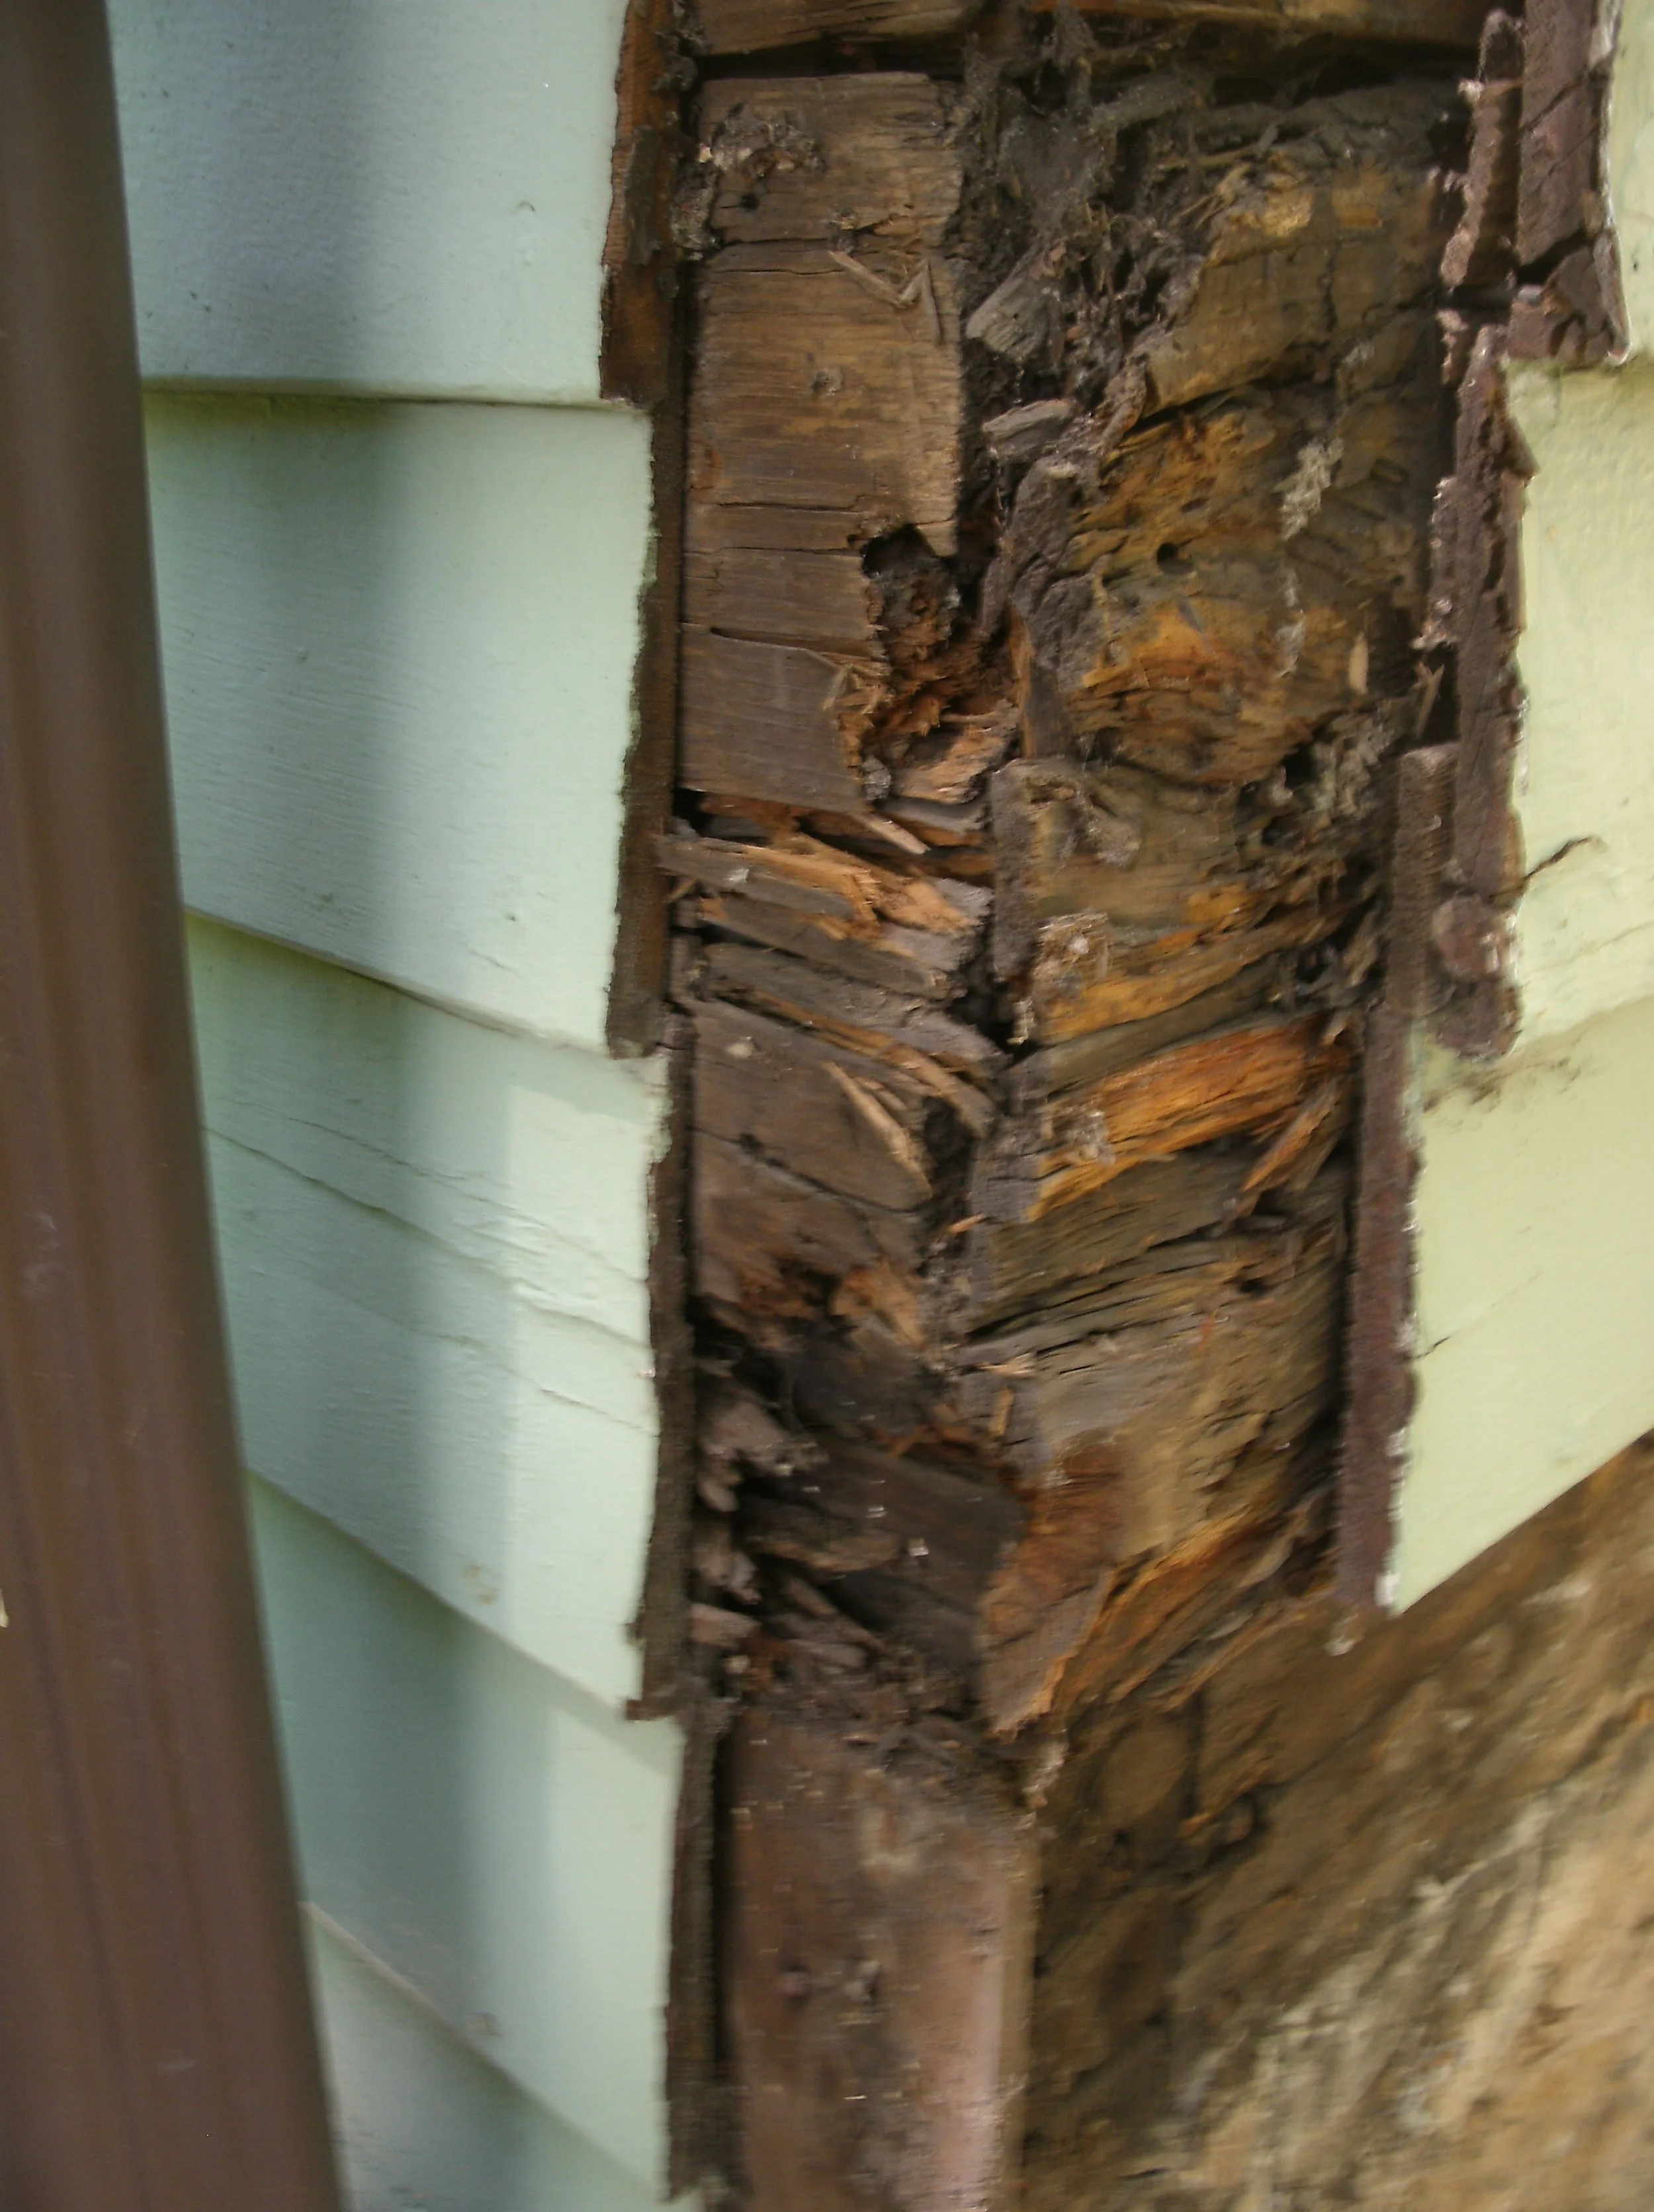
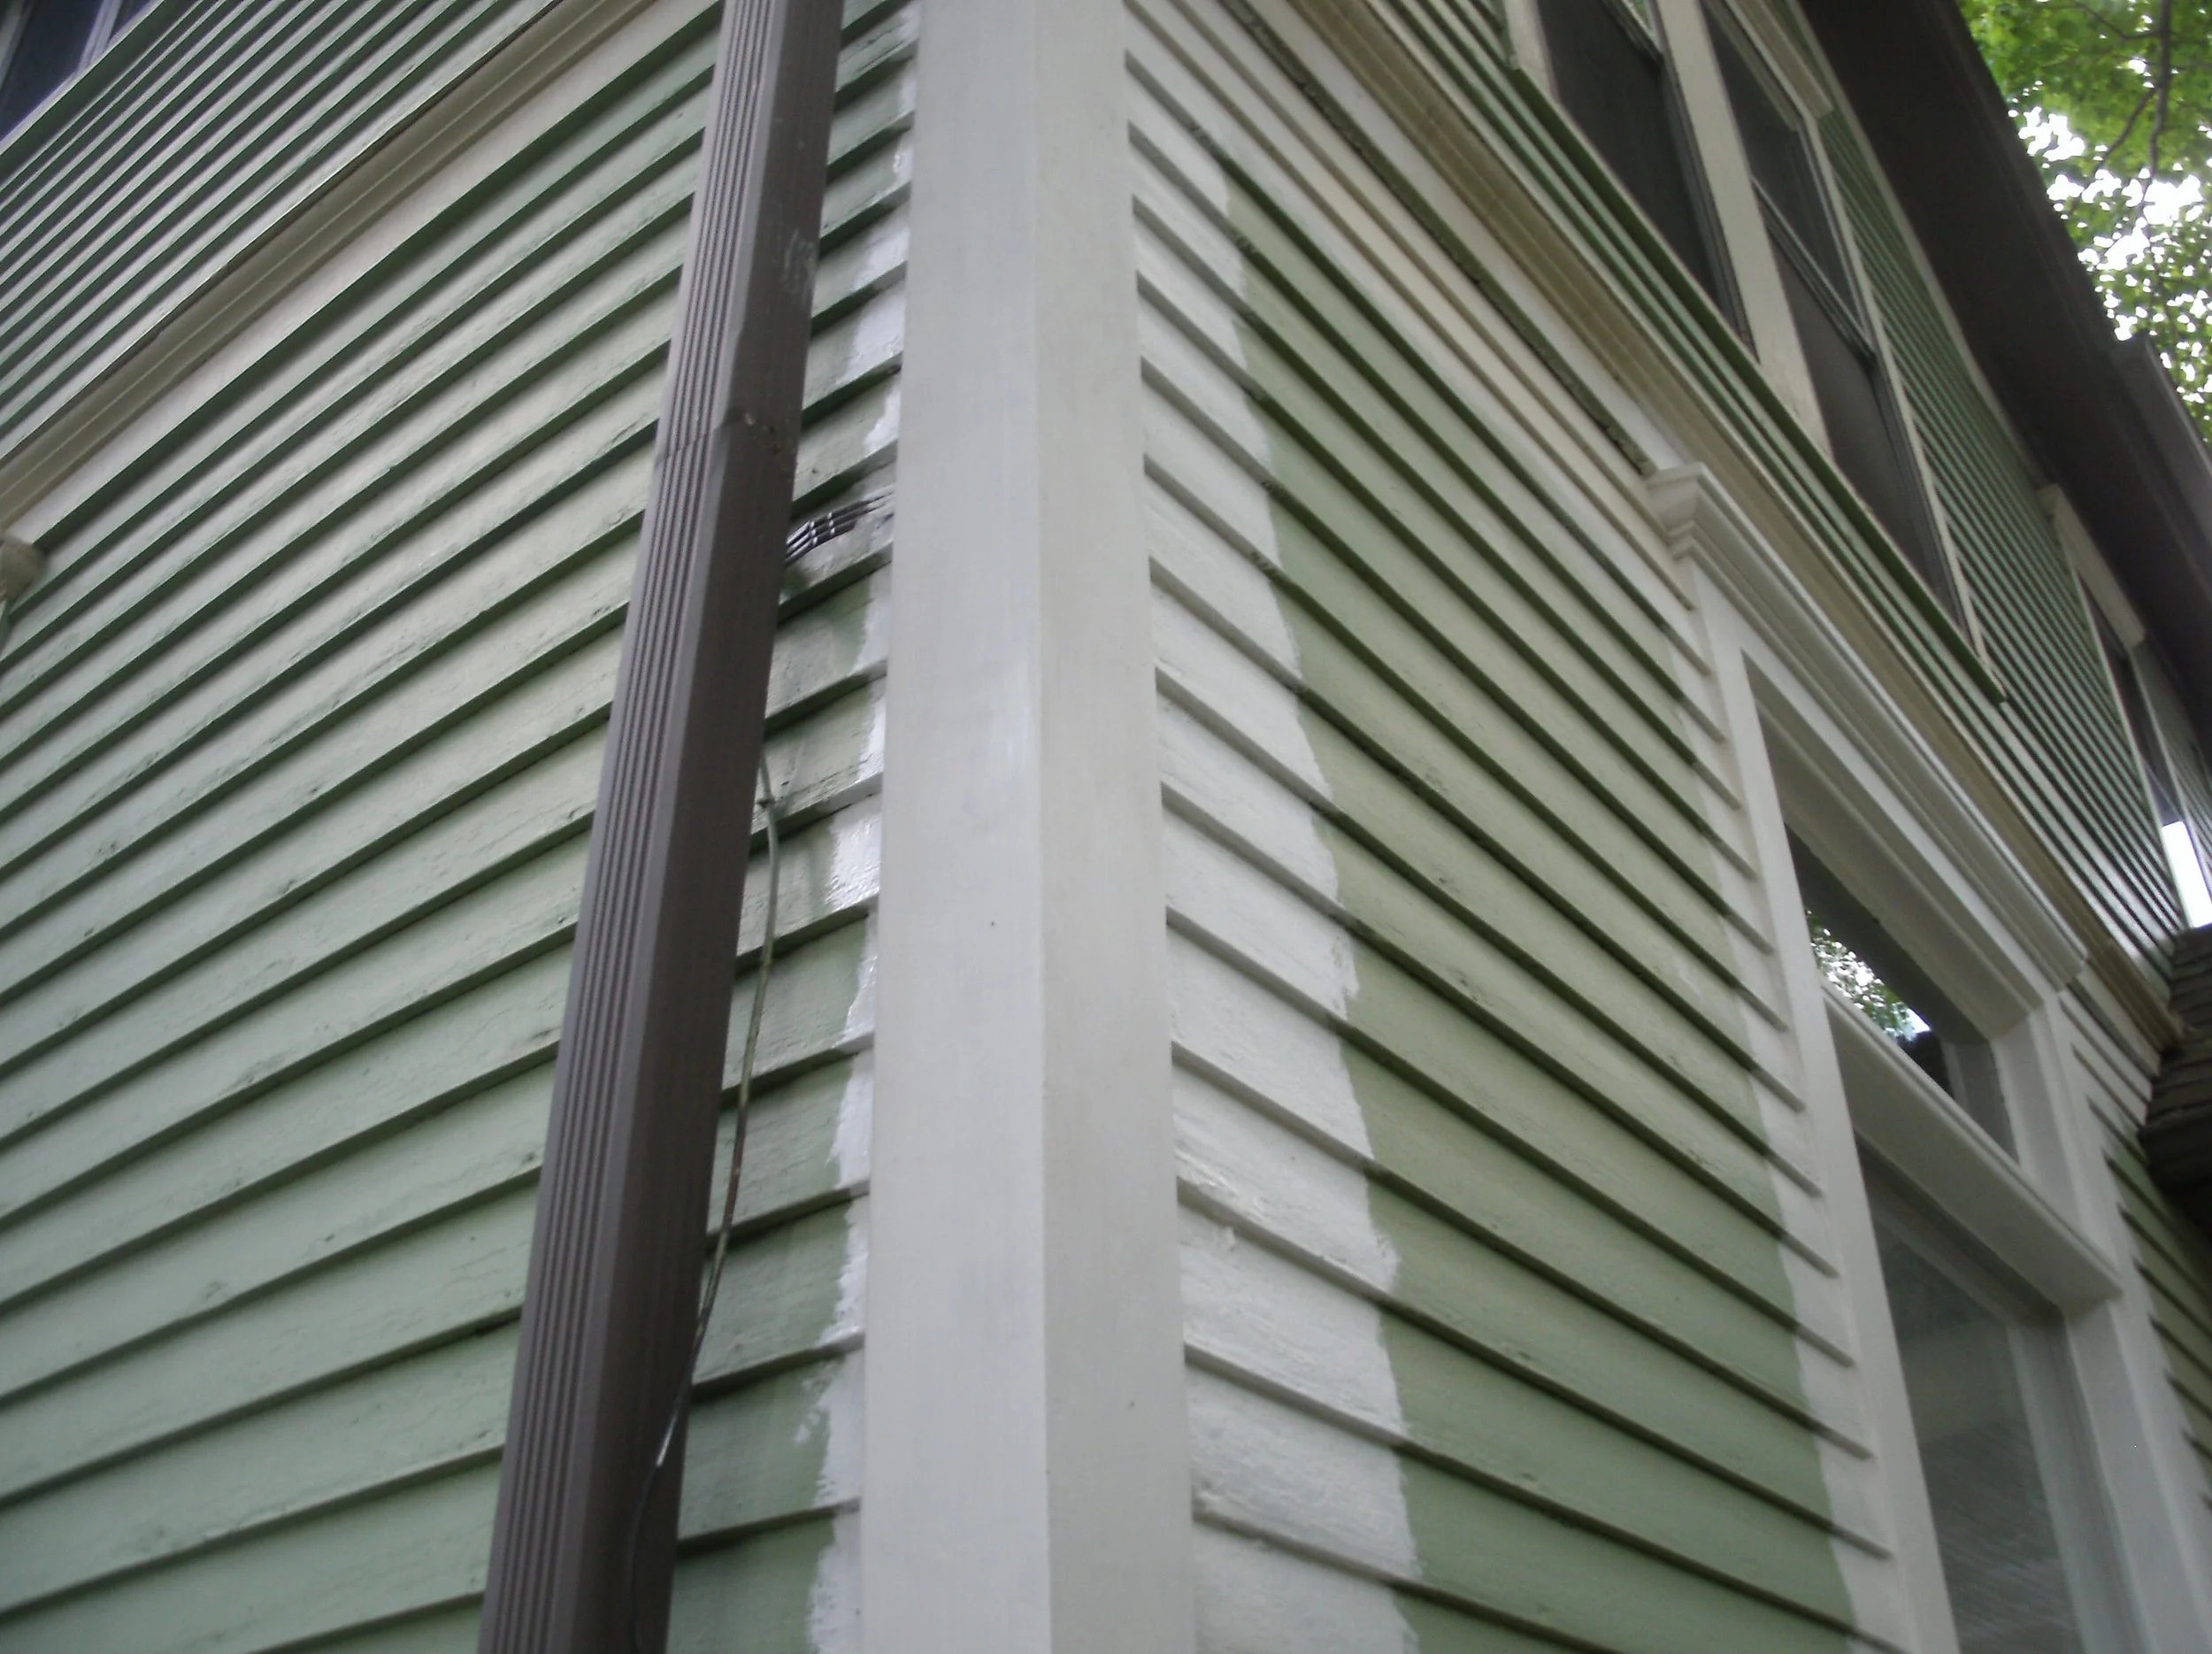
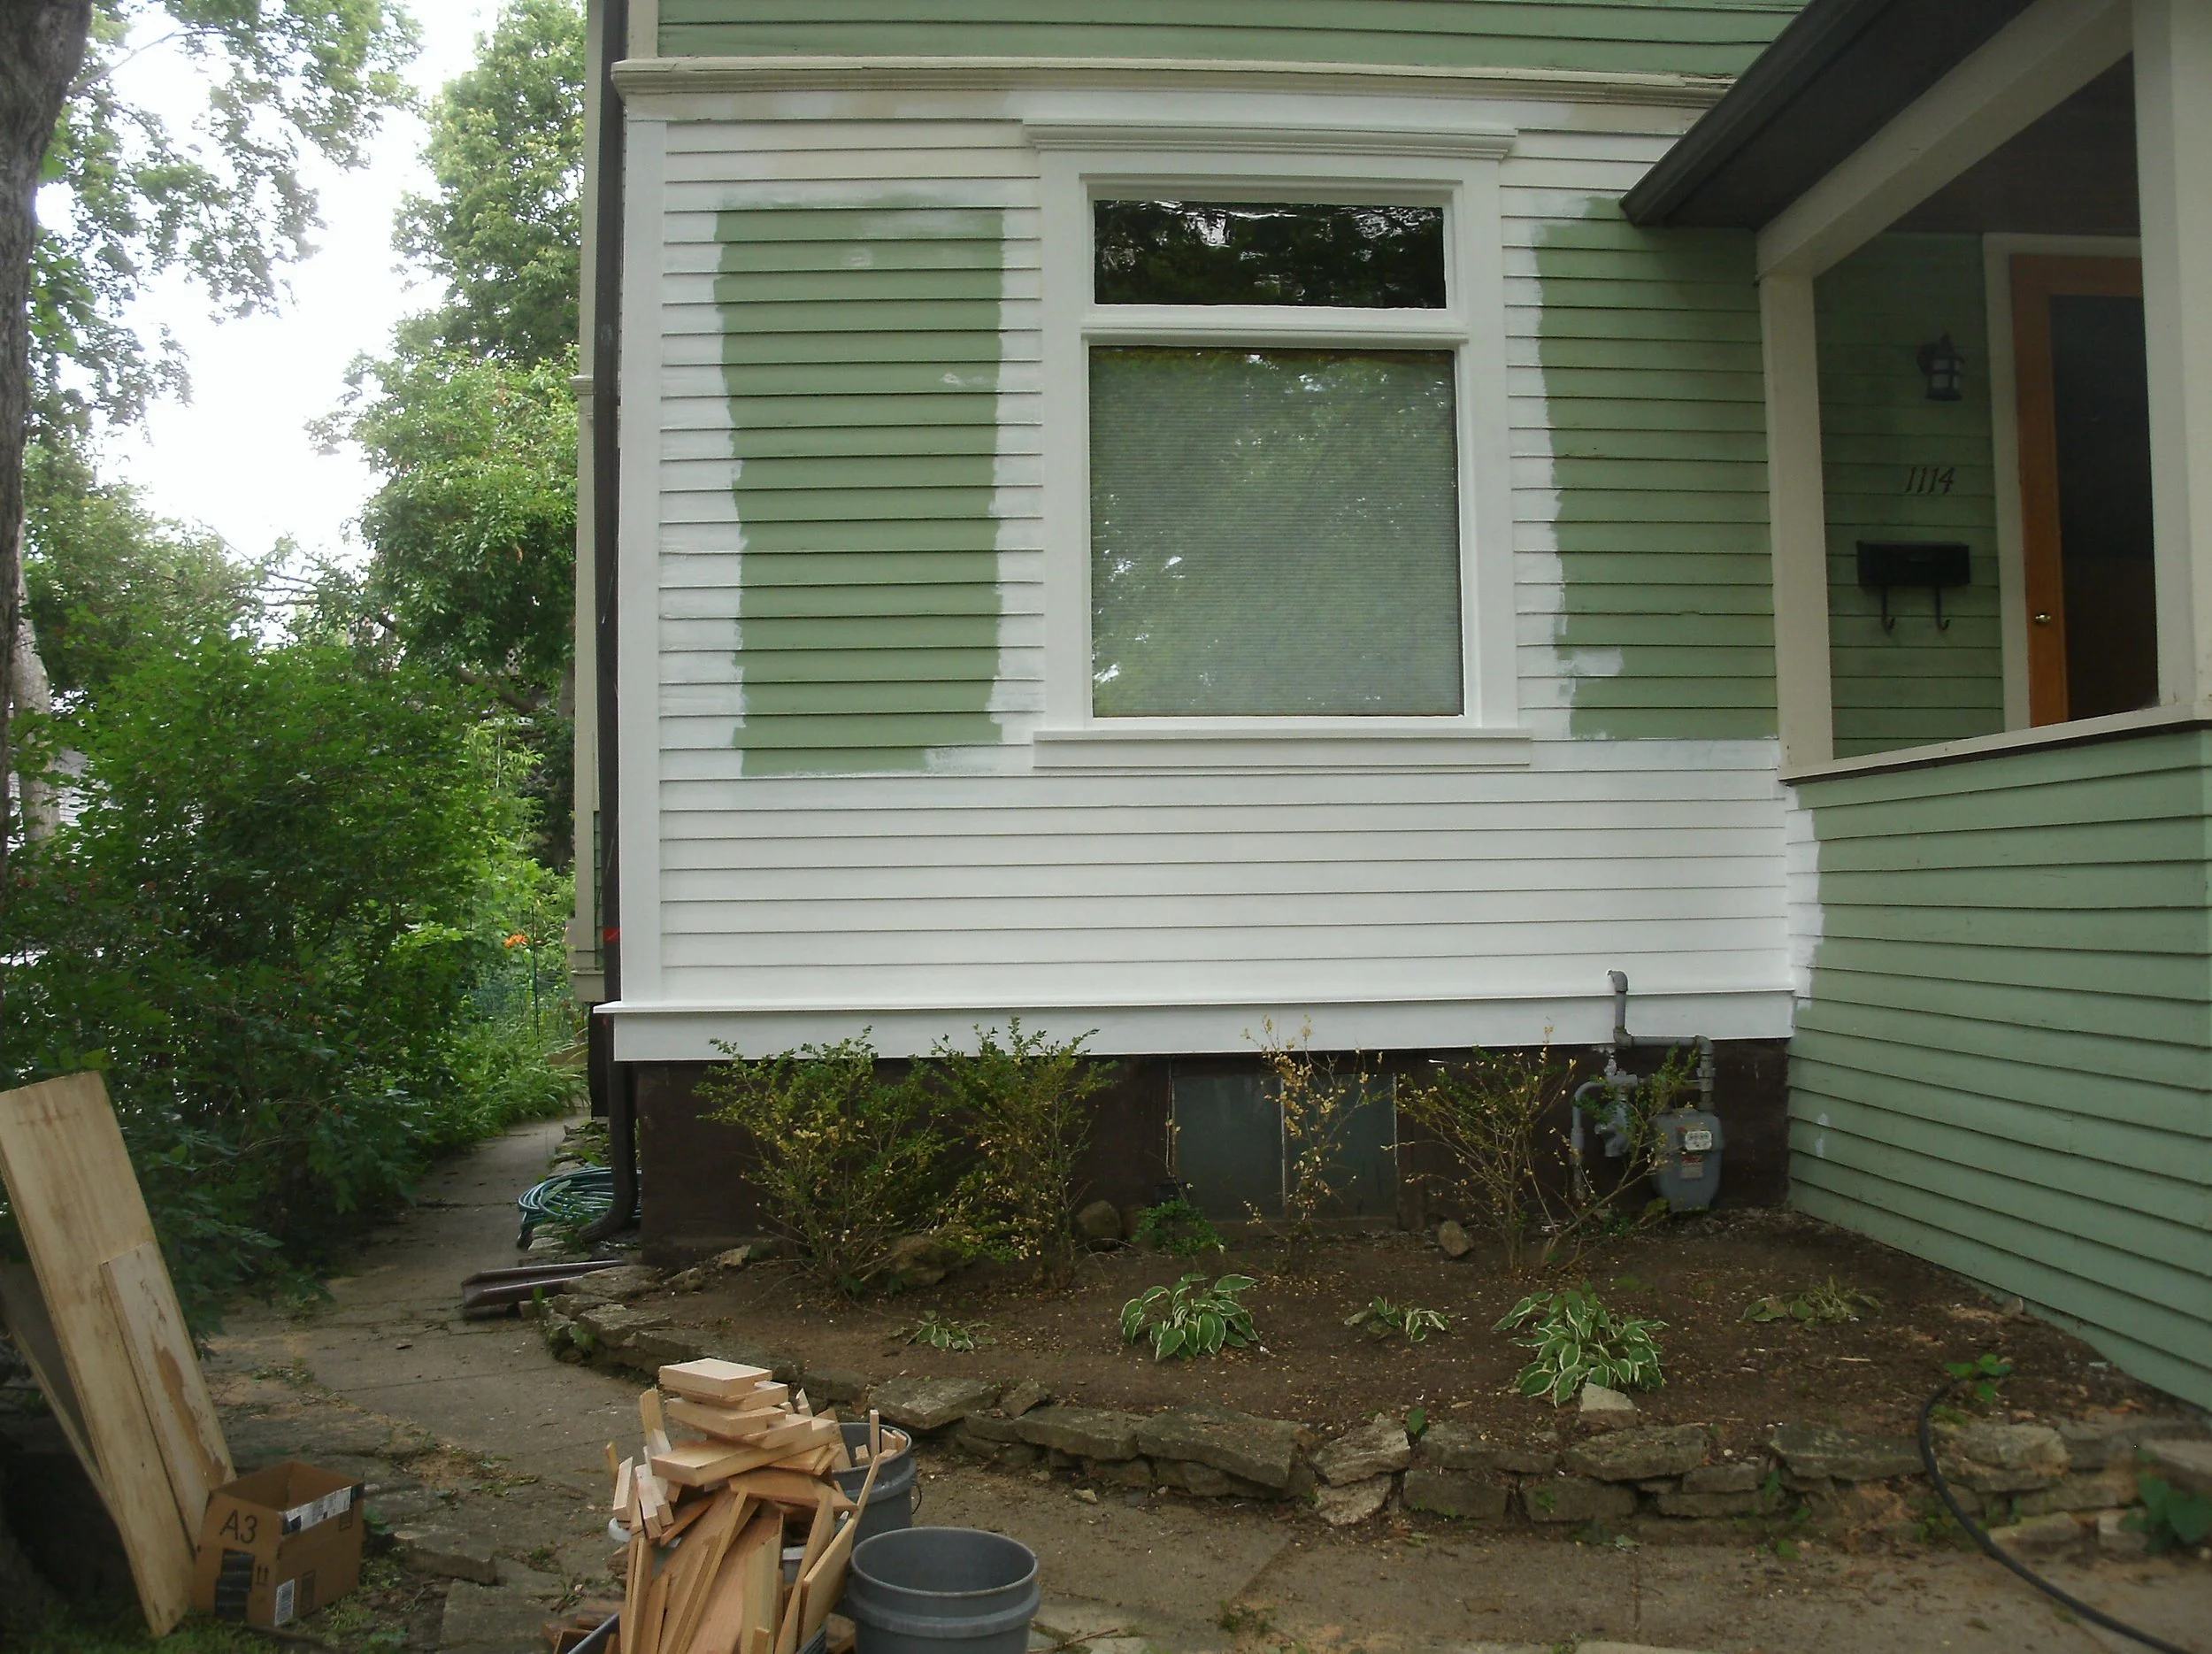
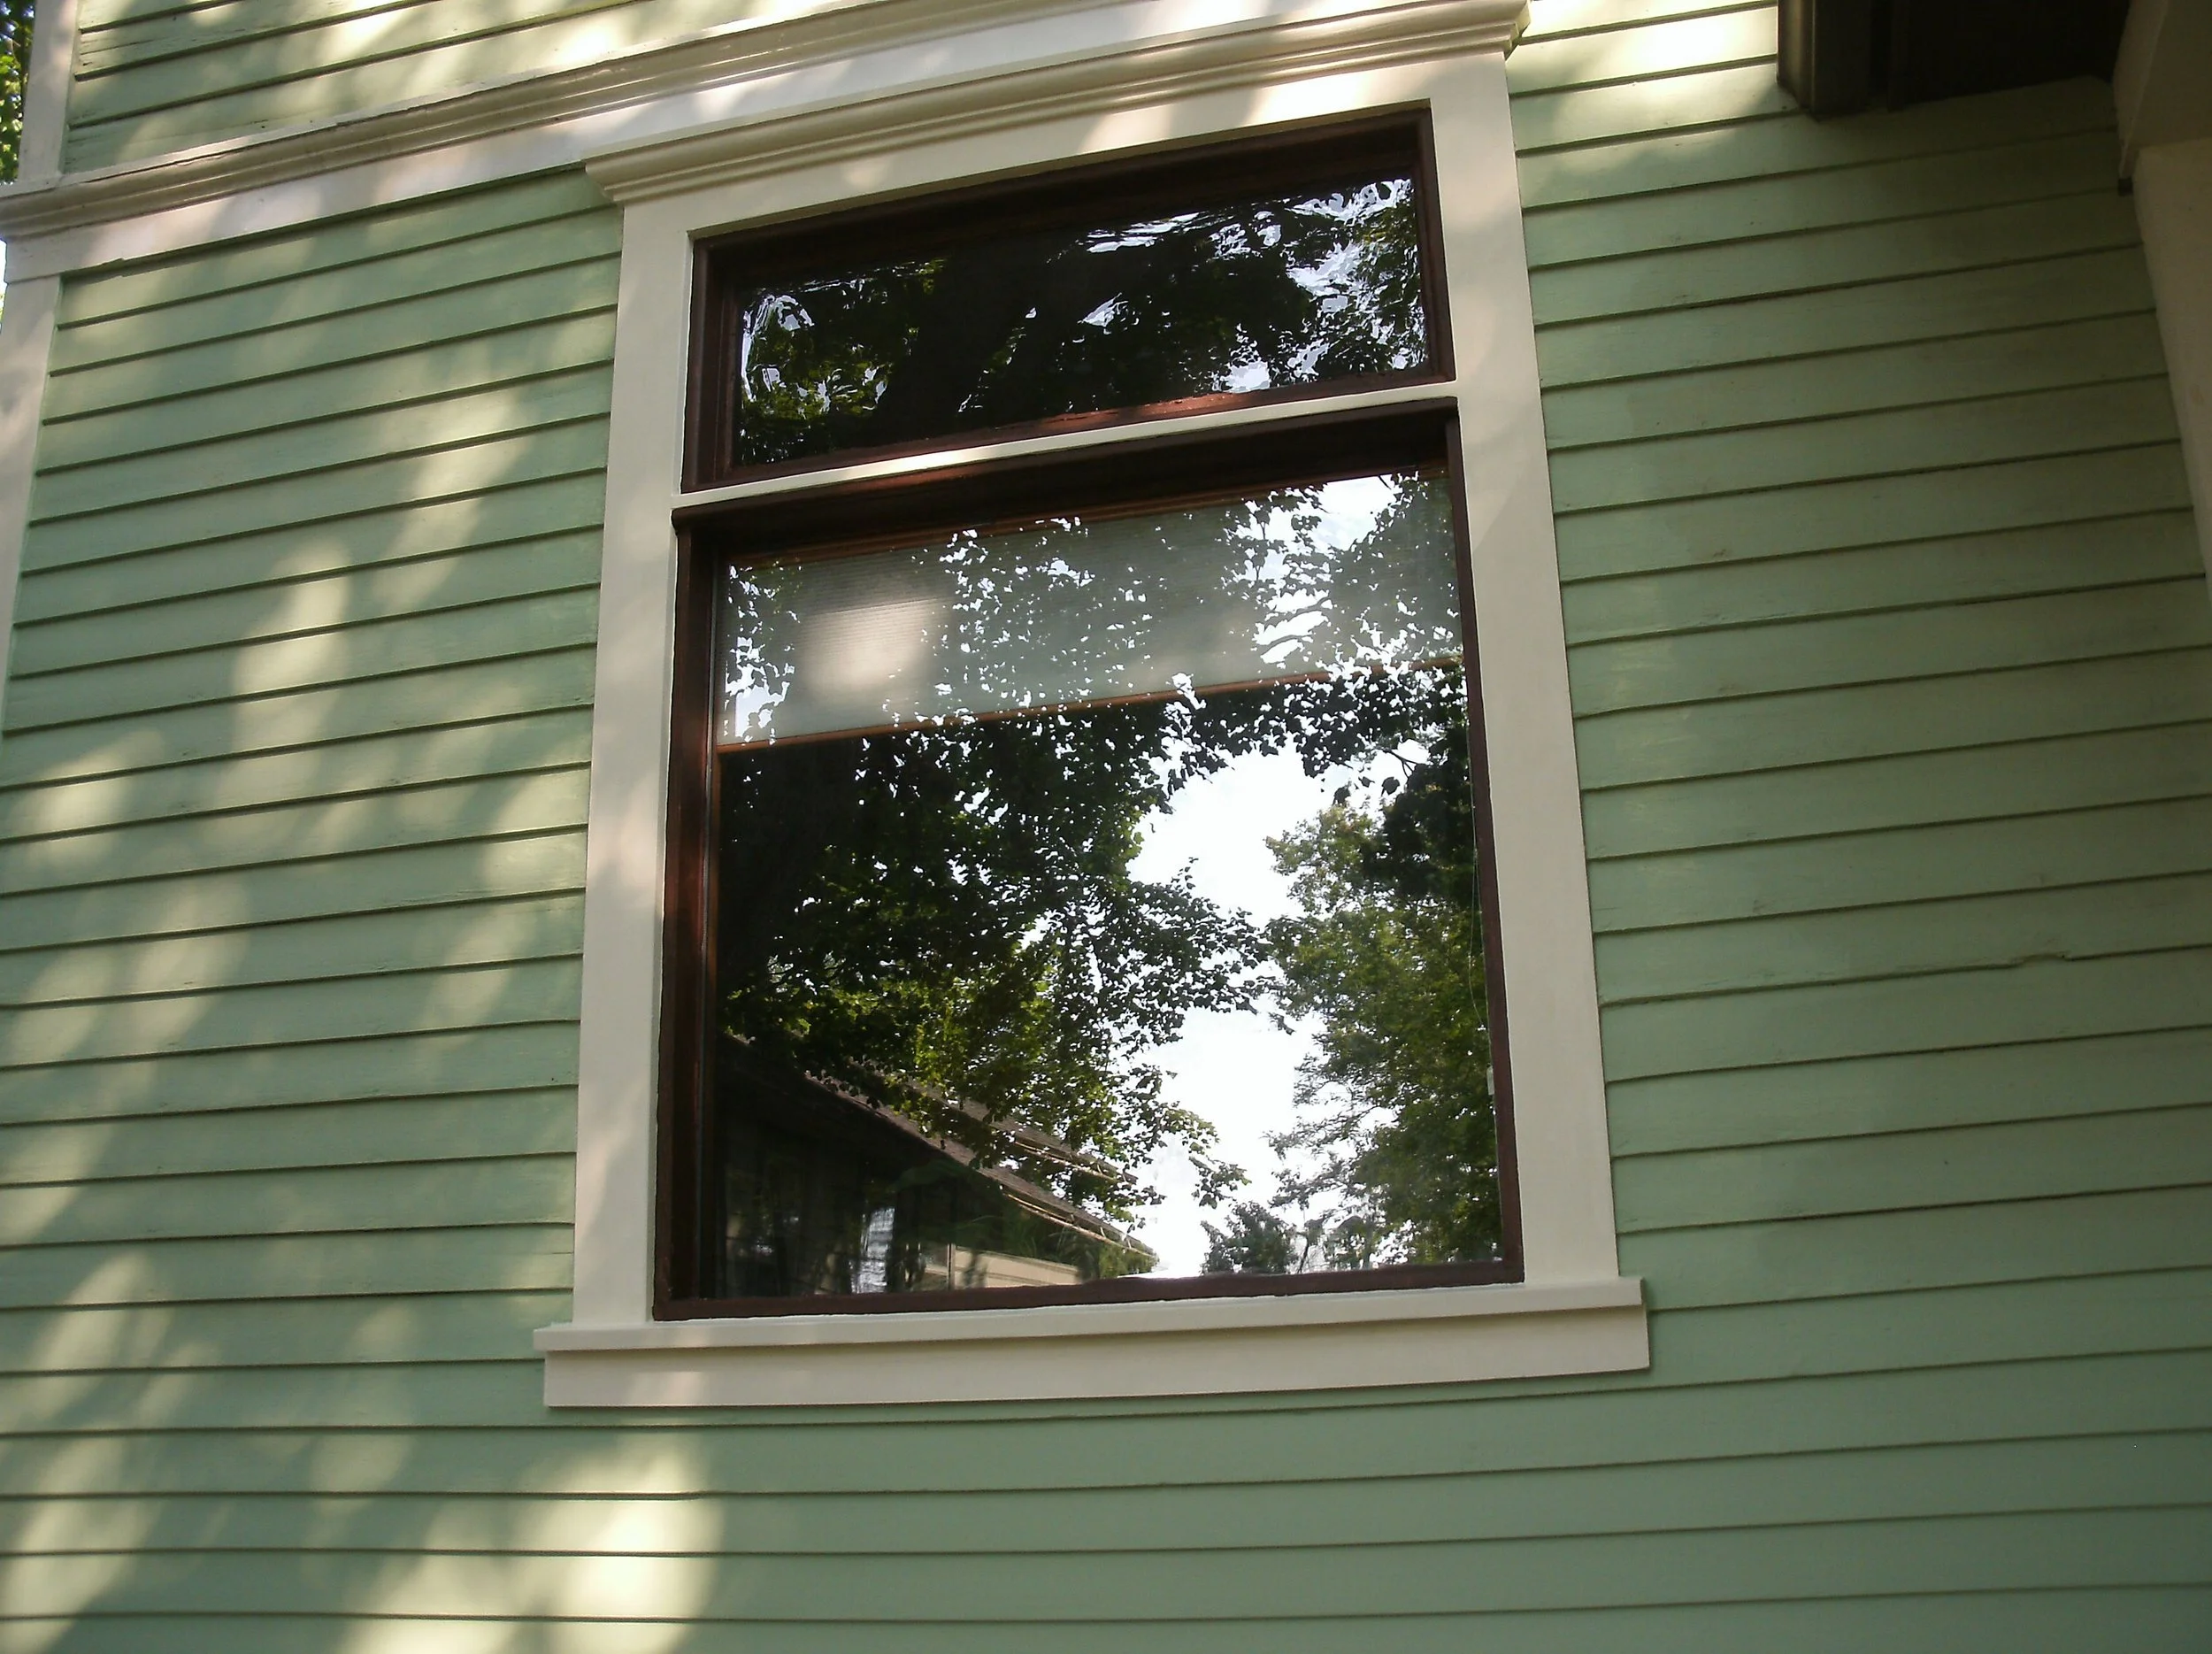
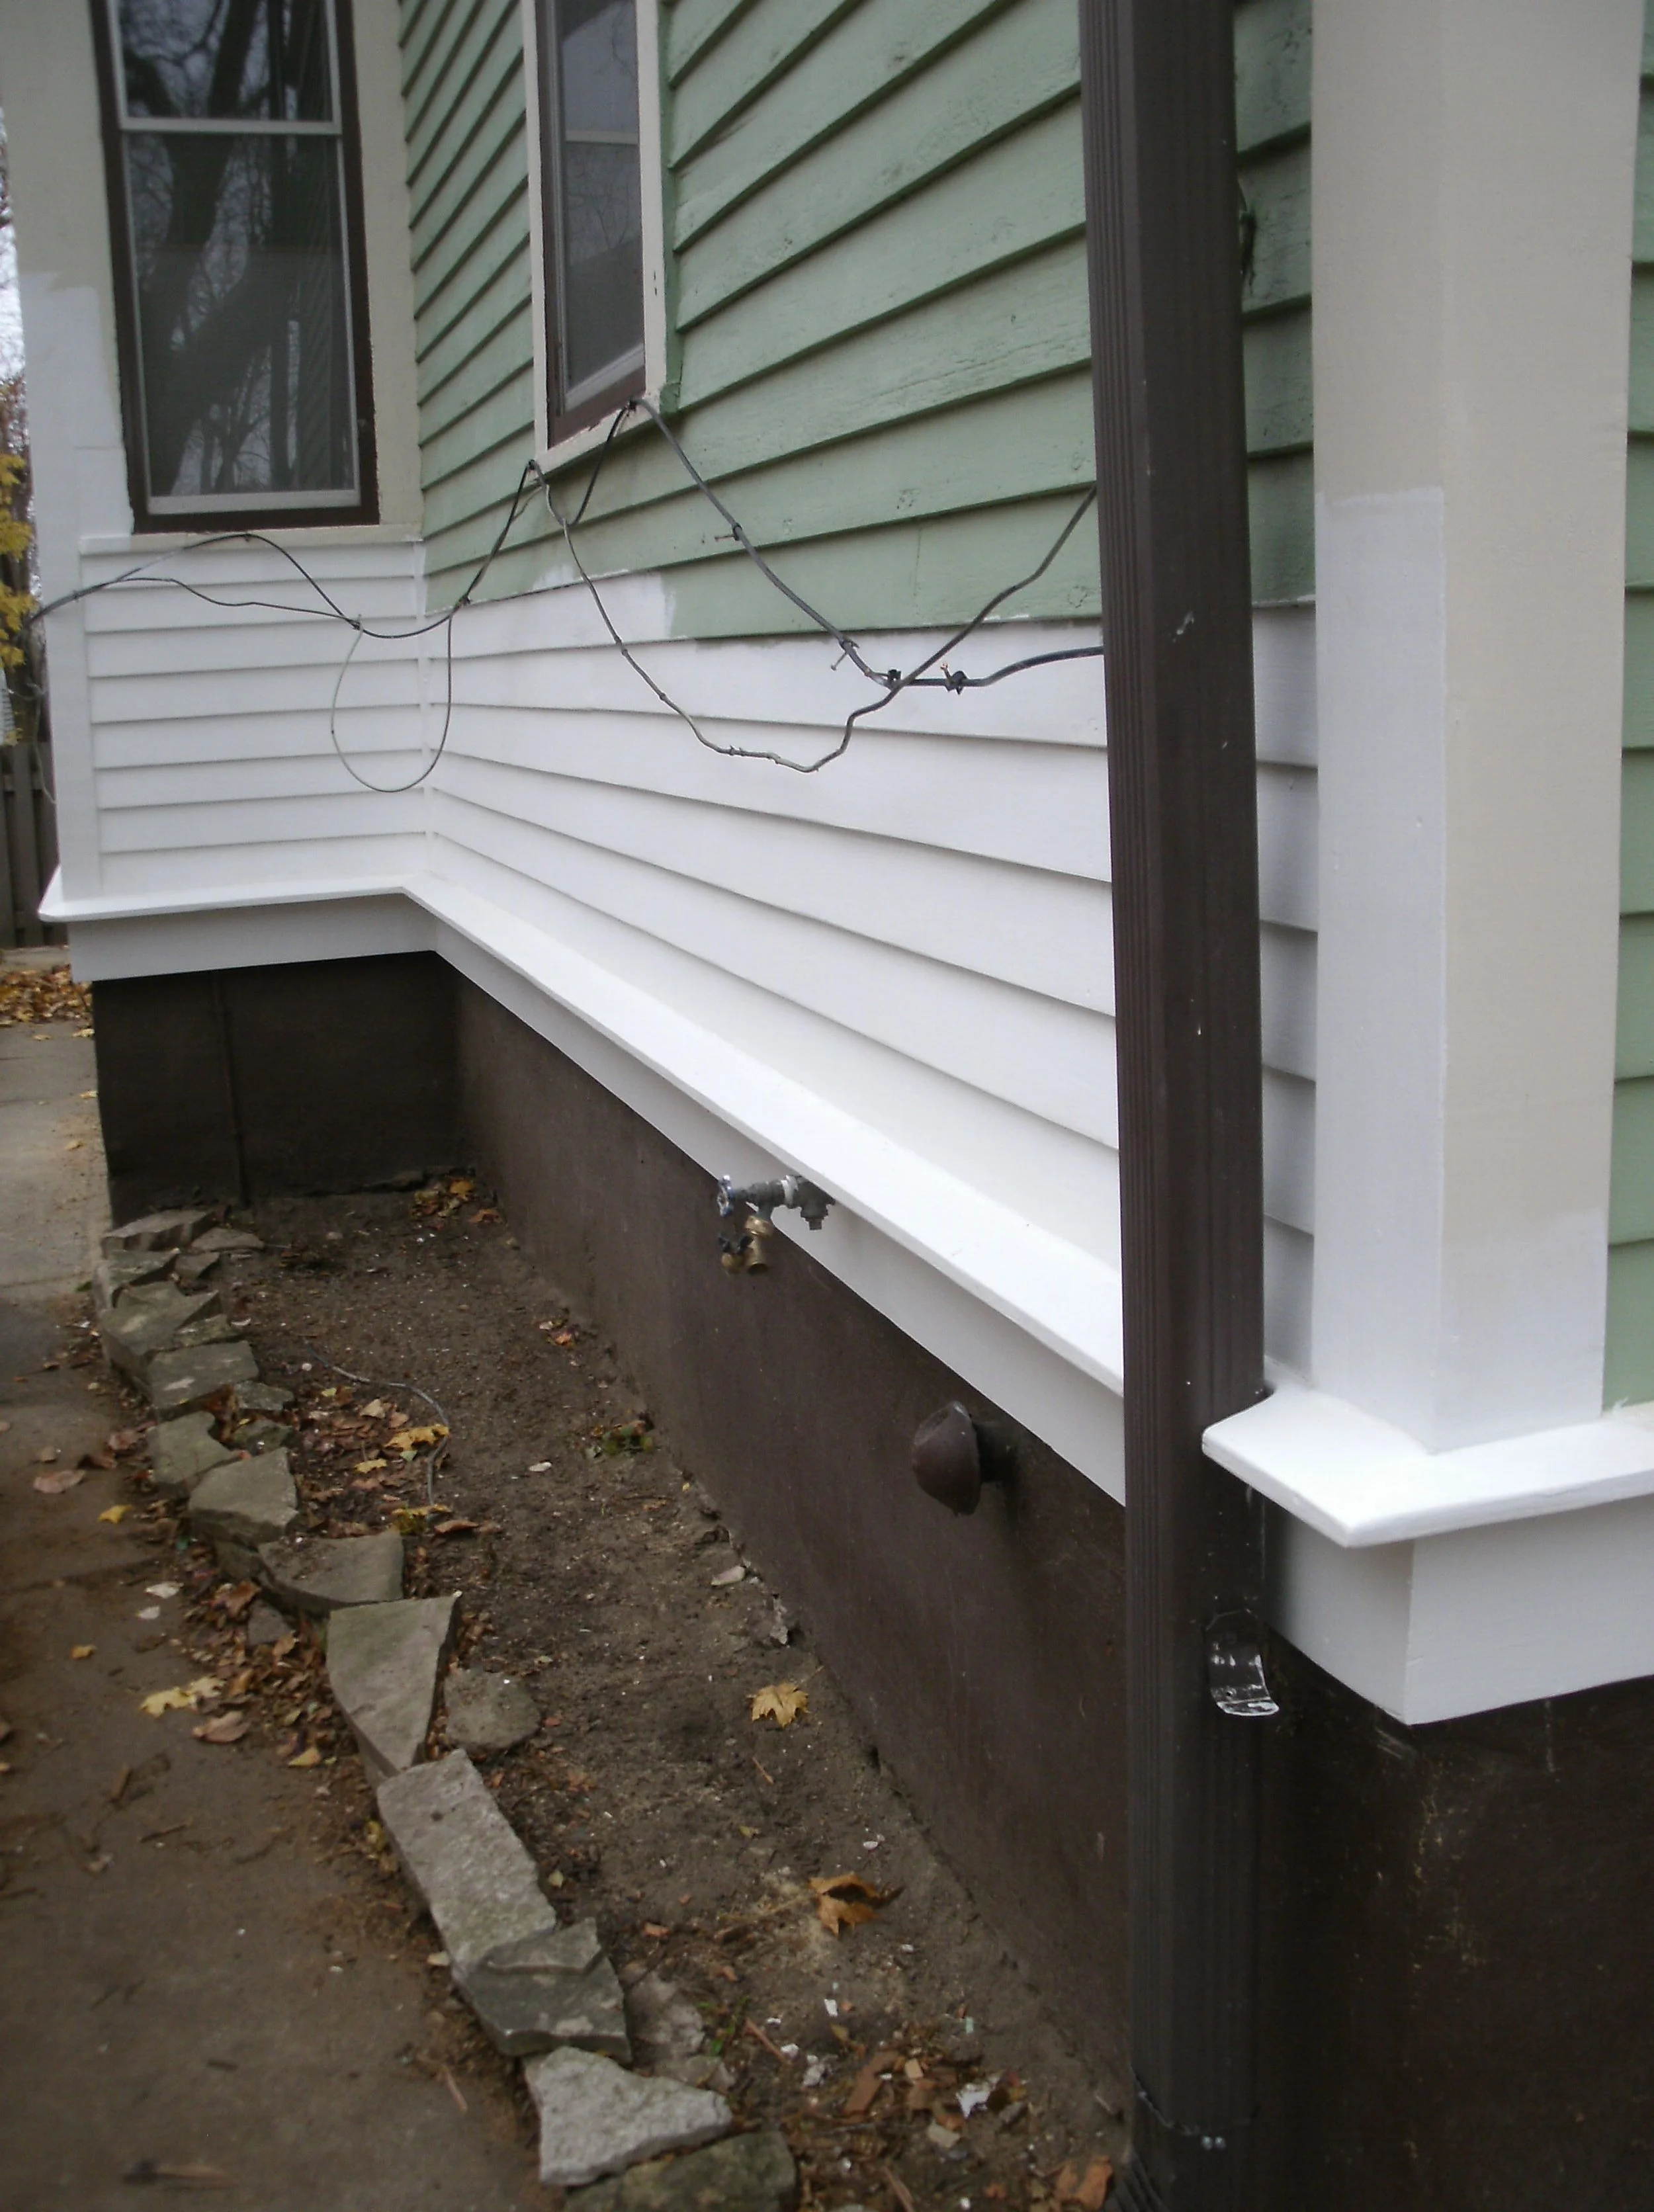
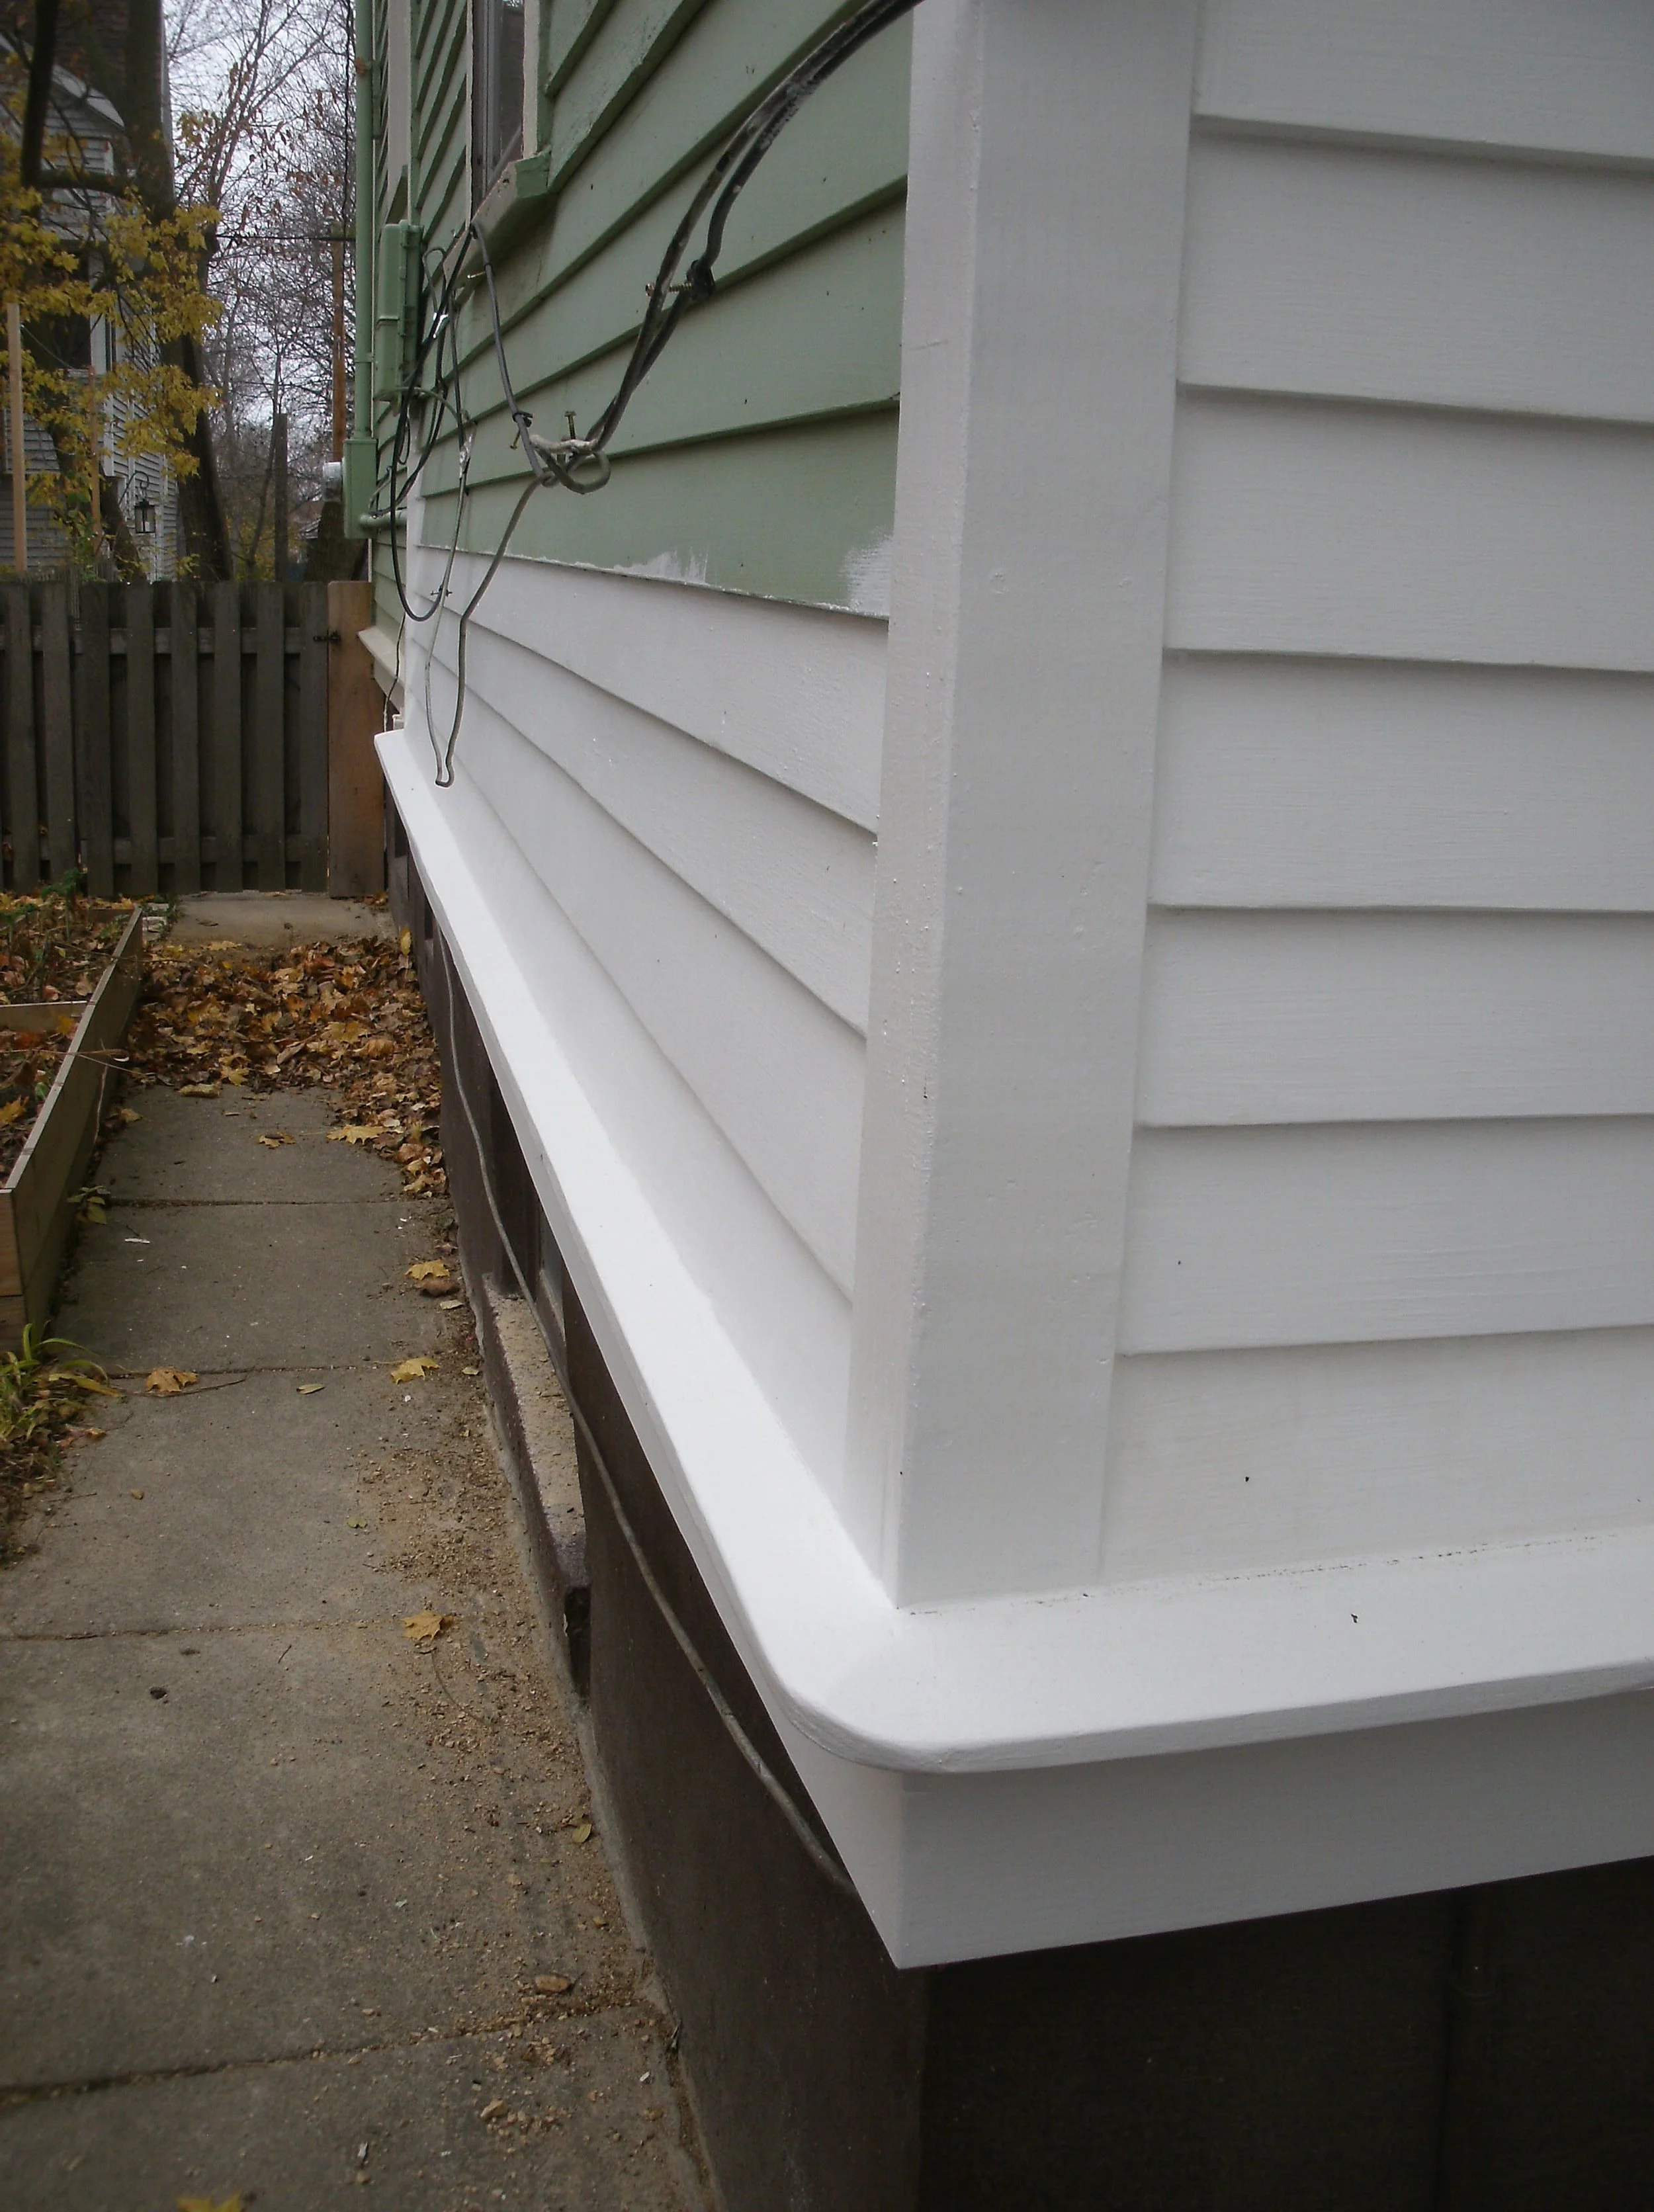
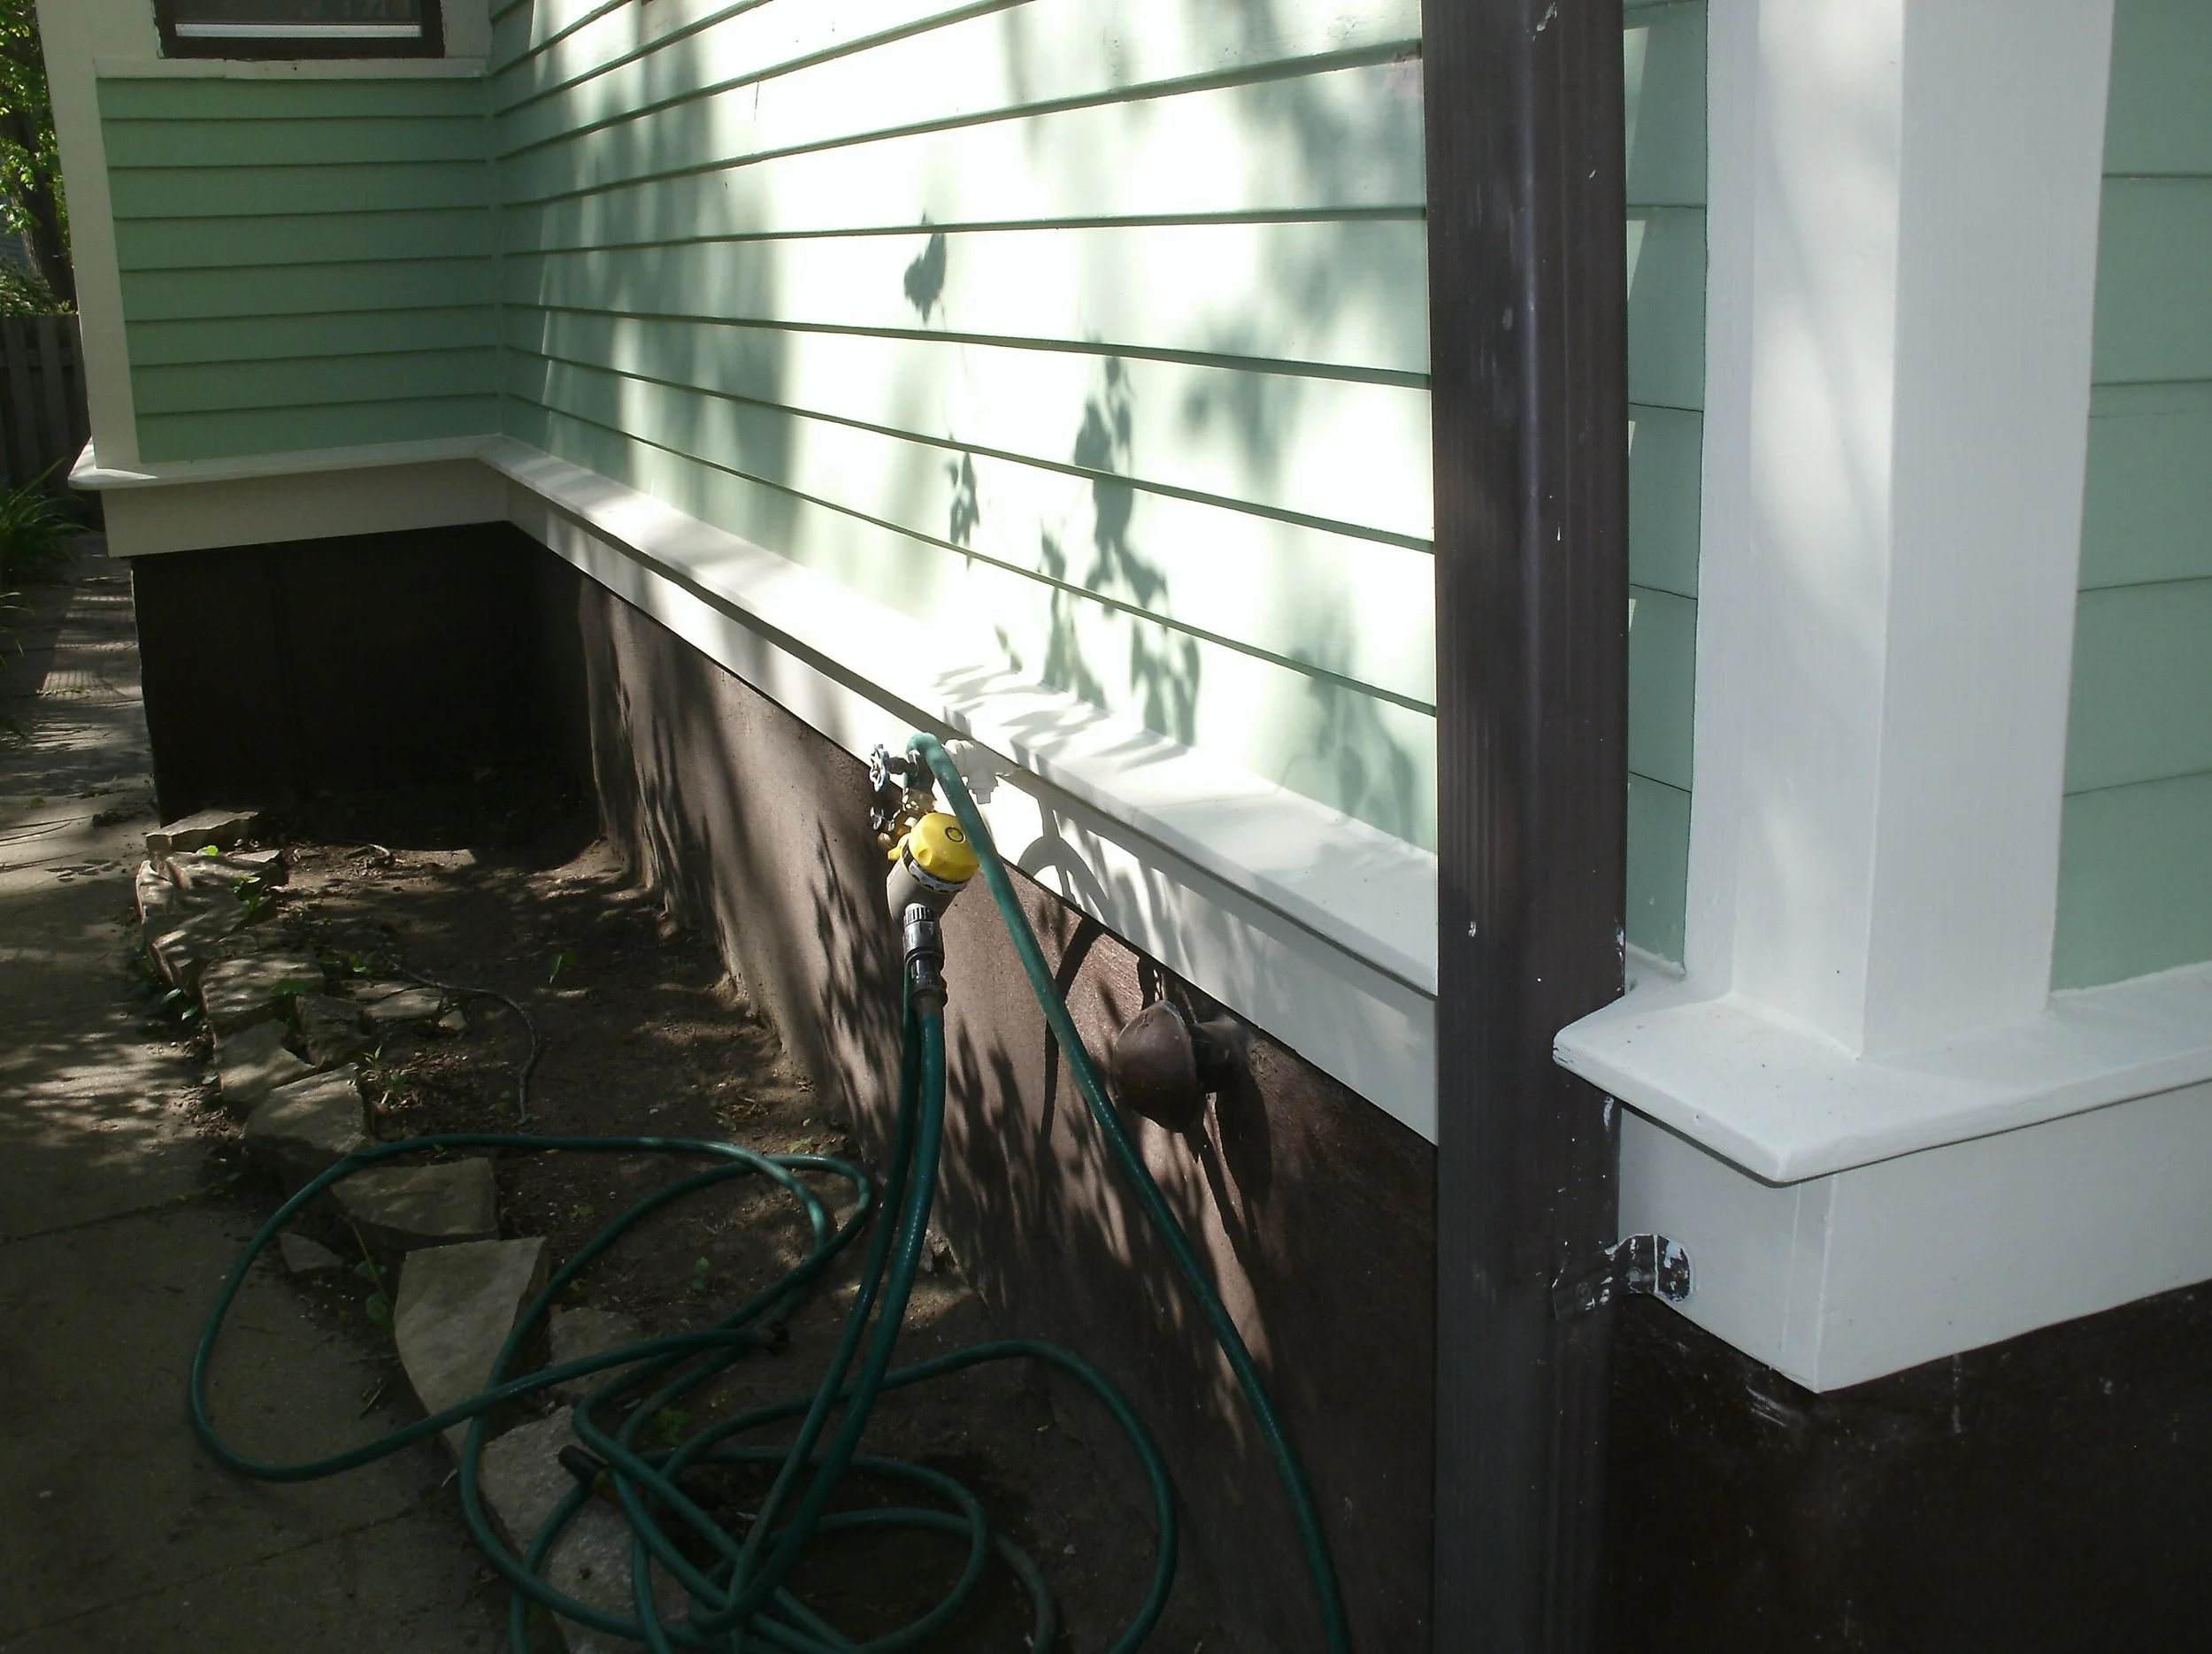
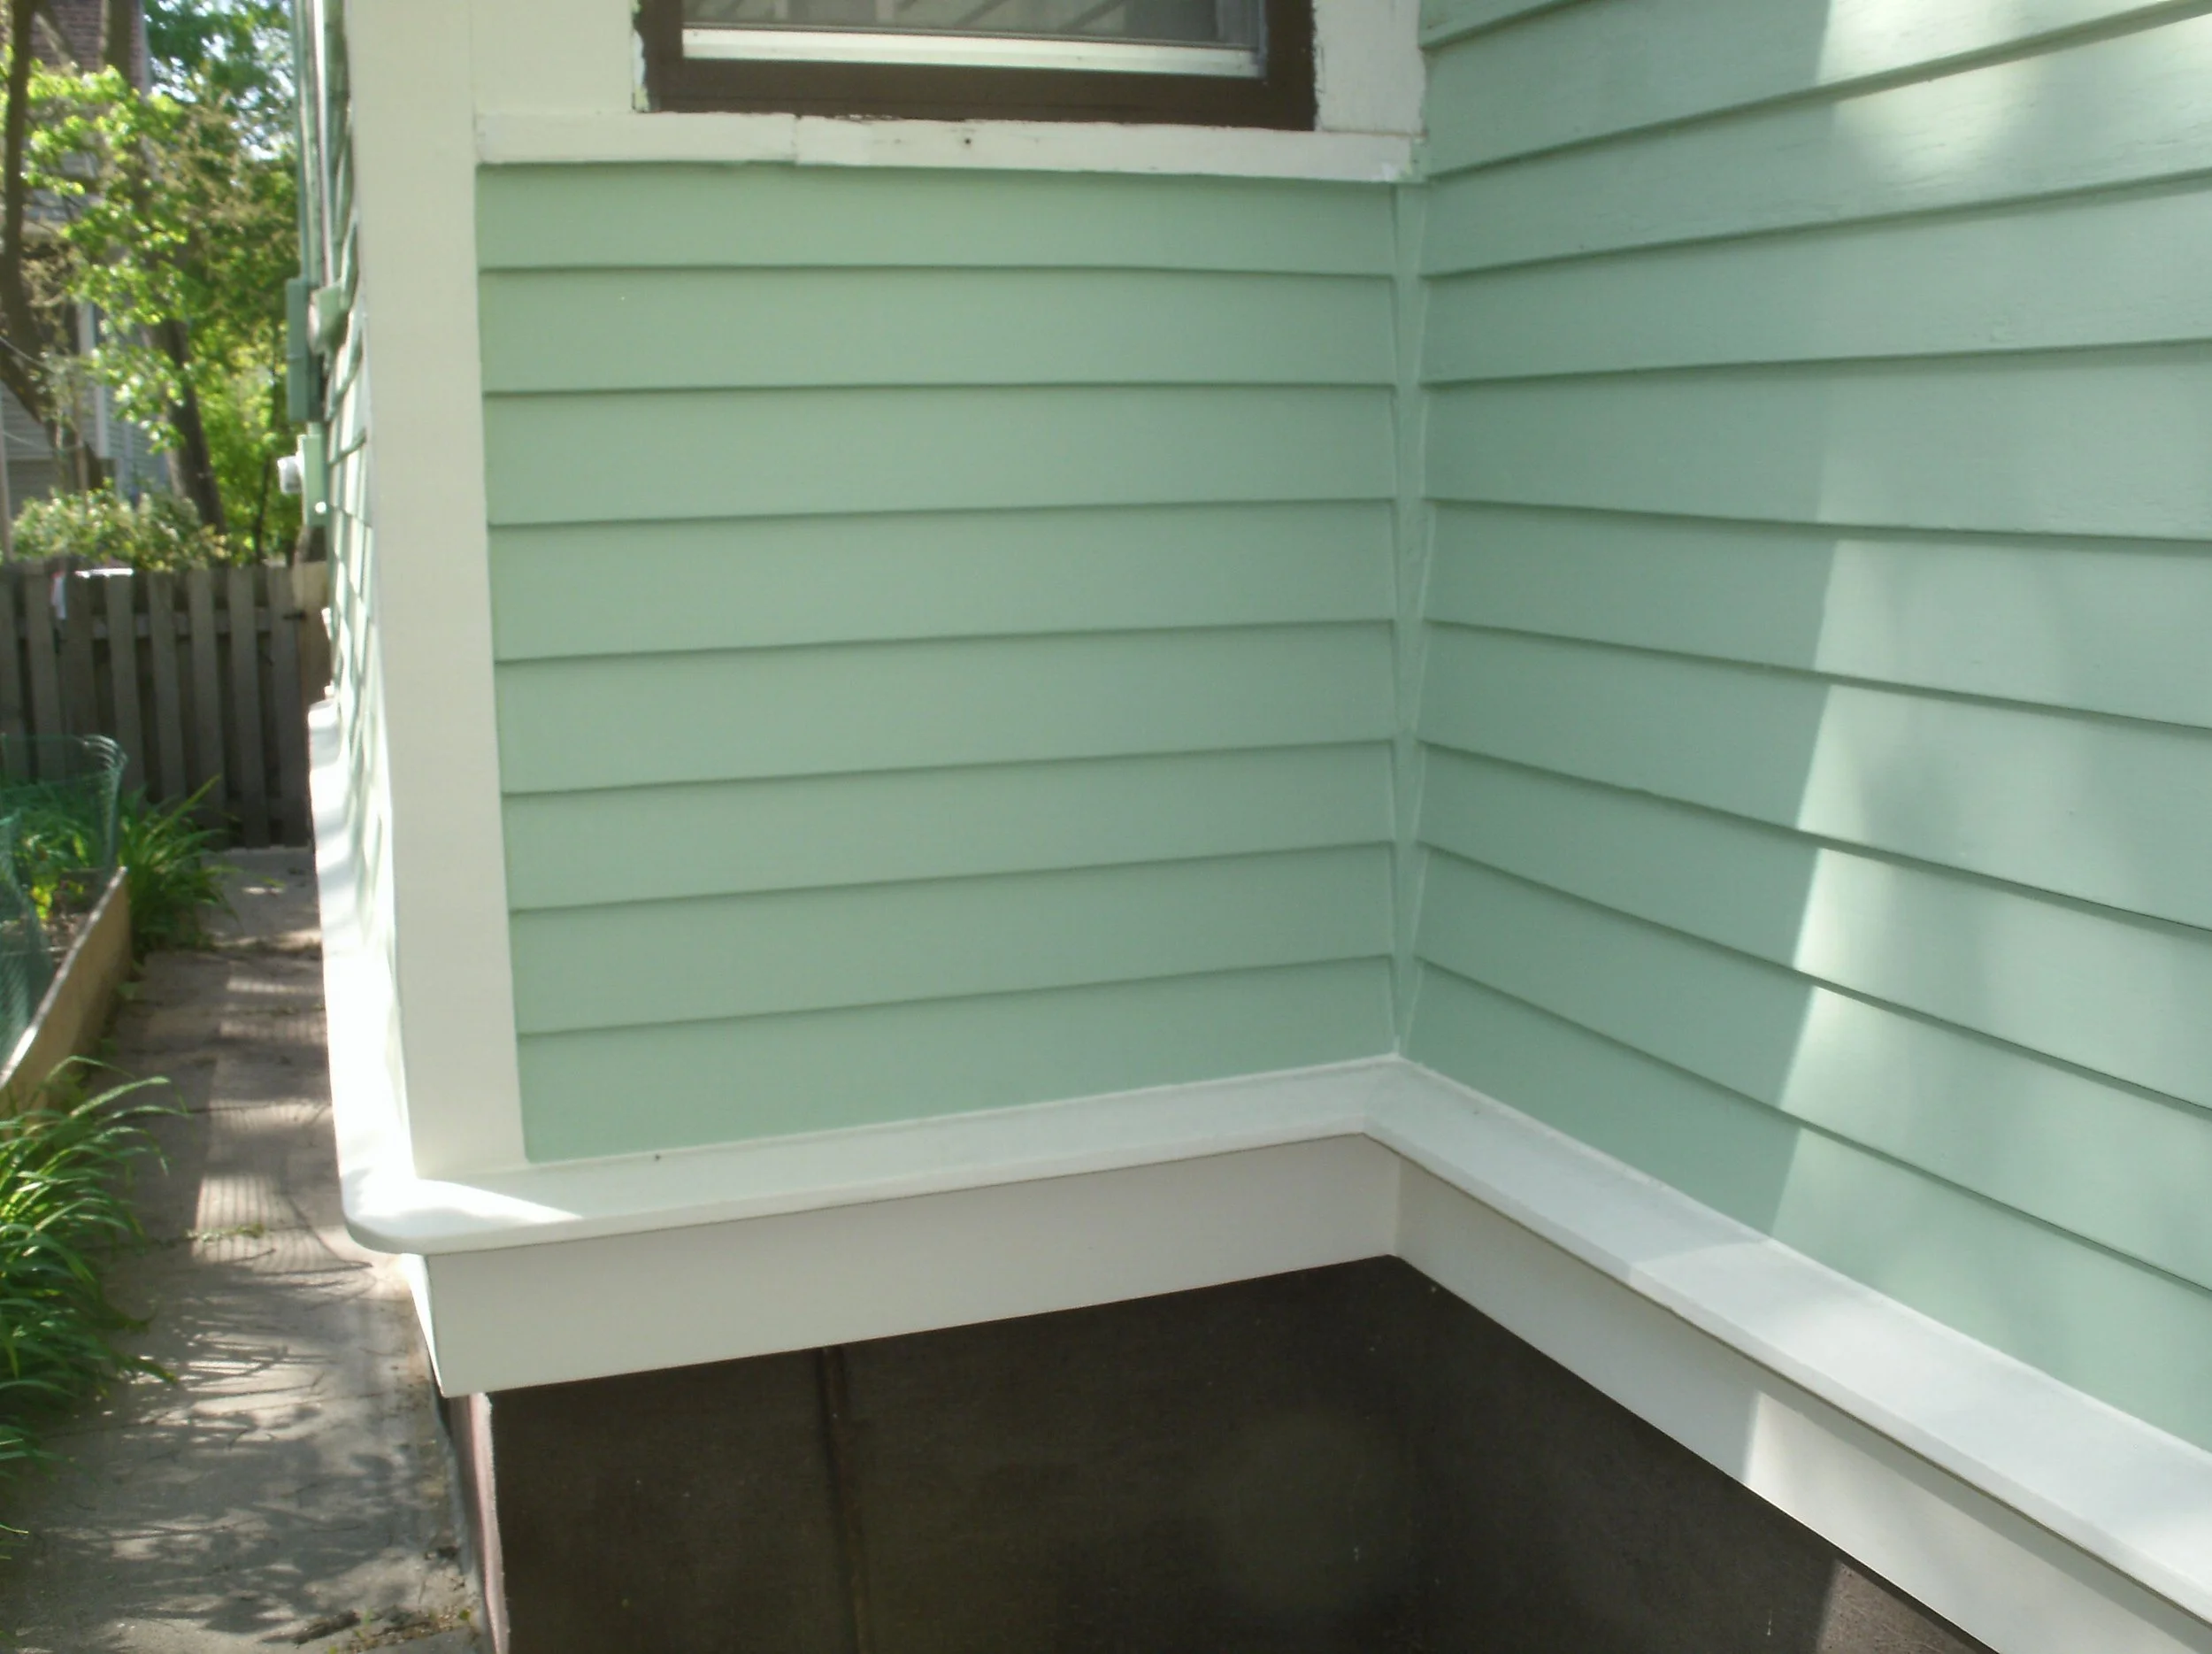
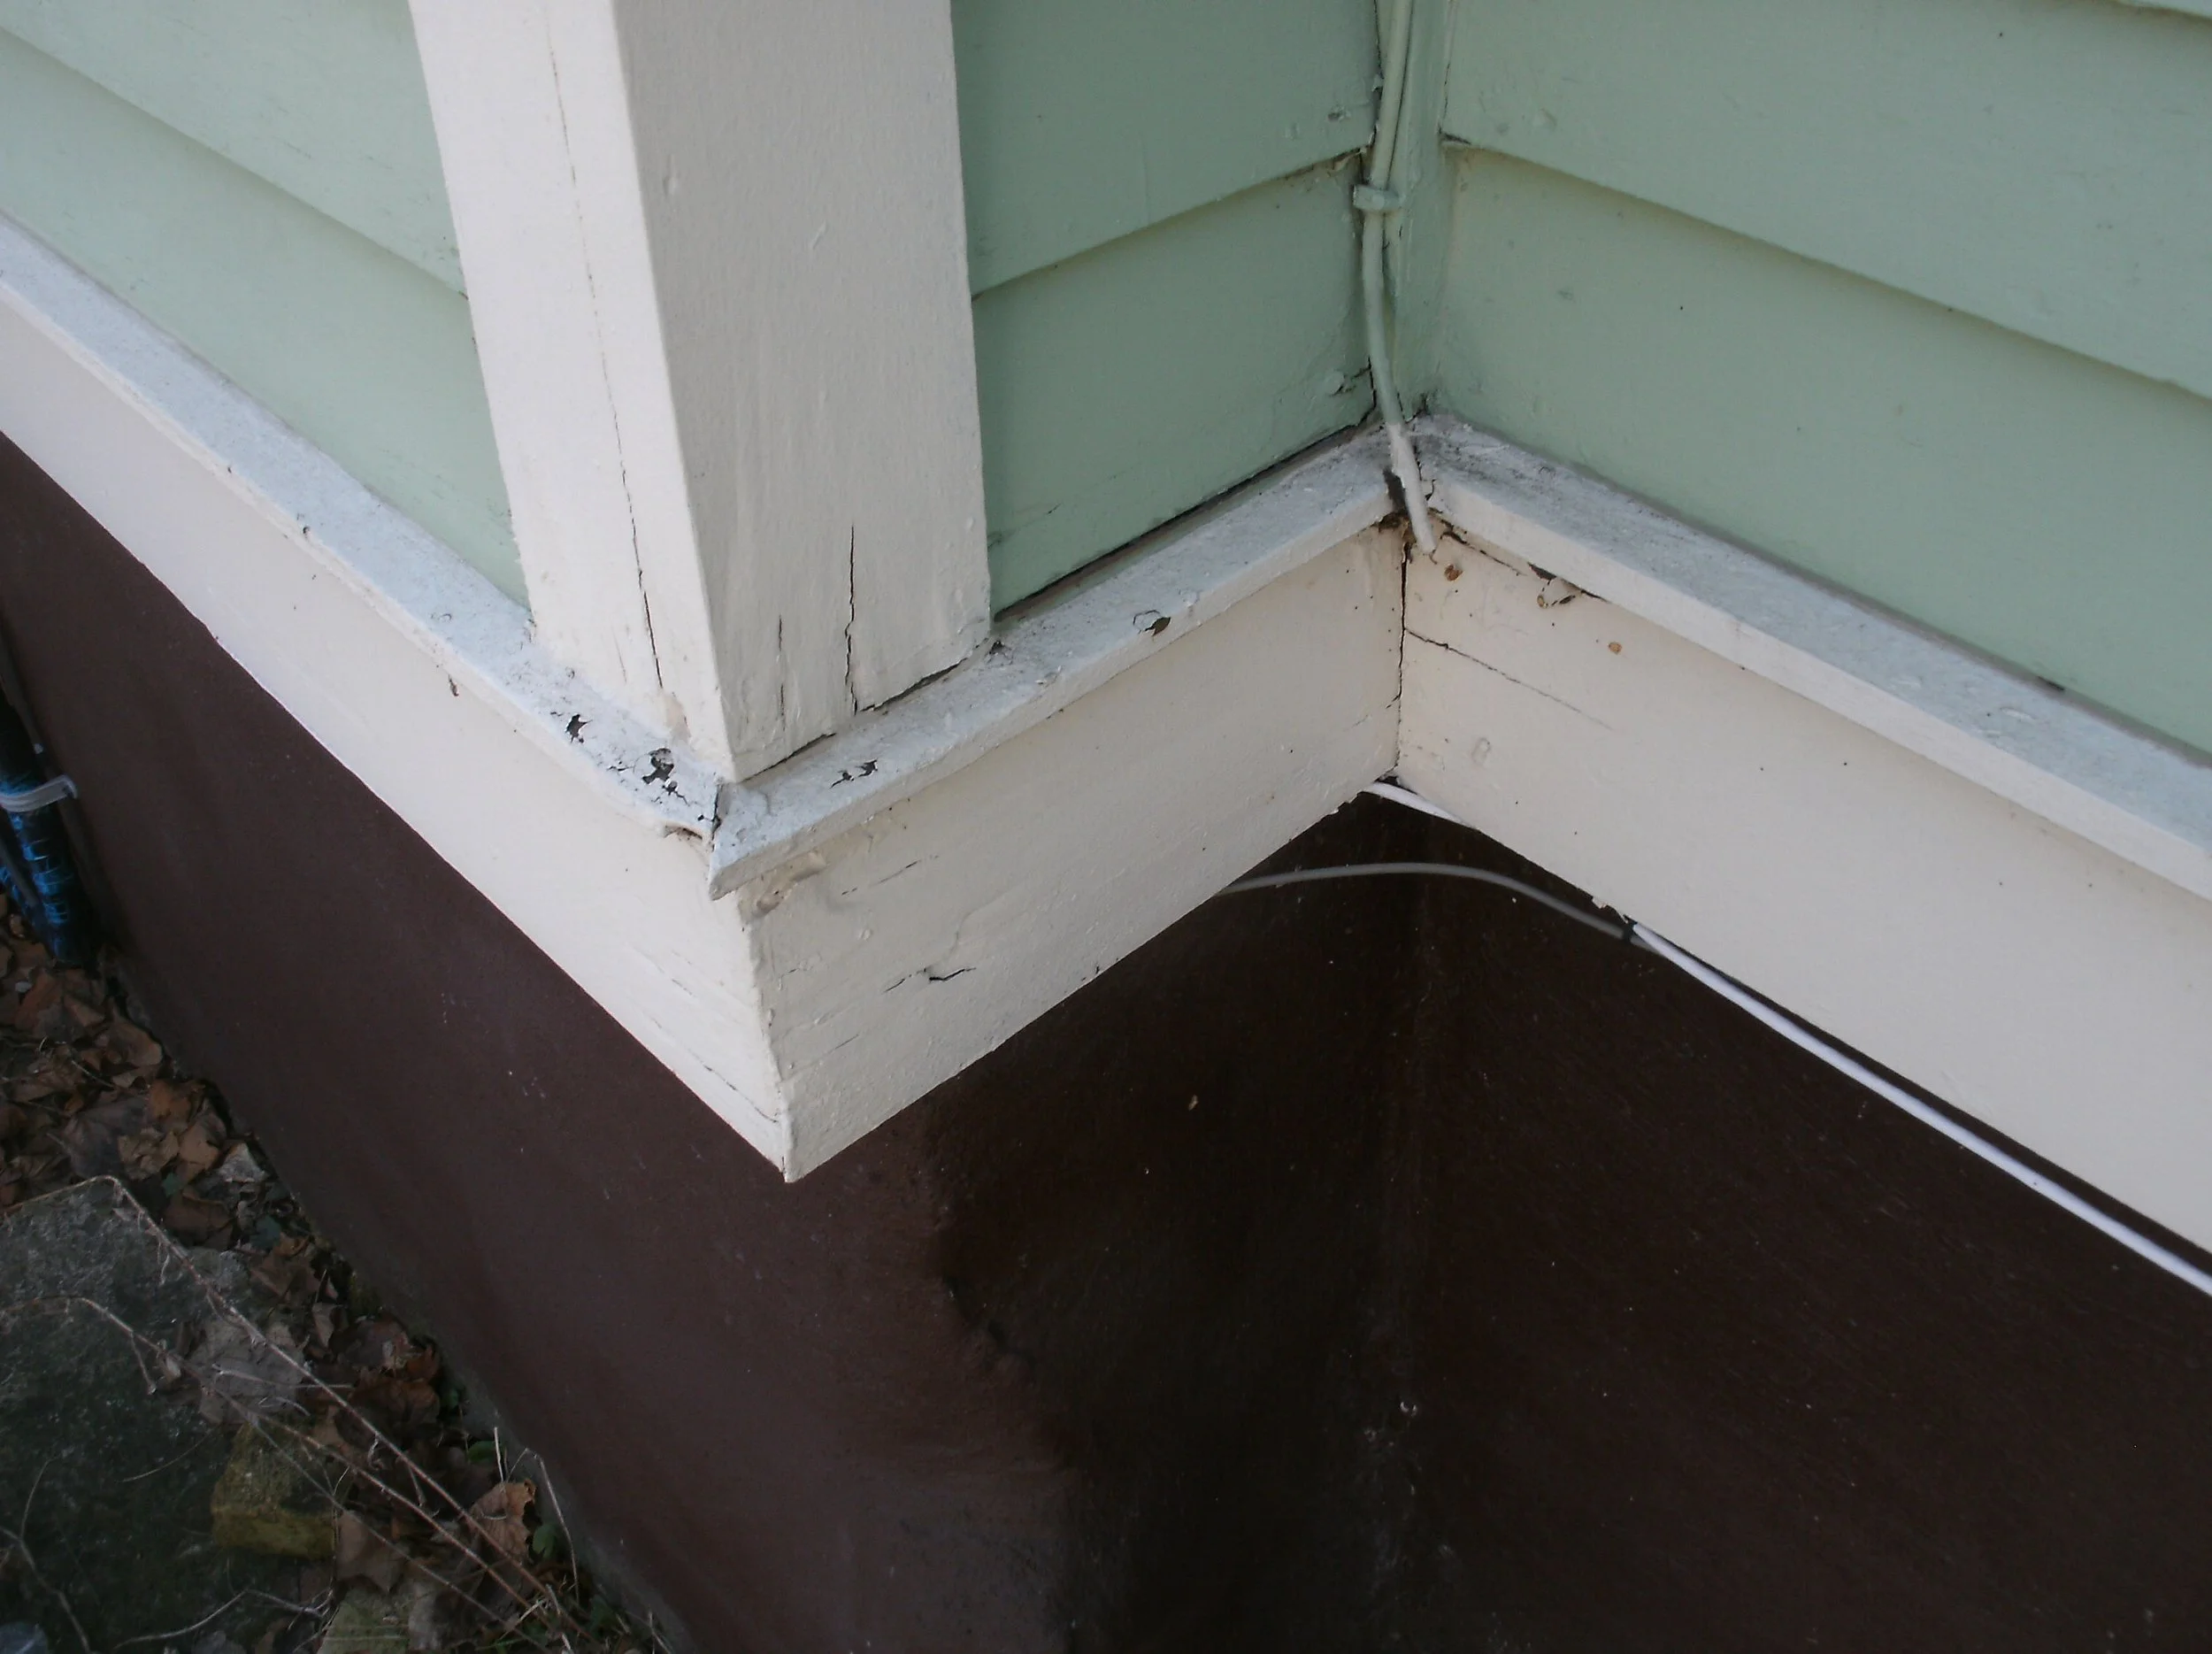
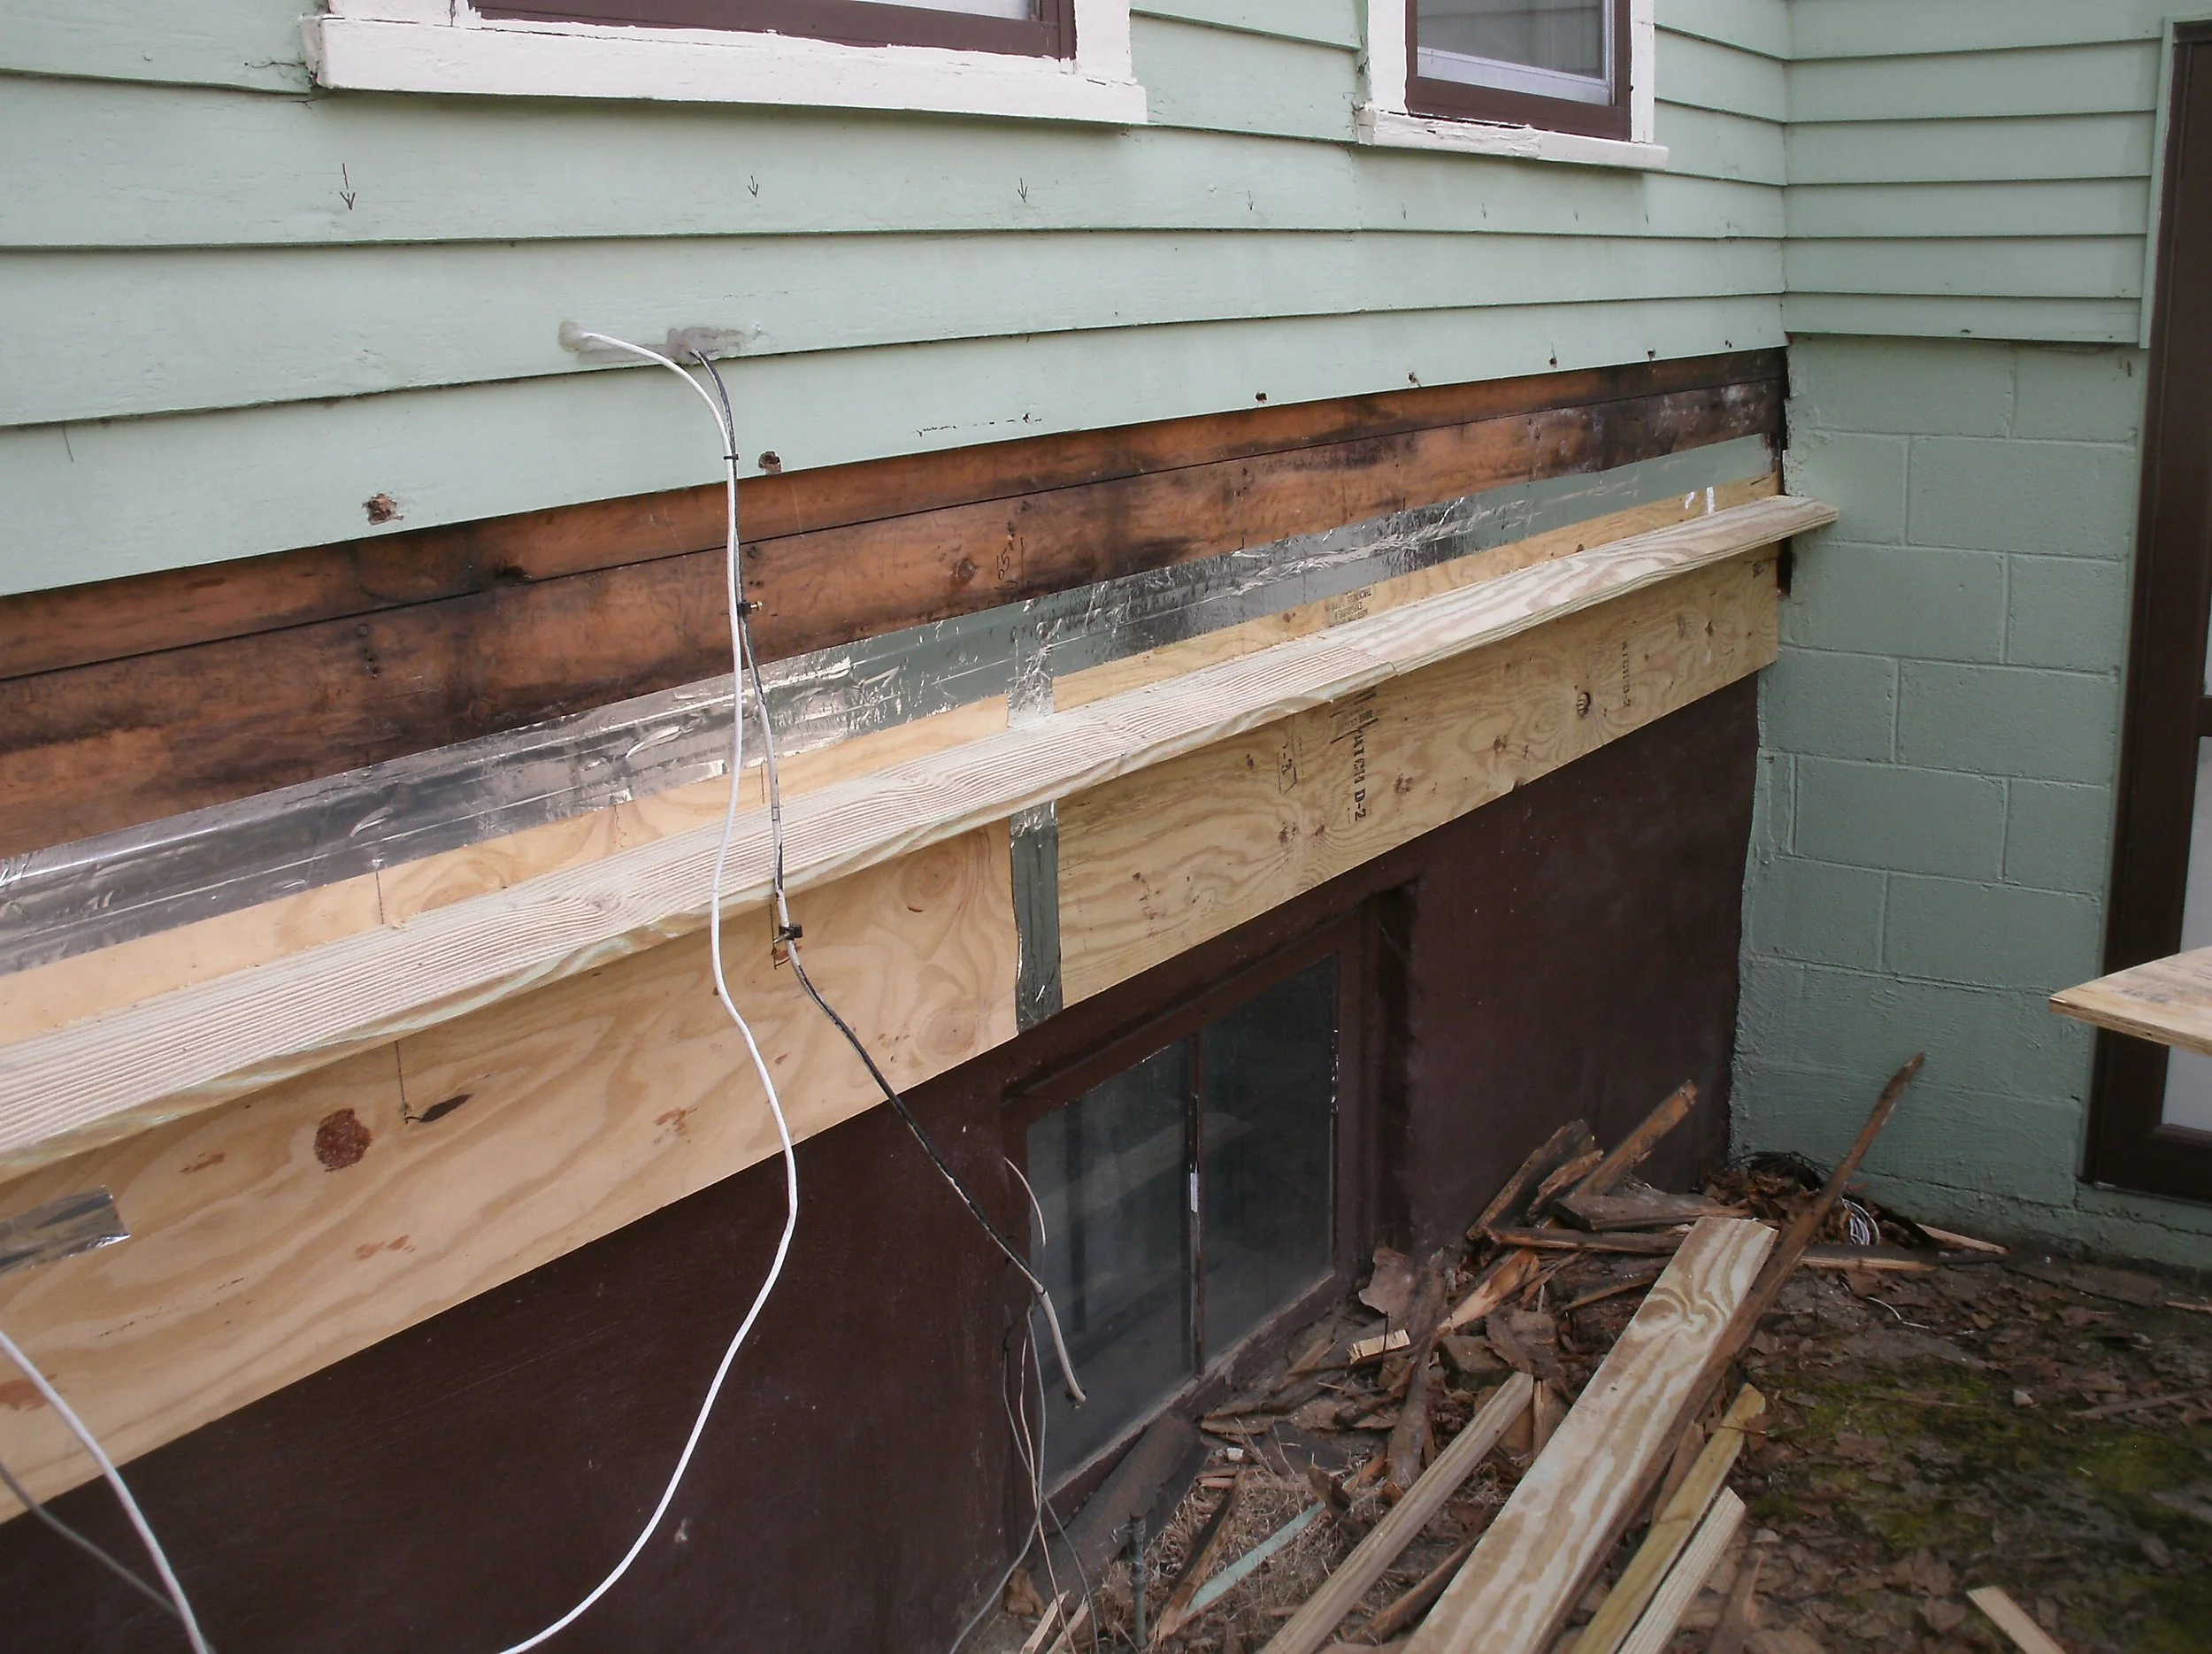
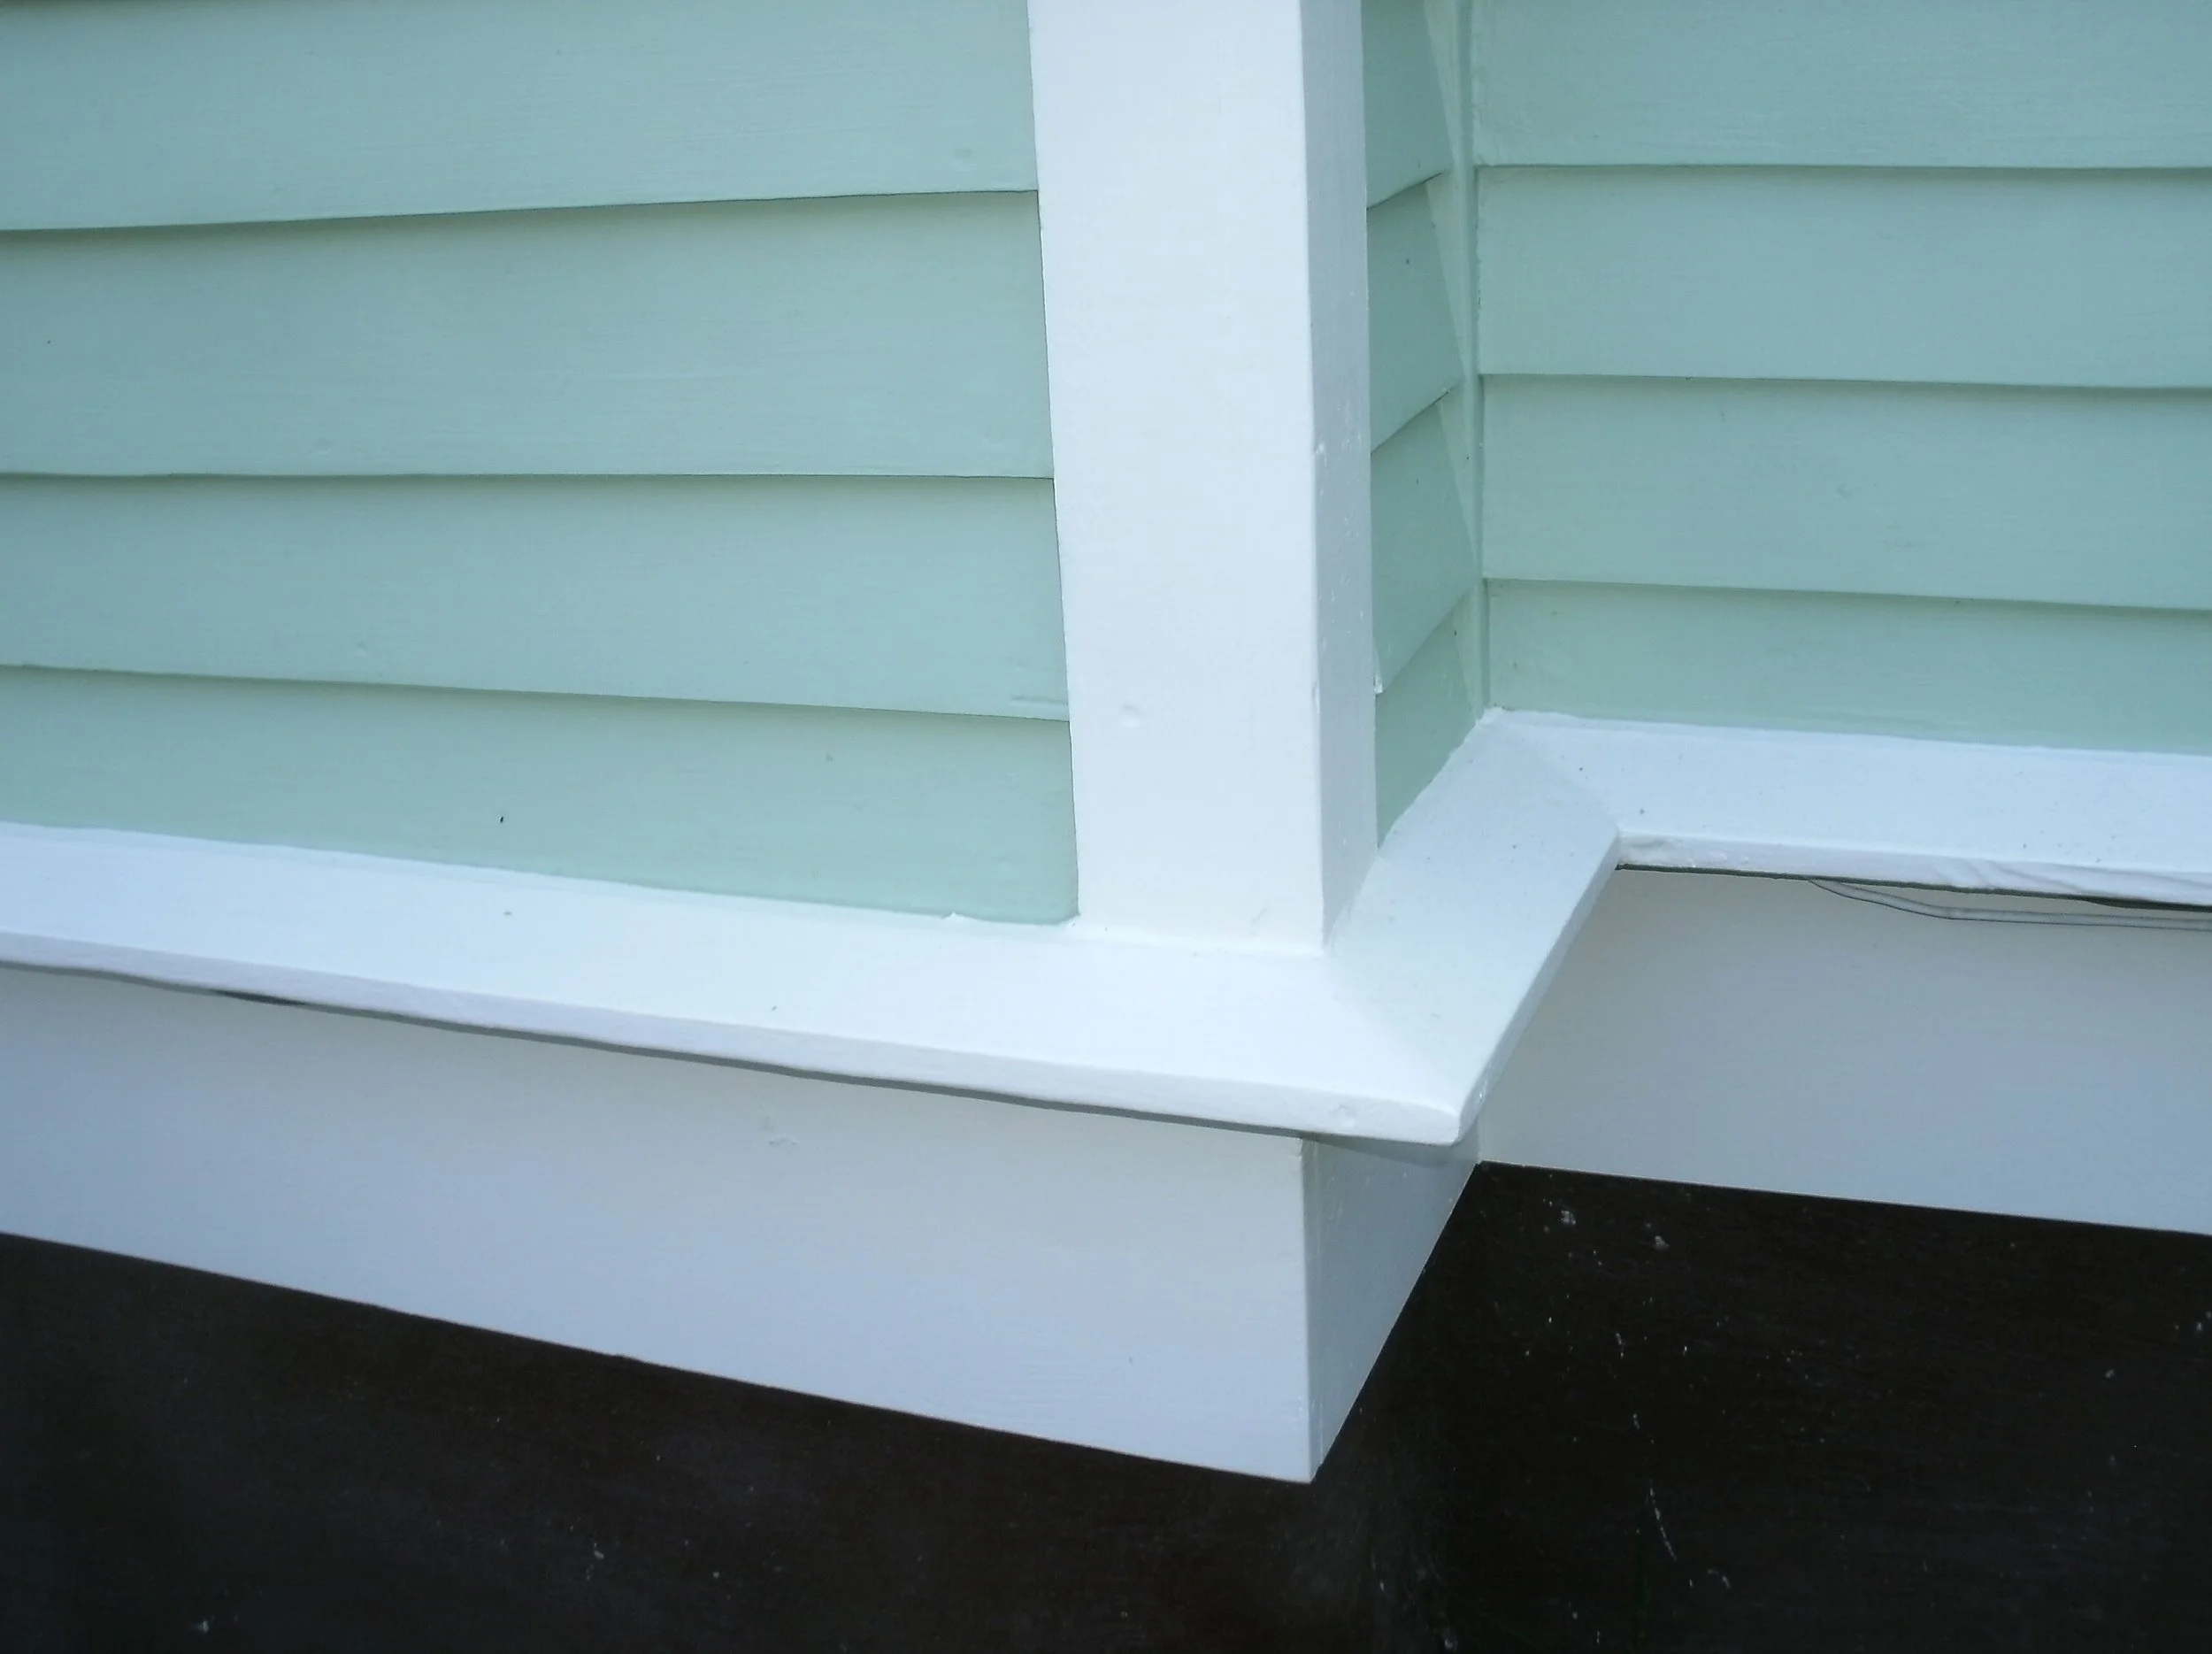
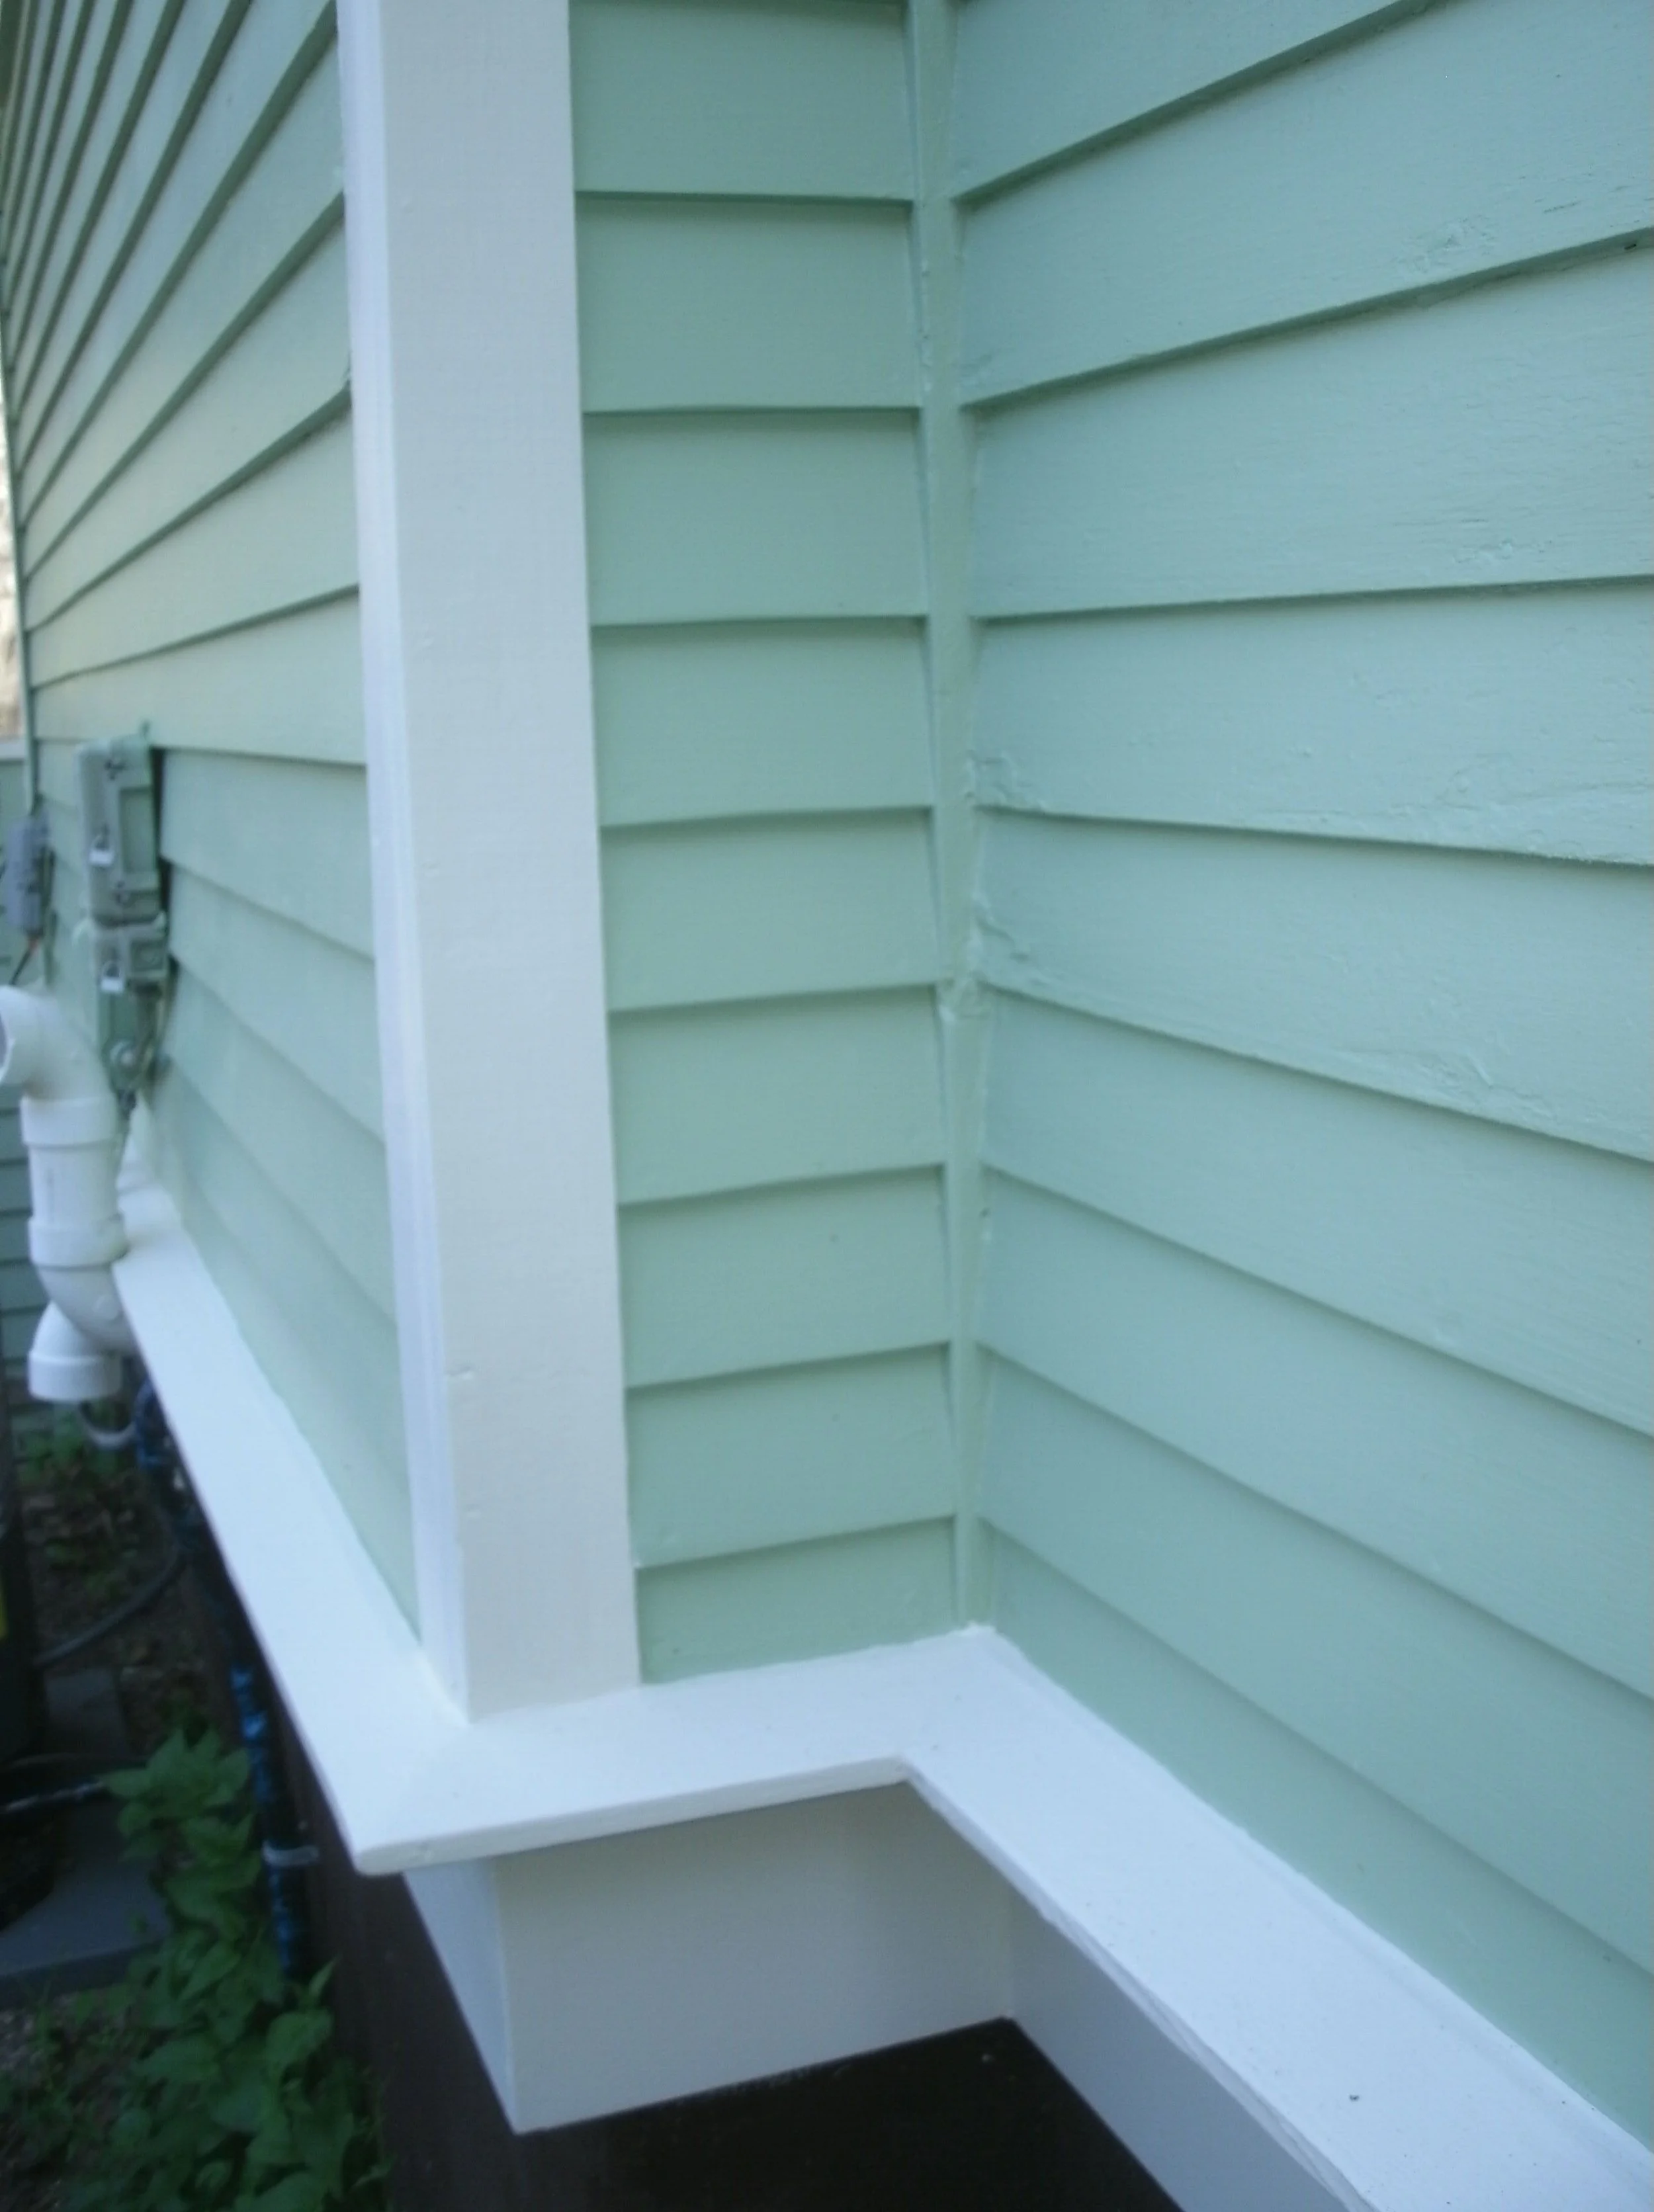
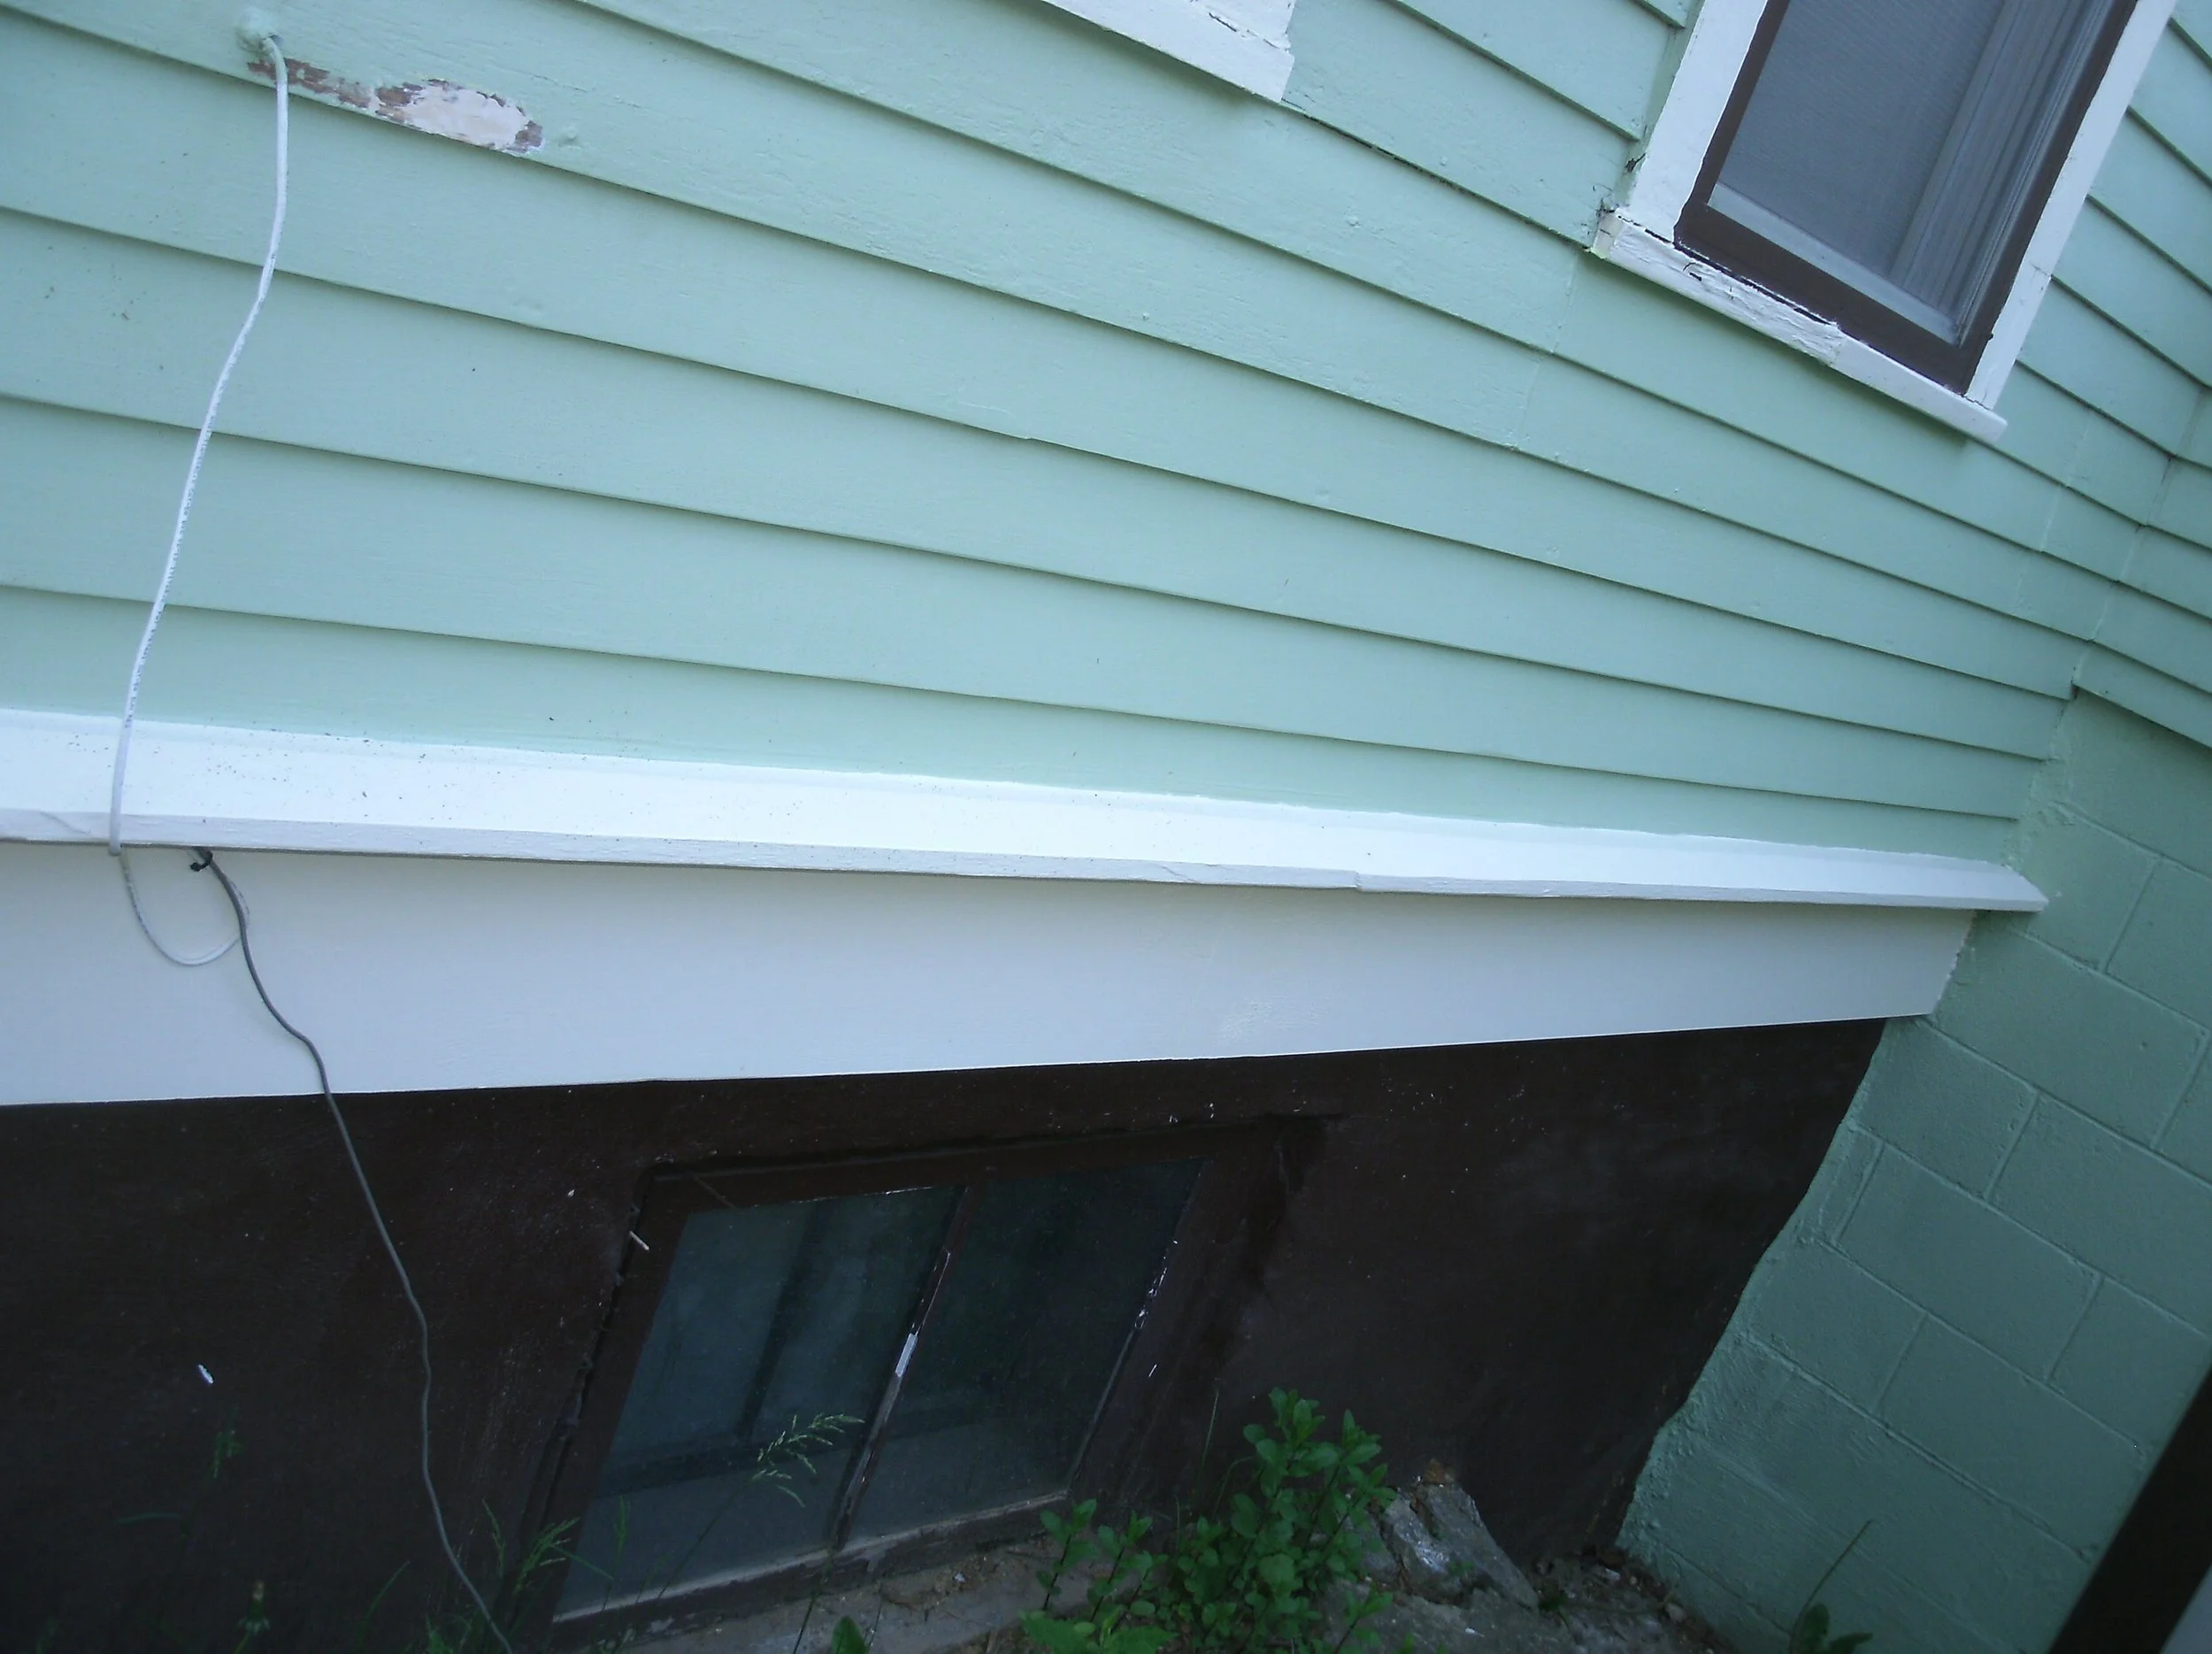
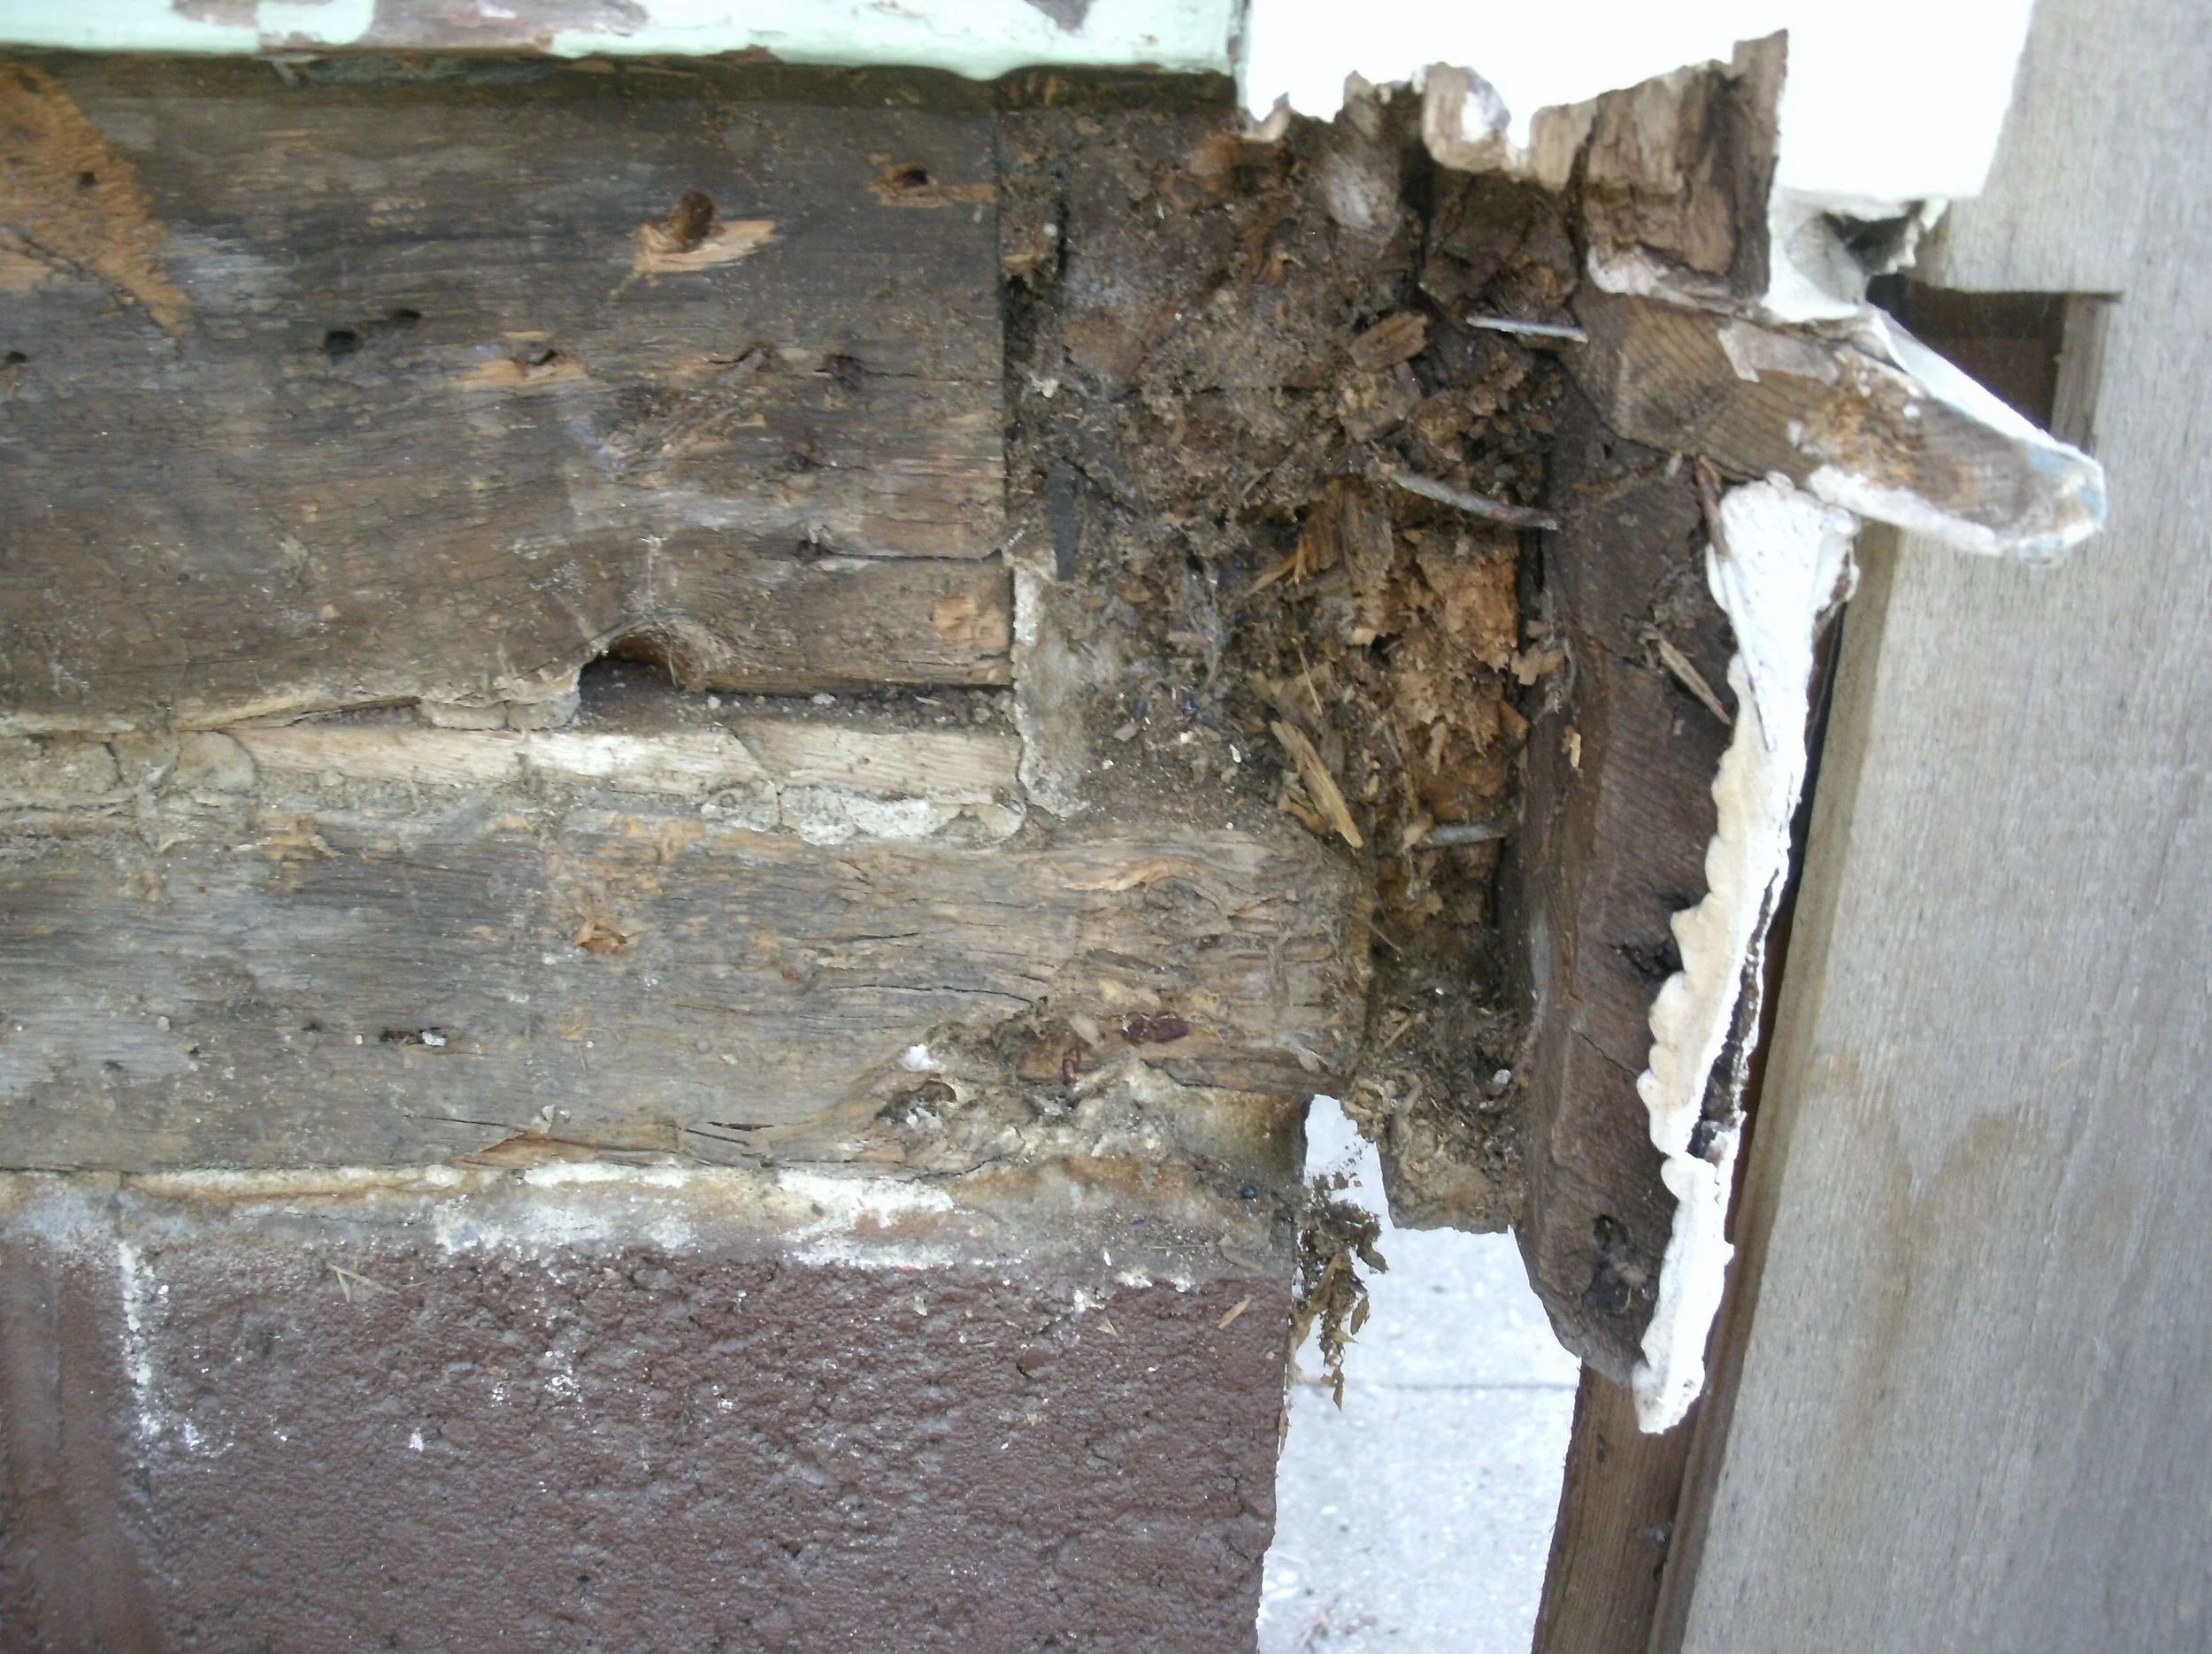
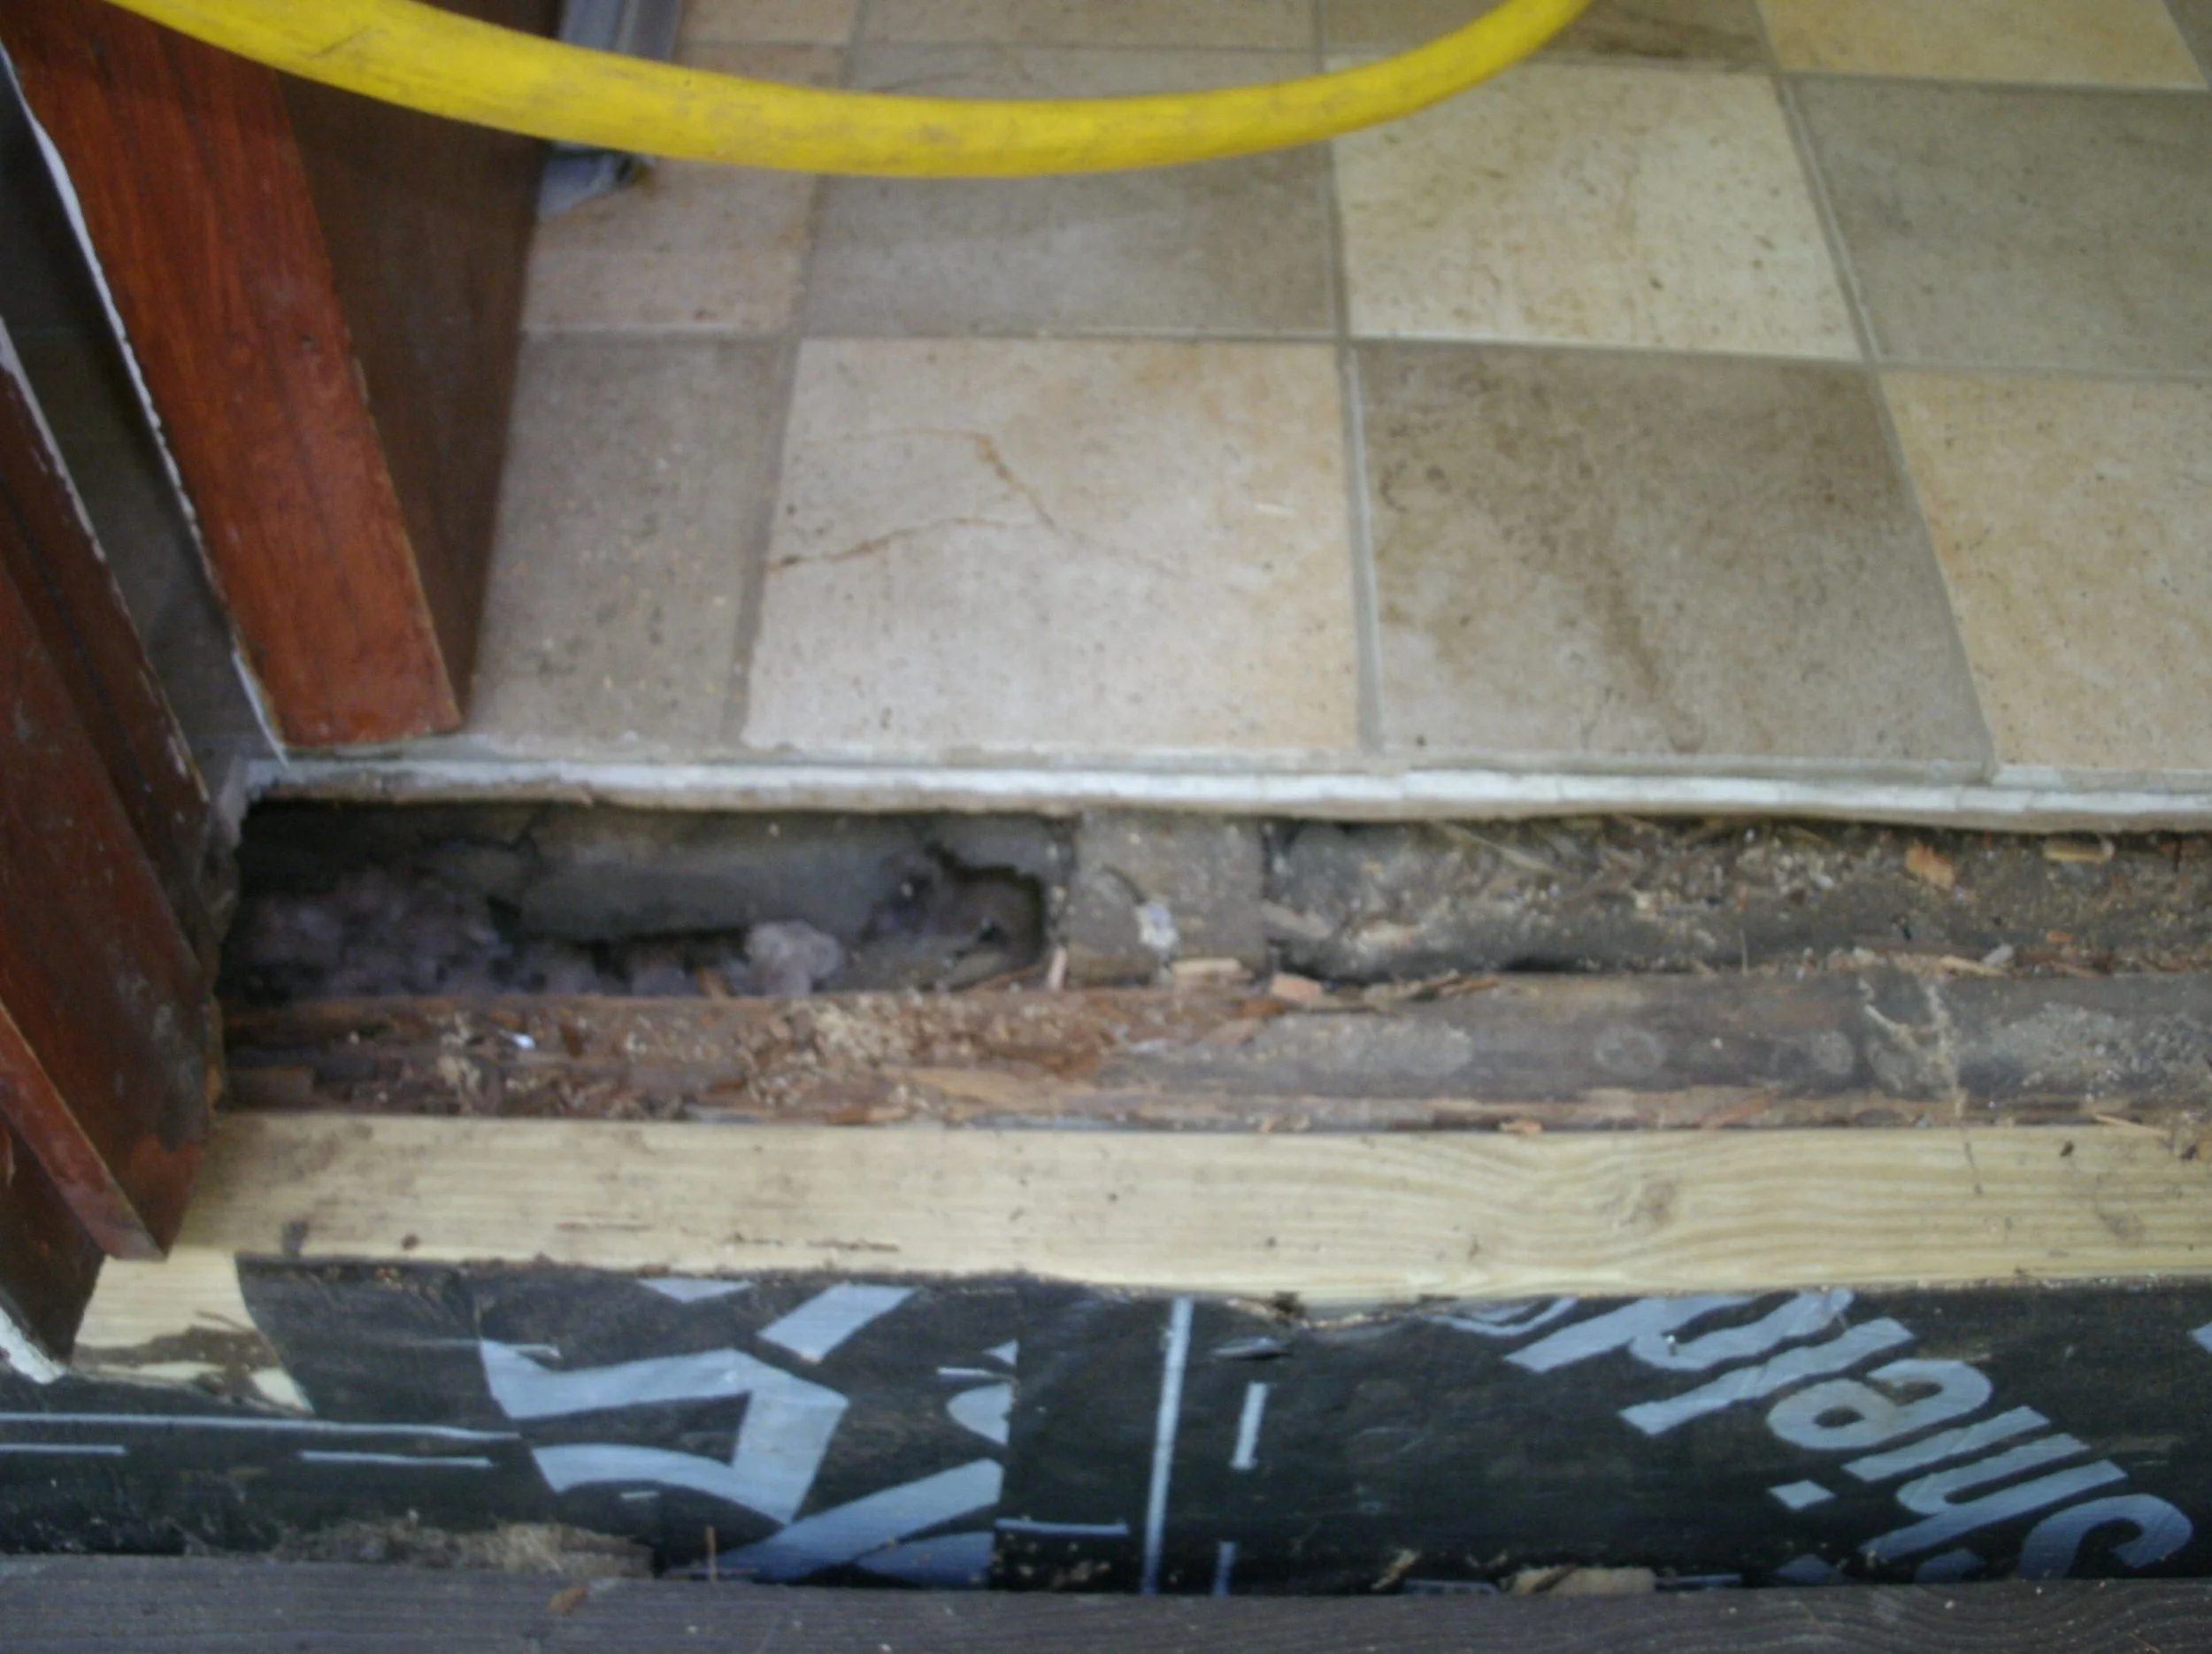
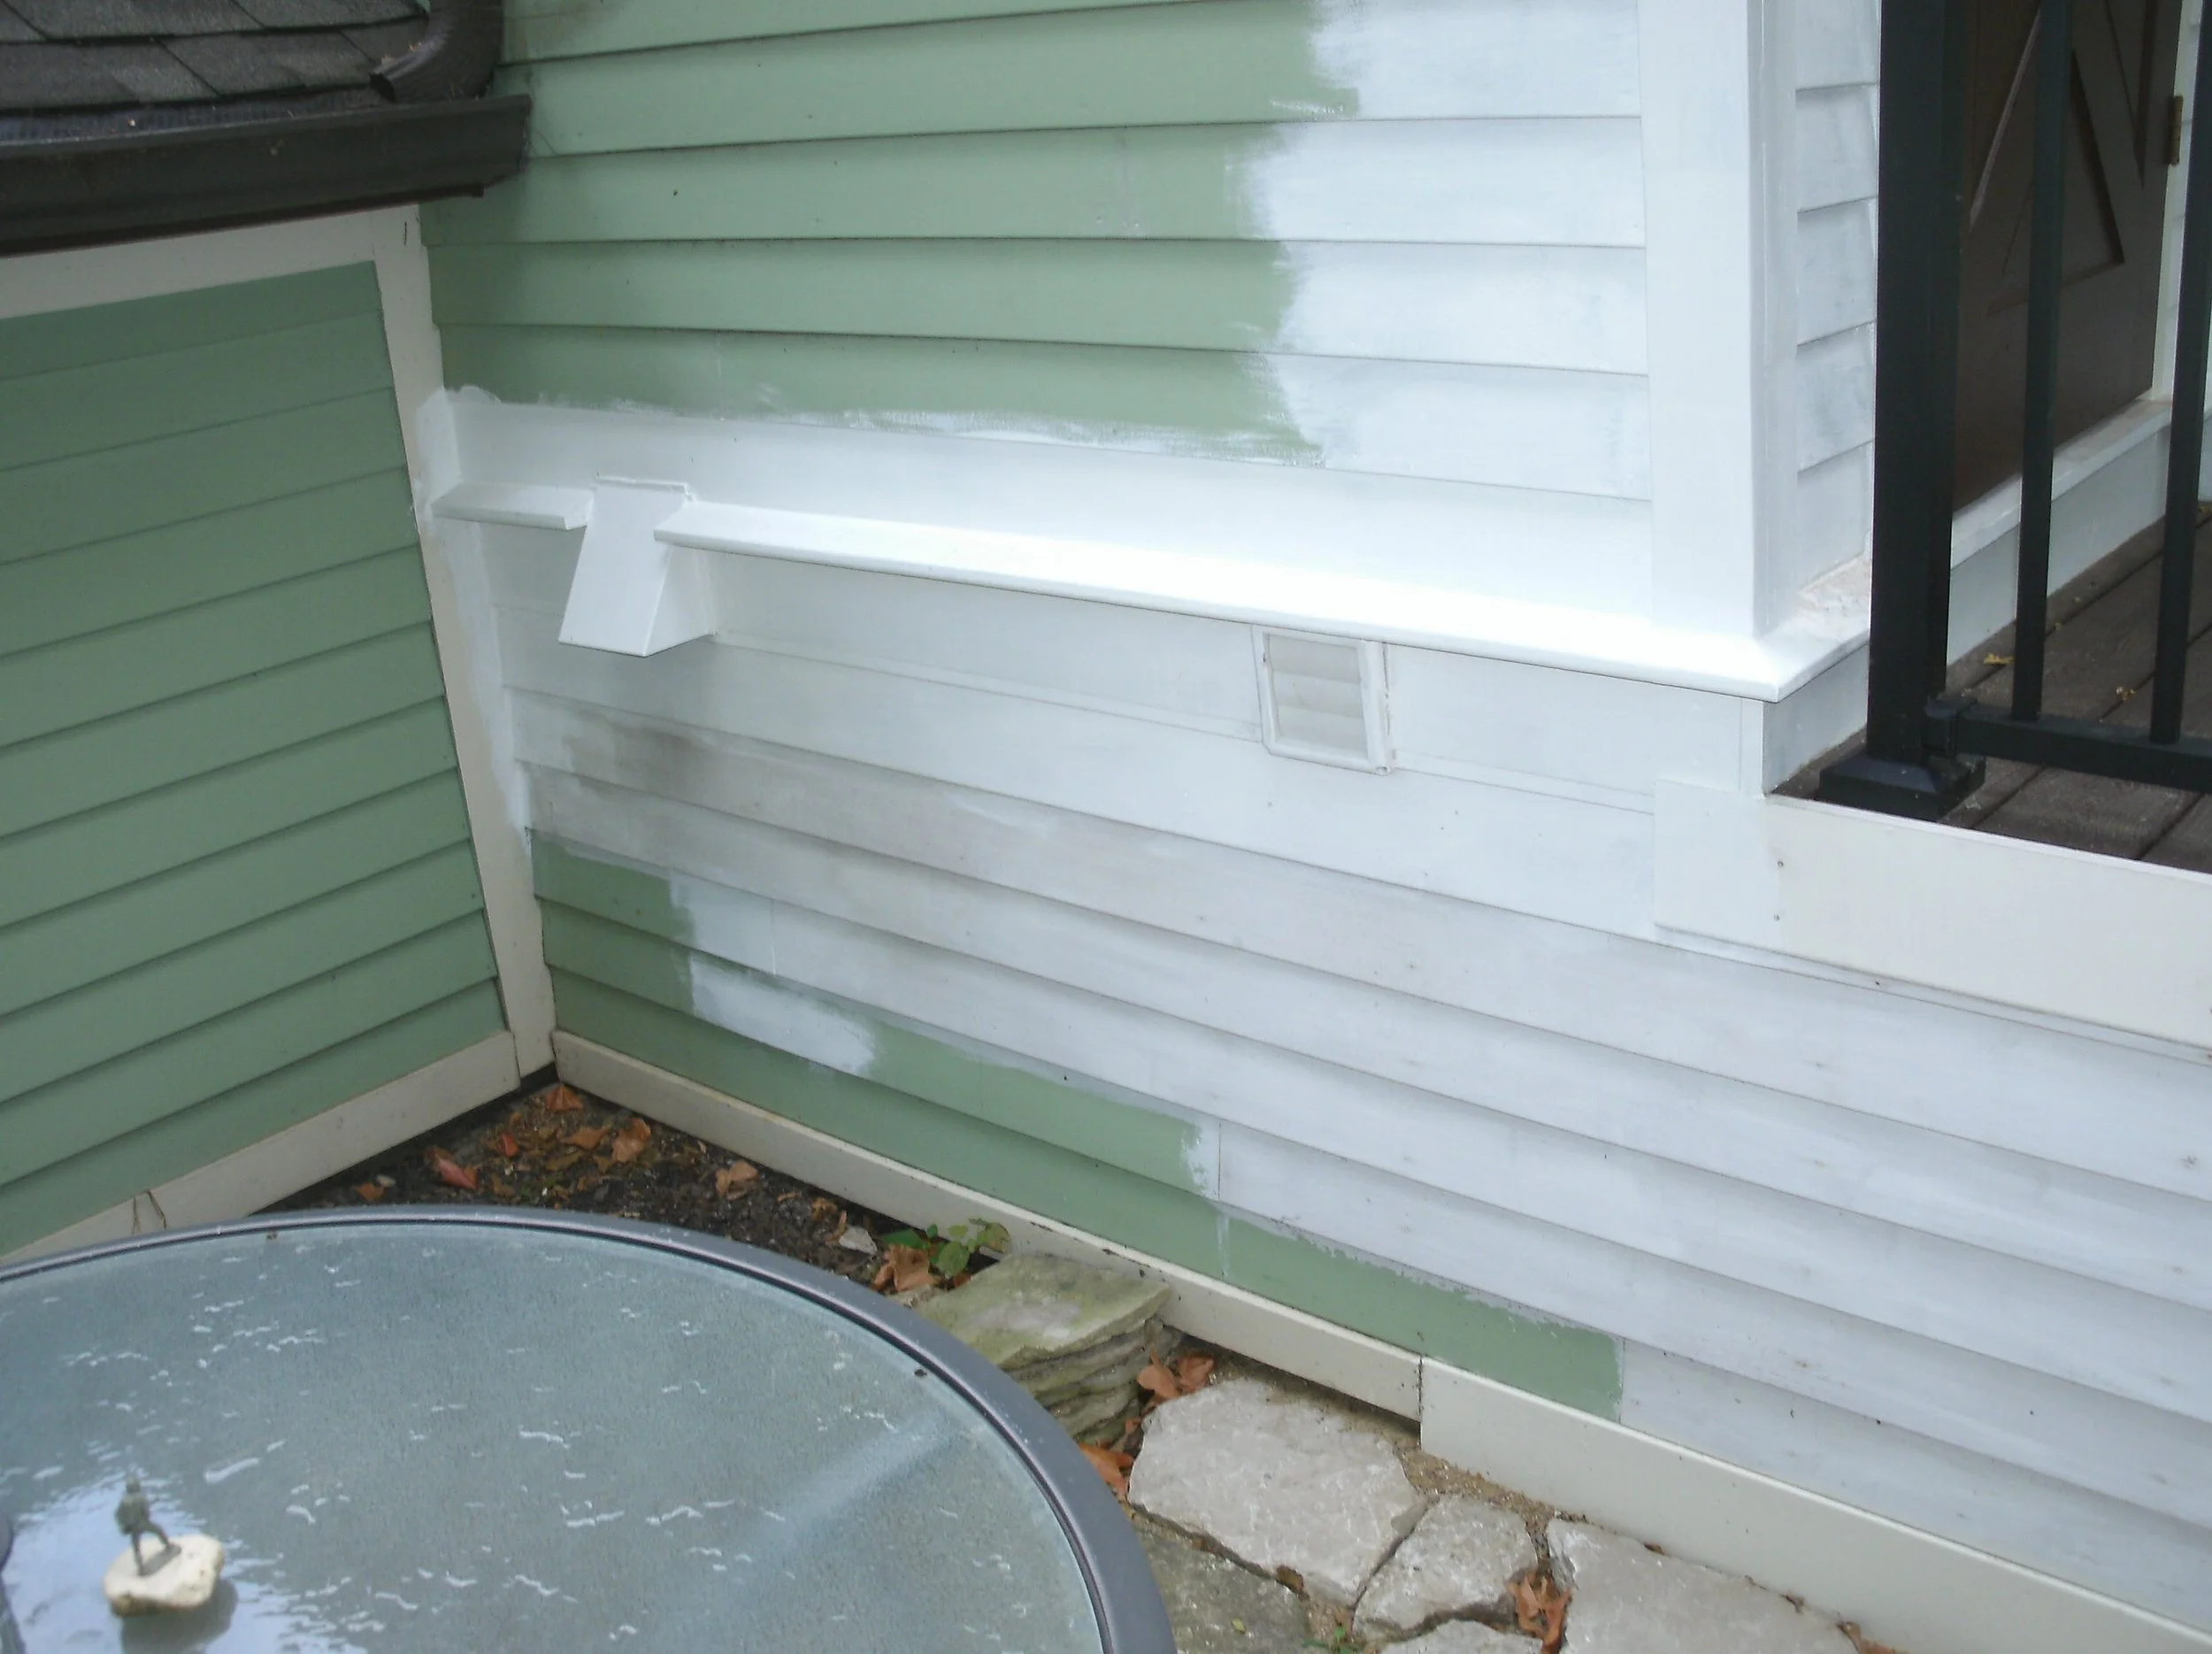
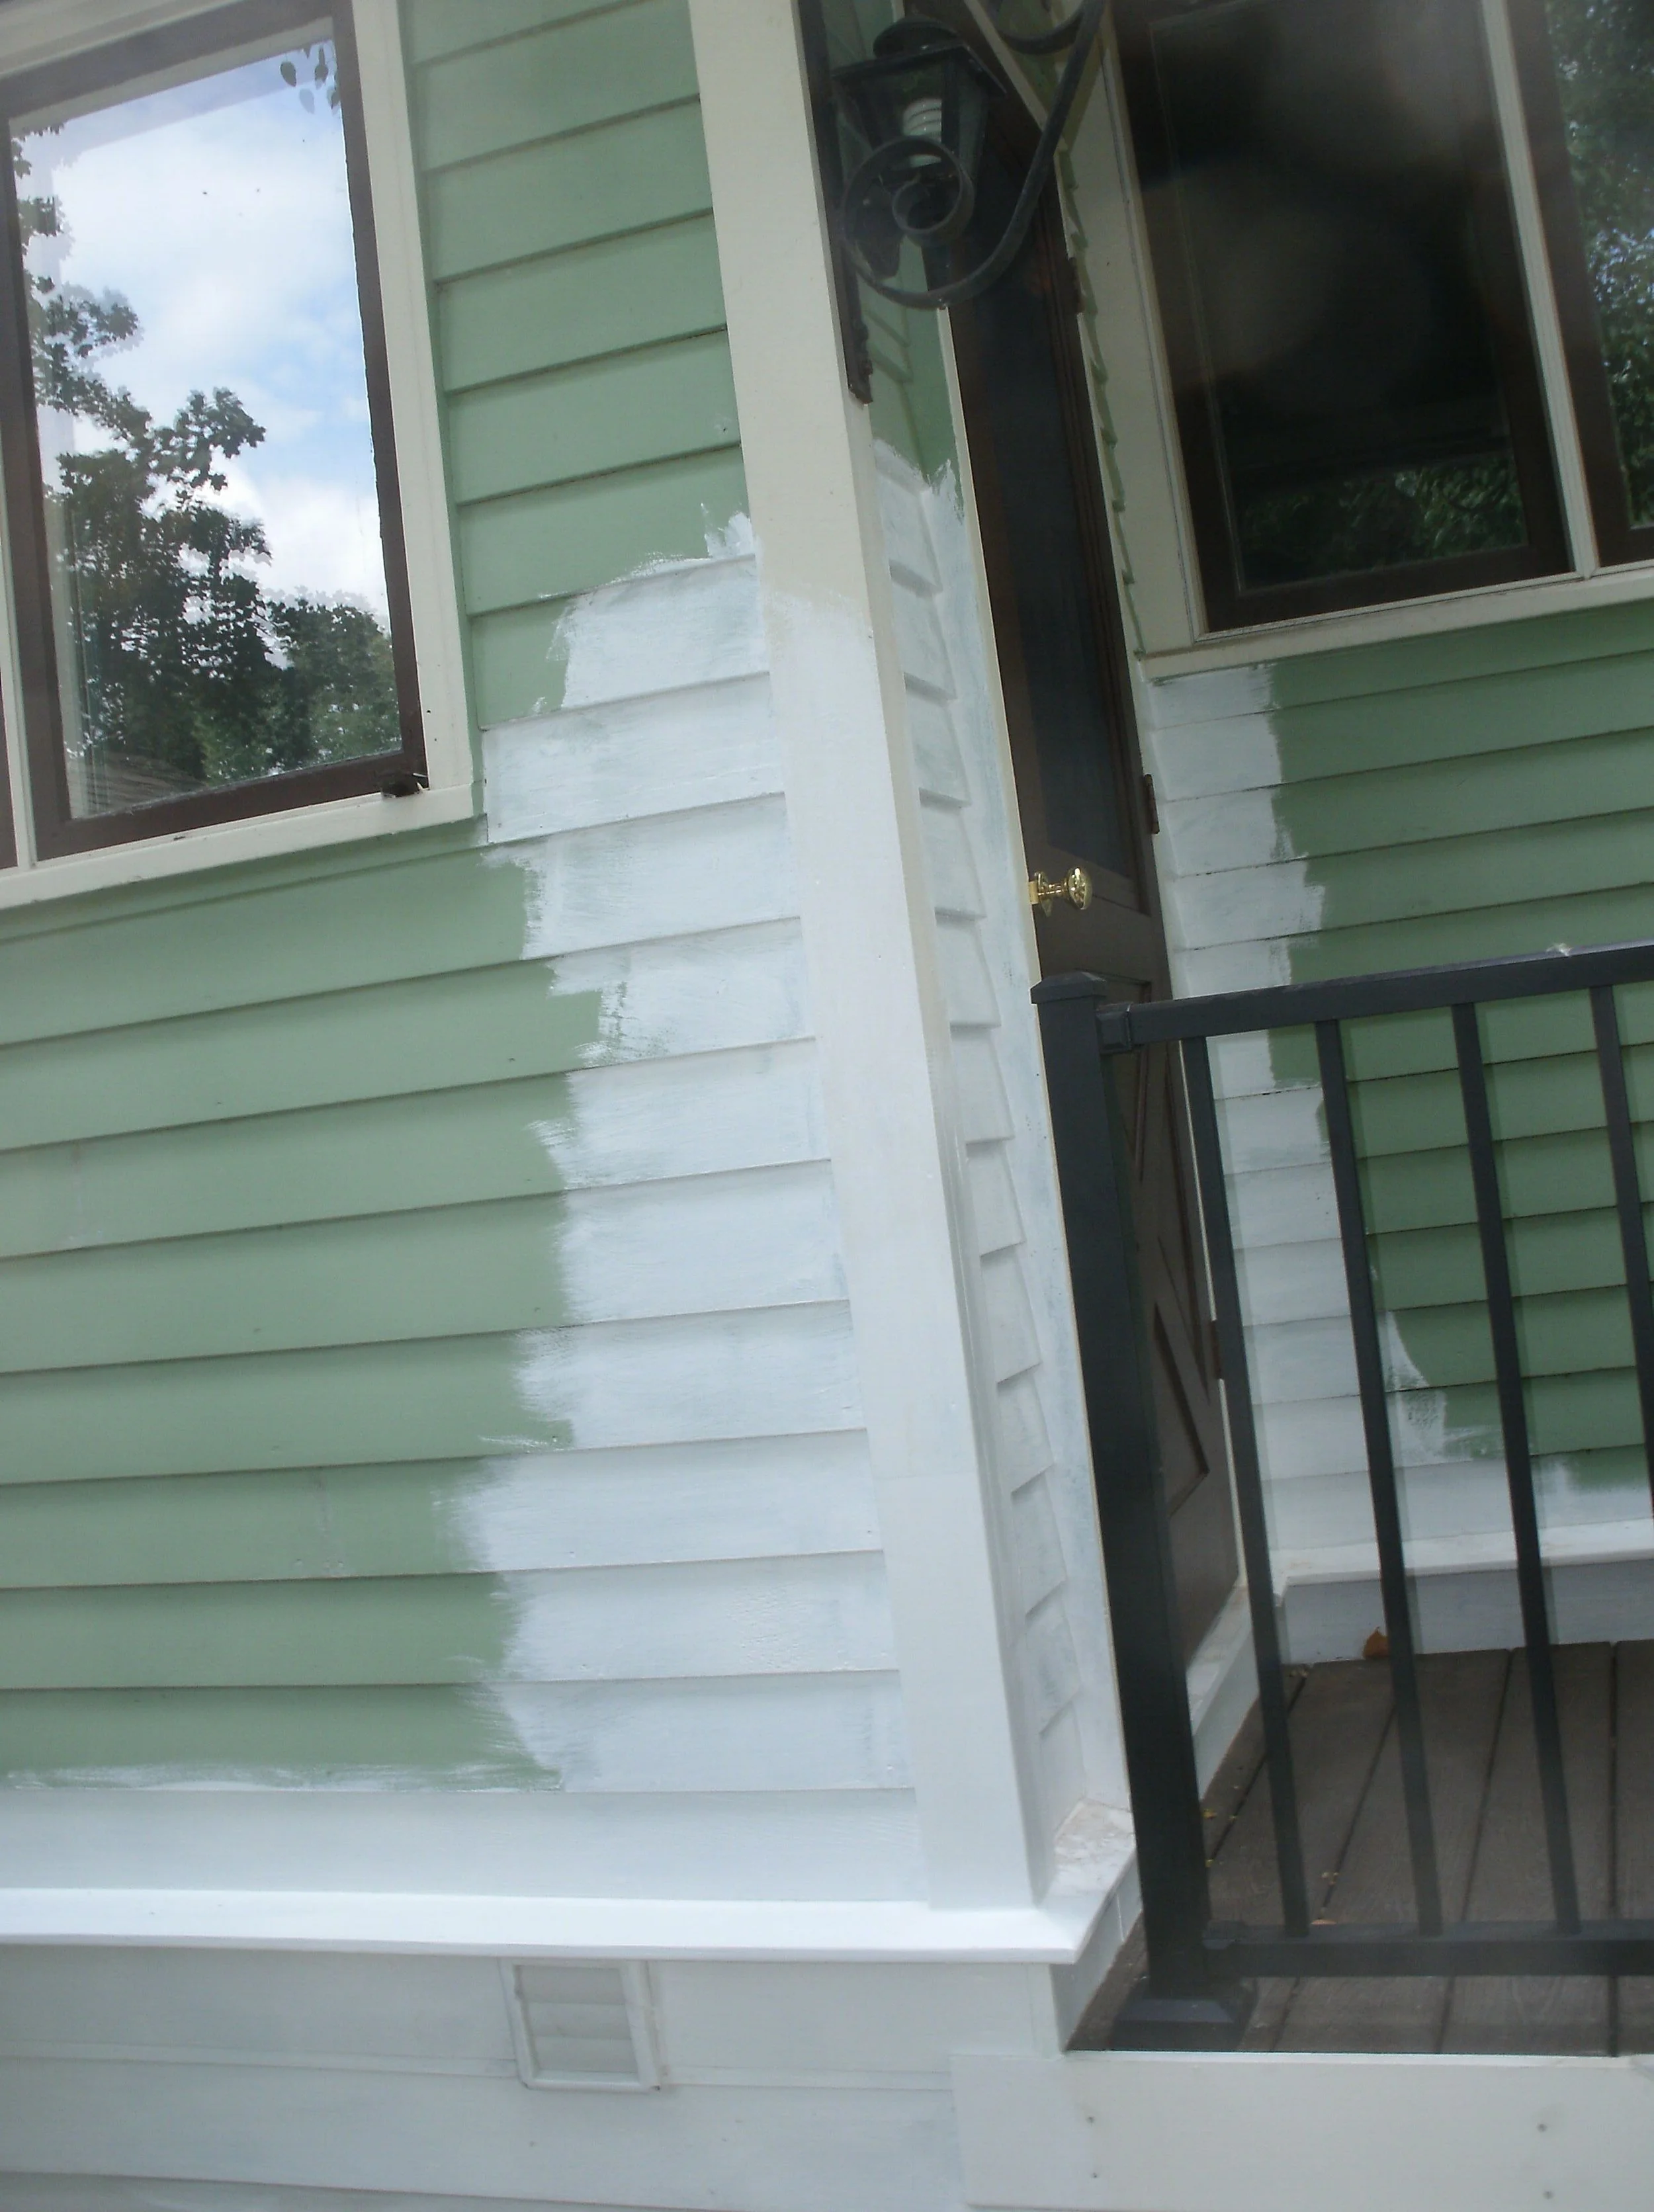
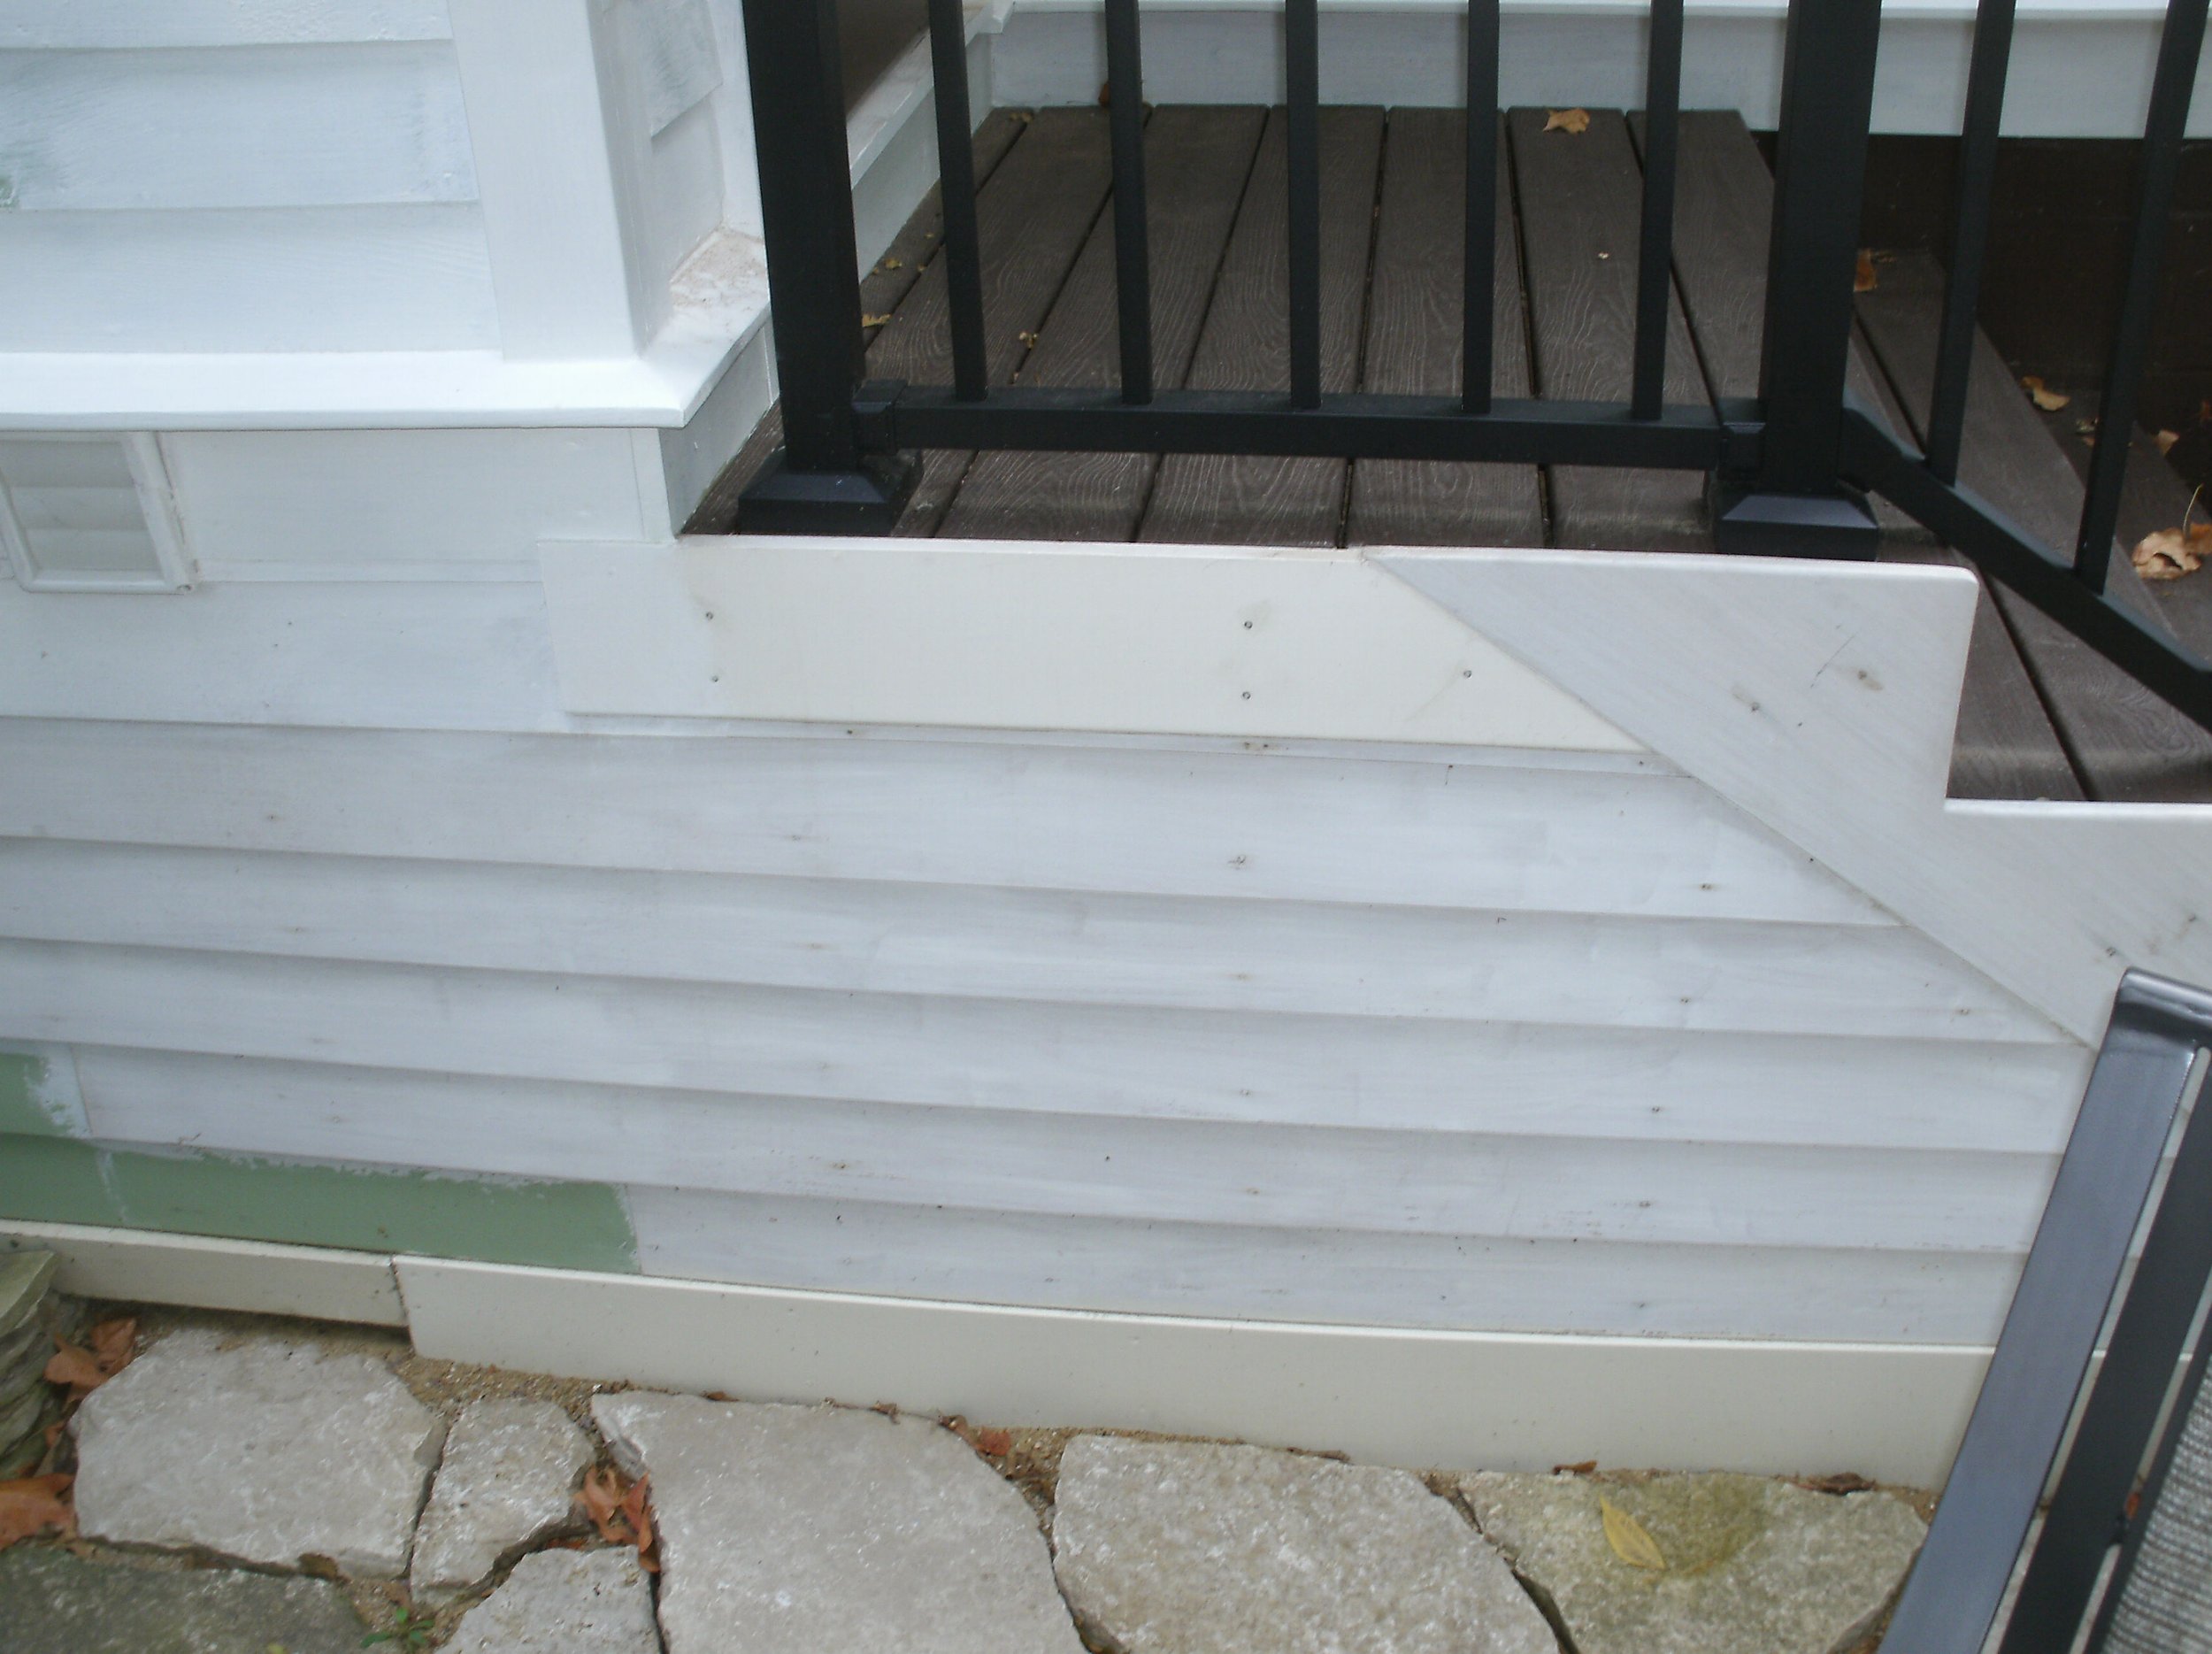
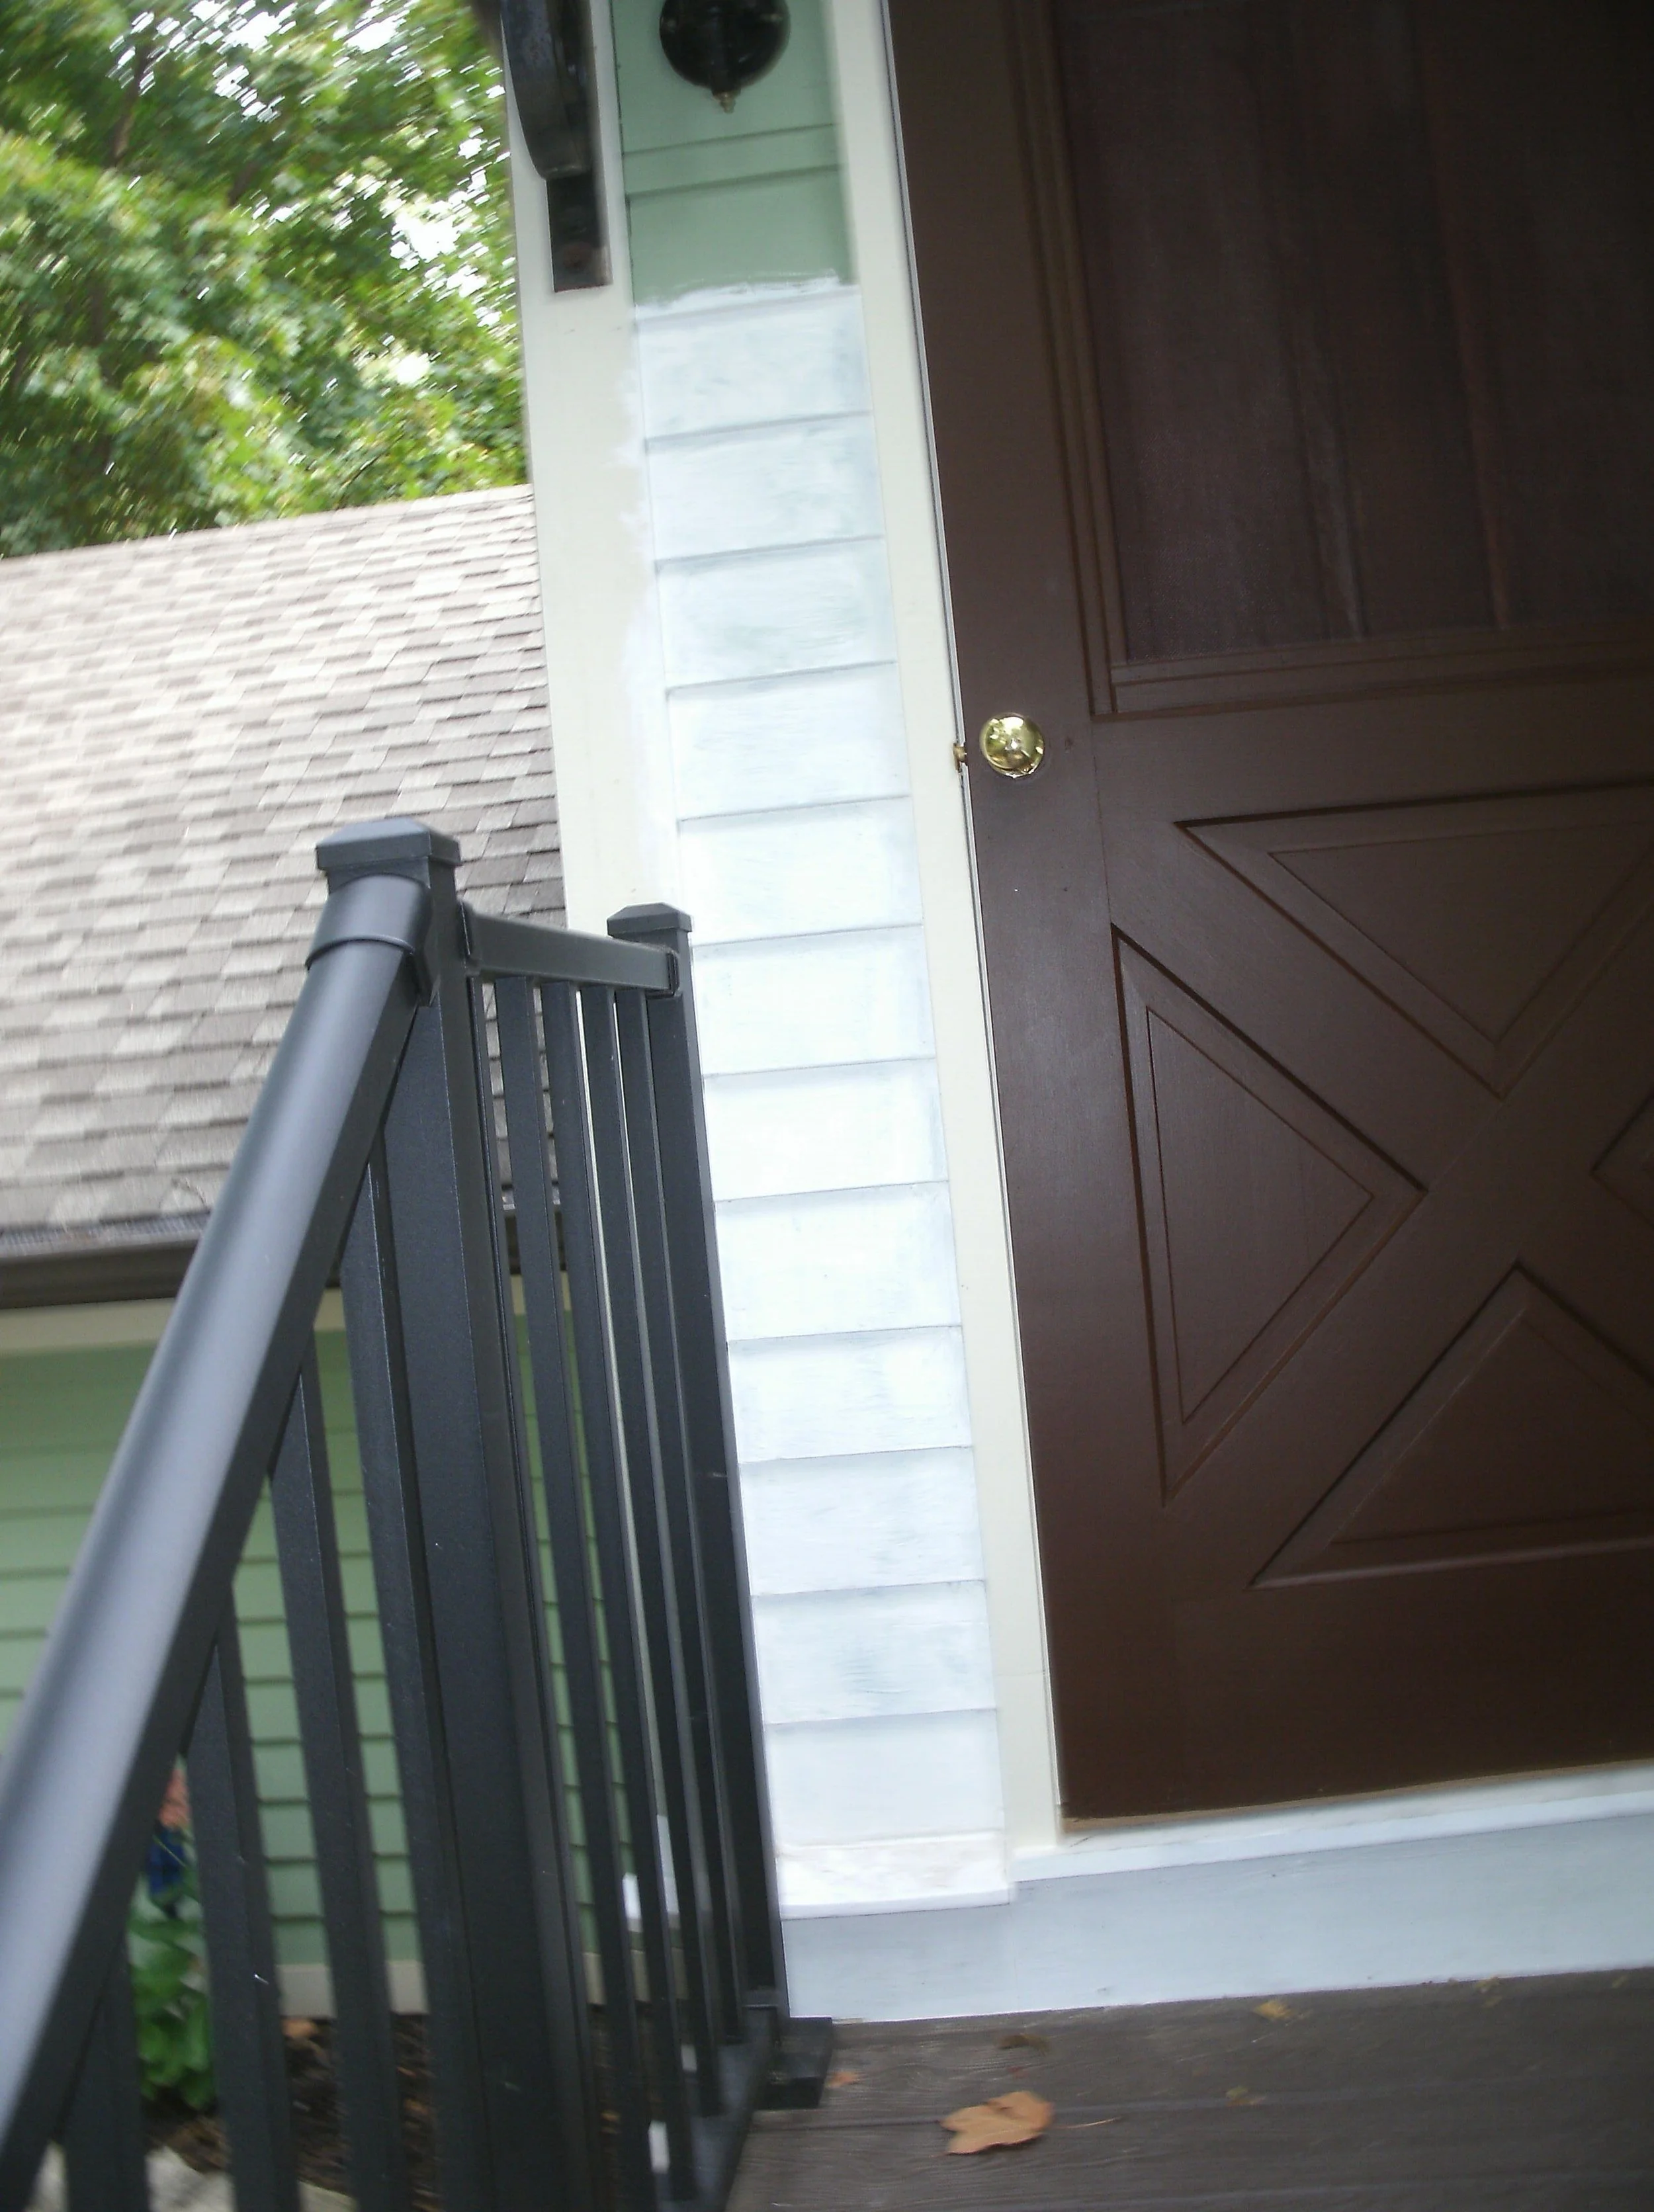
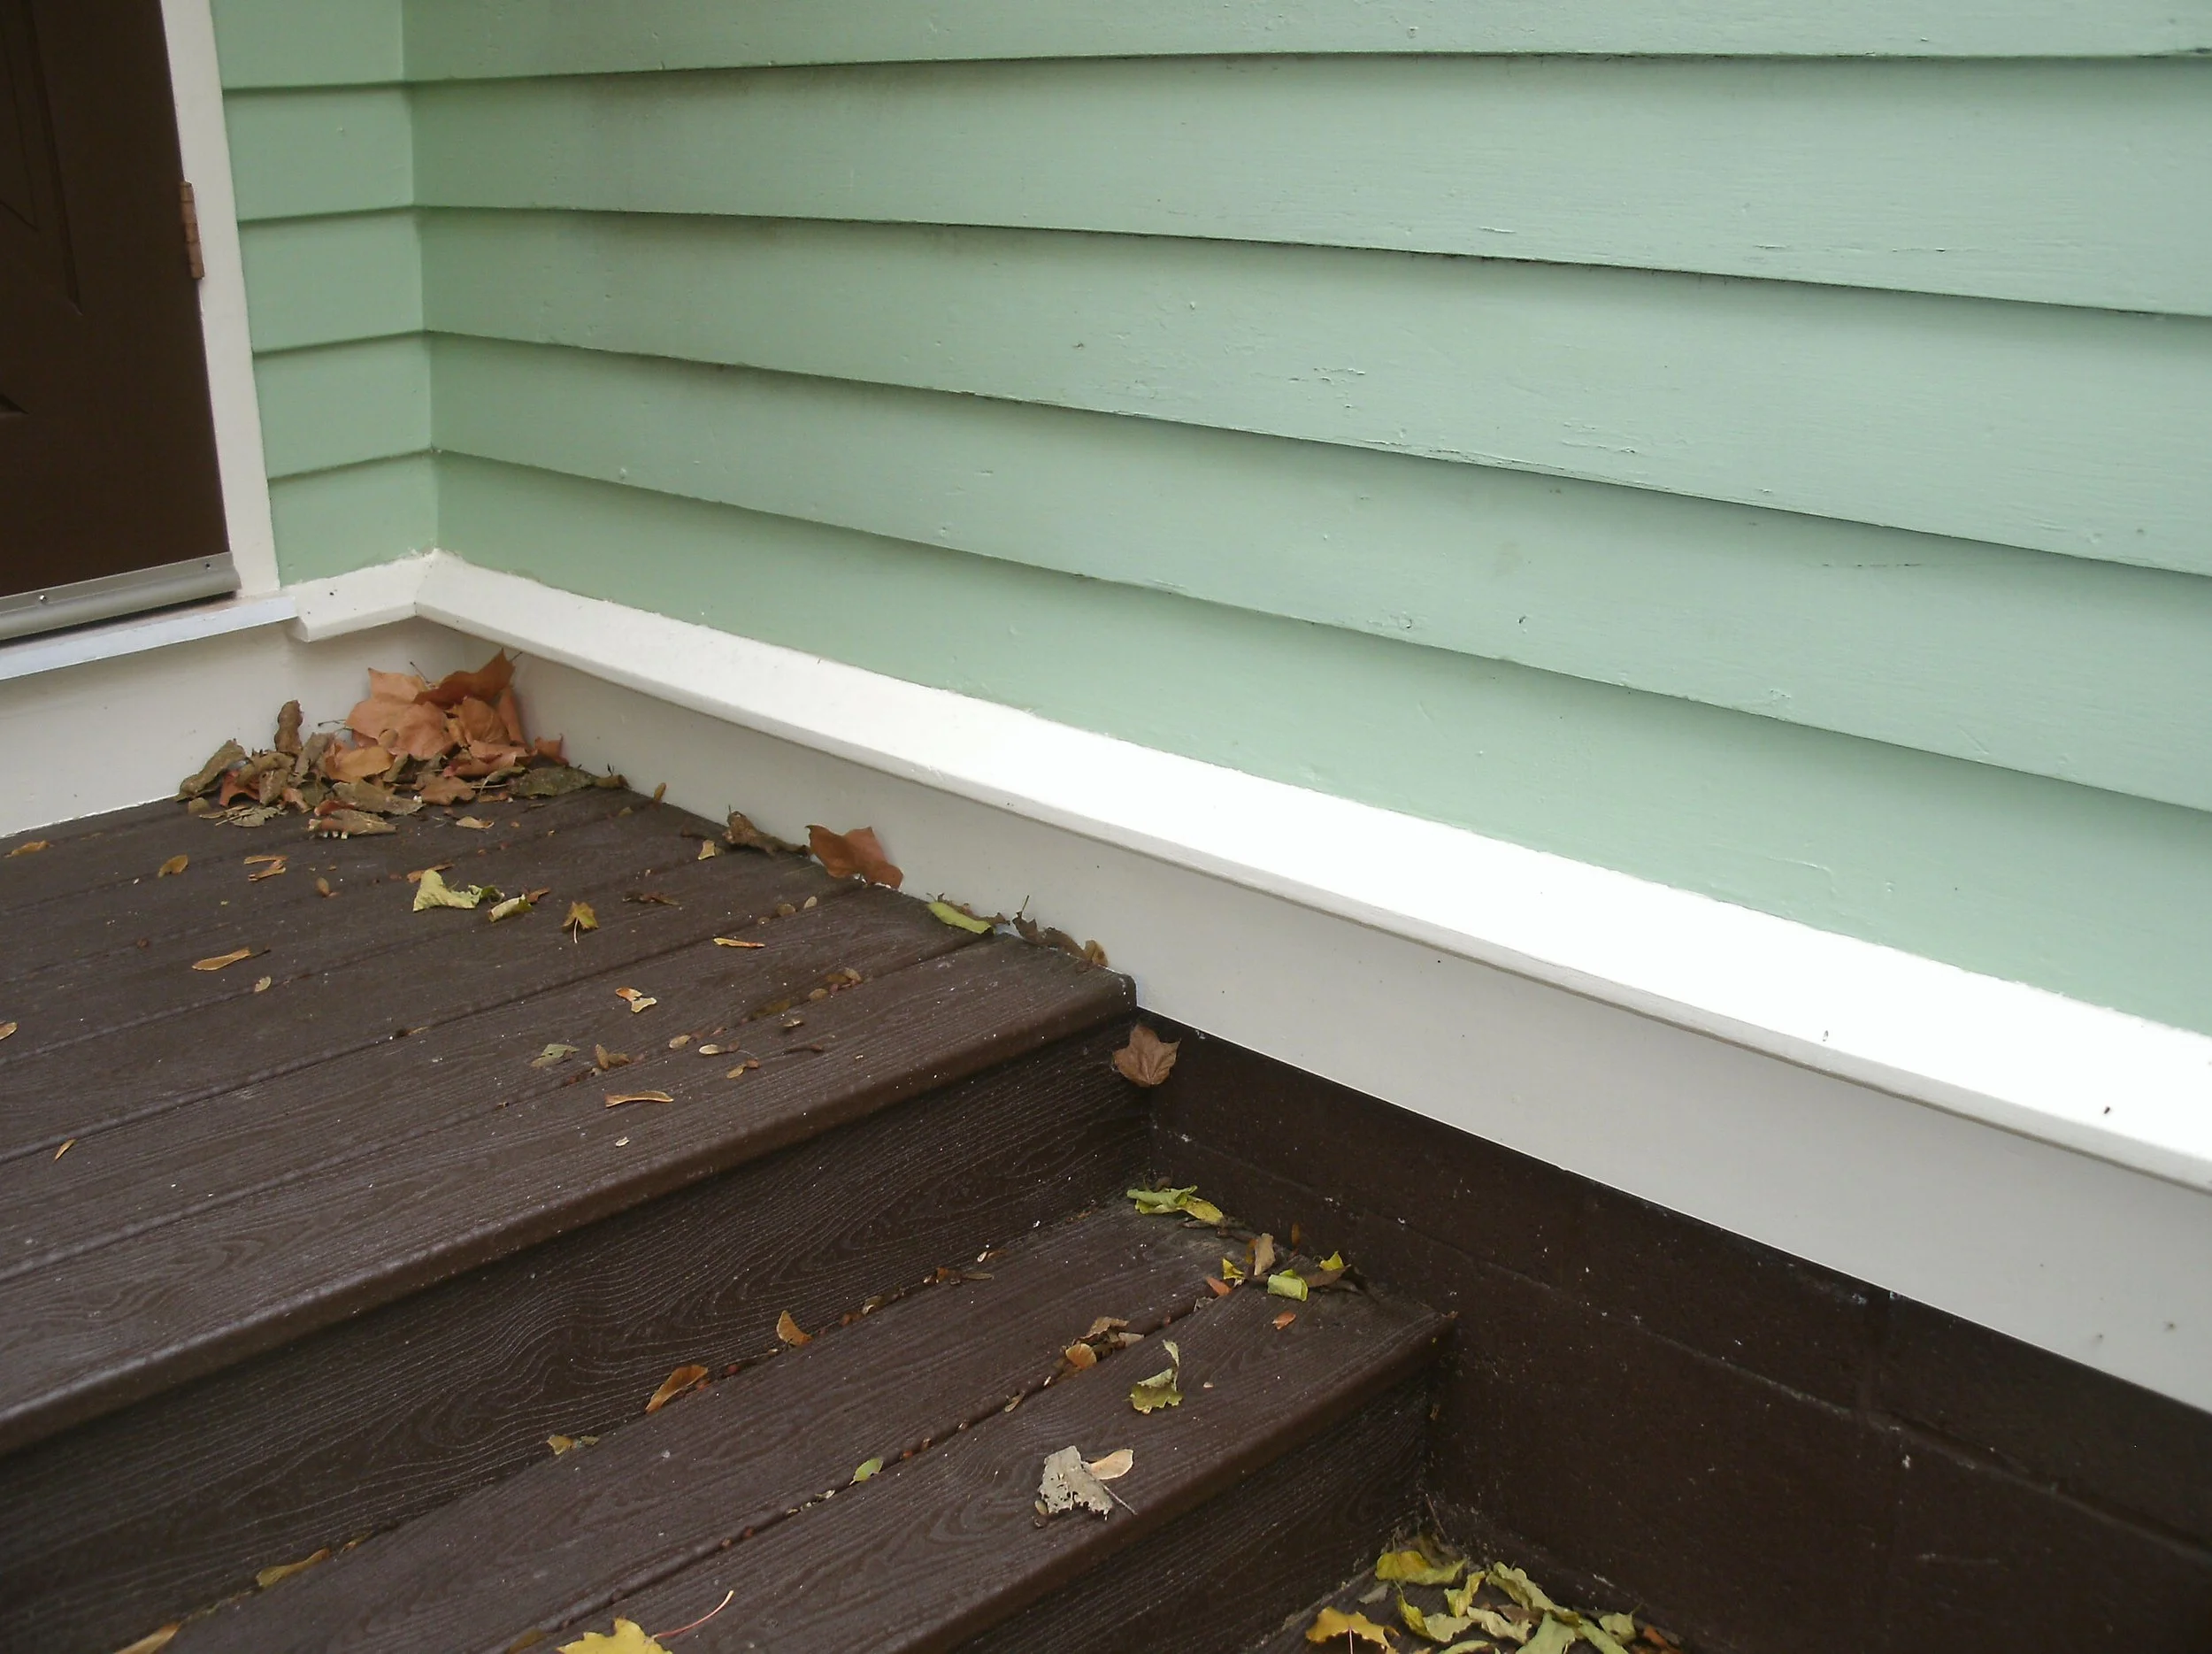
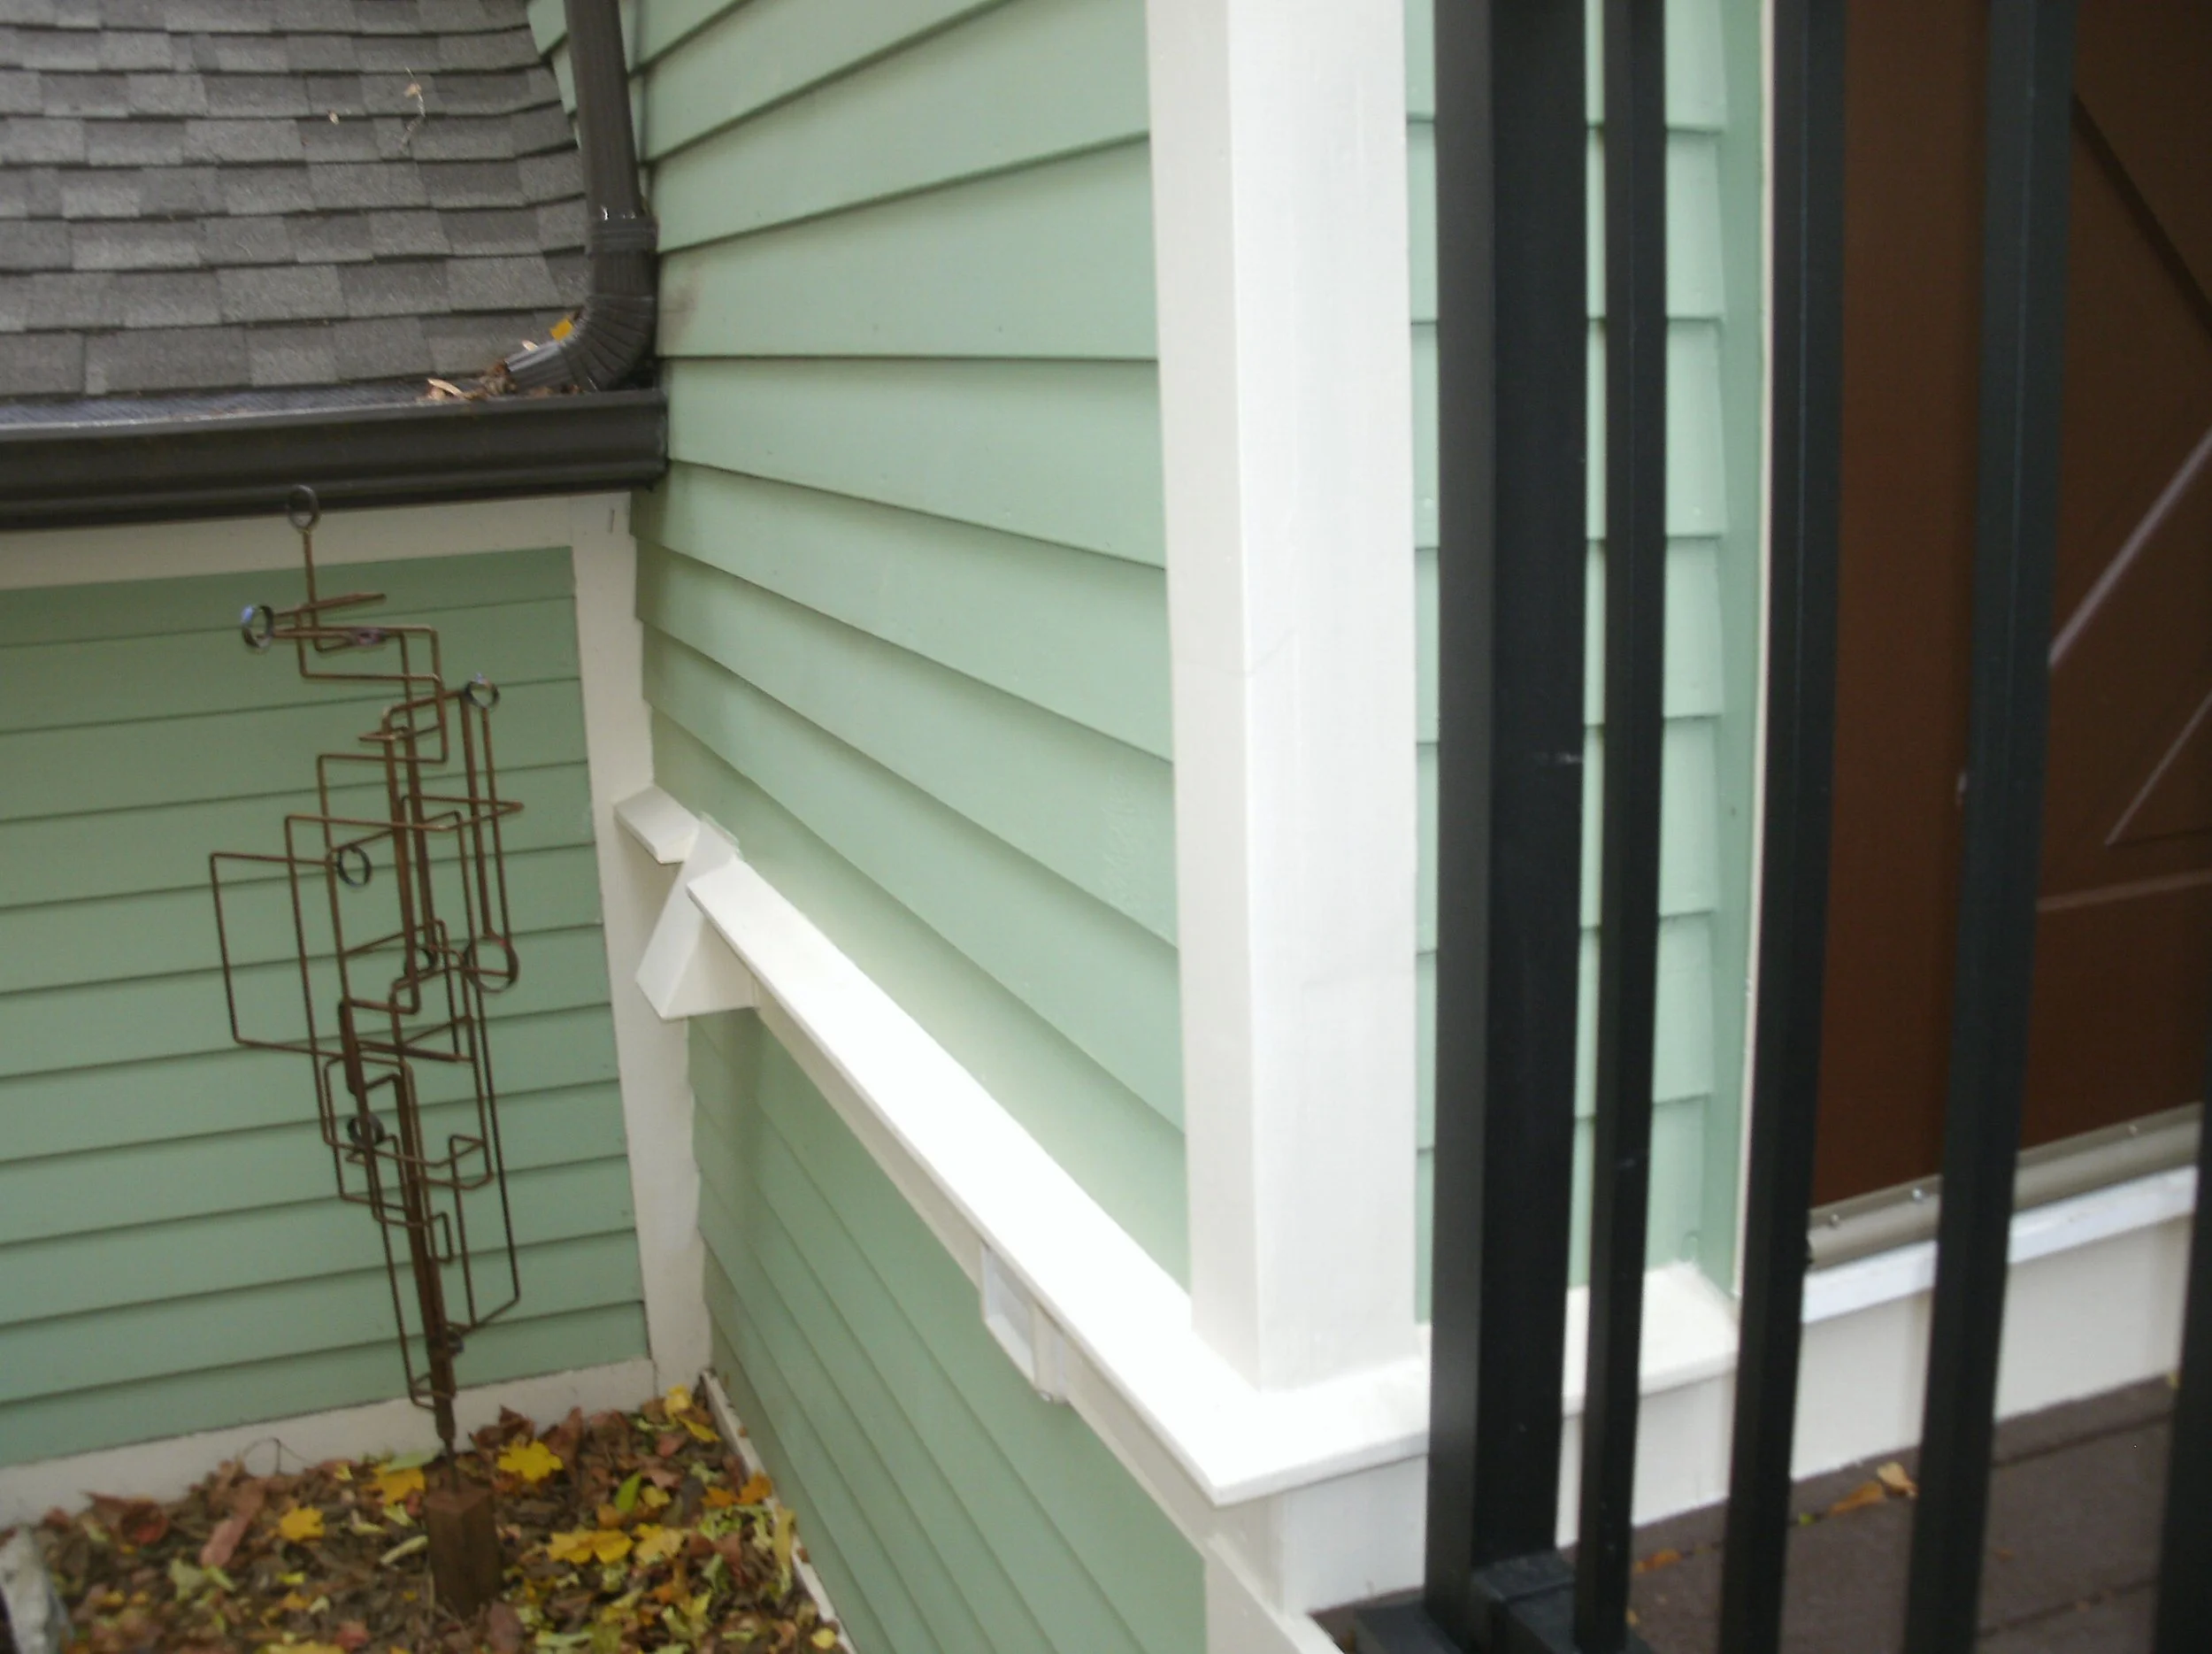
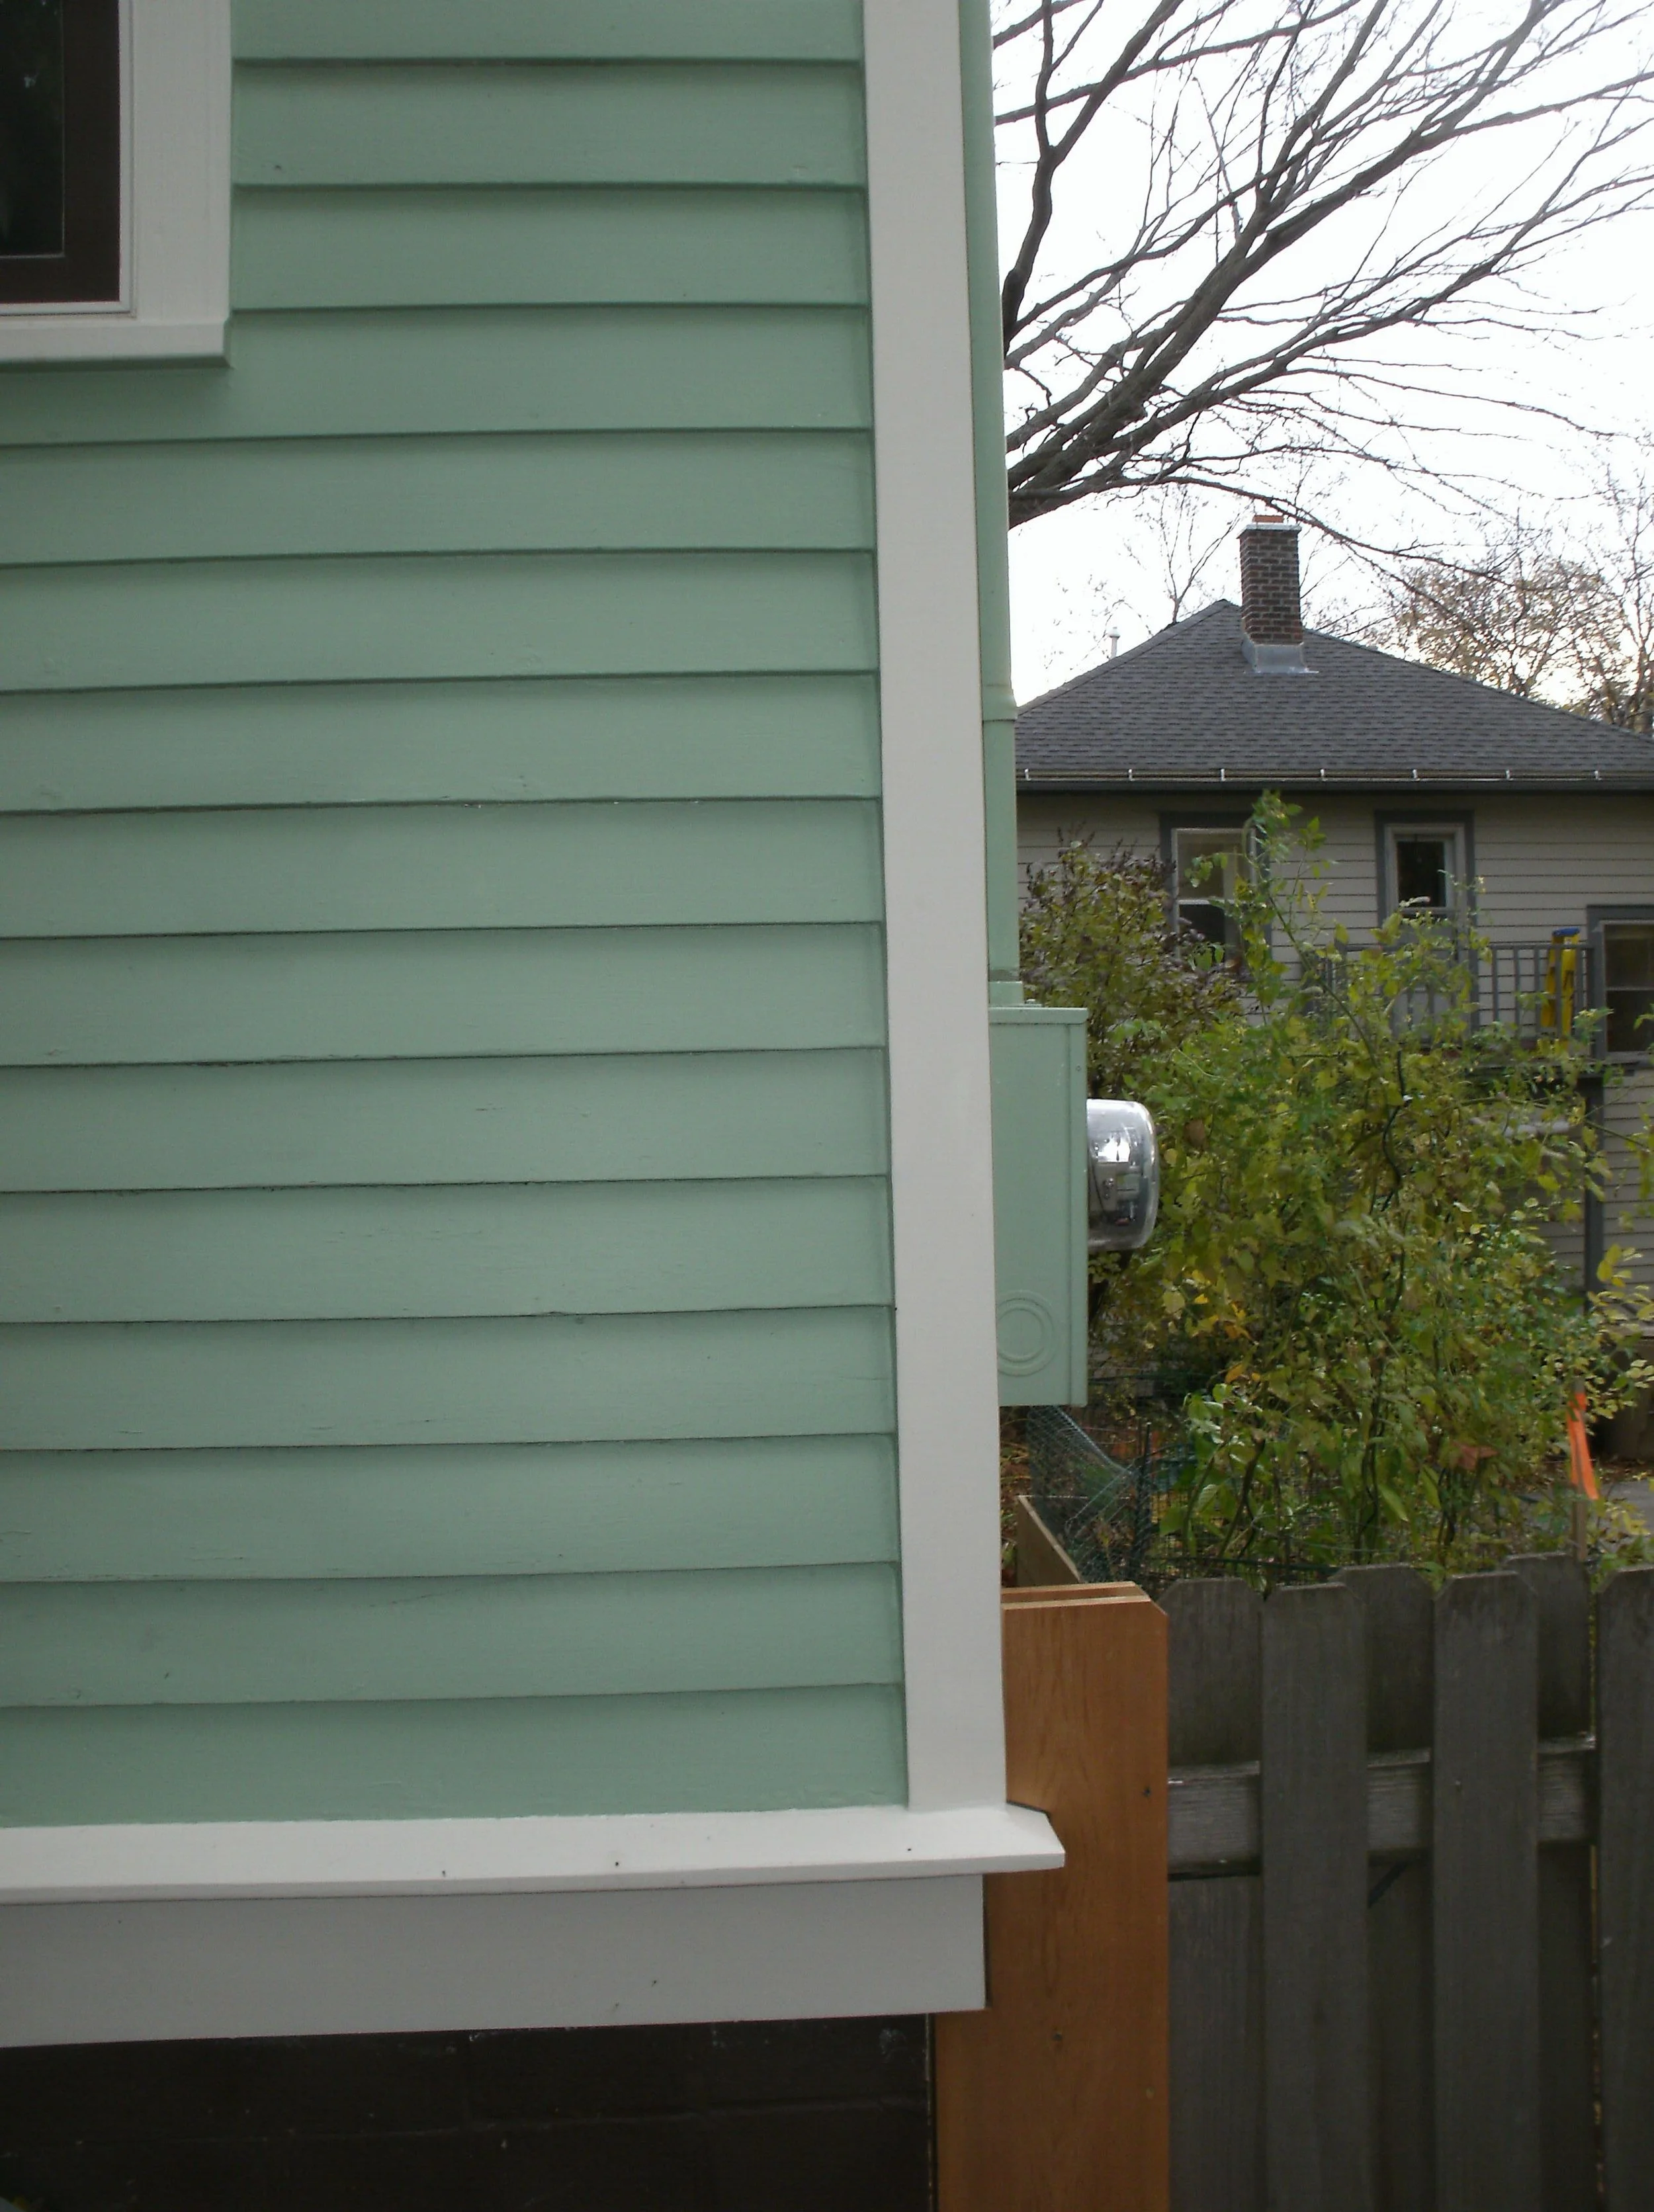
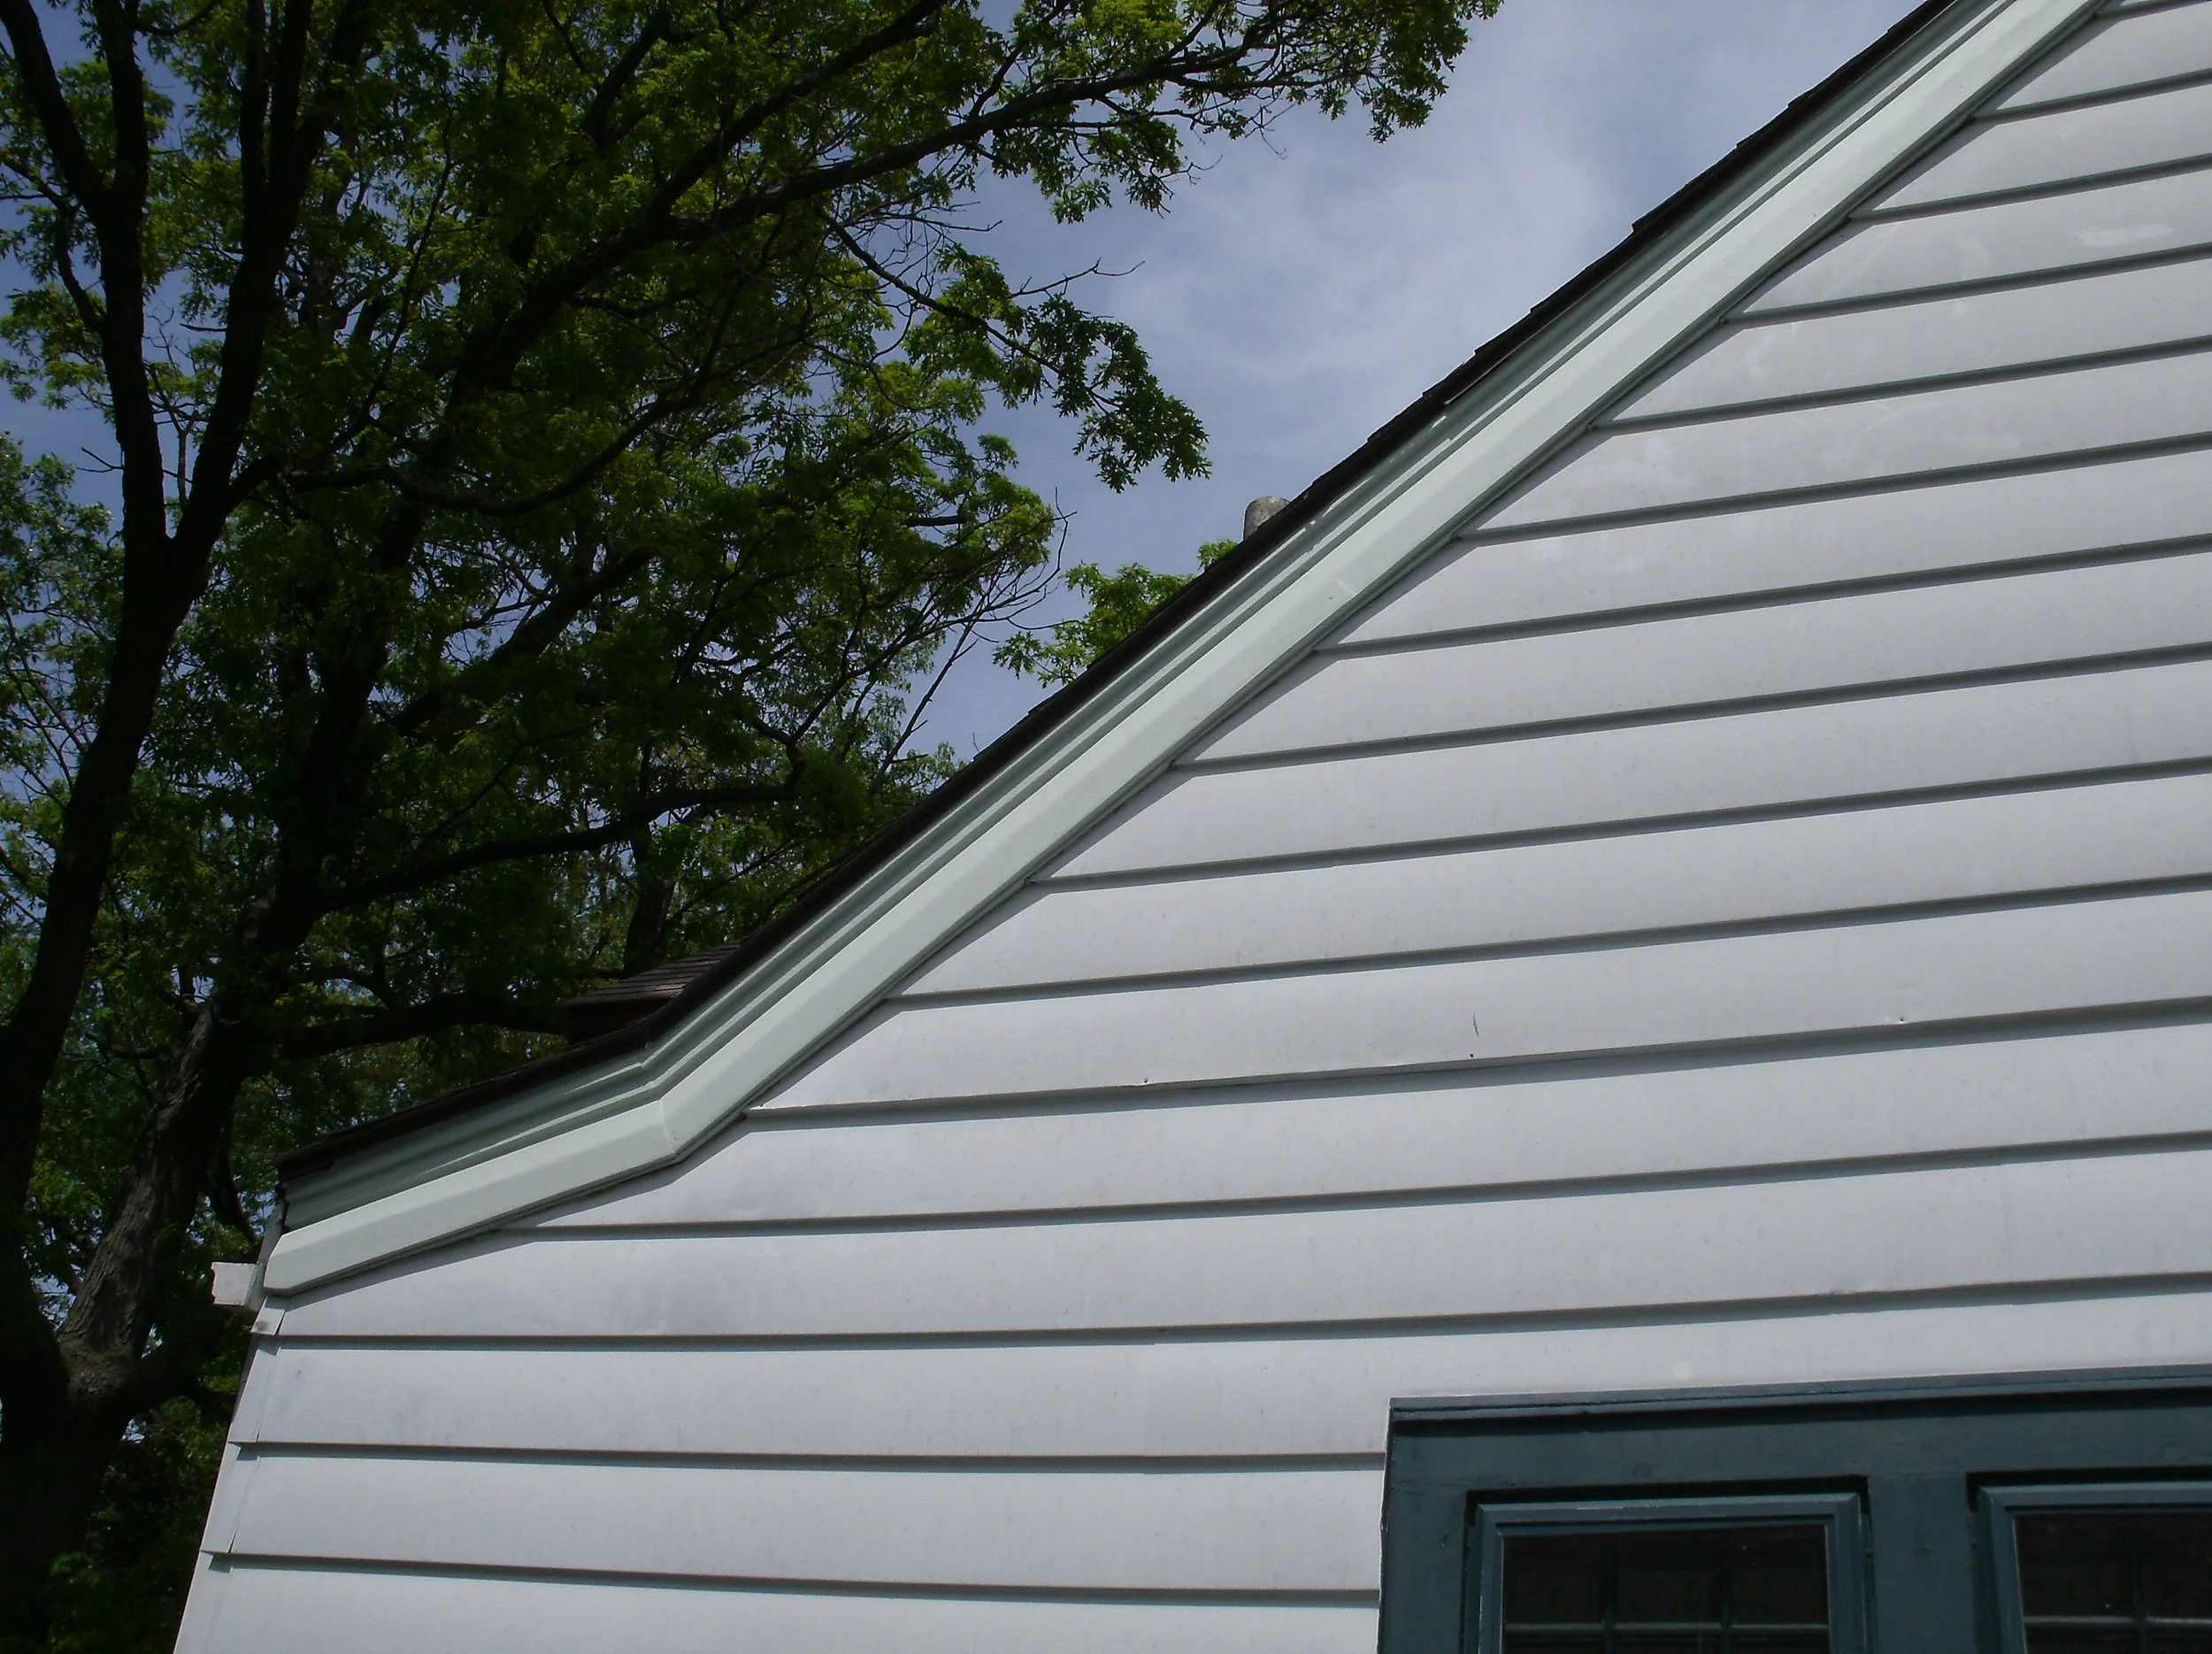
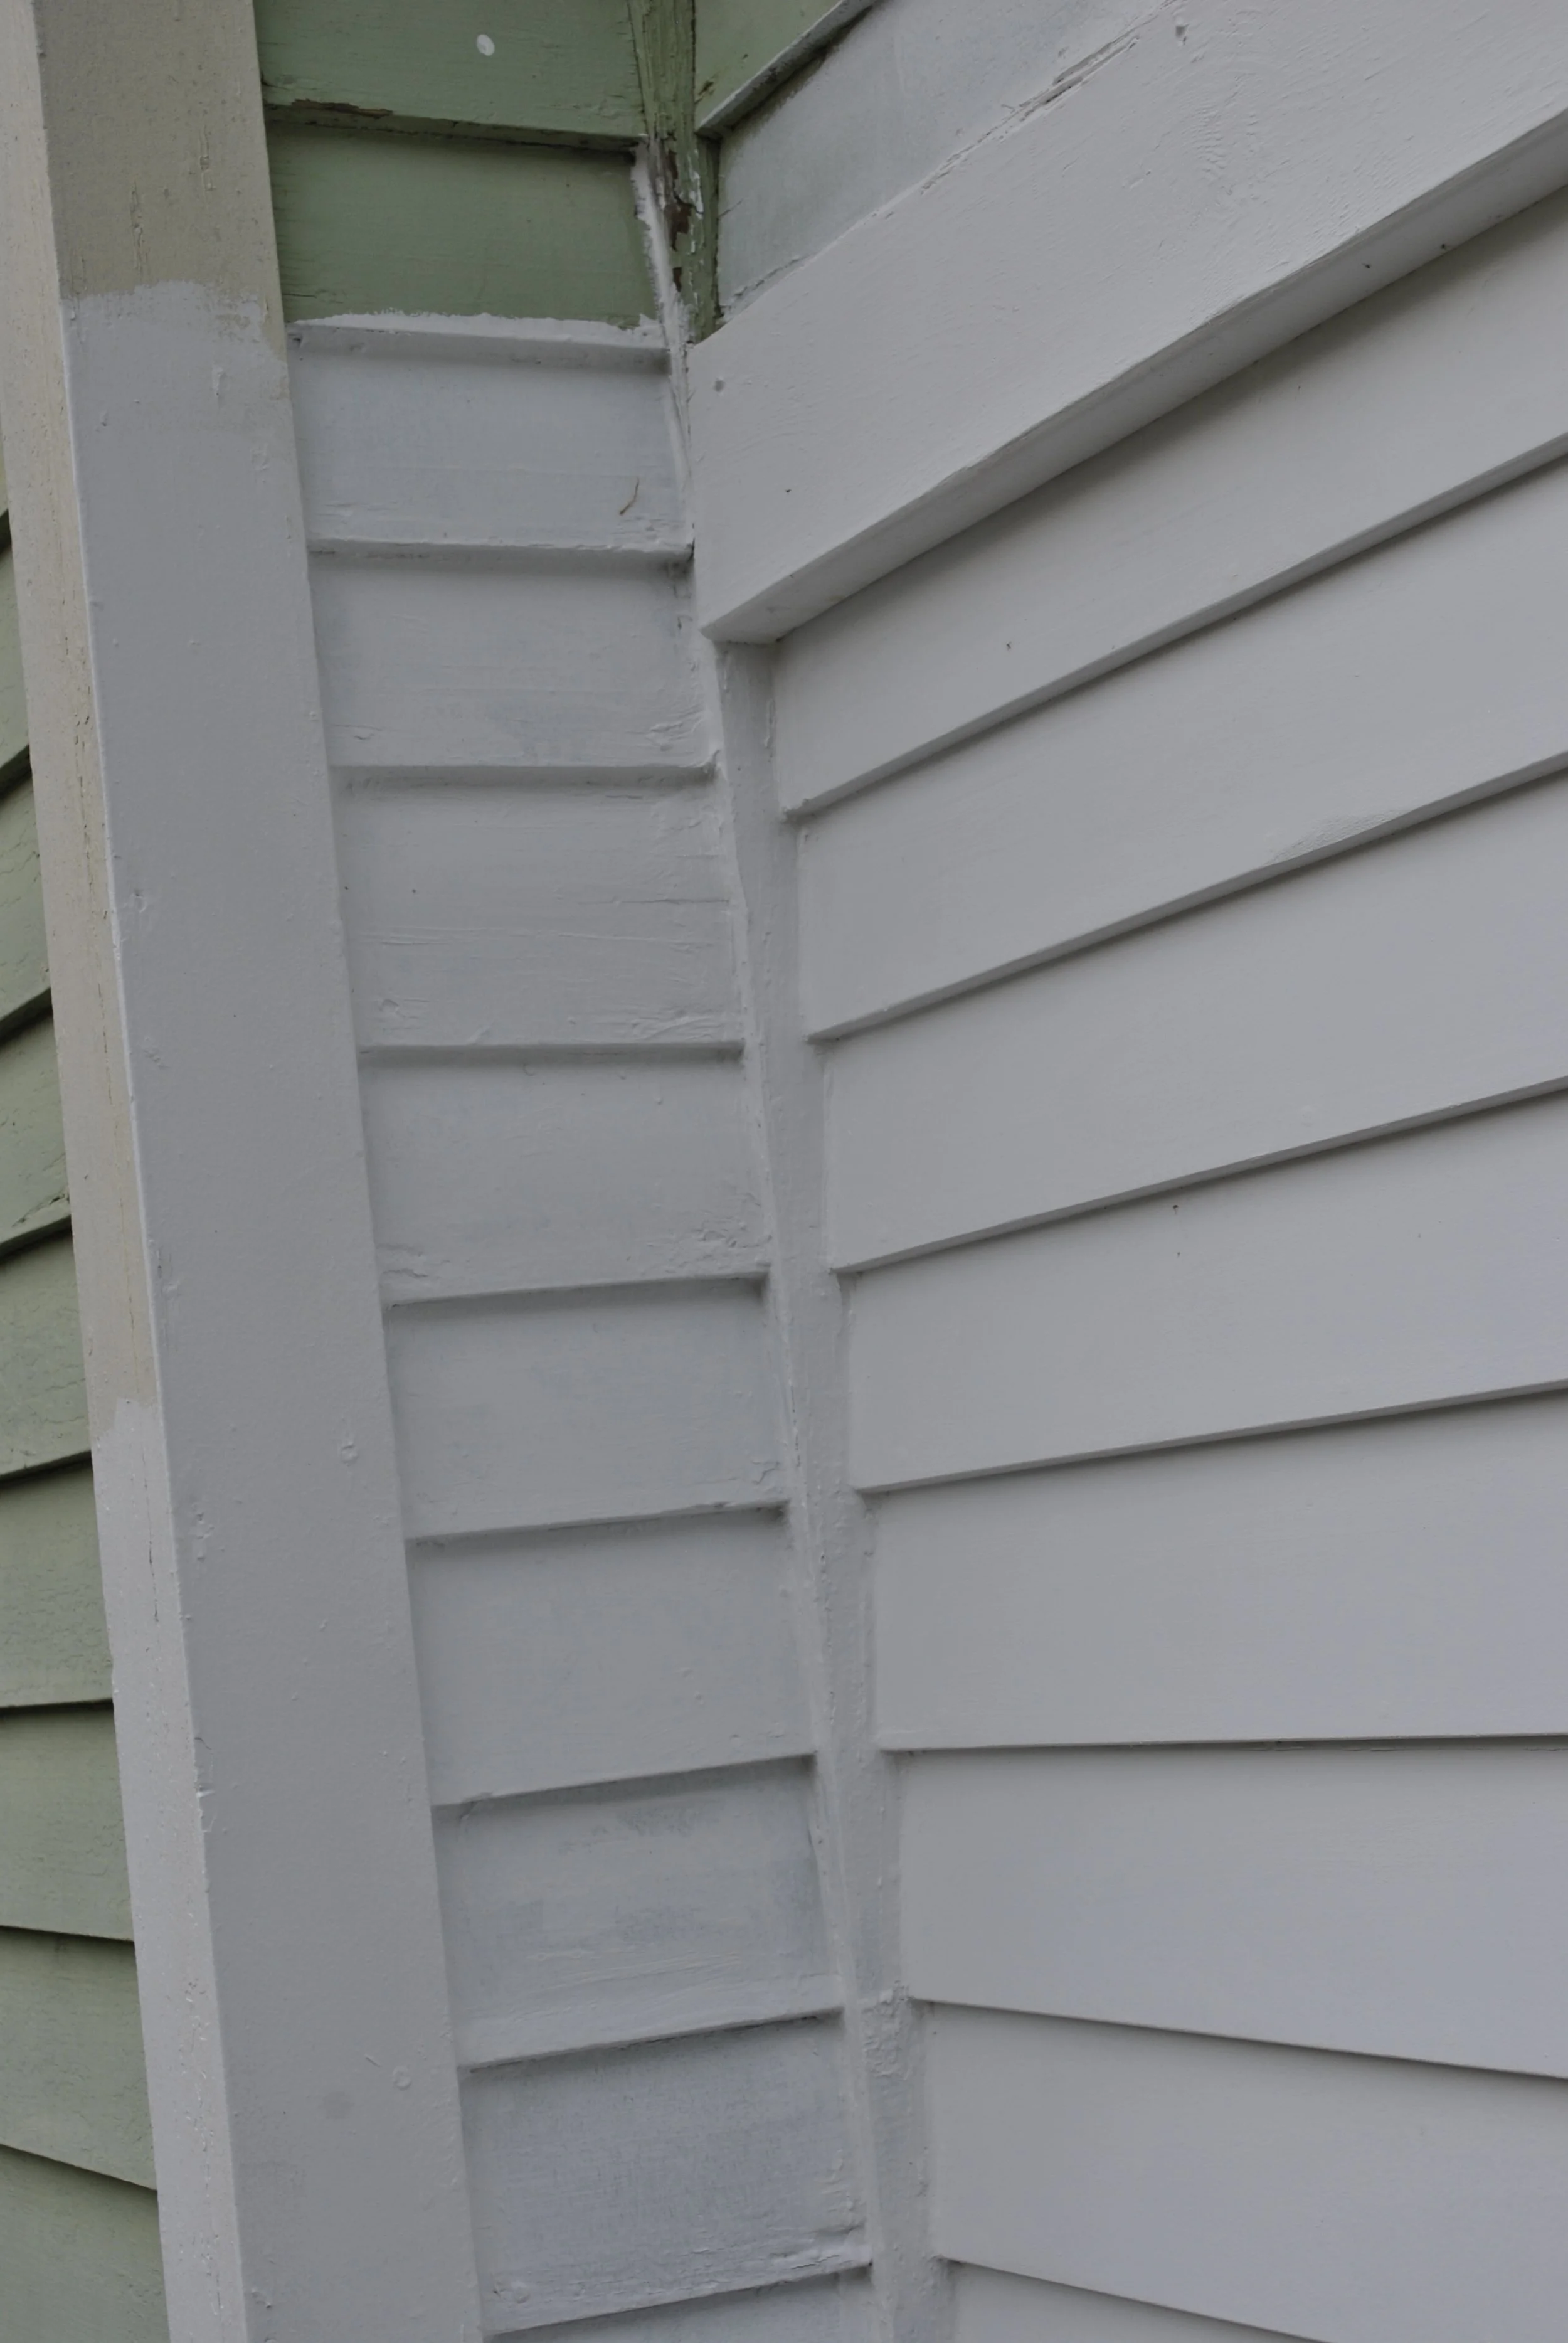
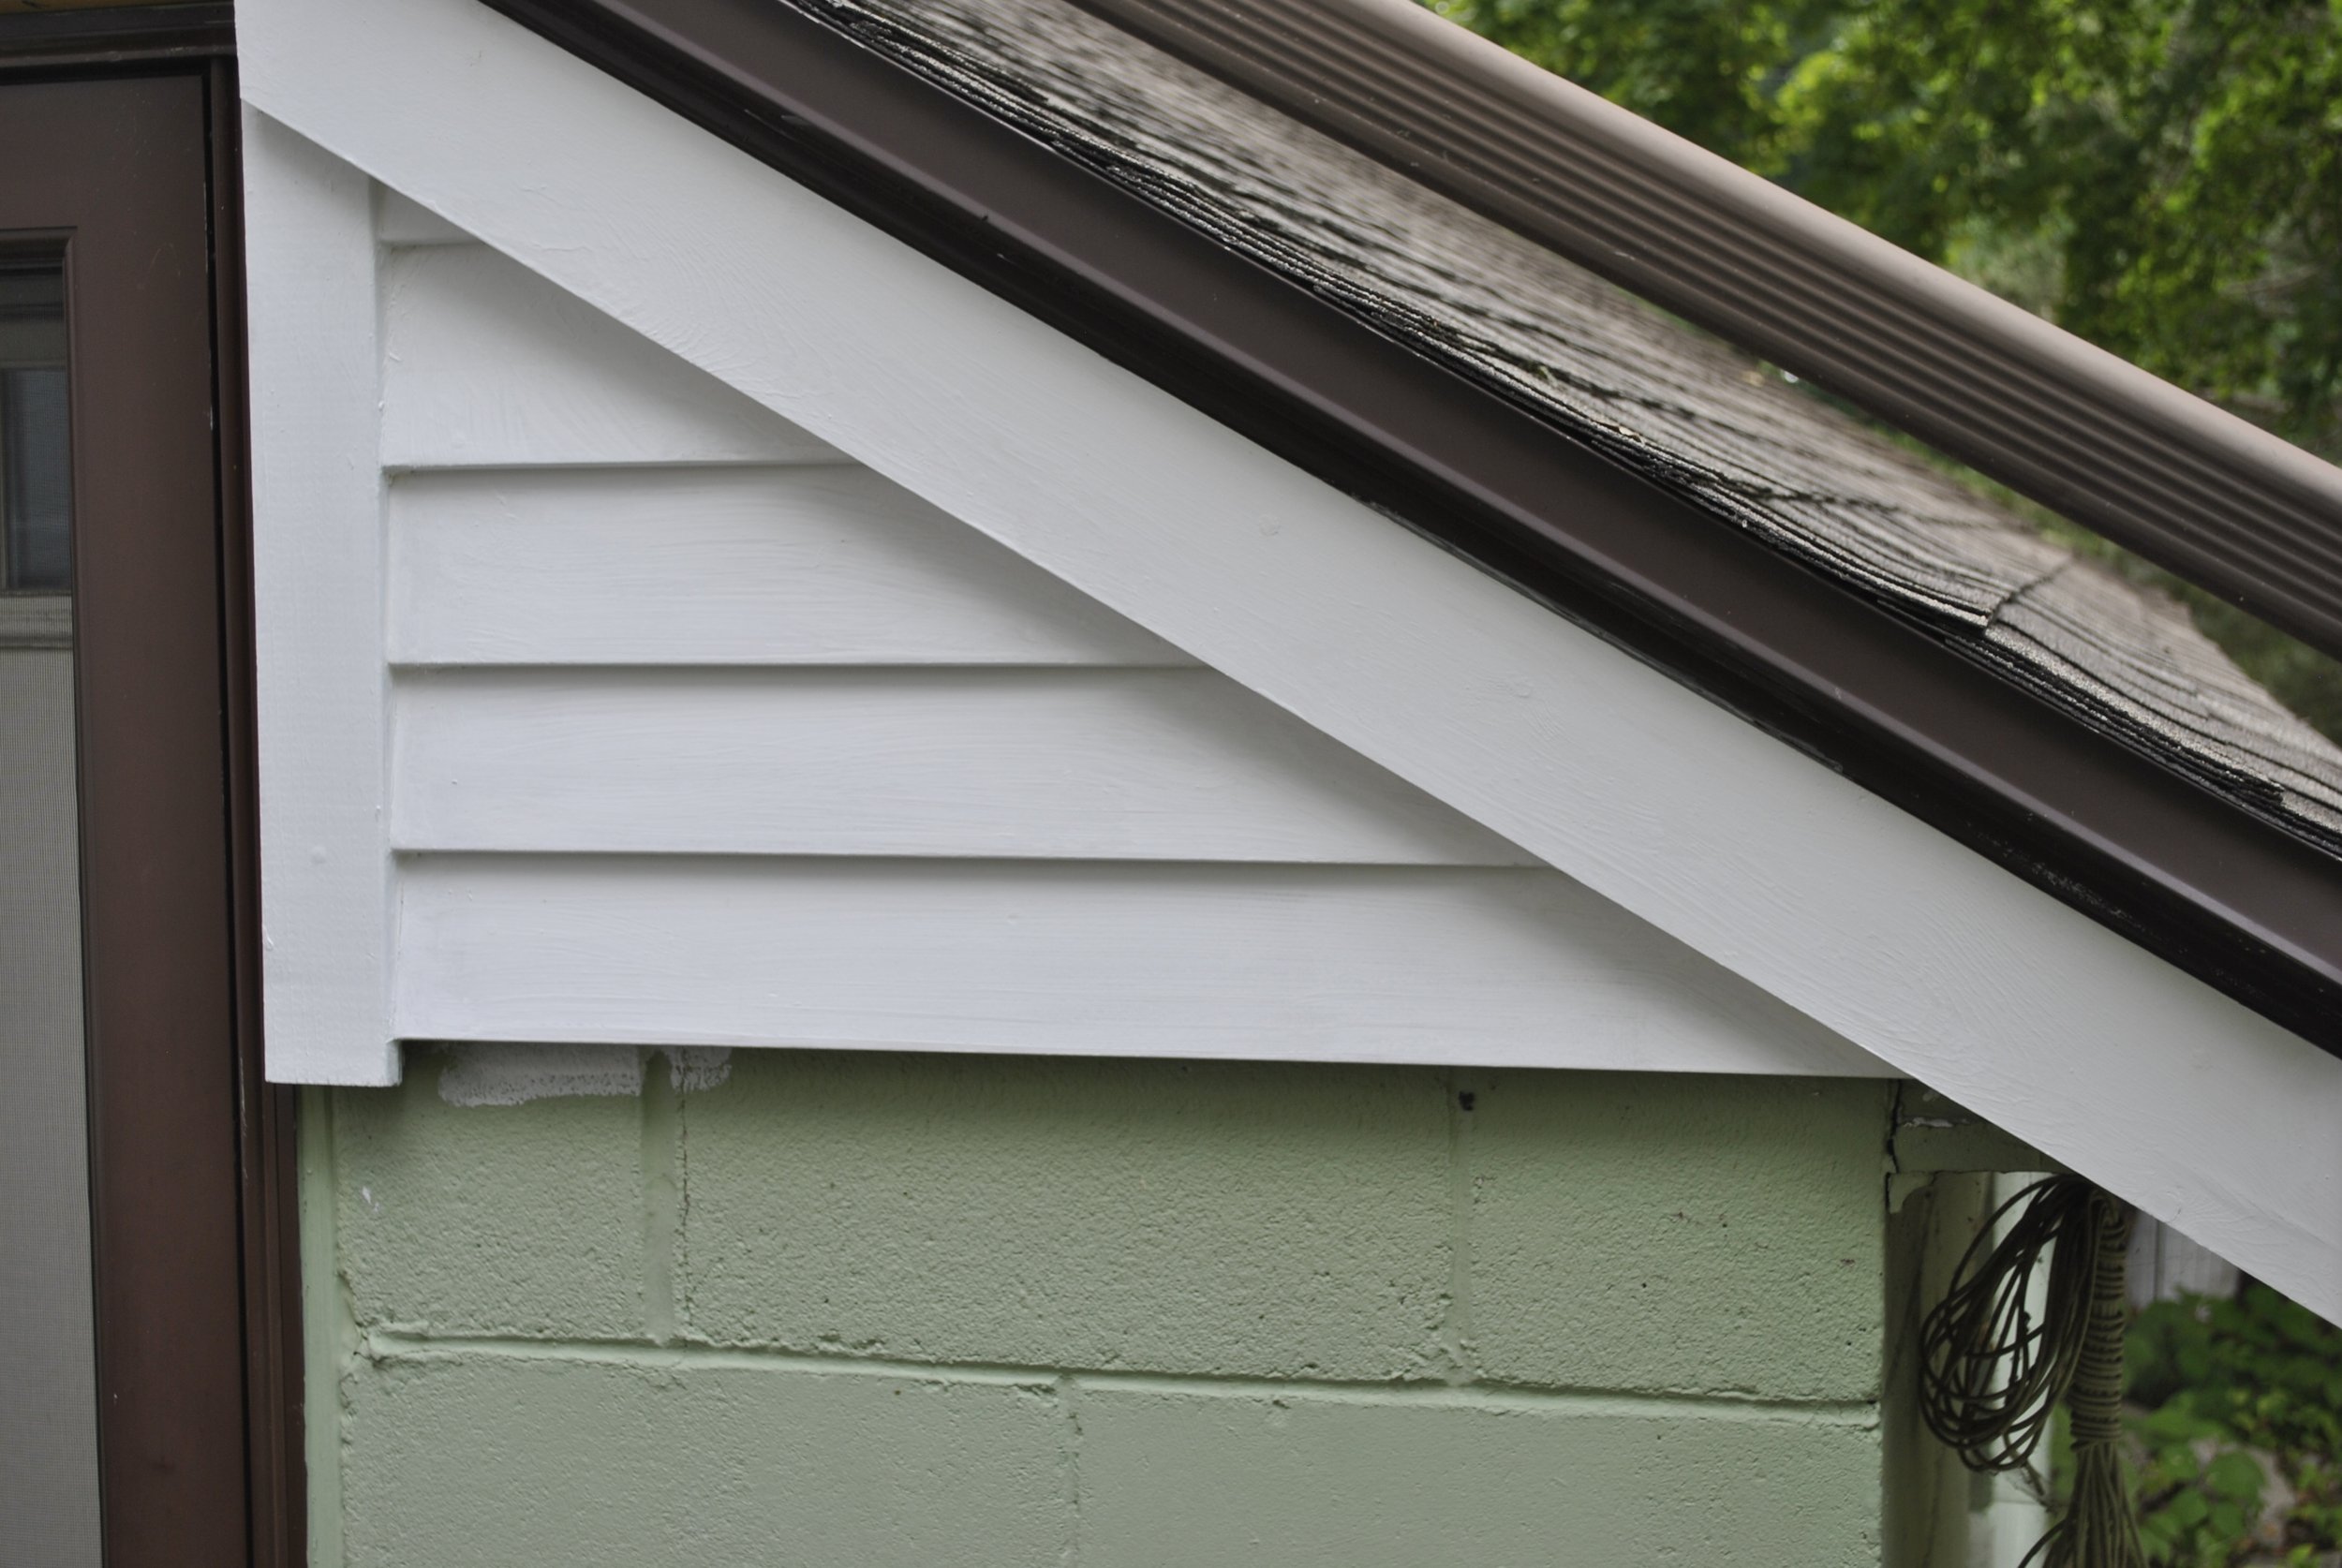
This was a wonderful customer who even four or five years after he sold is still a good reference. Over the four years of this ongoing restoration project, I tore out the old undersized and rotting drip edge. Drip edge is intended to shunt rainwater away from the foundation, however slightly. The original drip edge from the 1880s had been replaced variously with much smaller drip edge. This didn't provide the basic water dispersal element and detracted visually from this dramatic 3 1/2 story old farmhouse. This evidently was the farmhouse when this neighborhood was still farms. So as I conceptualized drip edge out of treated 2 x 6 instead of wimpy pine, it was clear that the new drip edge would celebrate the house not detract. With old house repairs there is always an element of Where Do You Start and Where Do You Stop? WDYSAWDYS. So eventually, all of the drip edge had to be replaced, as well as all the trim fascia below the drip edge. Some of the original siding was damaged and had to come off and be replaced as well. Some of the vertical corner trim similarly had to be replaced. I didn't include pictures of the damaged wood in each of the sections (front, west, east, north). If you look at all 40 pictures, you will see sufficient pictures of the rot I encountered everywhere. In another set of pictures, when I did two jobs for the present owners, I ended up replacing two massive windowsills of the two windows on the east side of the house as well as a small third hallway window on that wall as well. Those repairs are a separate item.
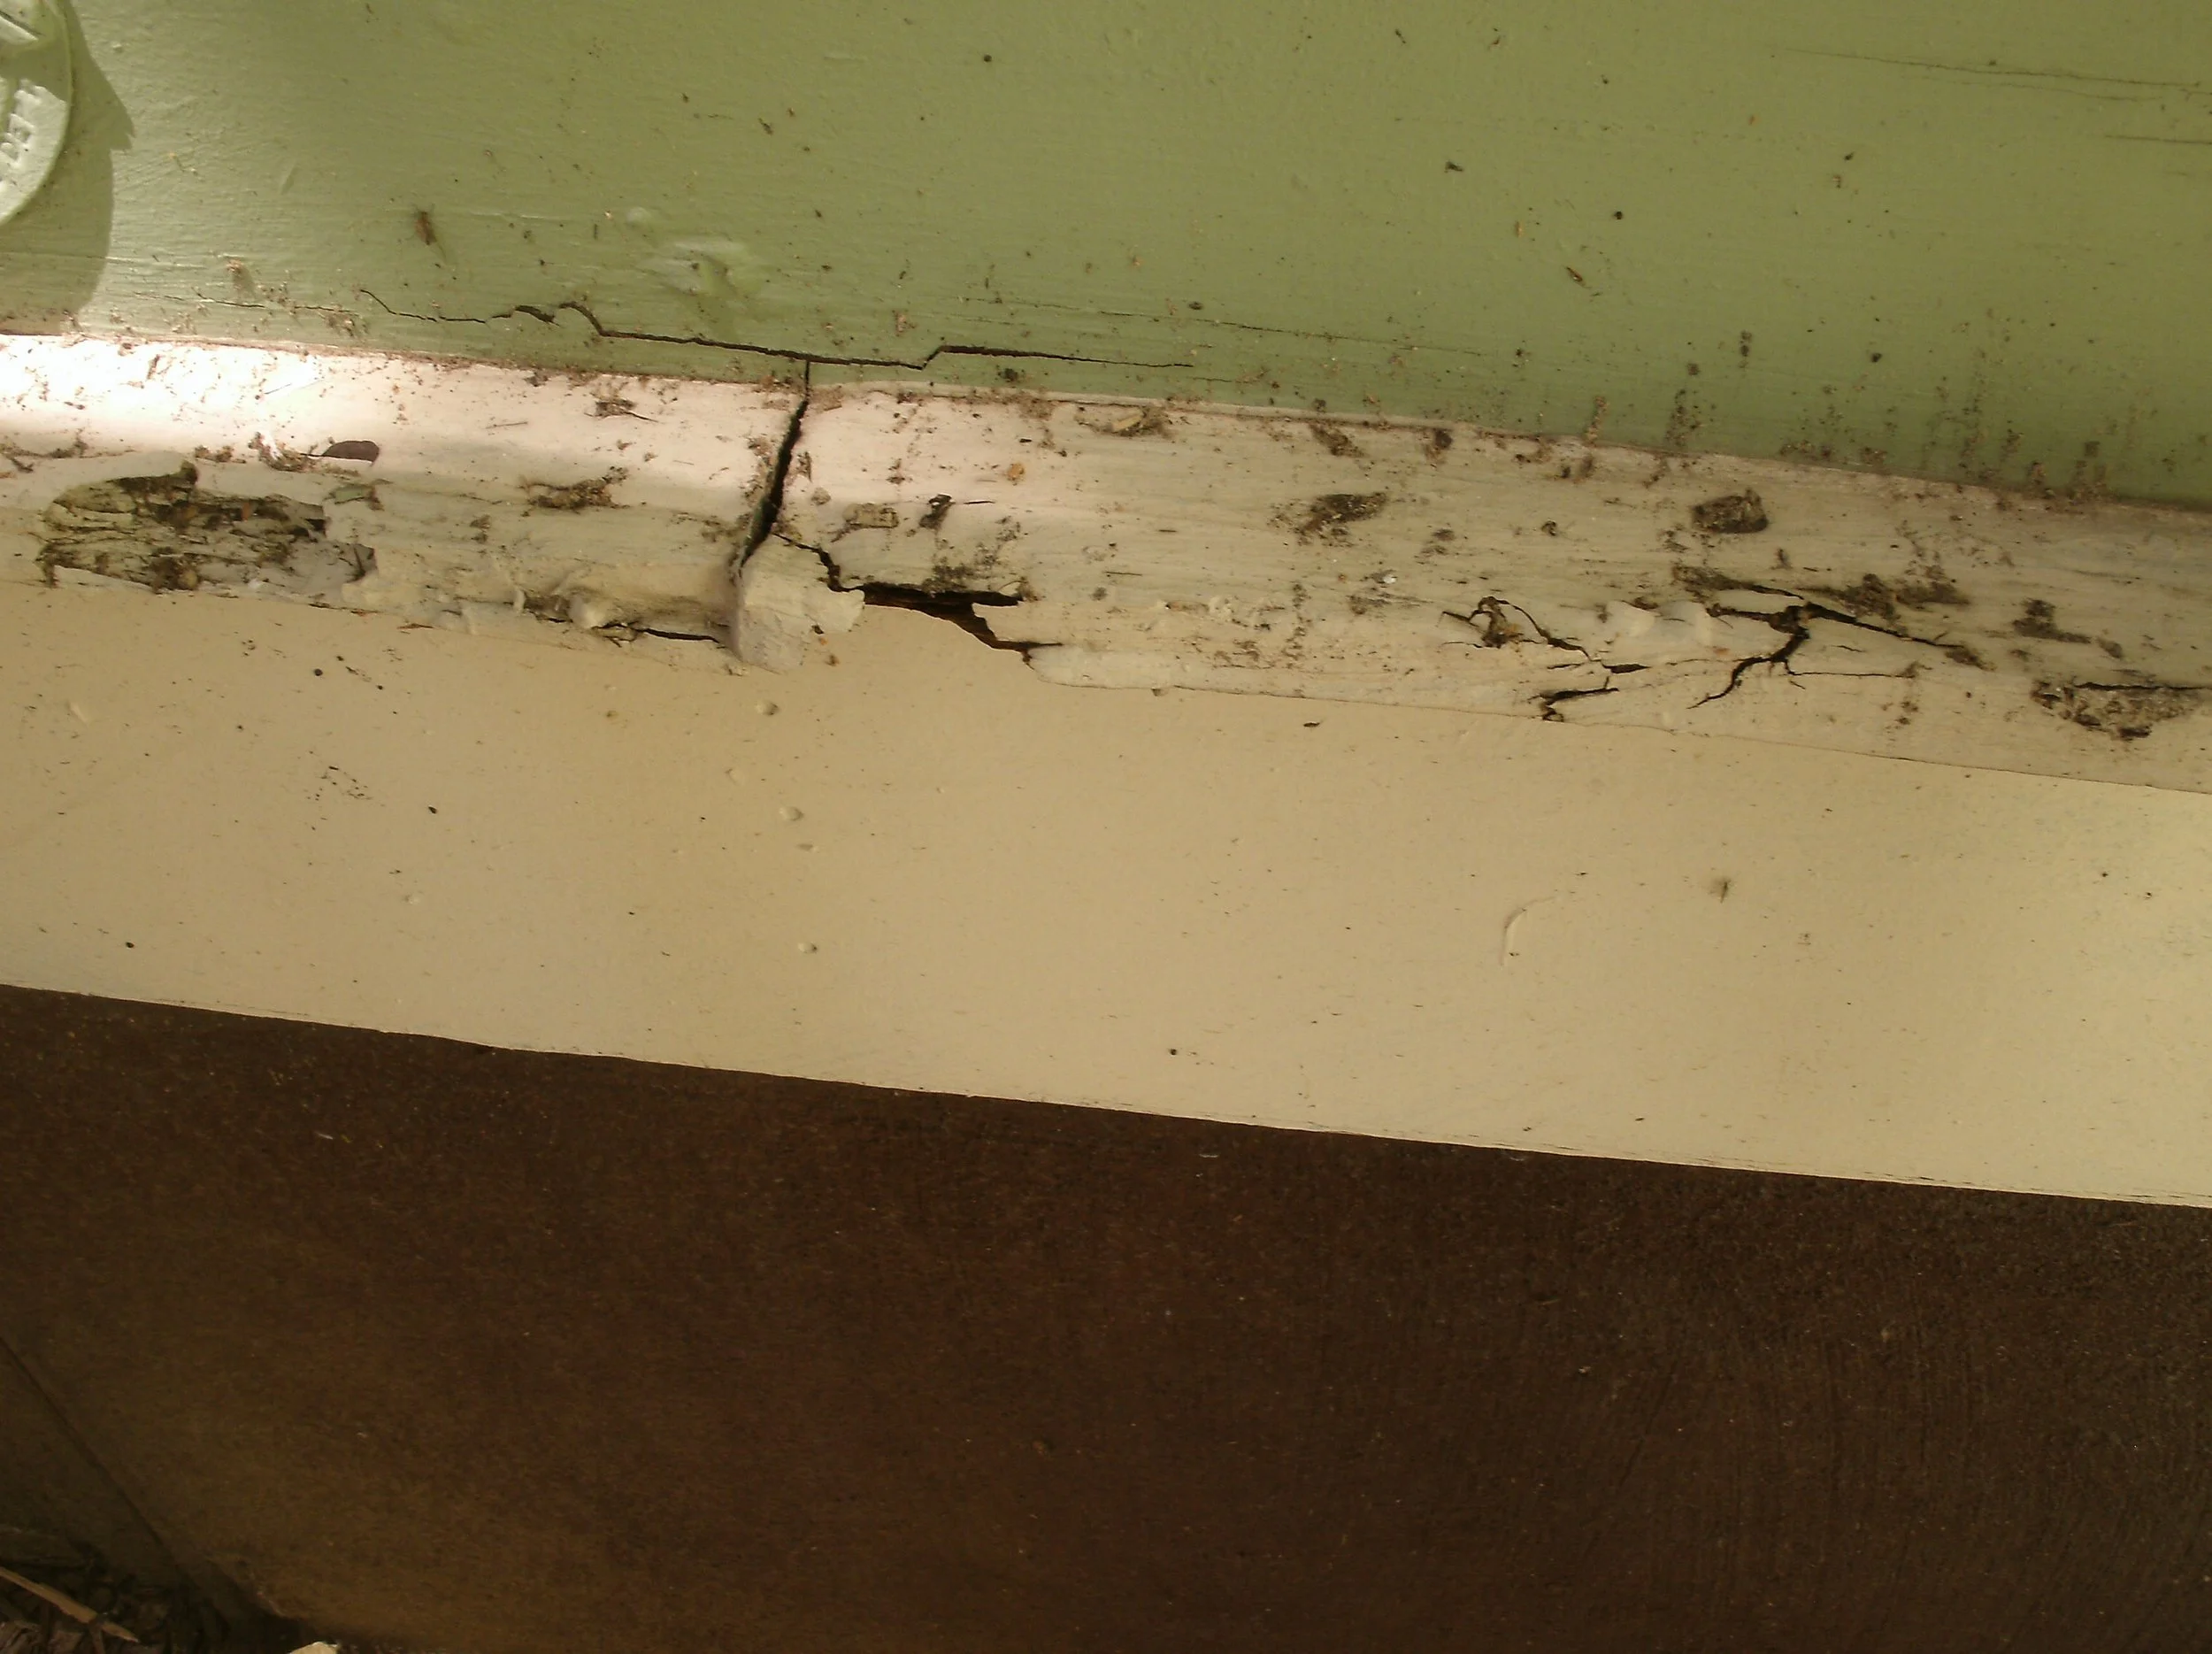
Close-up of a damaged wooden door frame with peeling white paint, cracks, and rot near green and beige walls.
Another view with most of the rotted wood removed.
This was the old, undersized drip edge that I removed and improved.
Sheathing restored, new generously sized drip edge begun, new trim below
Another view of the sheathing, drip edge, and trim installed.
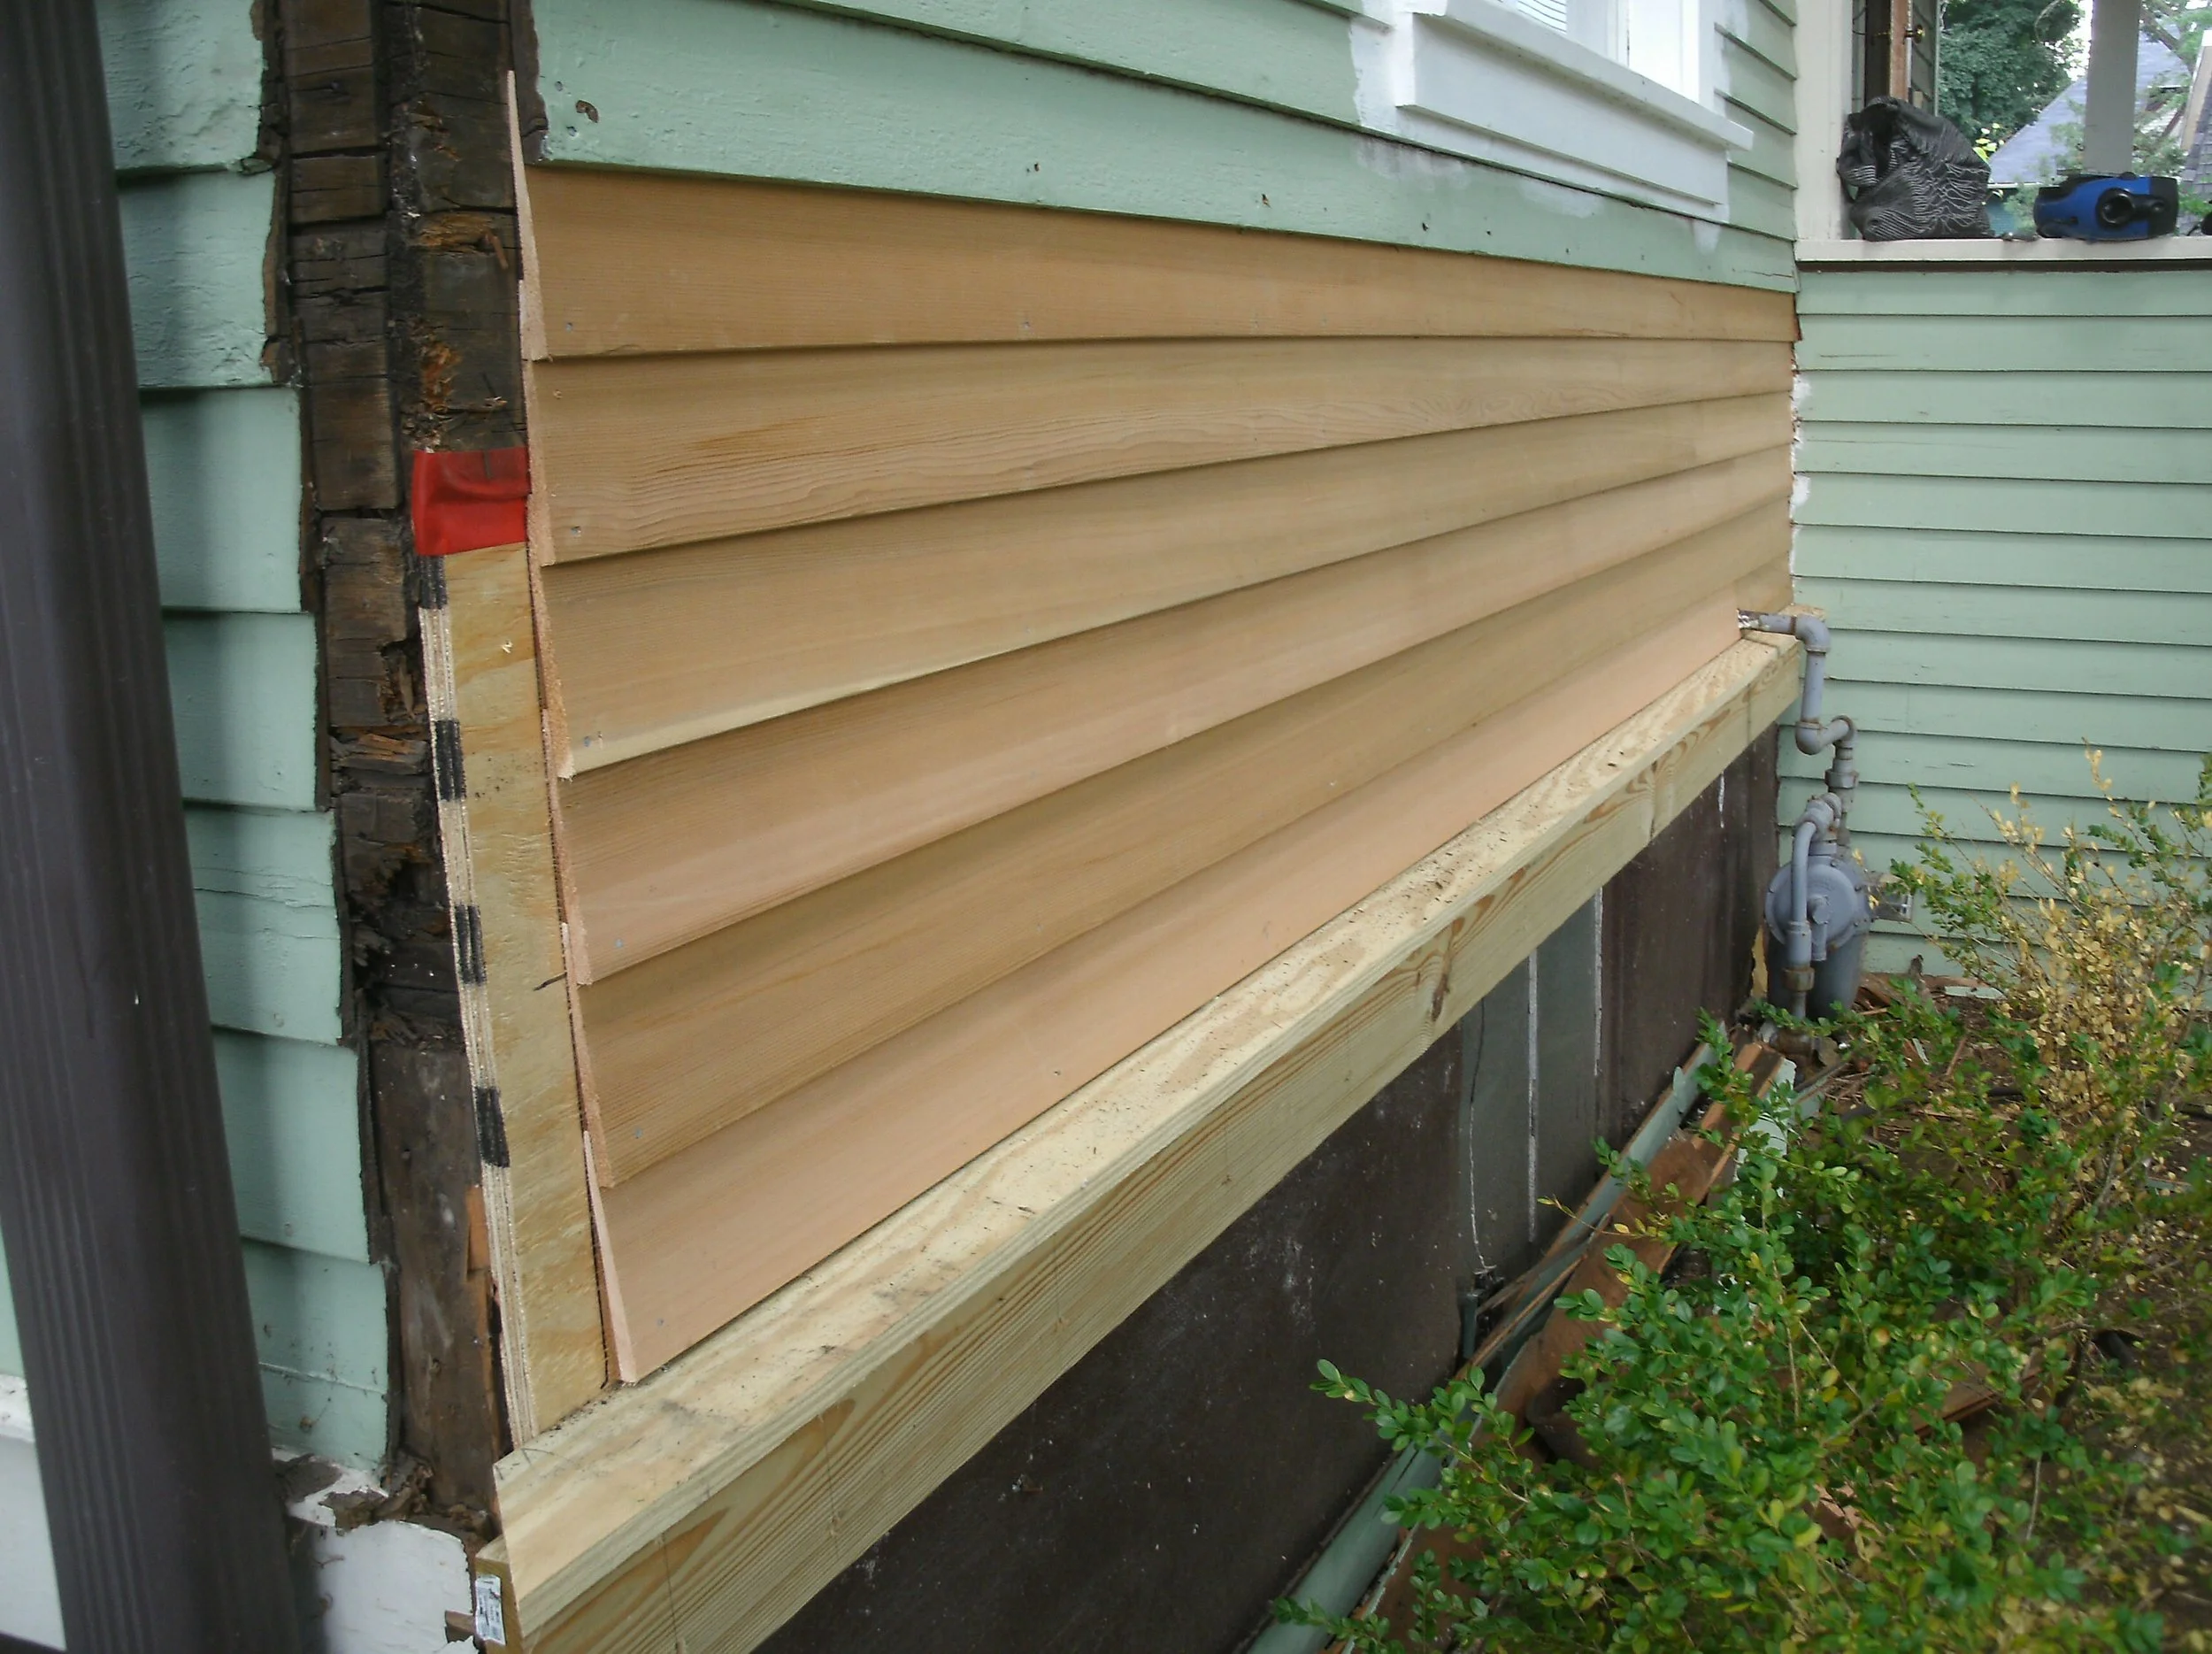
New cedar siding replacing damaged, original siding
All new wood, including window, trim, and two-part corner trim primed.
All new front window trim installed, caulked ready for priming
Full view of all the new wood installed and primed.
Detail of the drip edge installed and primed.
New window trim and siding replaced as necessary, primed and painted.
Detail of finished drip edge and window trim, primed and painted.
Full view of the entire front rebuild. And then painted the finished colors.
All primed wood (white) is new: sheathing, siding, drip edge, lower fascia.
Another view of all of the new cool (primed white) wood.
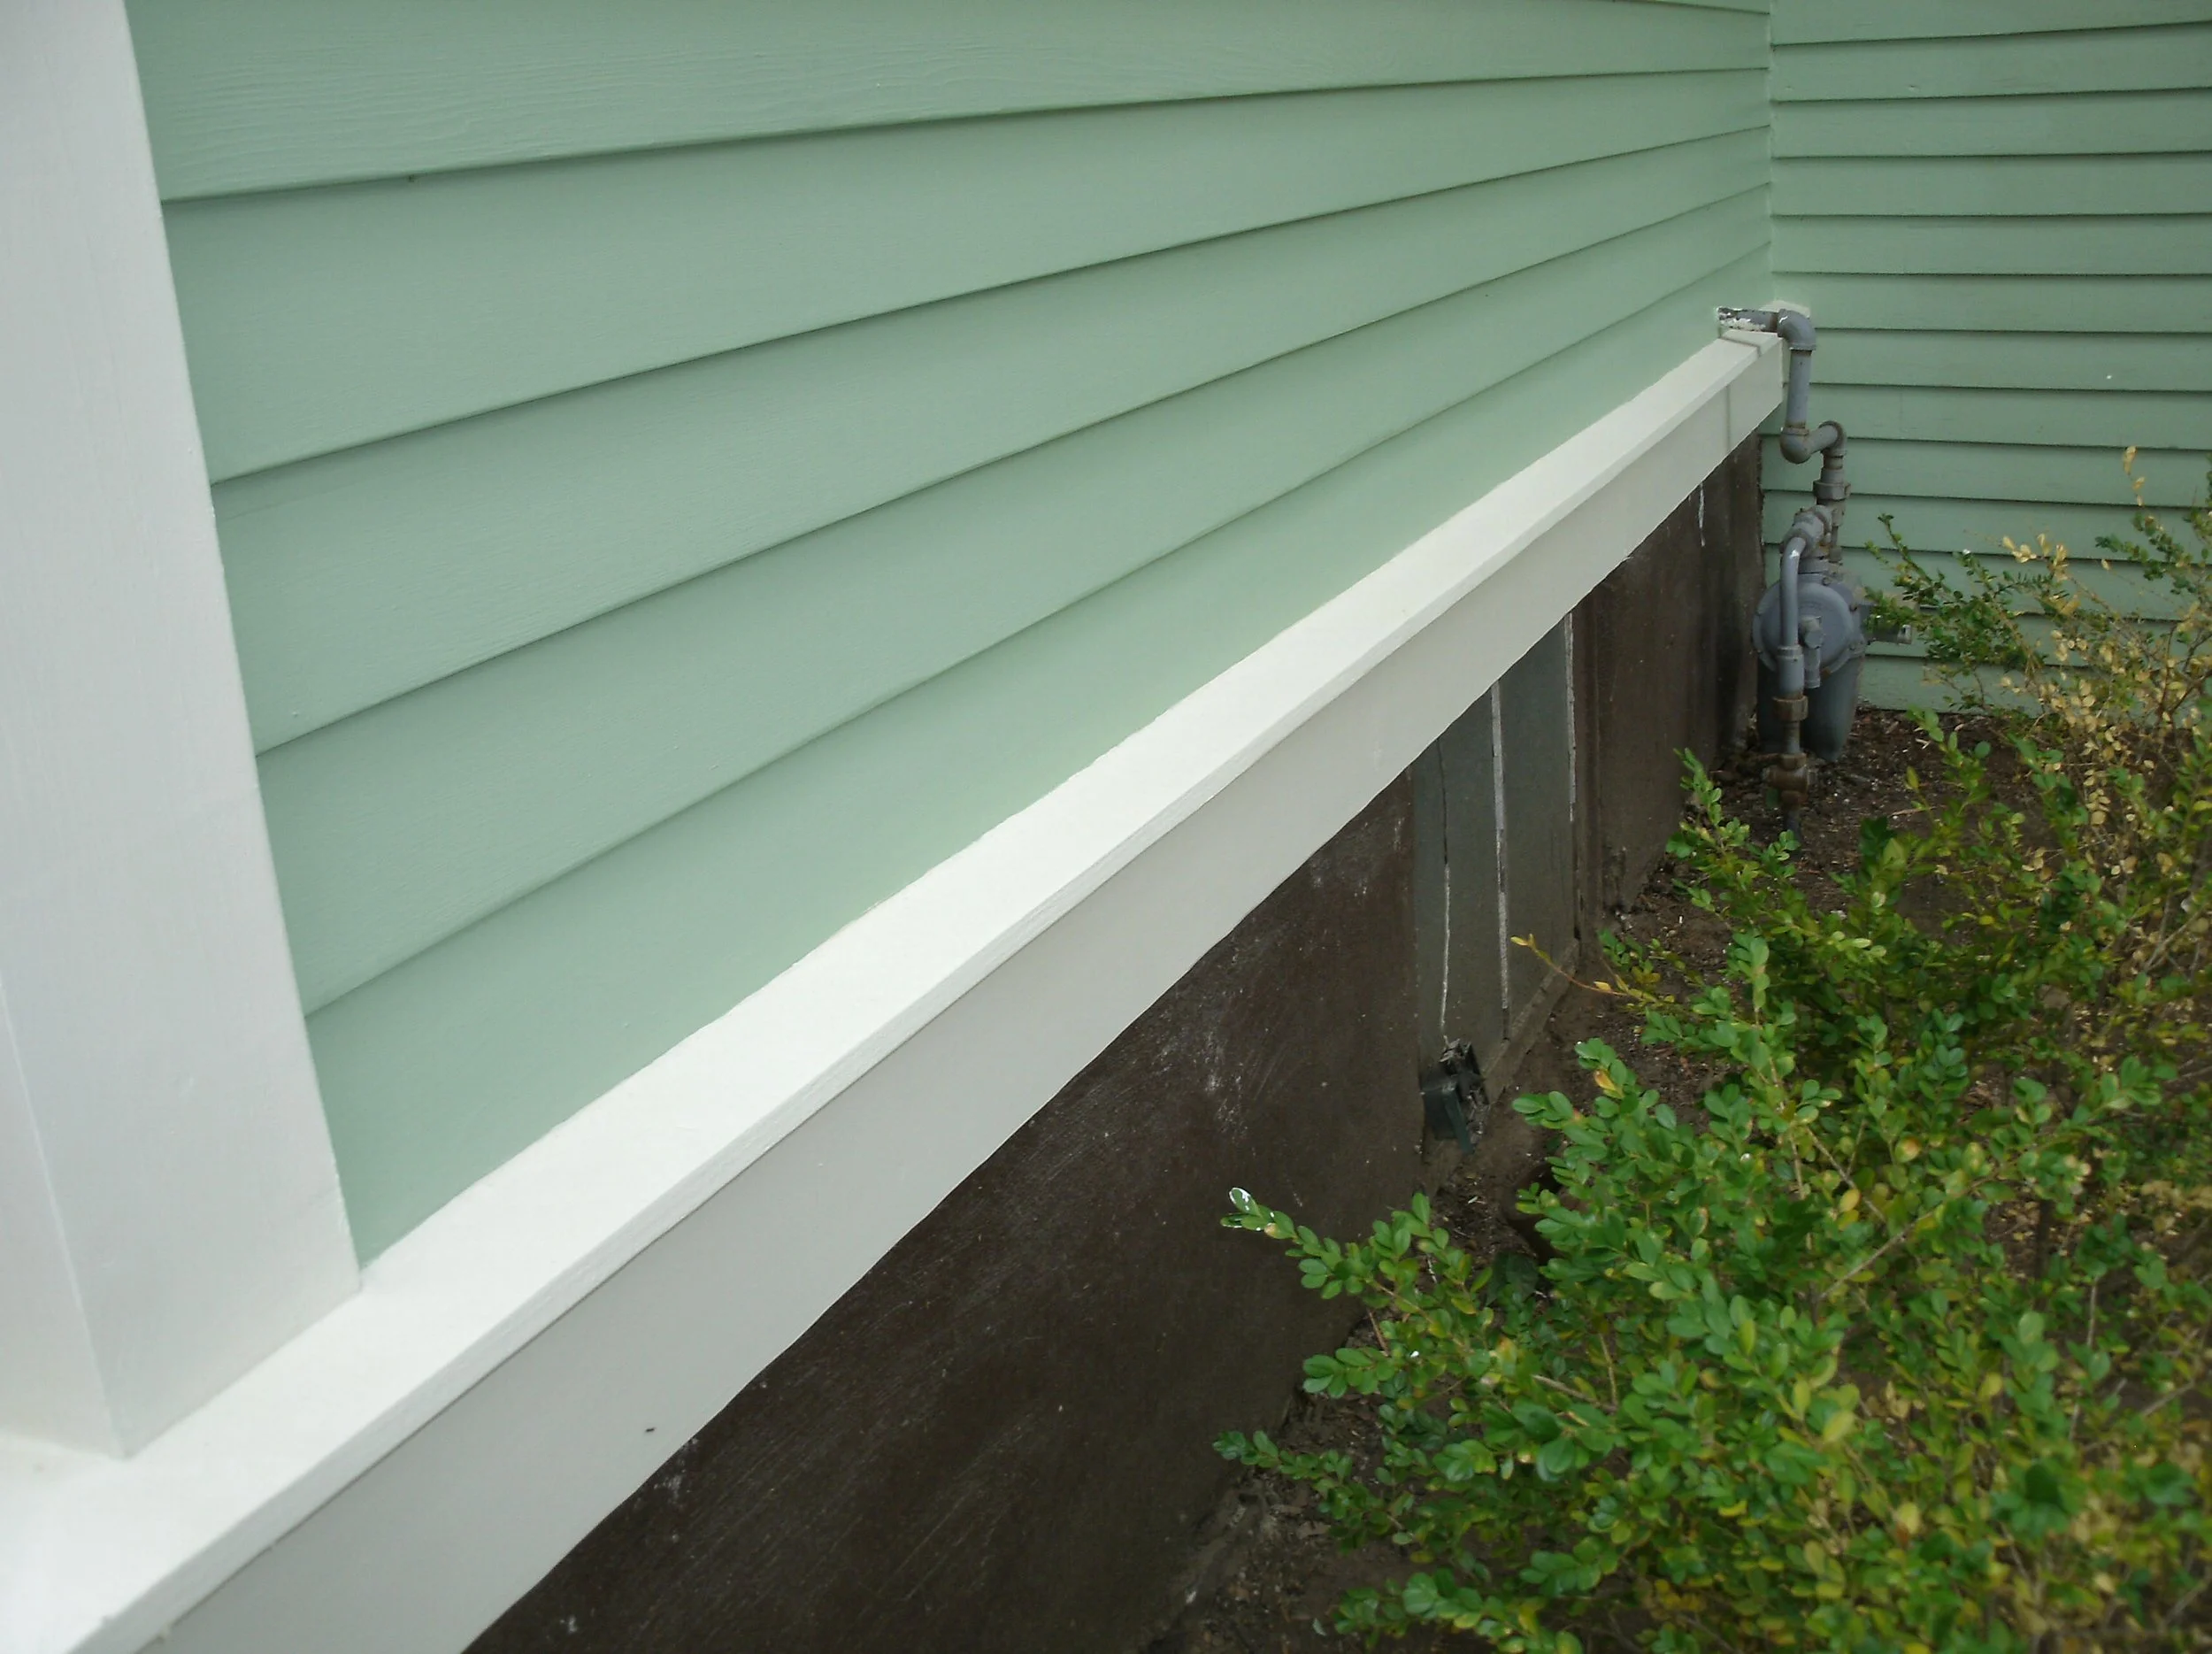
All new wood painted finish colors: green and white.
Close app of the beautiful new painted siding and drip edge.

Another few of the newly painted new wood.
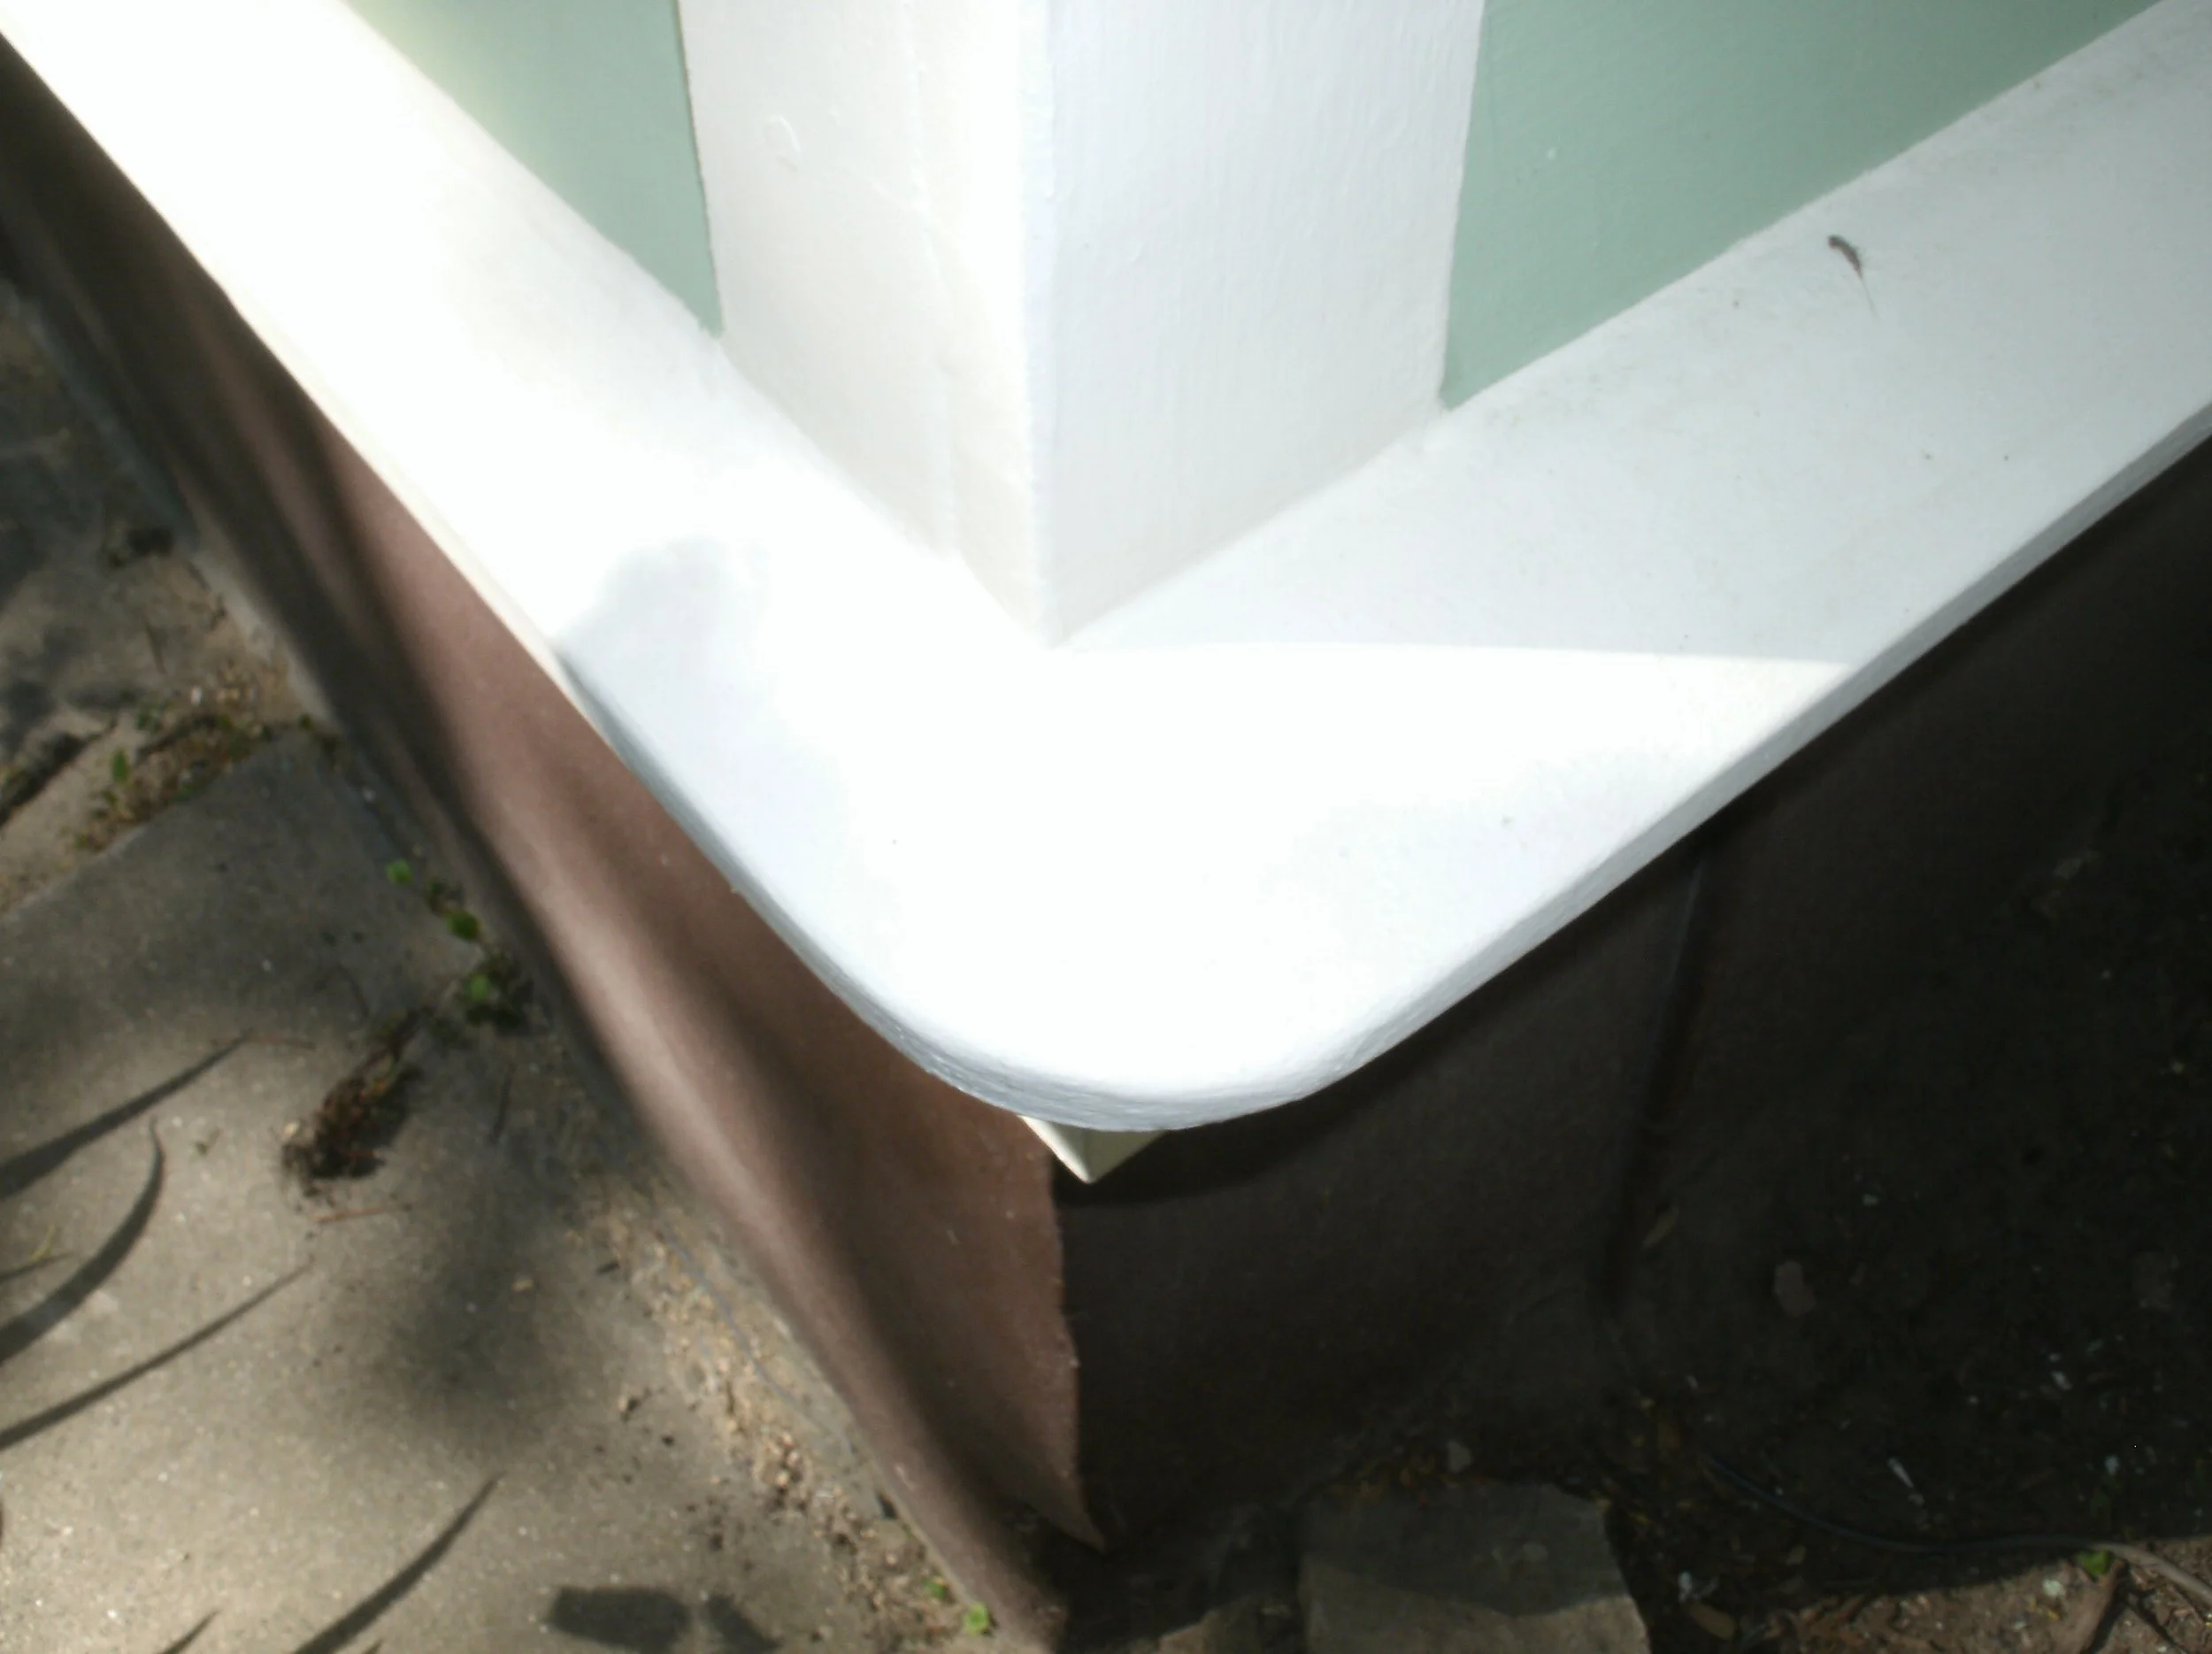
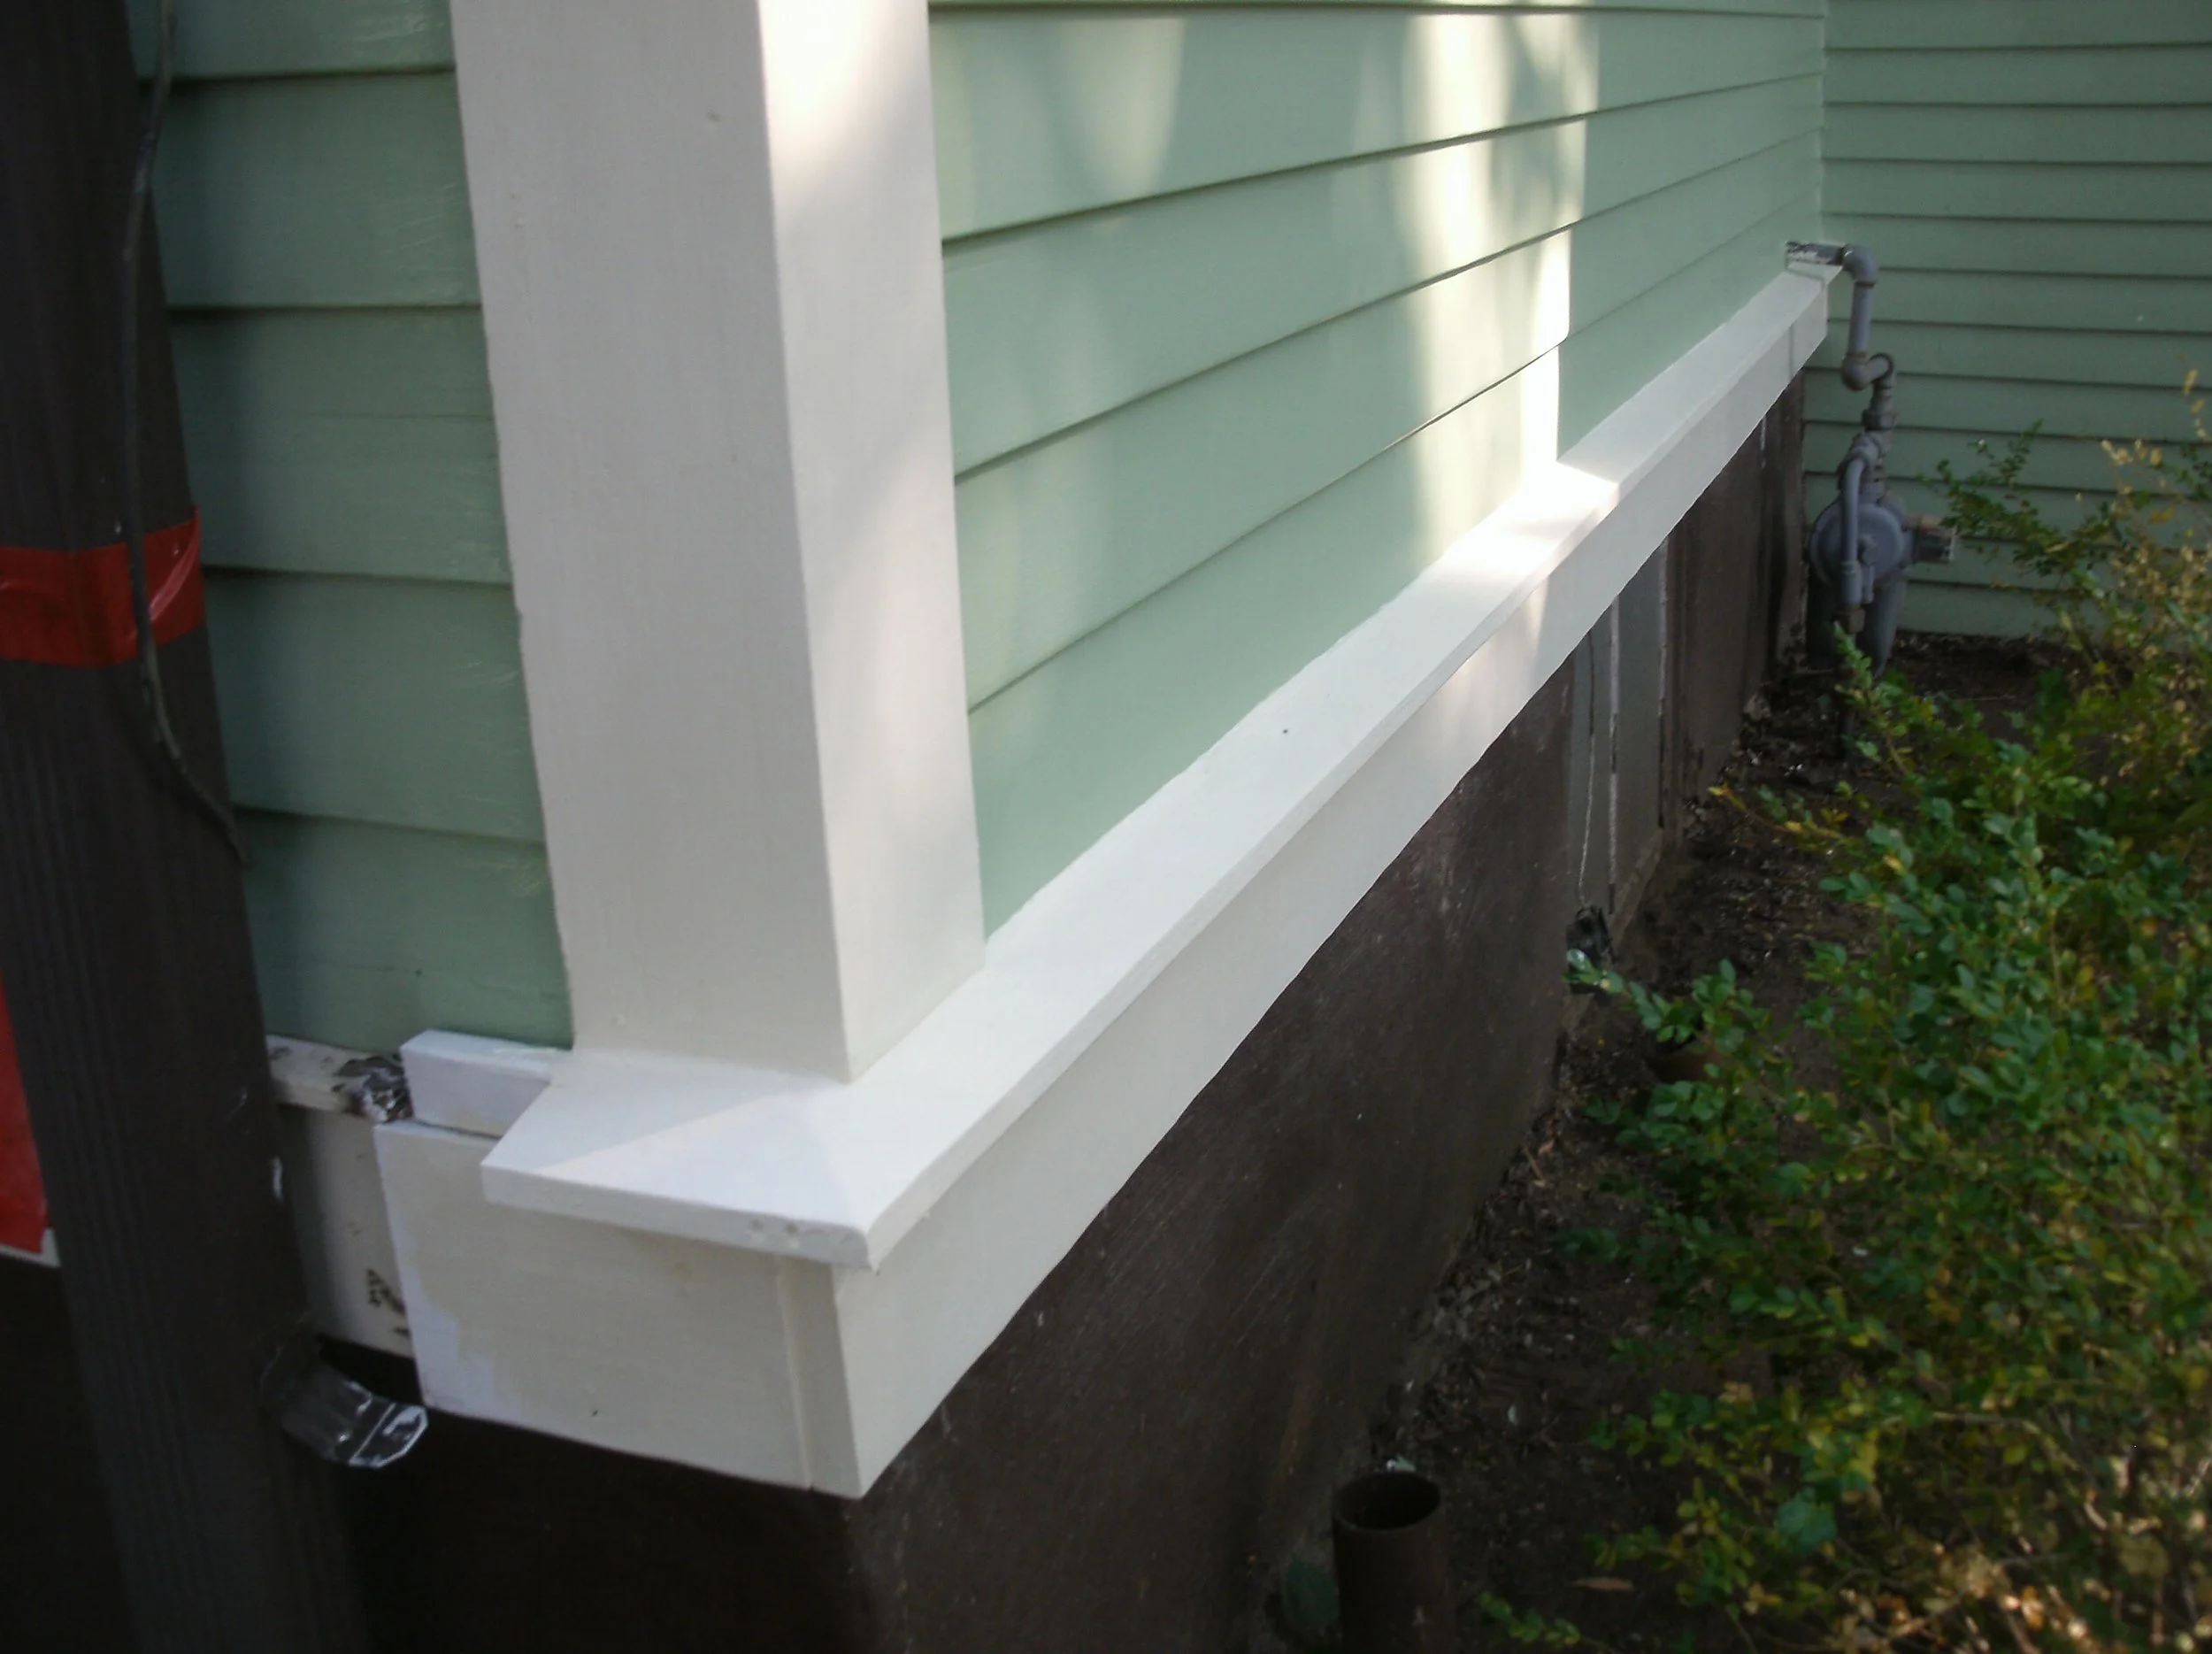
Drip edge corner rounded over to avoid injury adjacent to narrow walkway.
Rotted wood: facia, drip edge, siding, and vertical corner trim before removal
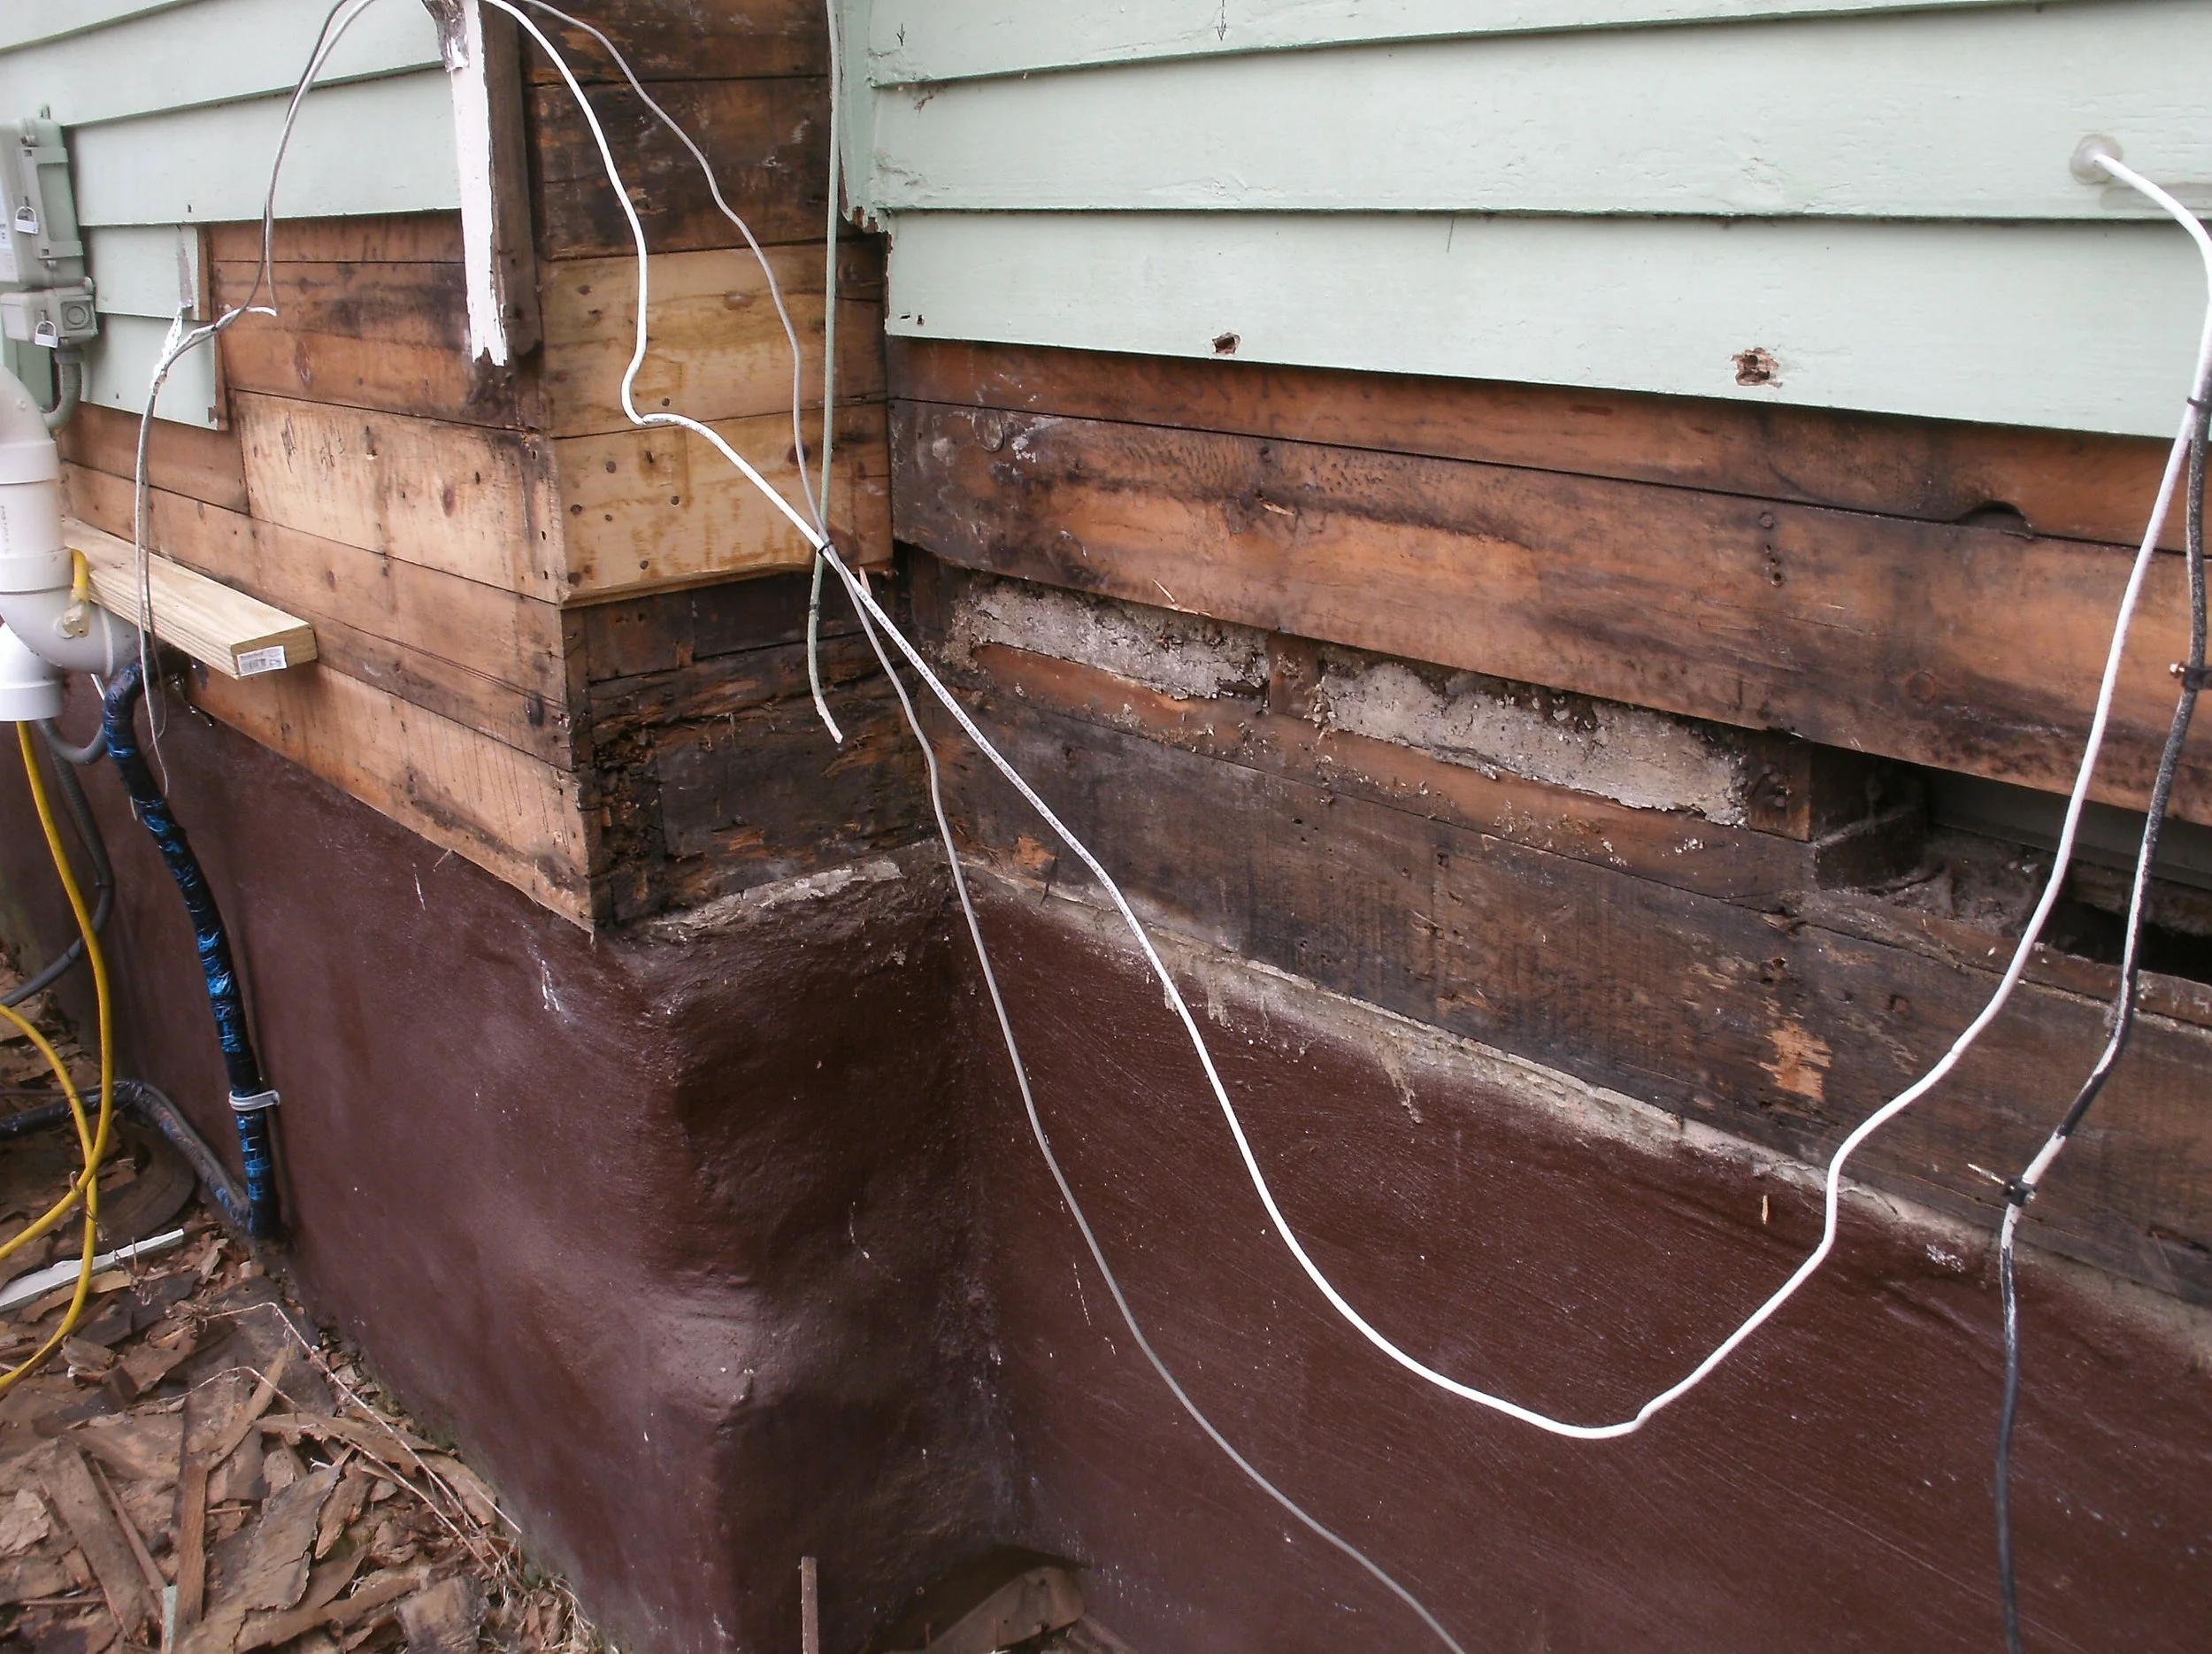
This was typical of the exposed rot and damage. Replaced insulation, sheathing.
Sheathing, sub – facia, and treated drip edge going in.
All new wood in: vertical trim, siding, drip edge, and facia, primed and painted.
Another view of the new wood primed and painted.
Detail of the corner with all new wood, primed and painted.
The same corner detail with view with more elevation.
Finished view of wall wood: siding, drip edge, facia under drip edge painted
Typical of the rot I replaced. Structural members and drip edge, facia, etc.
View of the rotted wood under the rear entry mudroom.
Rotted wood replaced under door, facia, siding, vertical corner trim. All primed.
All the new wood flanking the rear storm door and adjacent drip edge. Primed.
Close up of the new siding and trim.
Another view of the new wood next to and under the storm door.
Close up of the replacement wood beneath and on both sides of the storm door.
Detail of the right side of the trim and siding next to the storm door
Another View of the new wood primed.
All new wood, painted green and white.
New wood painted.
All new wood painted.
The beautiful corner restored and painted!
Carpenter St. Exterior
This was a rather massive rebuild. The customers bought what they thought was a home with a new roof. Over several years, they realized that there was leaking going on which was causing plaster to crumble off. Eventually, we figured out that the roof had an insufficient drip edge, and that when the house had been resided with aluminum siding, probably in the 60s they put the siding over the original cedar siding which bumped the plane of the wall out and created the perfect place for seepage and eventual leakage to occur. The task was to tear off all the aluminum siding on this one wall of the house and then evaluate the condition beneath. I tore it off and then came to see that much of the cedar siding had been compromised and in fact the sheathing and insulation was compromised in multiple spots. So I removed all the cedar siding as well. And then repaired sheathing as necessary first replacing insulation.
And then replaced the two old pairs of windows on the first floor and on the second floor. On the first floor leading out of the living room there was a pair of old aluminum patio doors. These leaked some water and definitely air in colder months. They never used the doors so it made sense to remove them. I replaced them with three lovely antique windows I purchased from DeConstruction, Inc. a local source of older housing “ephemera” i.e. trim, windows, doors, hardware, and assorted wonderful miscellany. I have found items that I and customers didn't know they desperately needed and modified plans to use them. In this case, the three small windows were perfect. I created an opening for them and installed them. I sided this entire quarter of the house with cedar siding and trimmed all the windows. I painted all new wood.
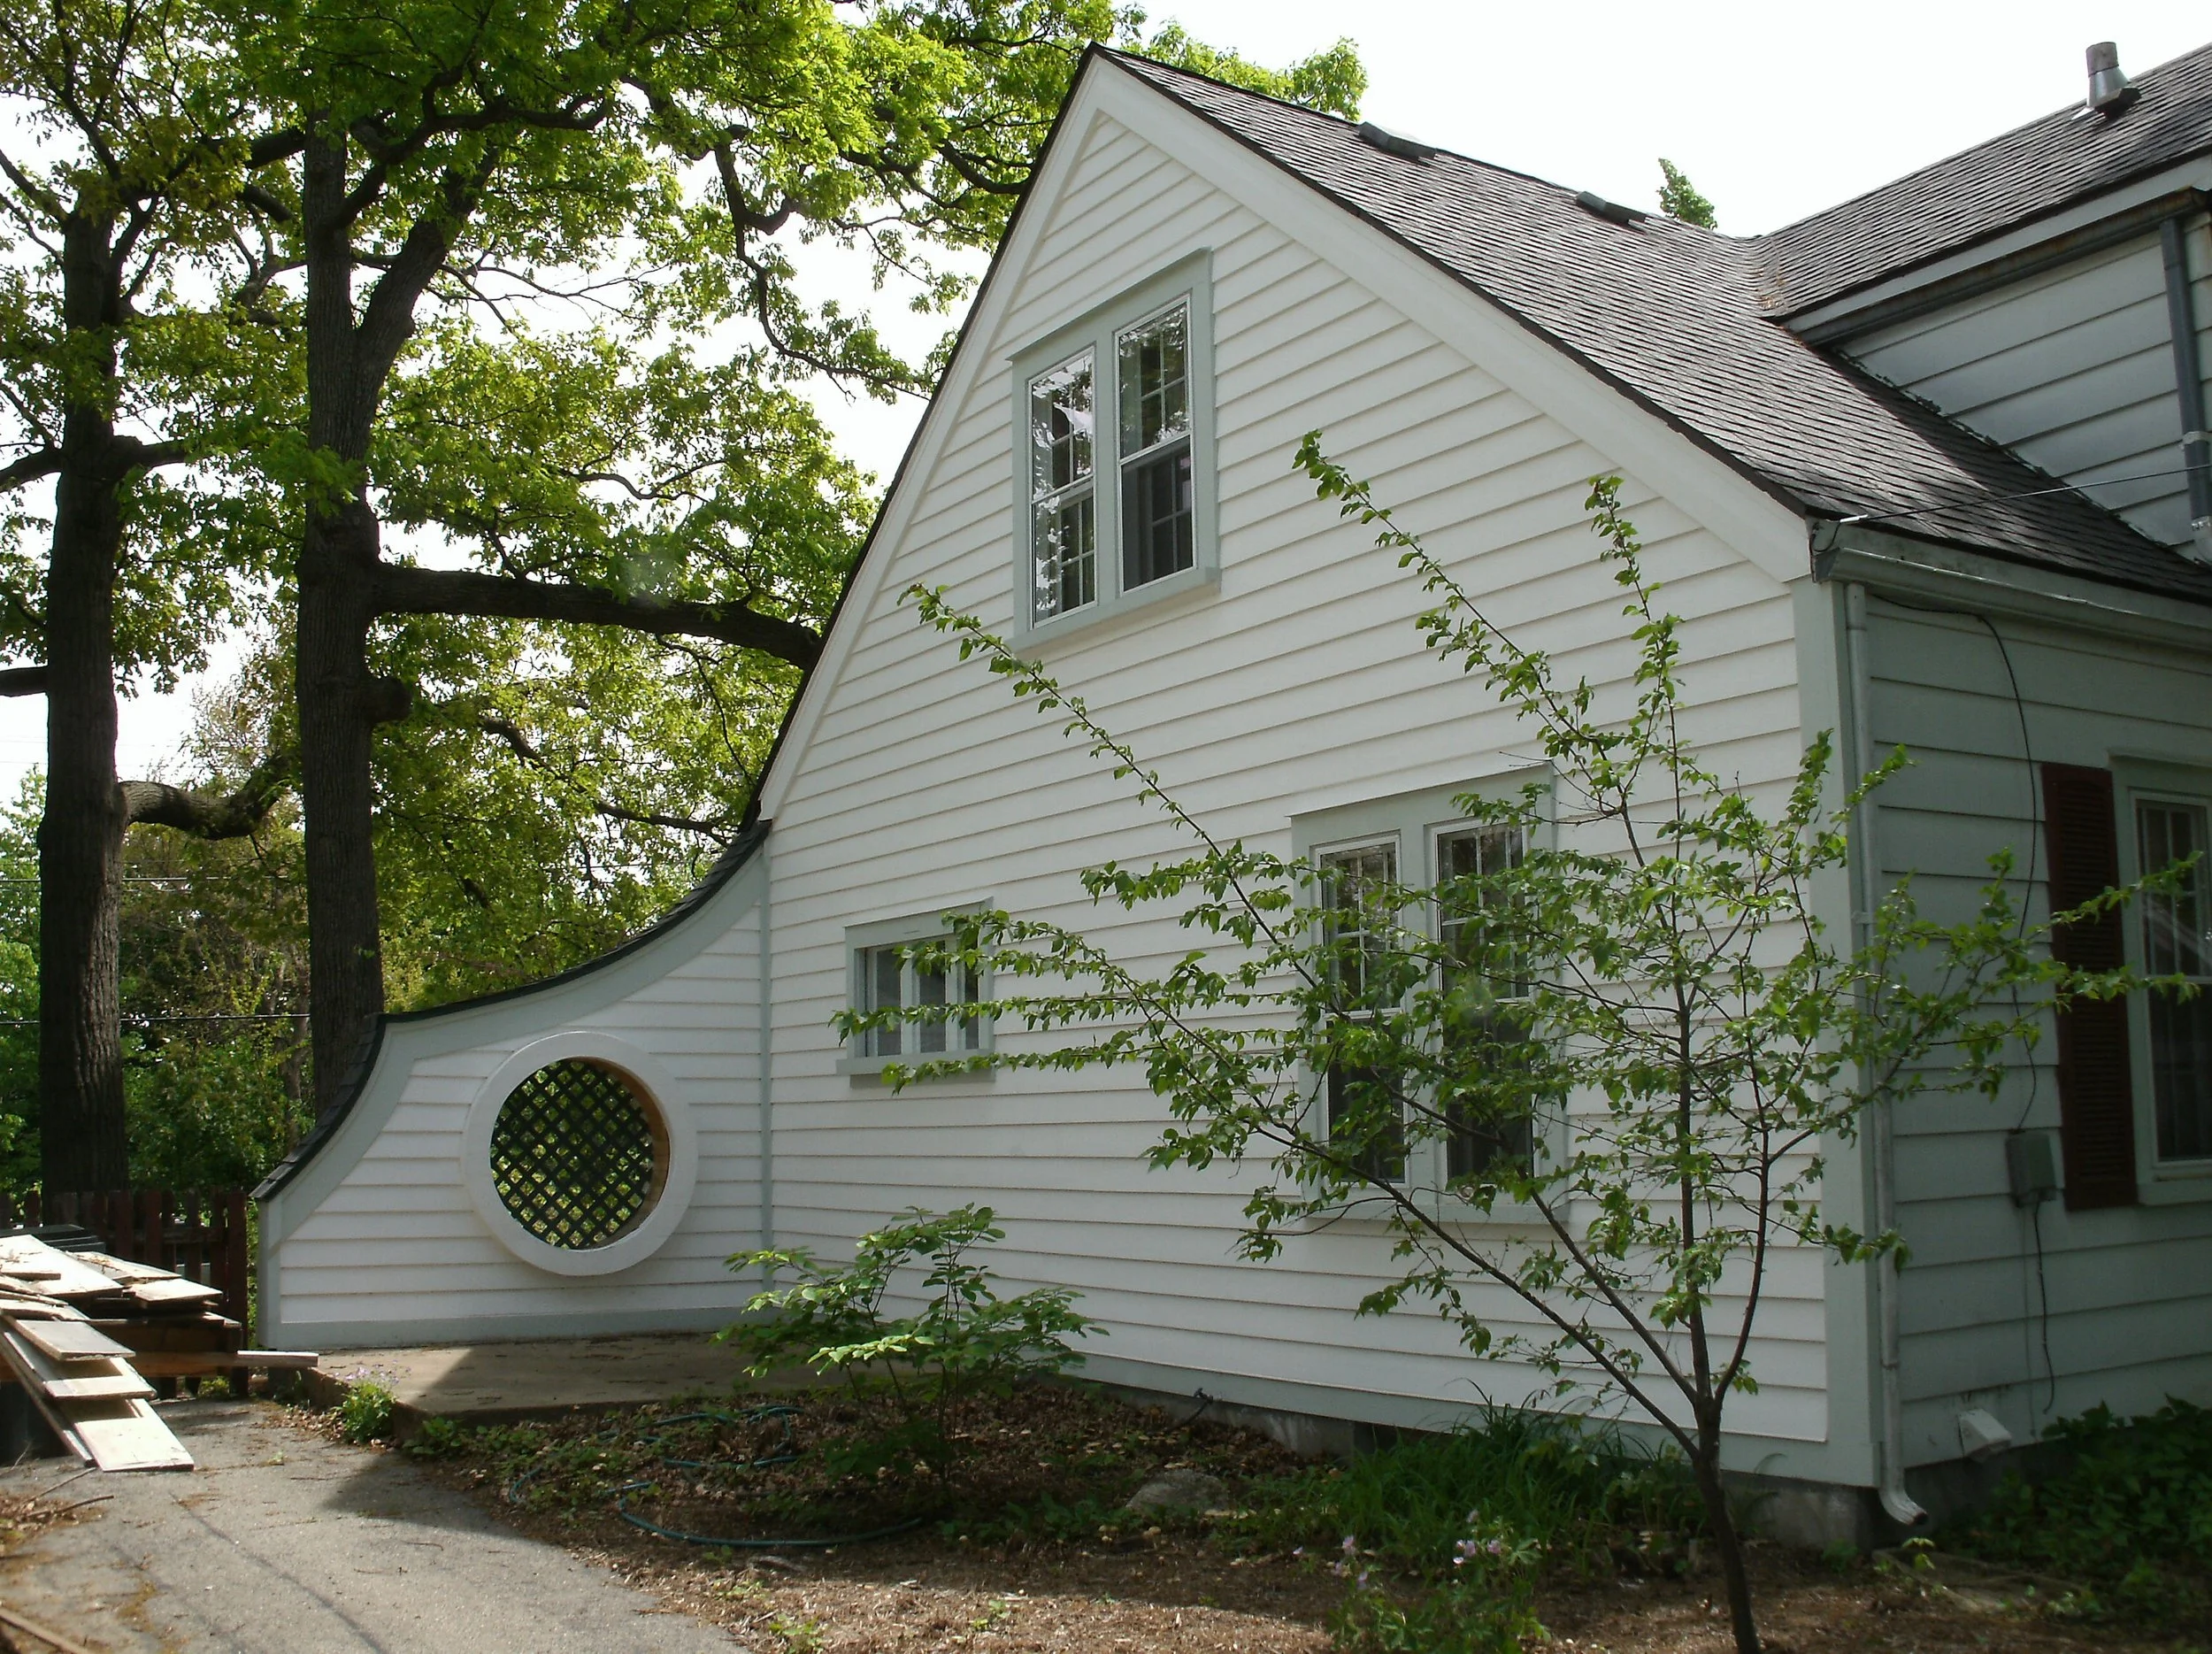
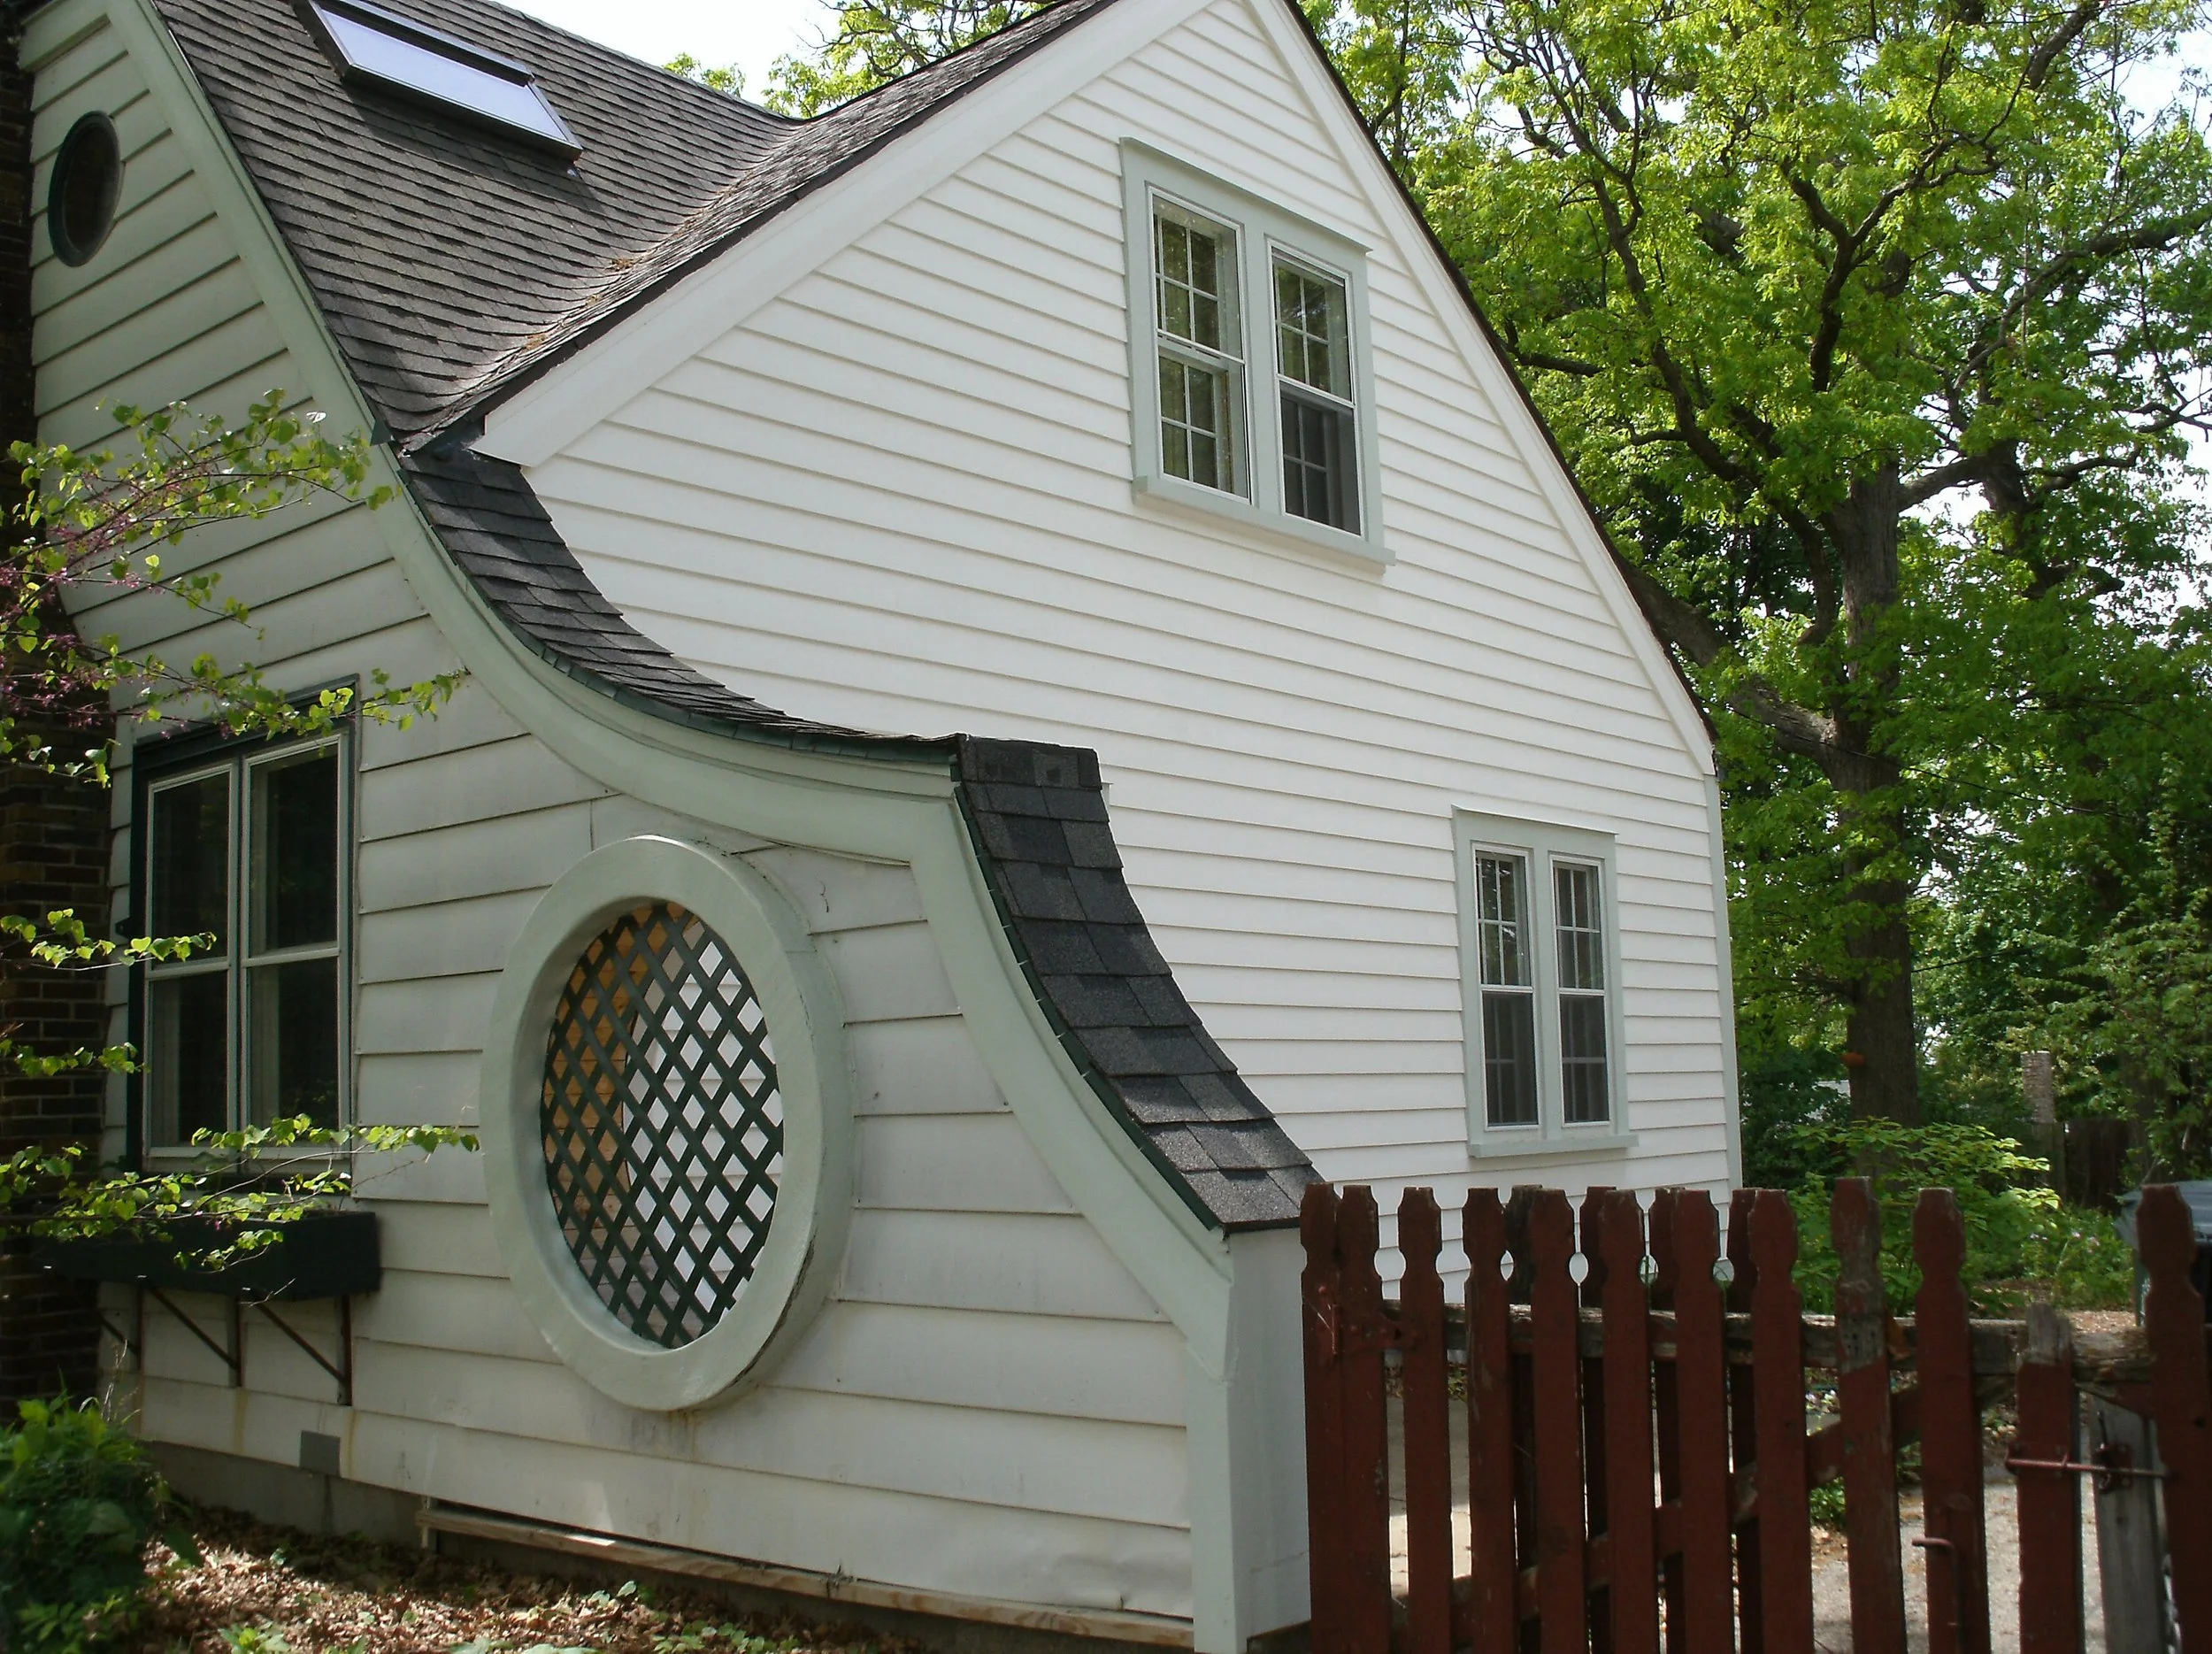
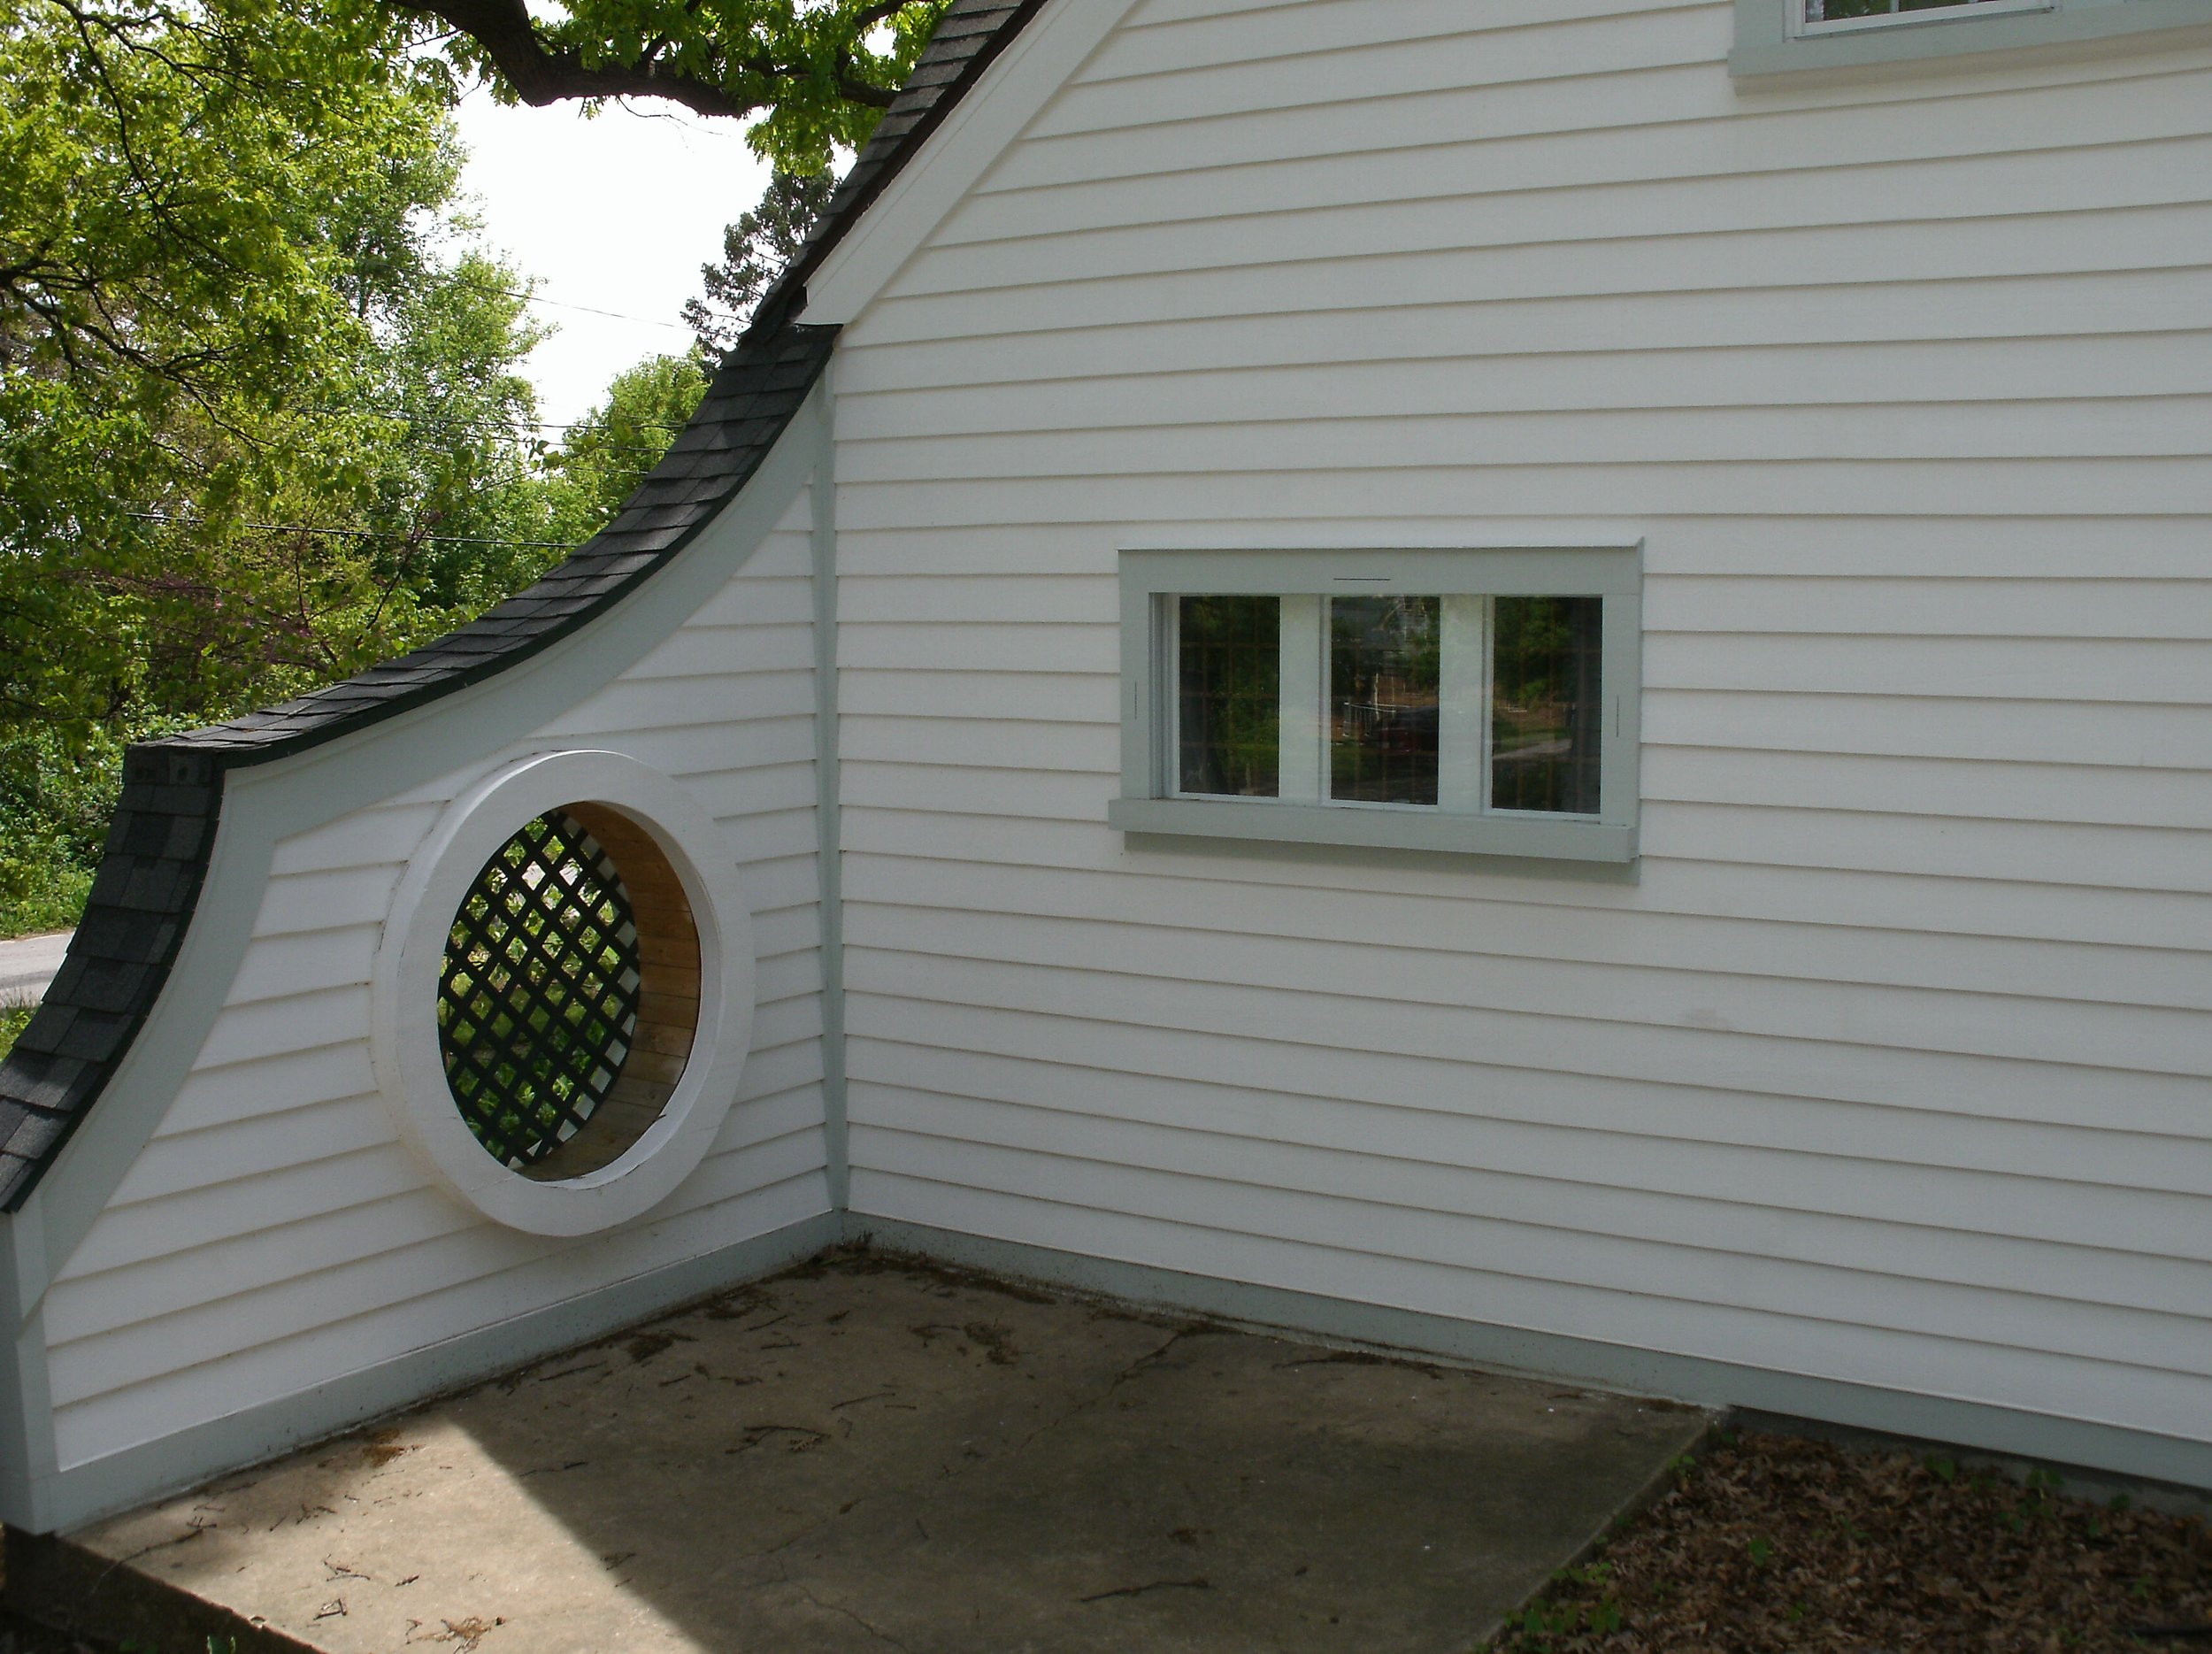
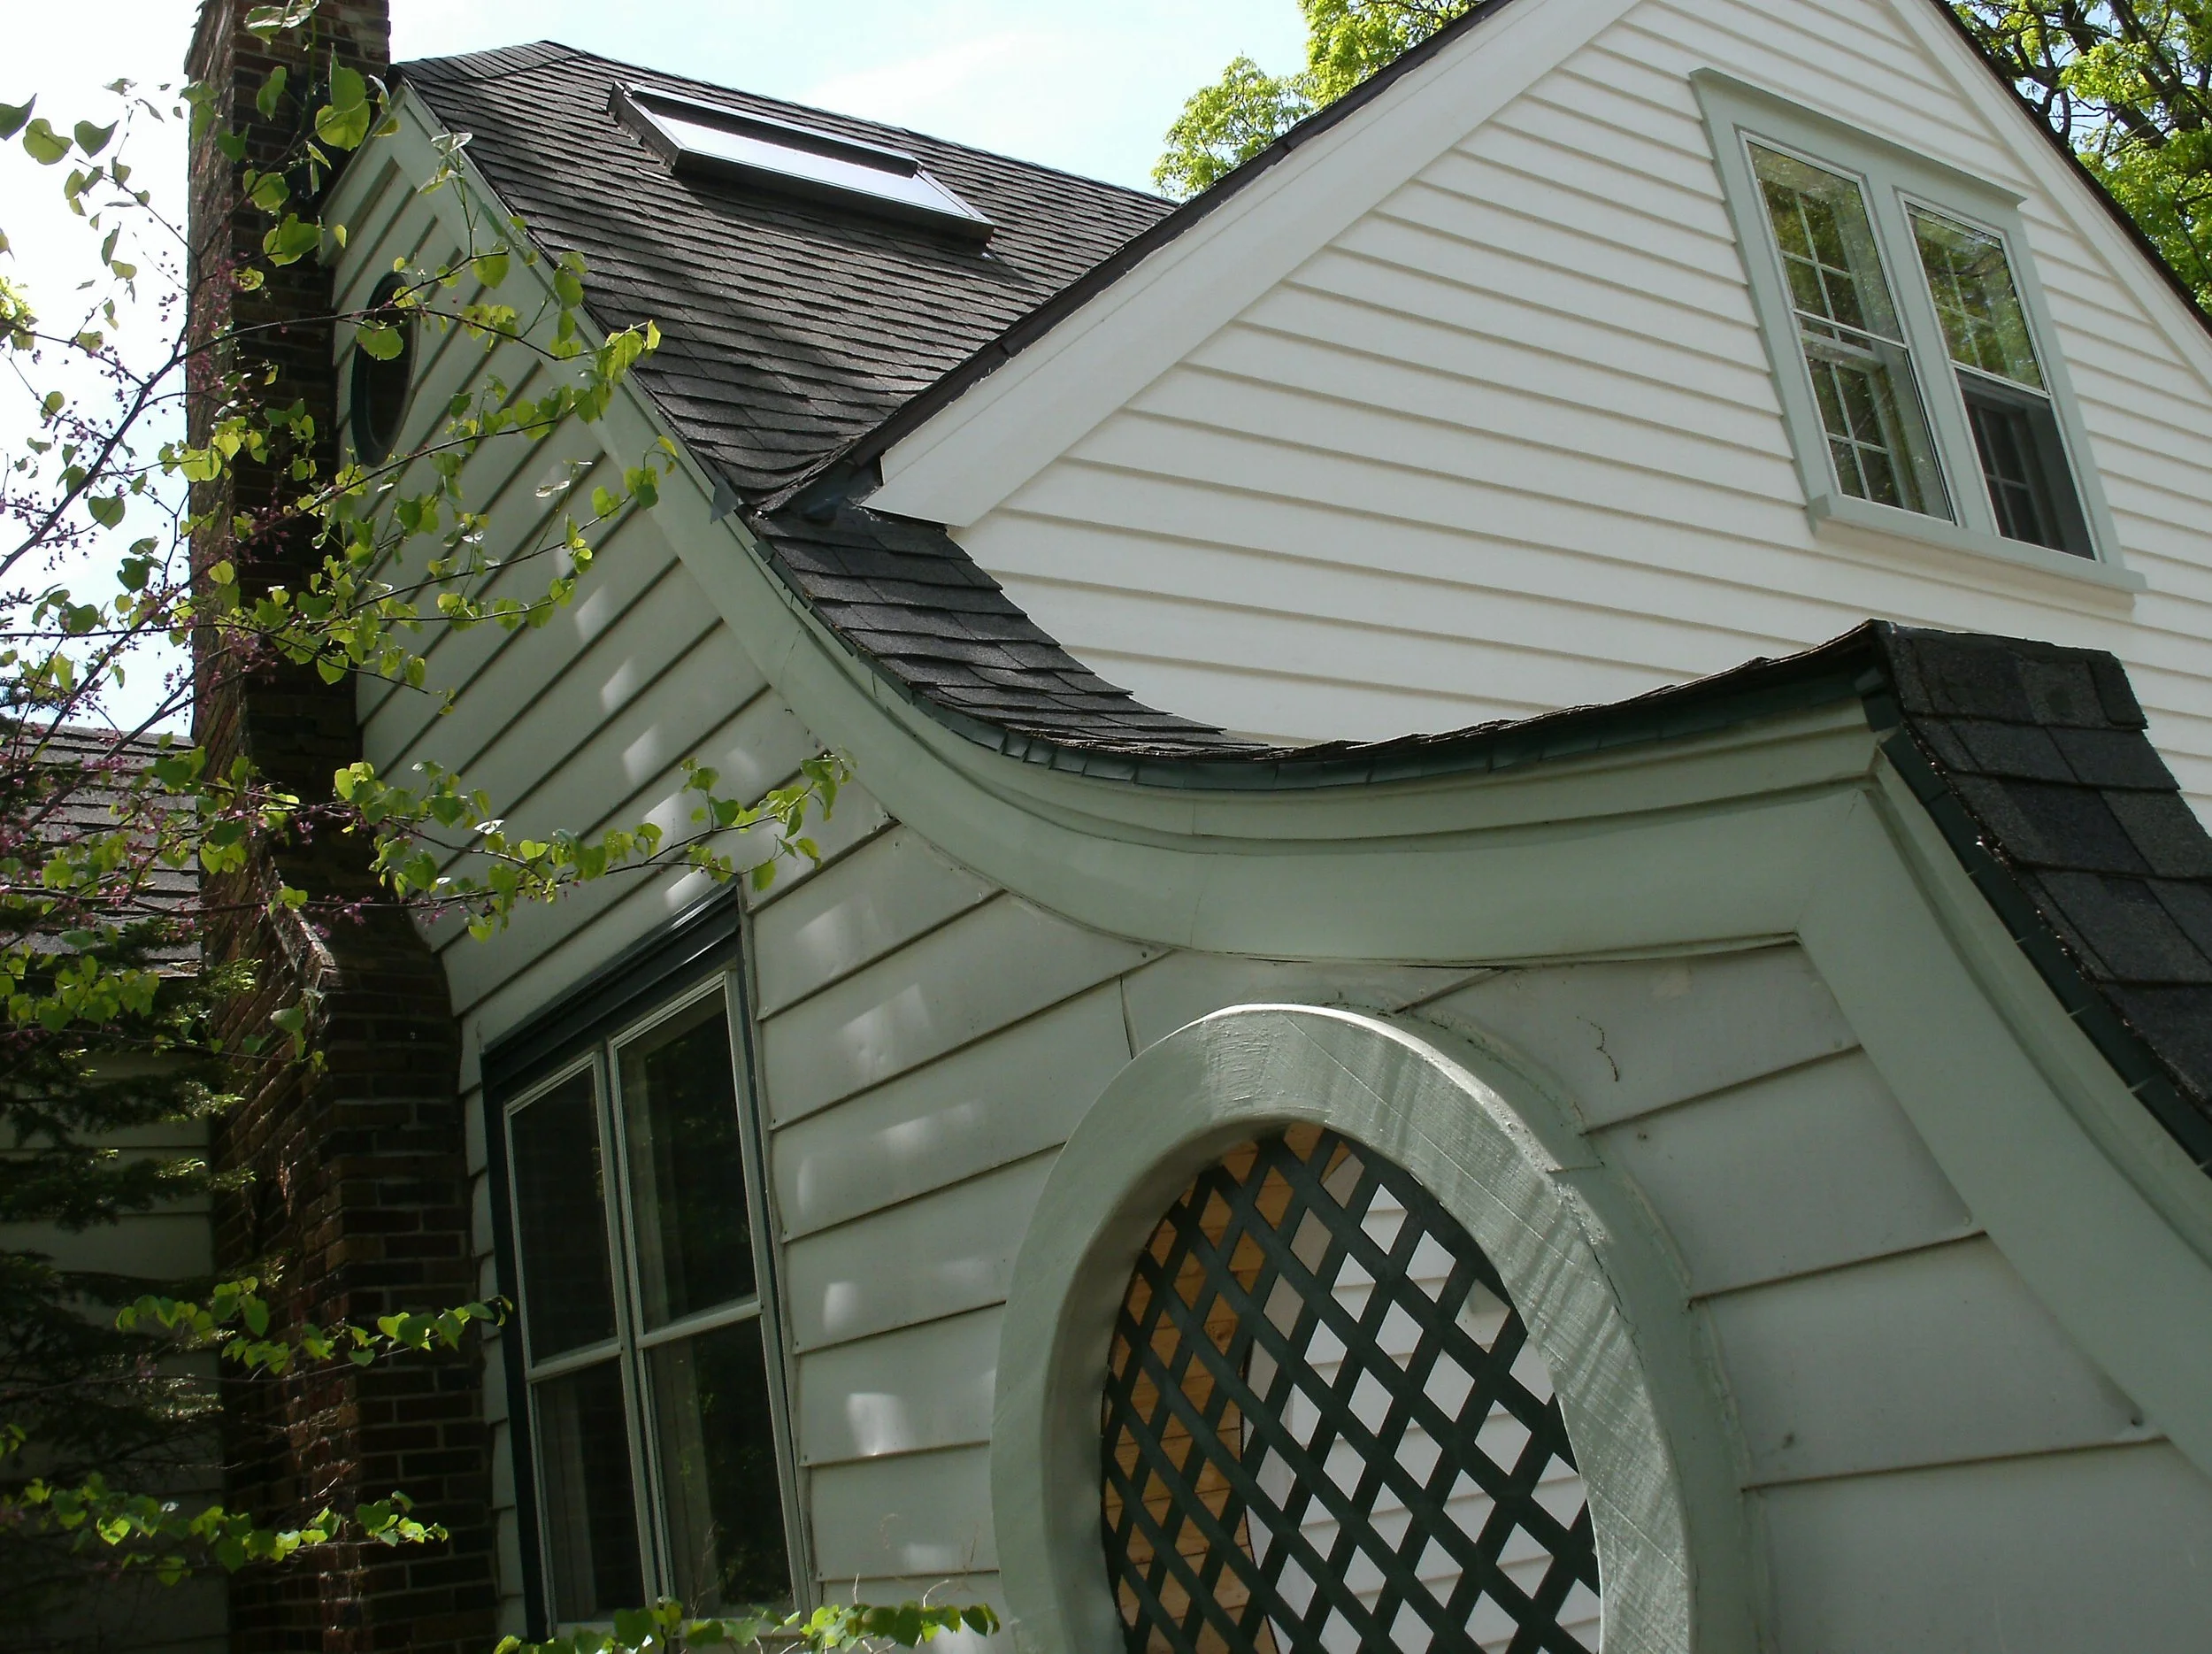
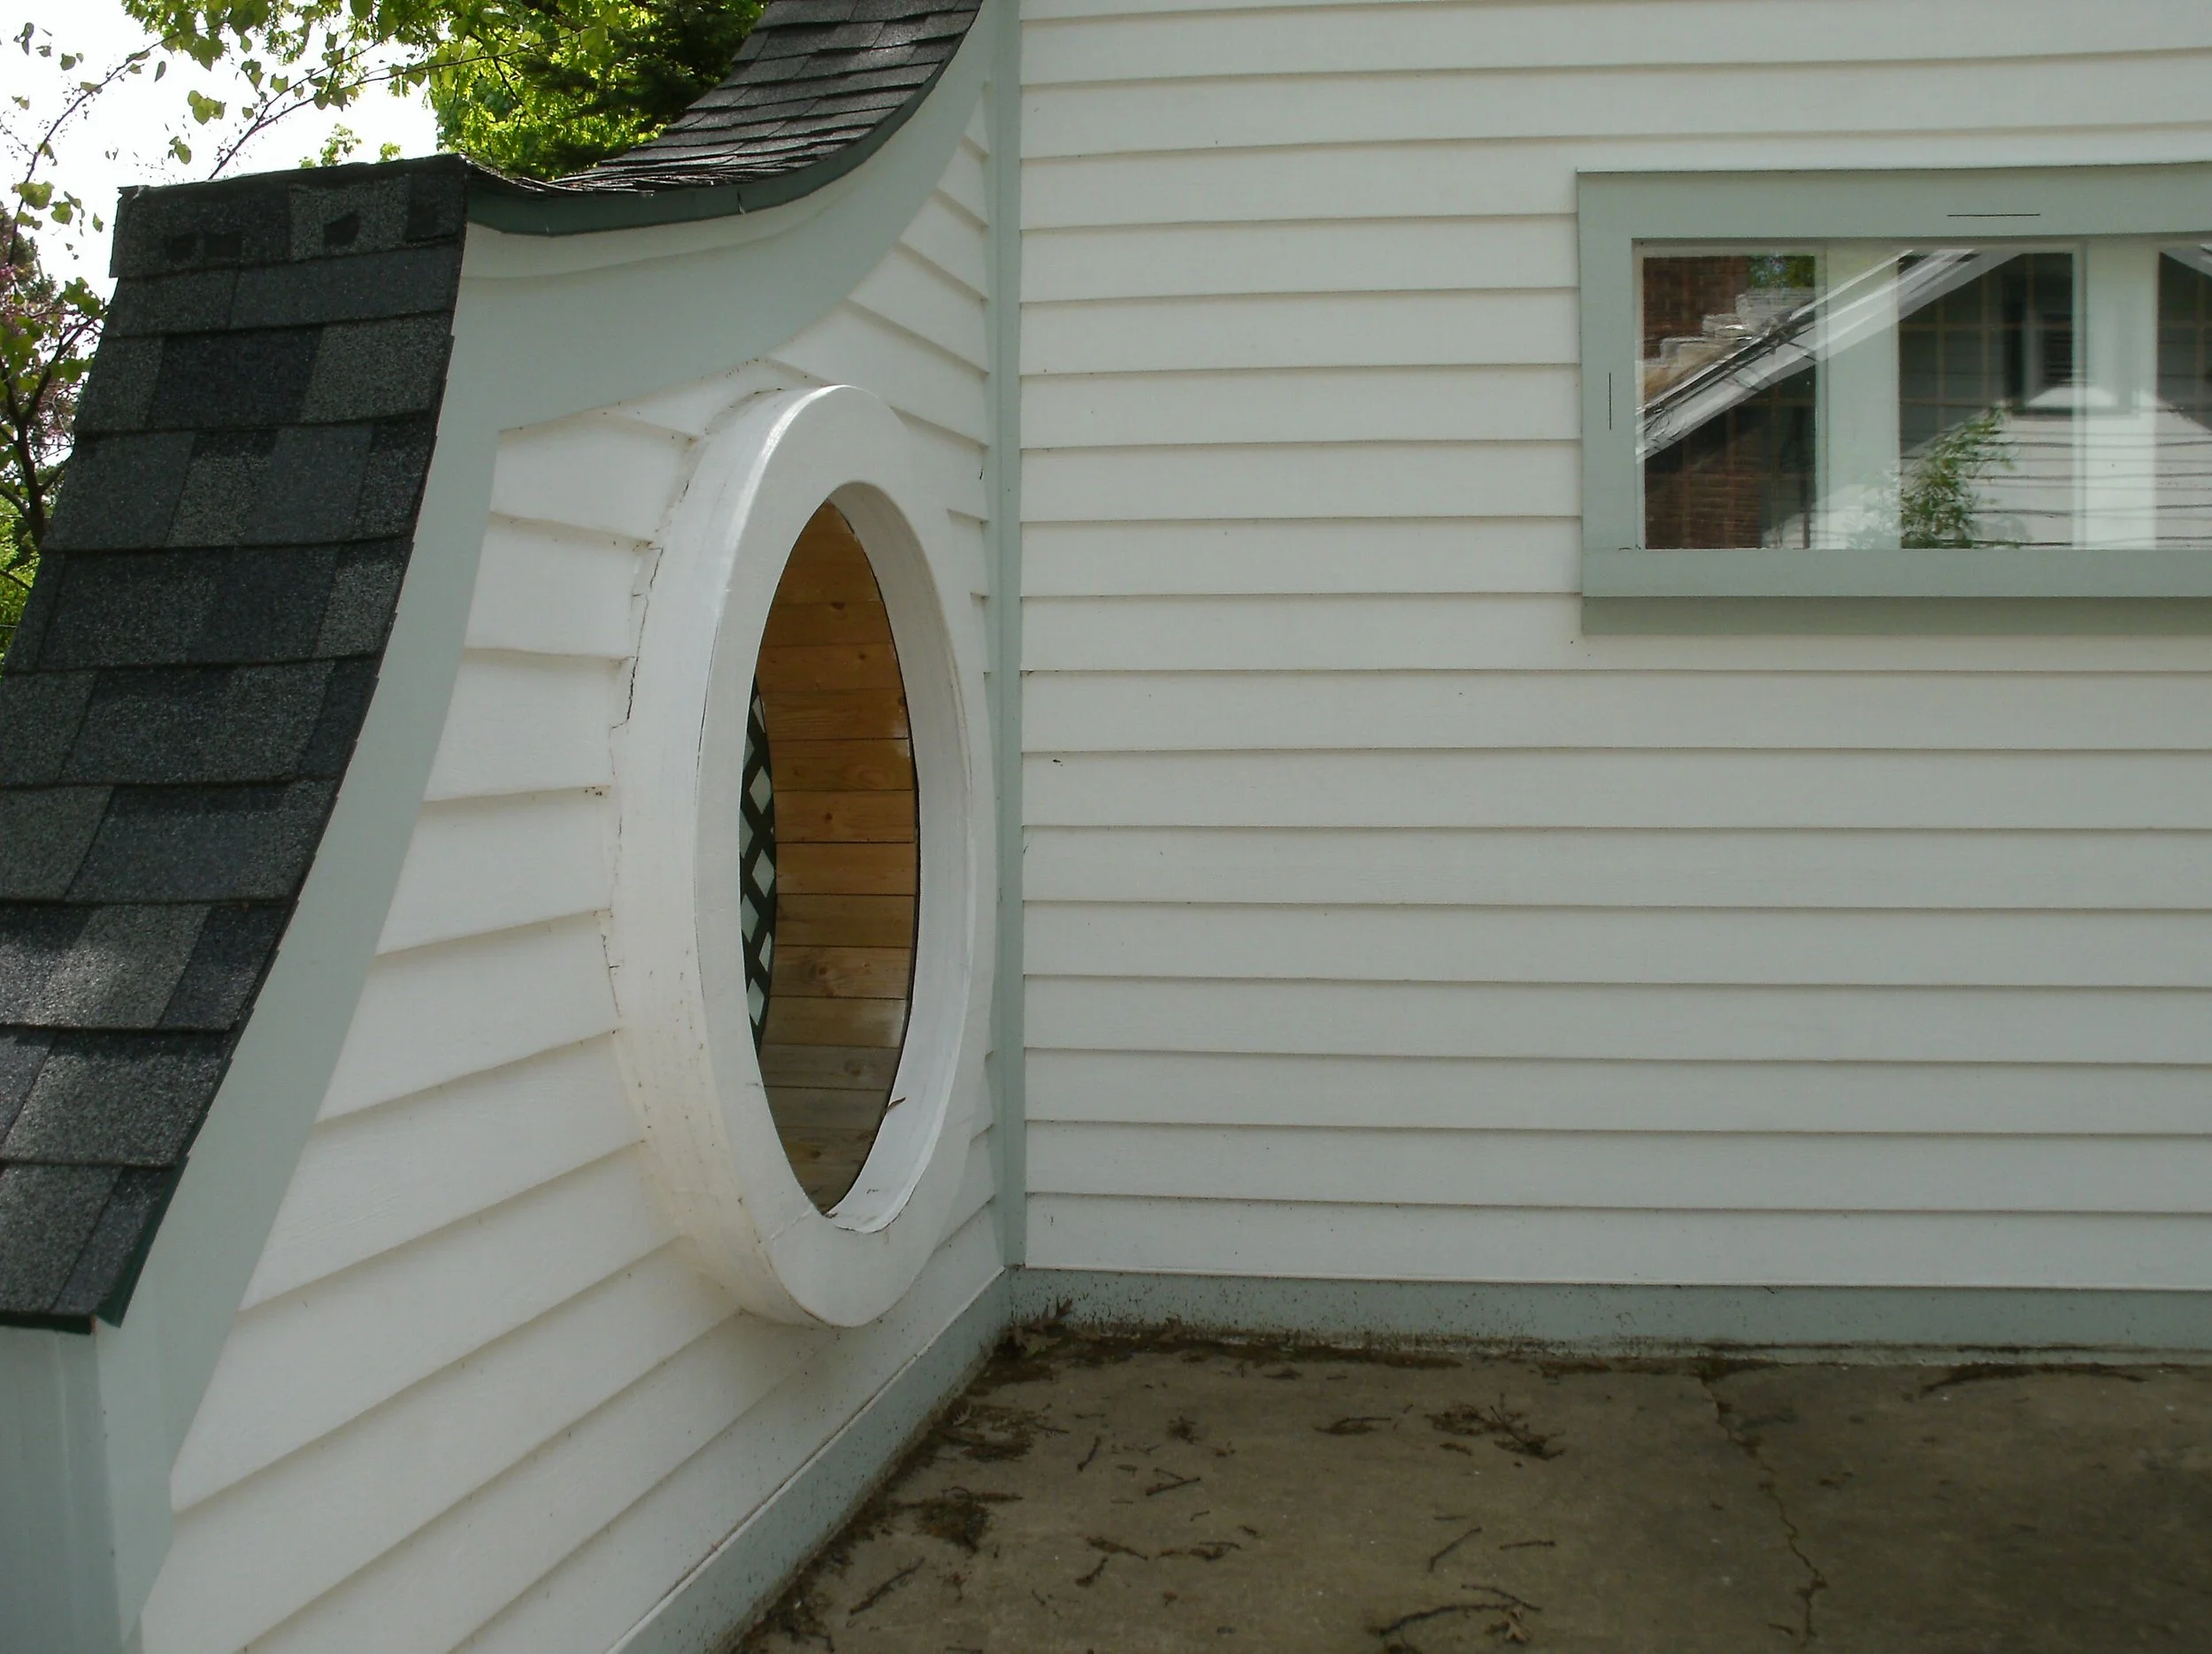
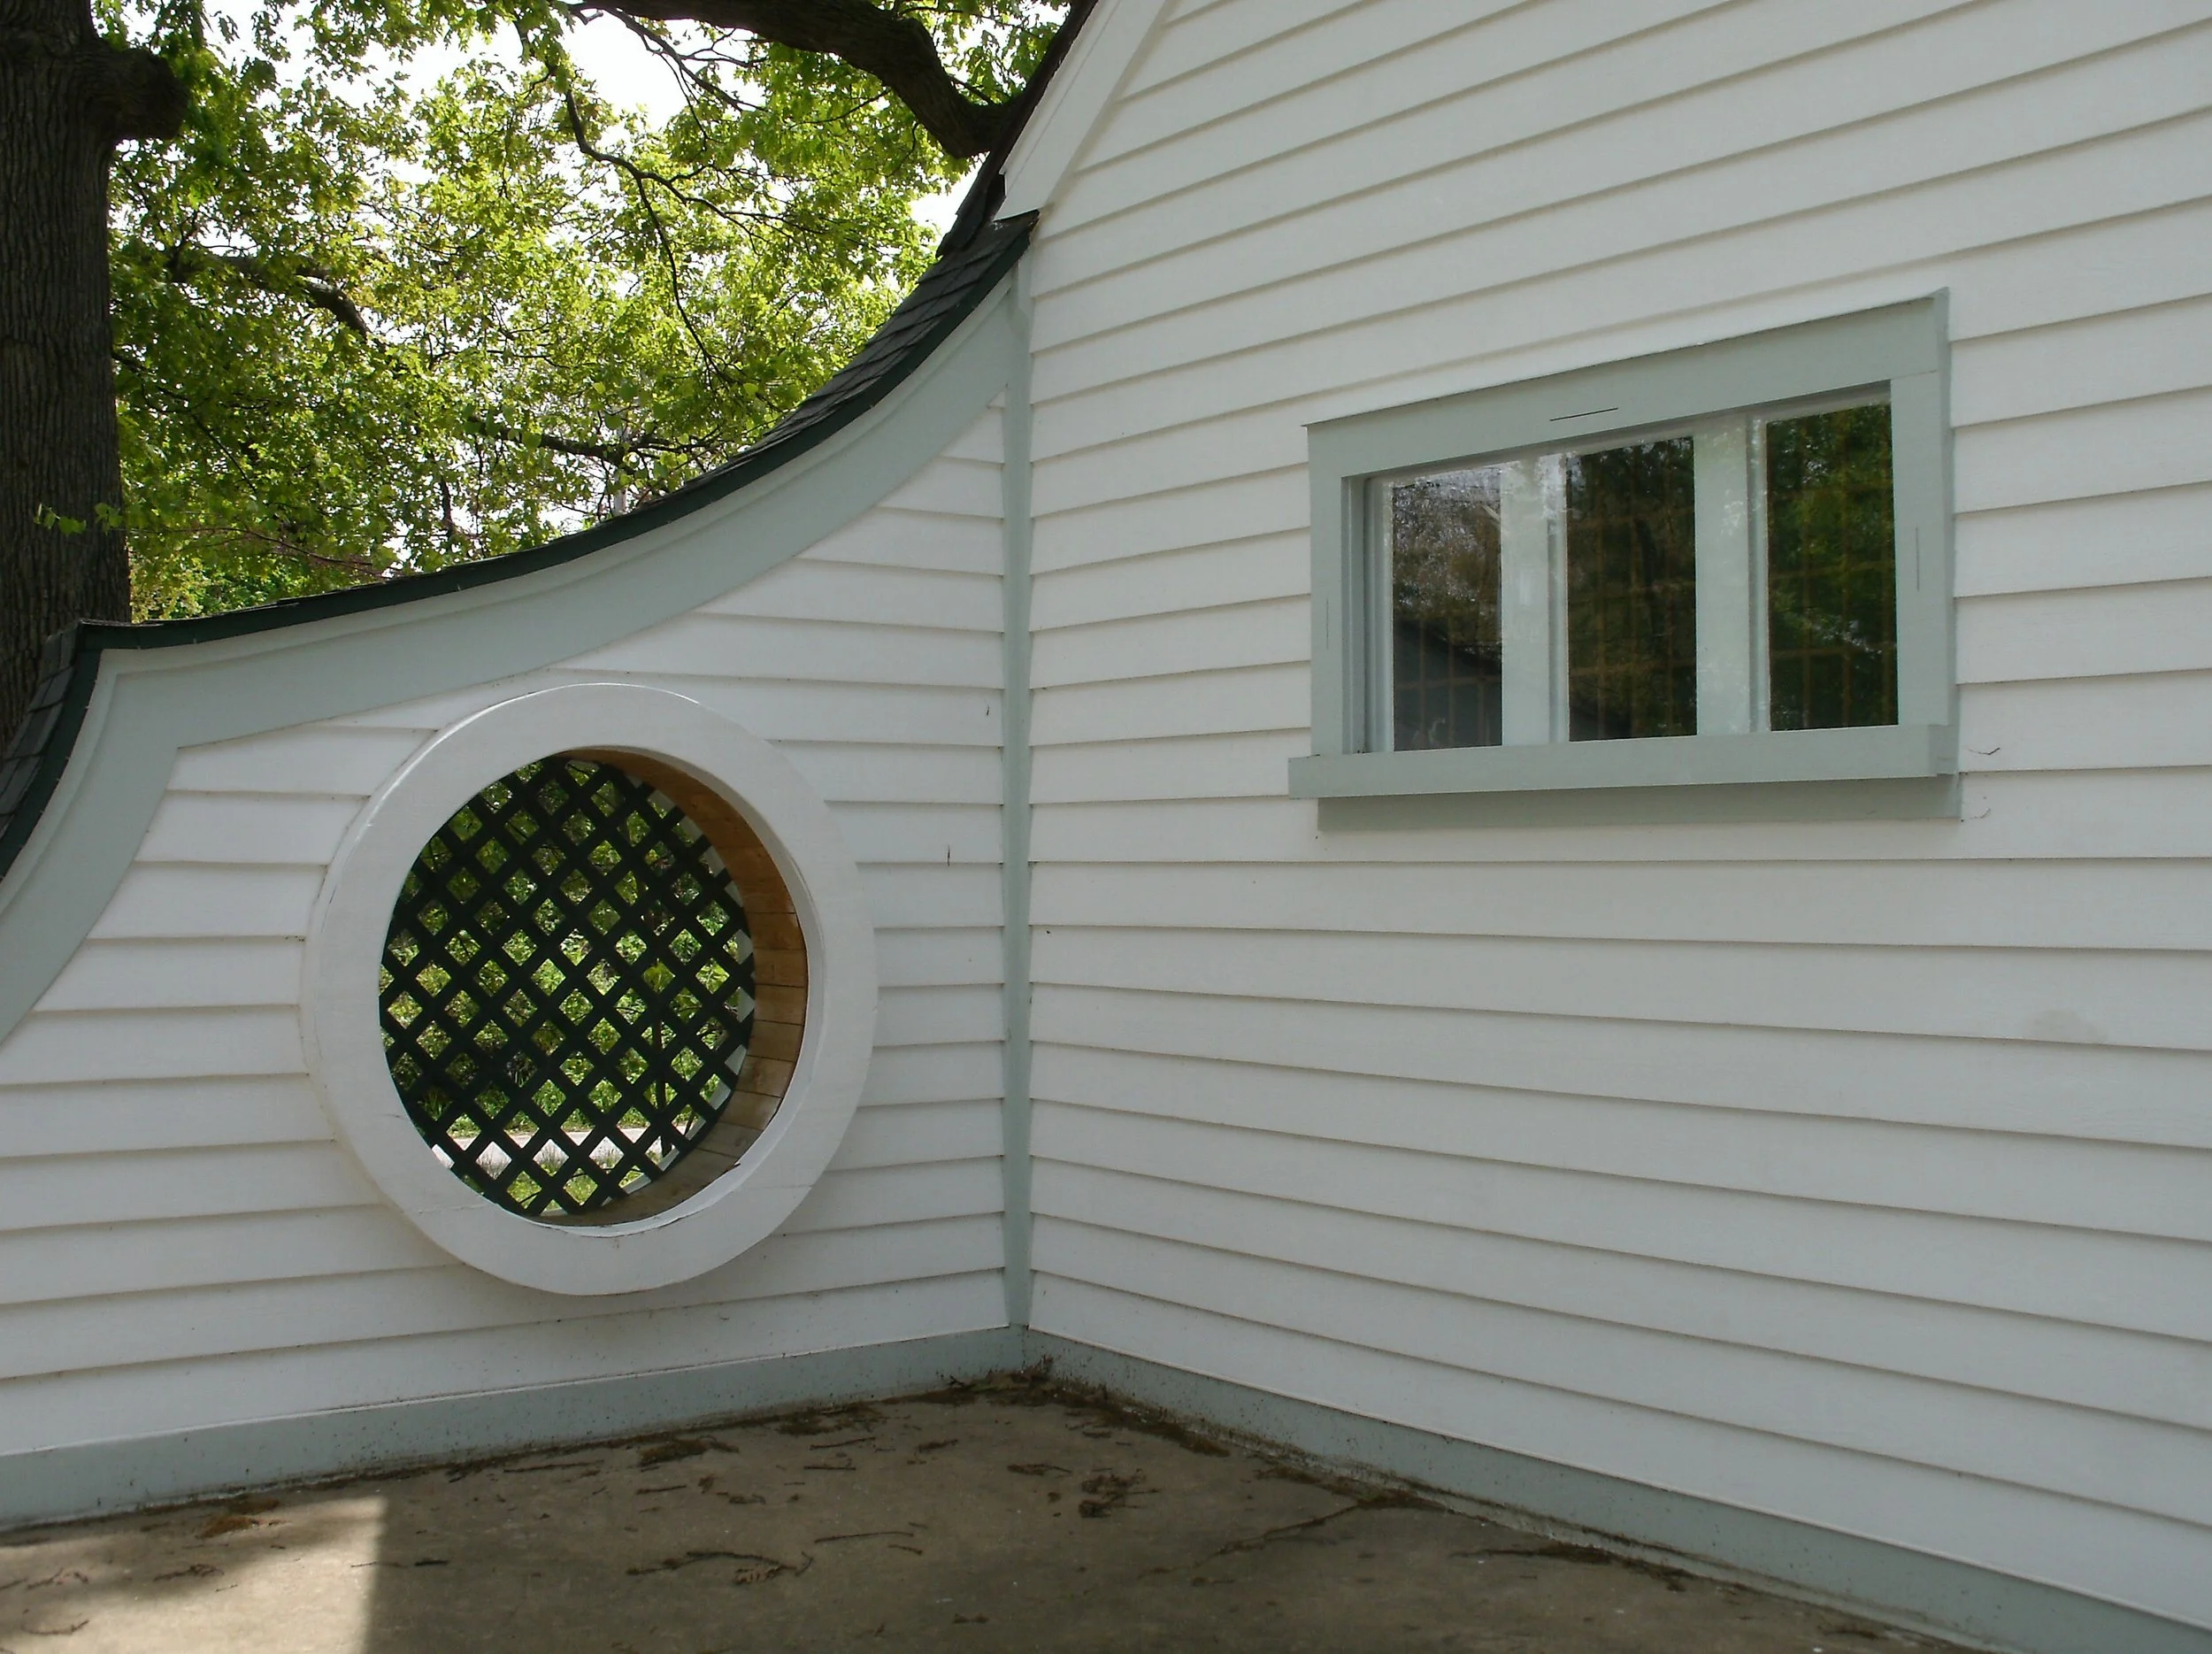
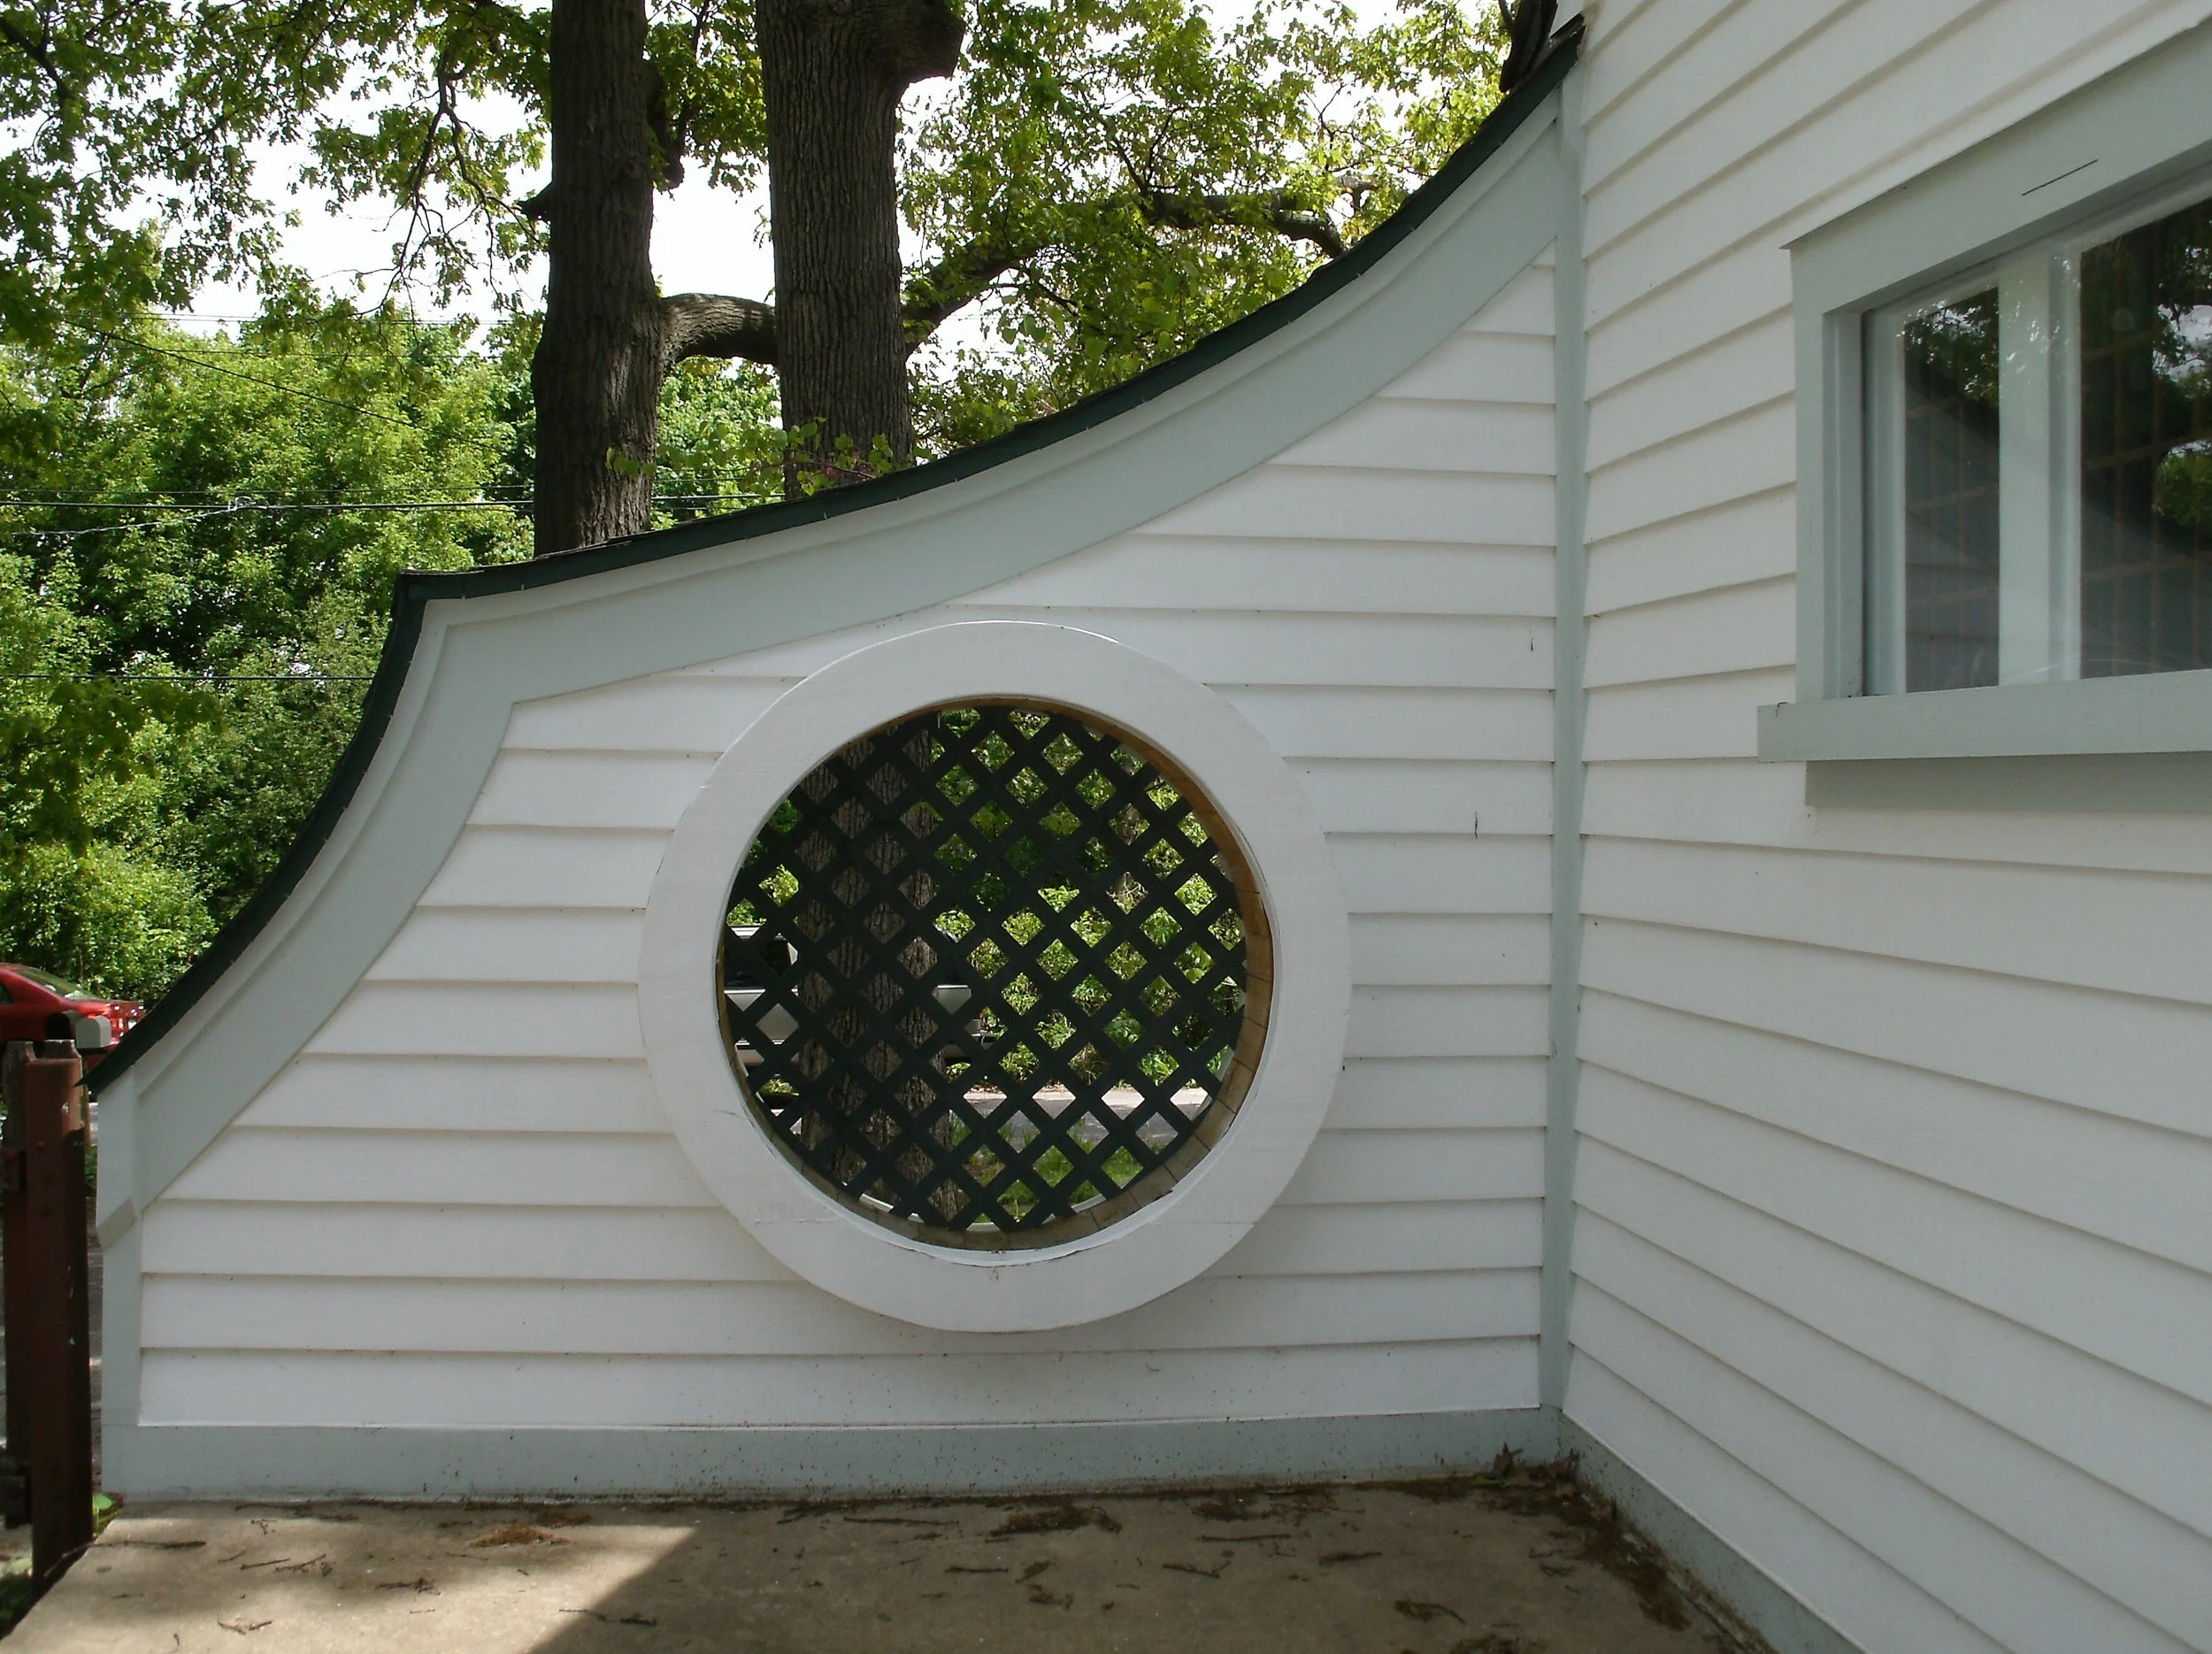
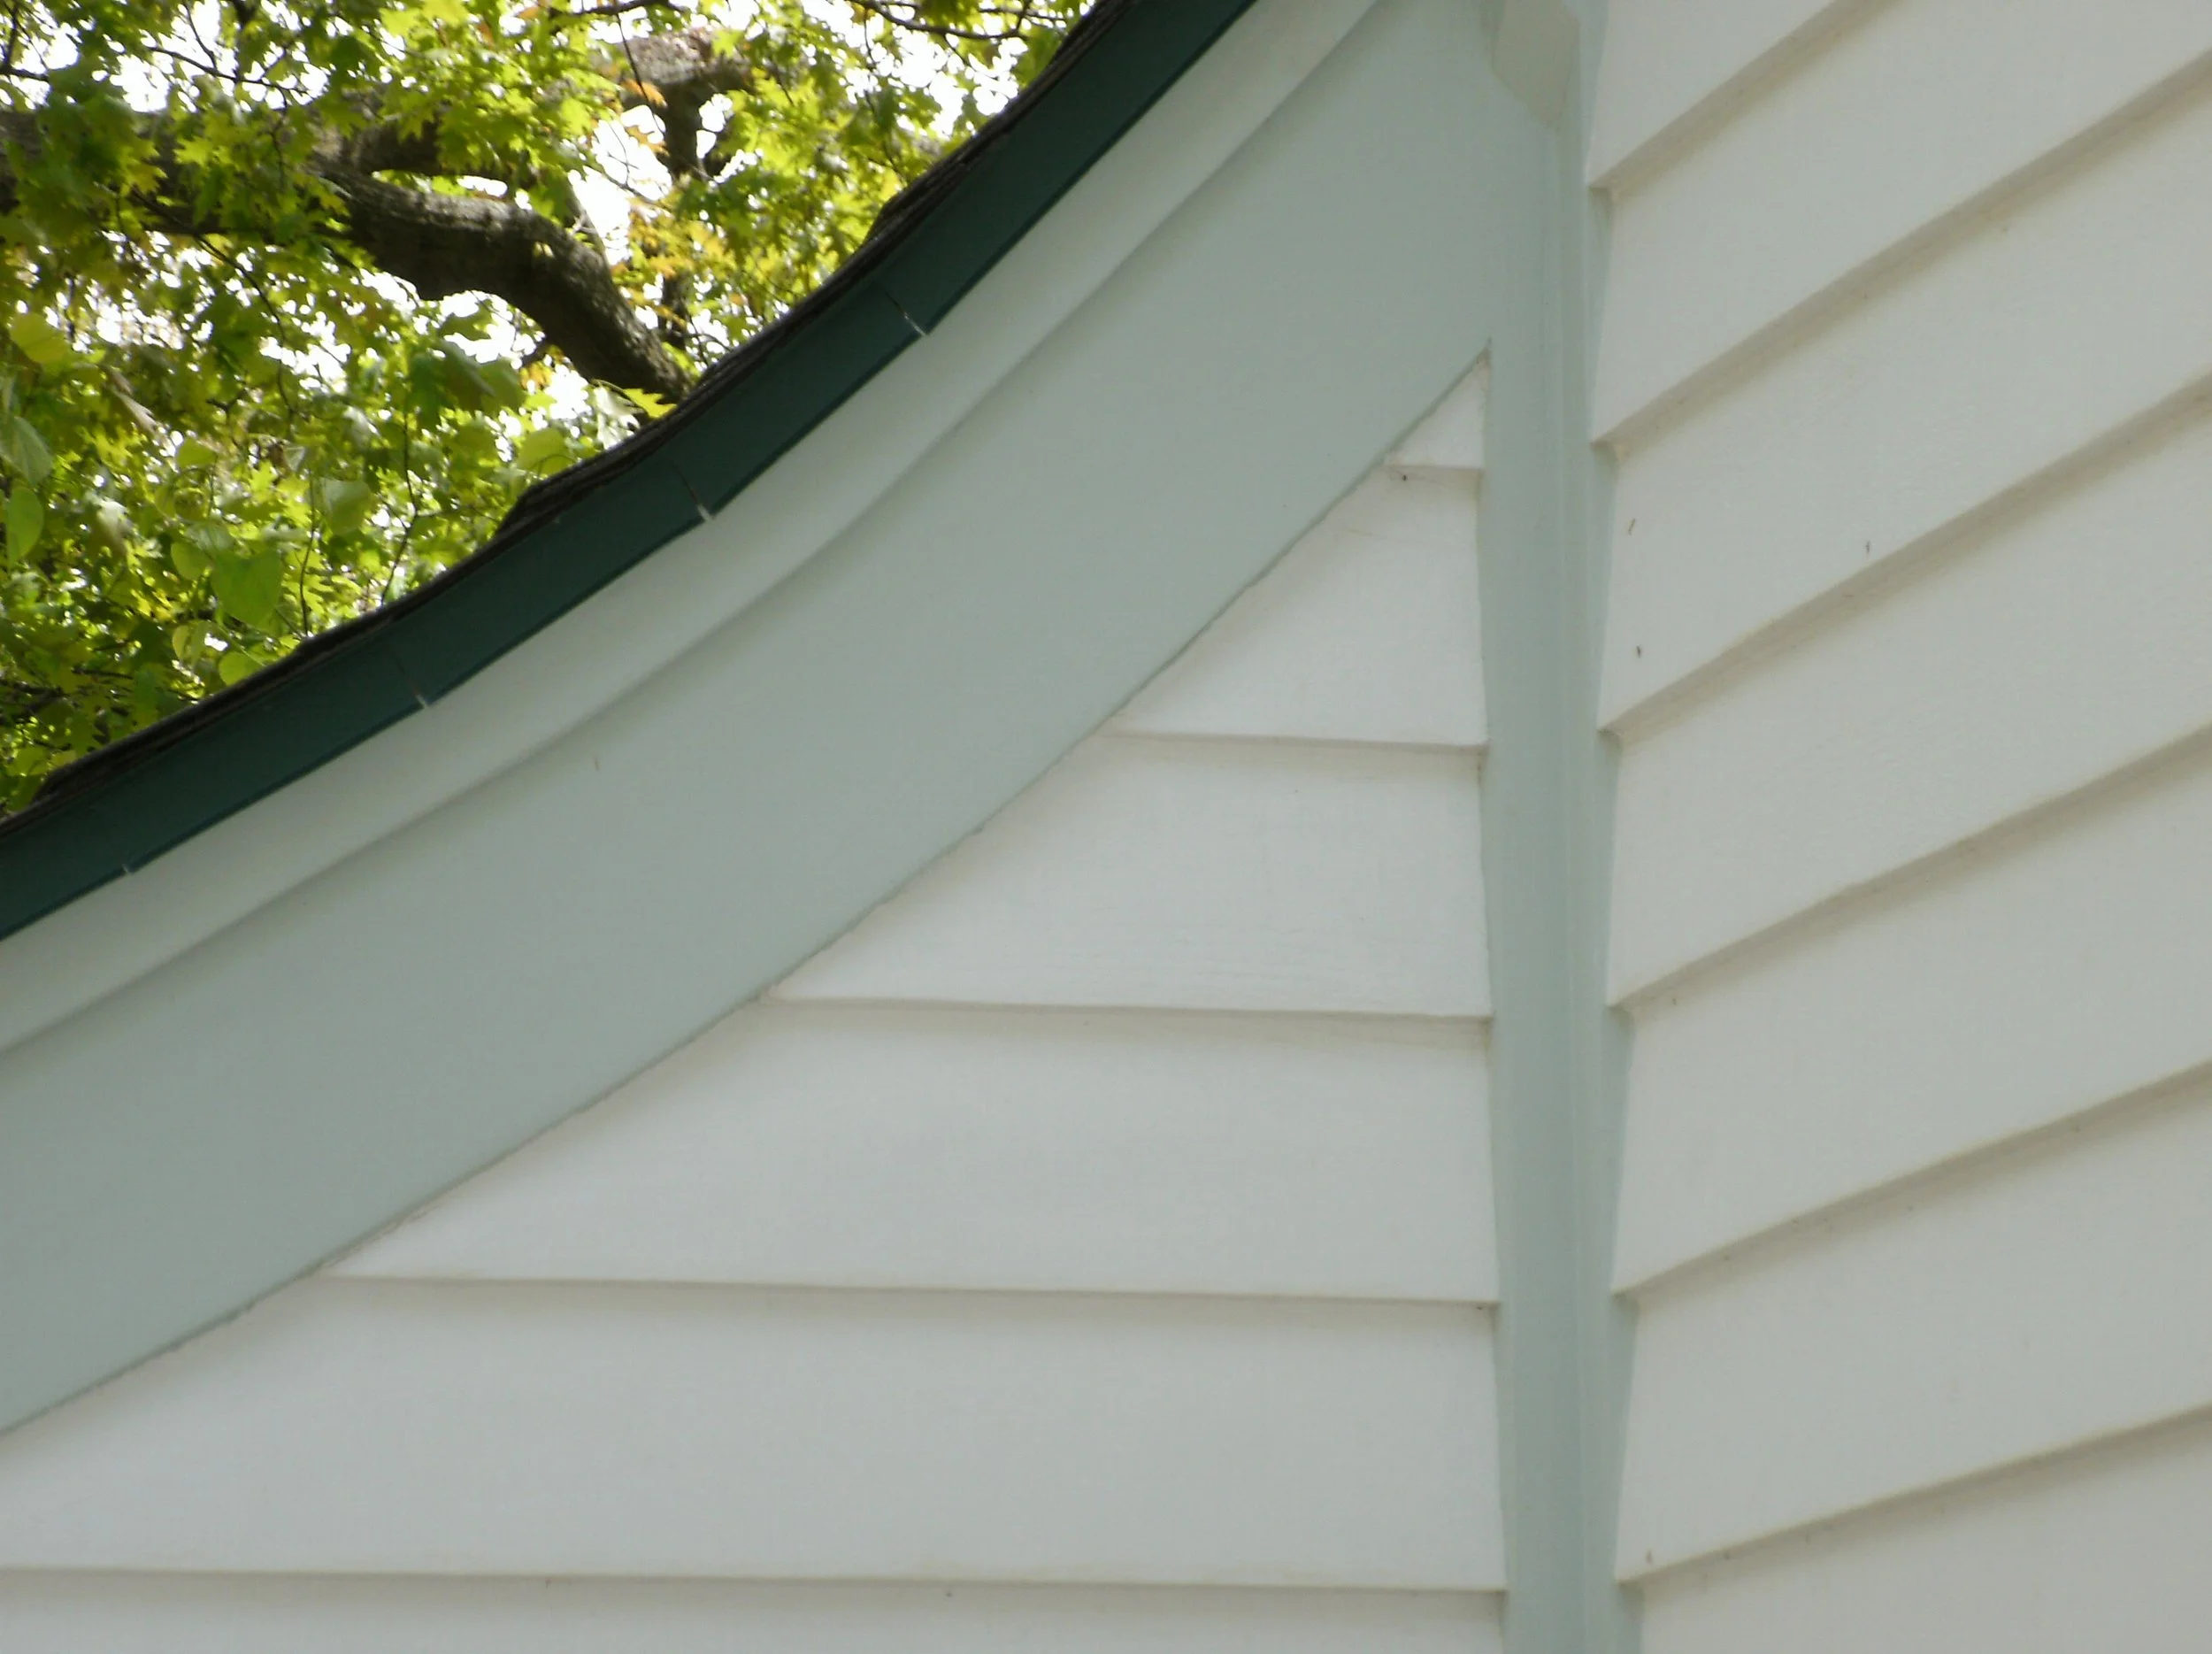
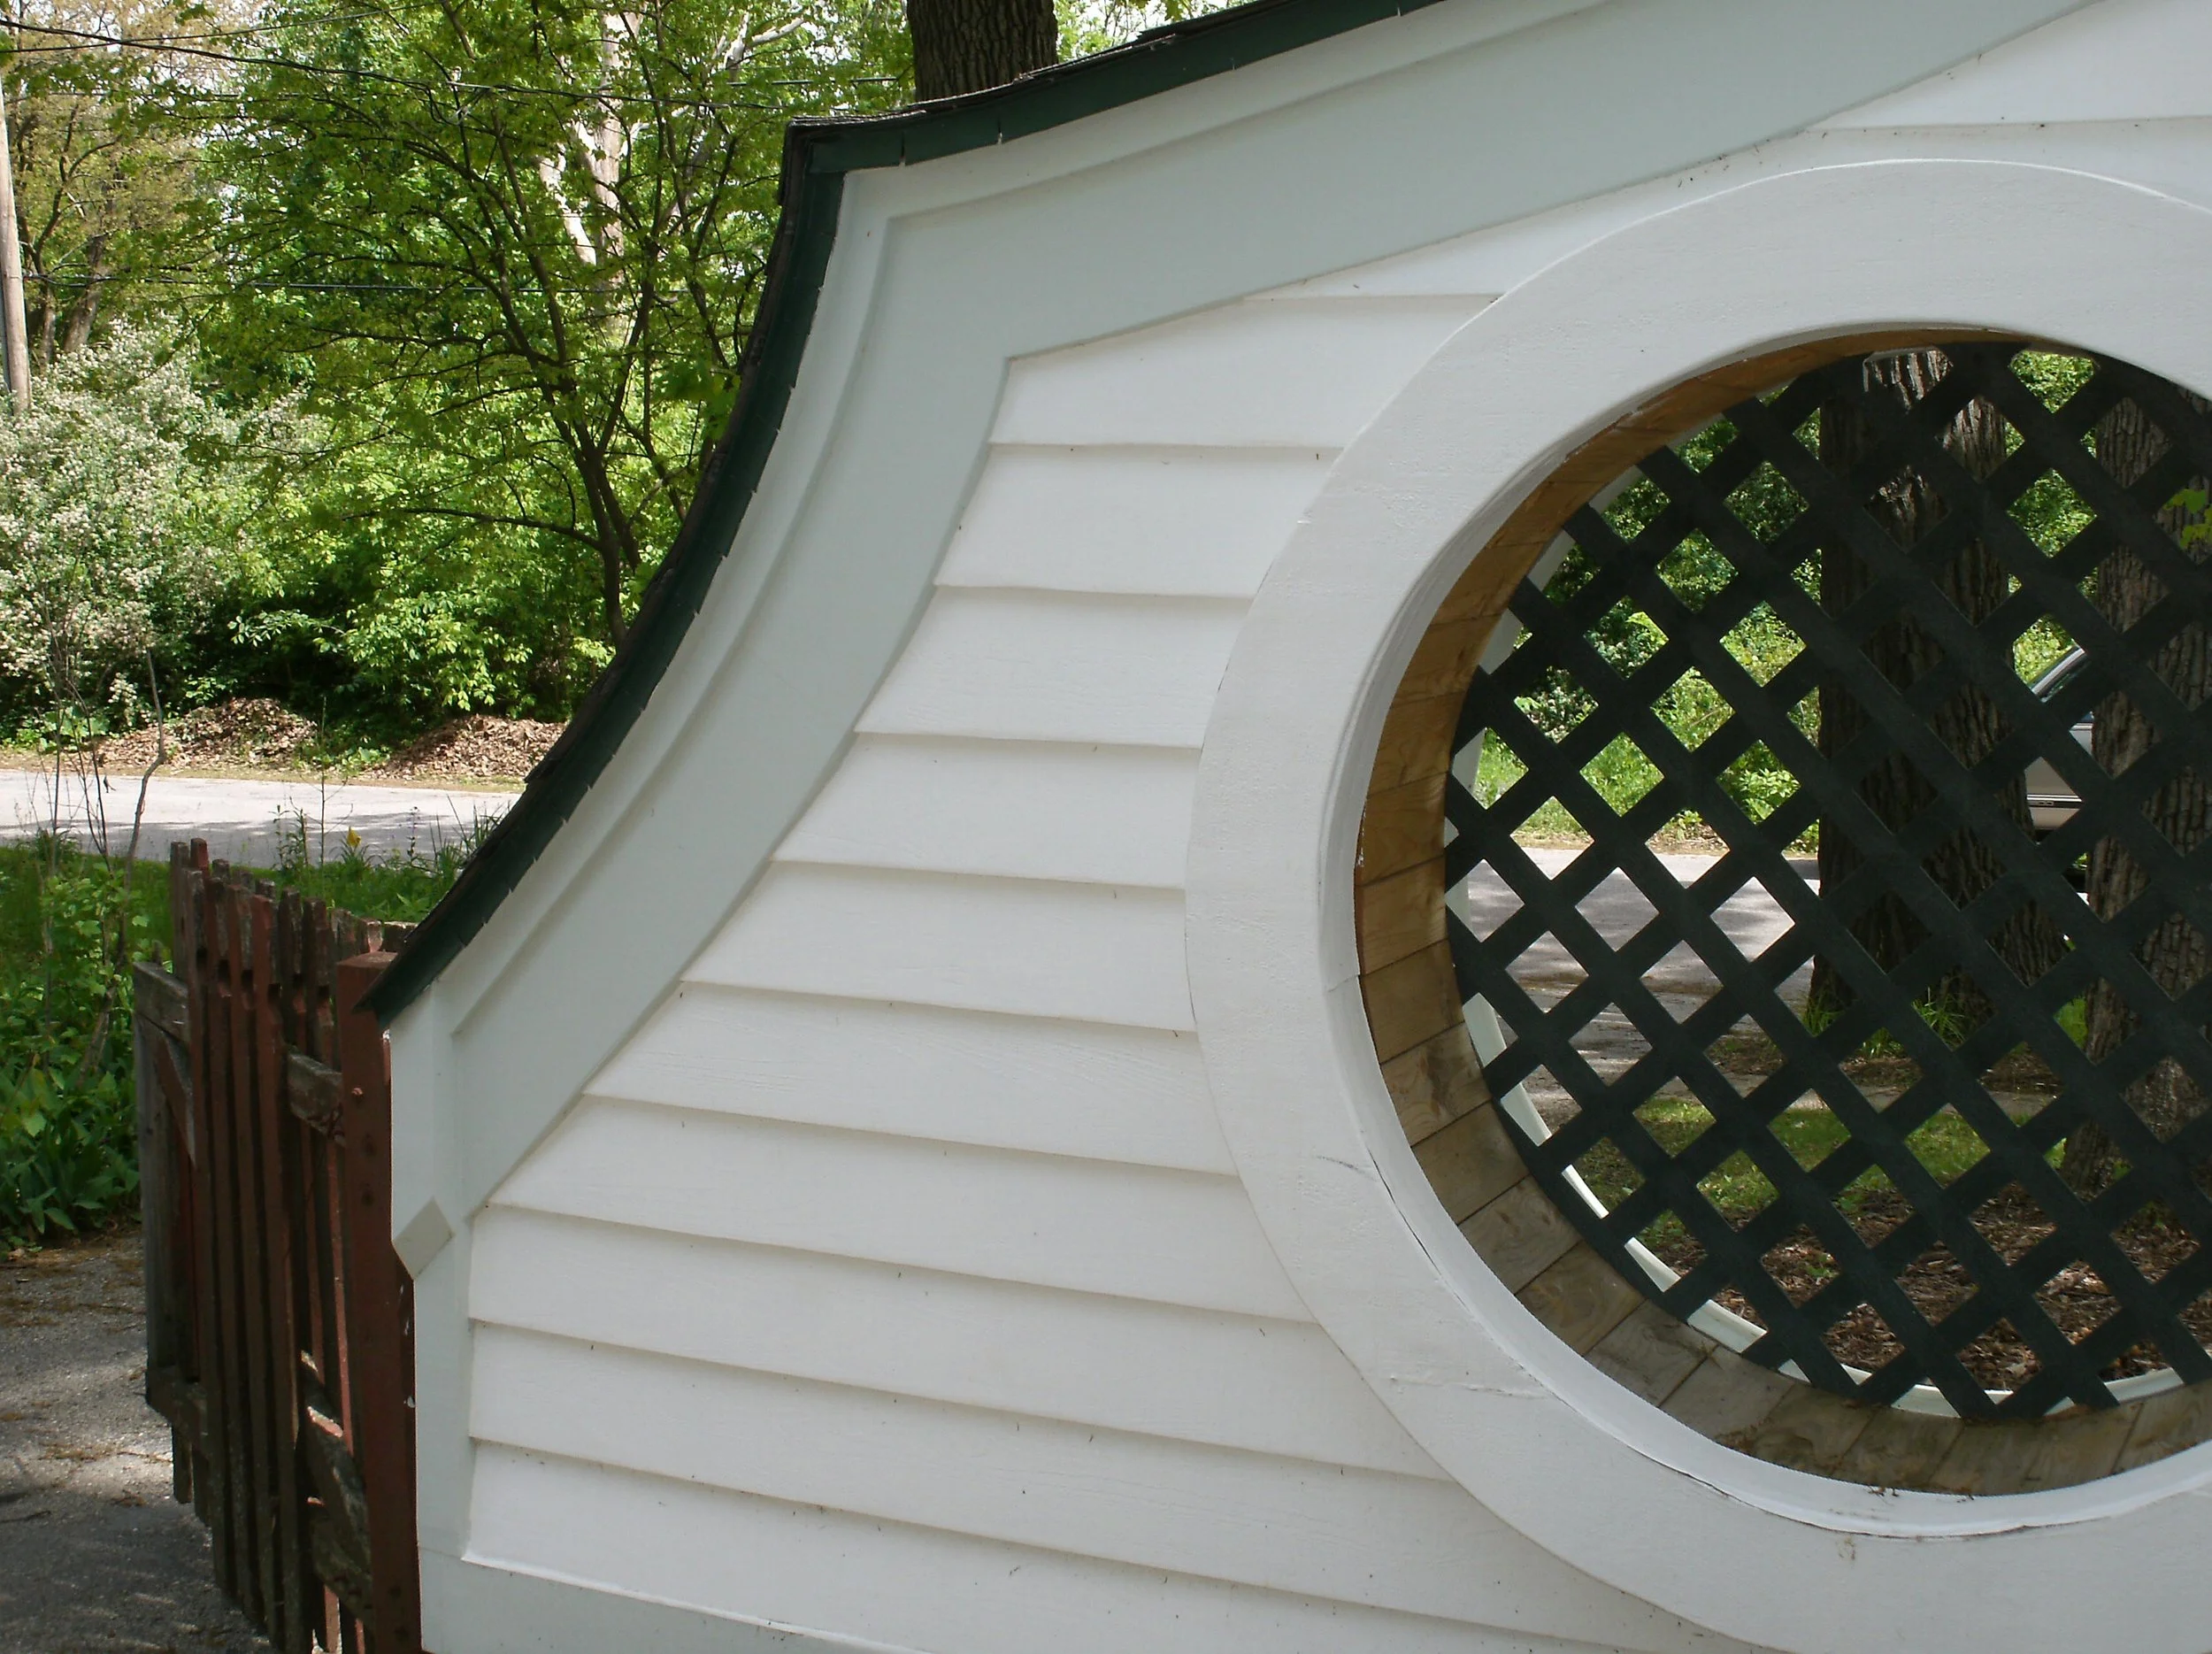
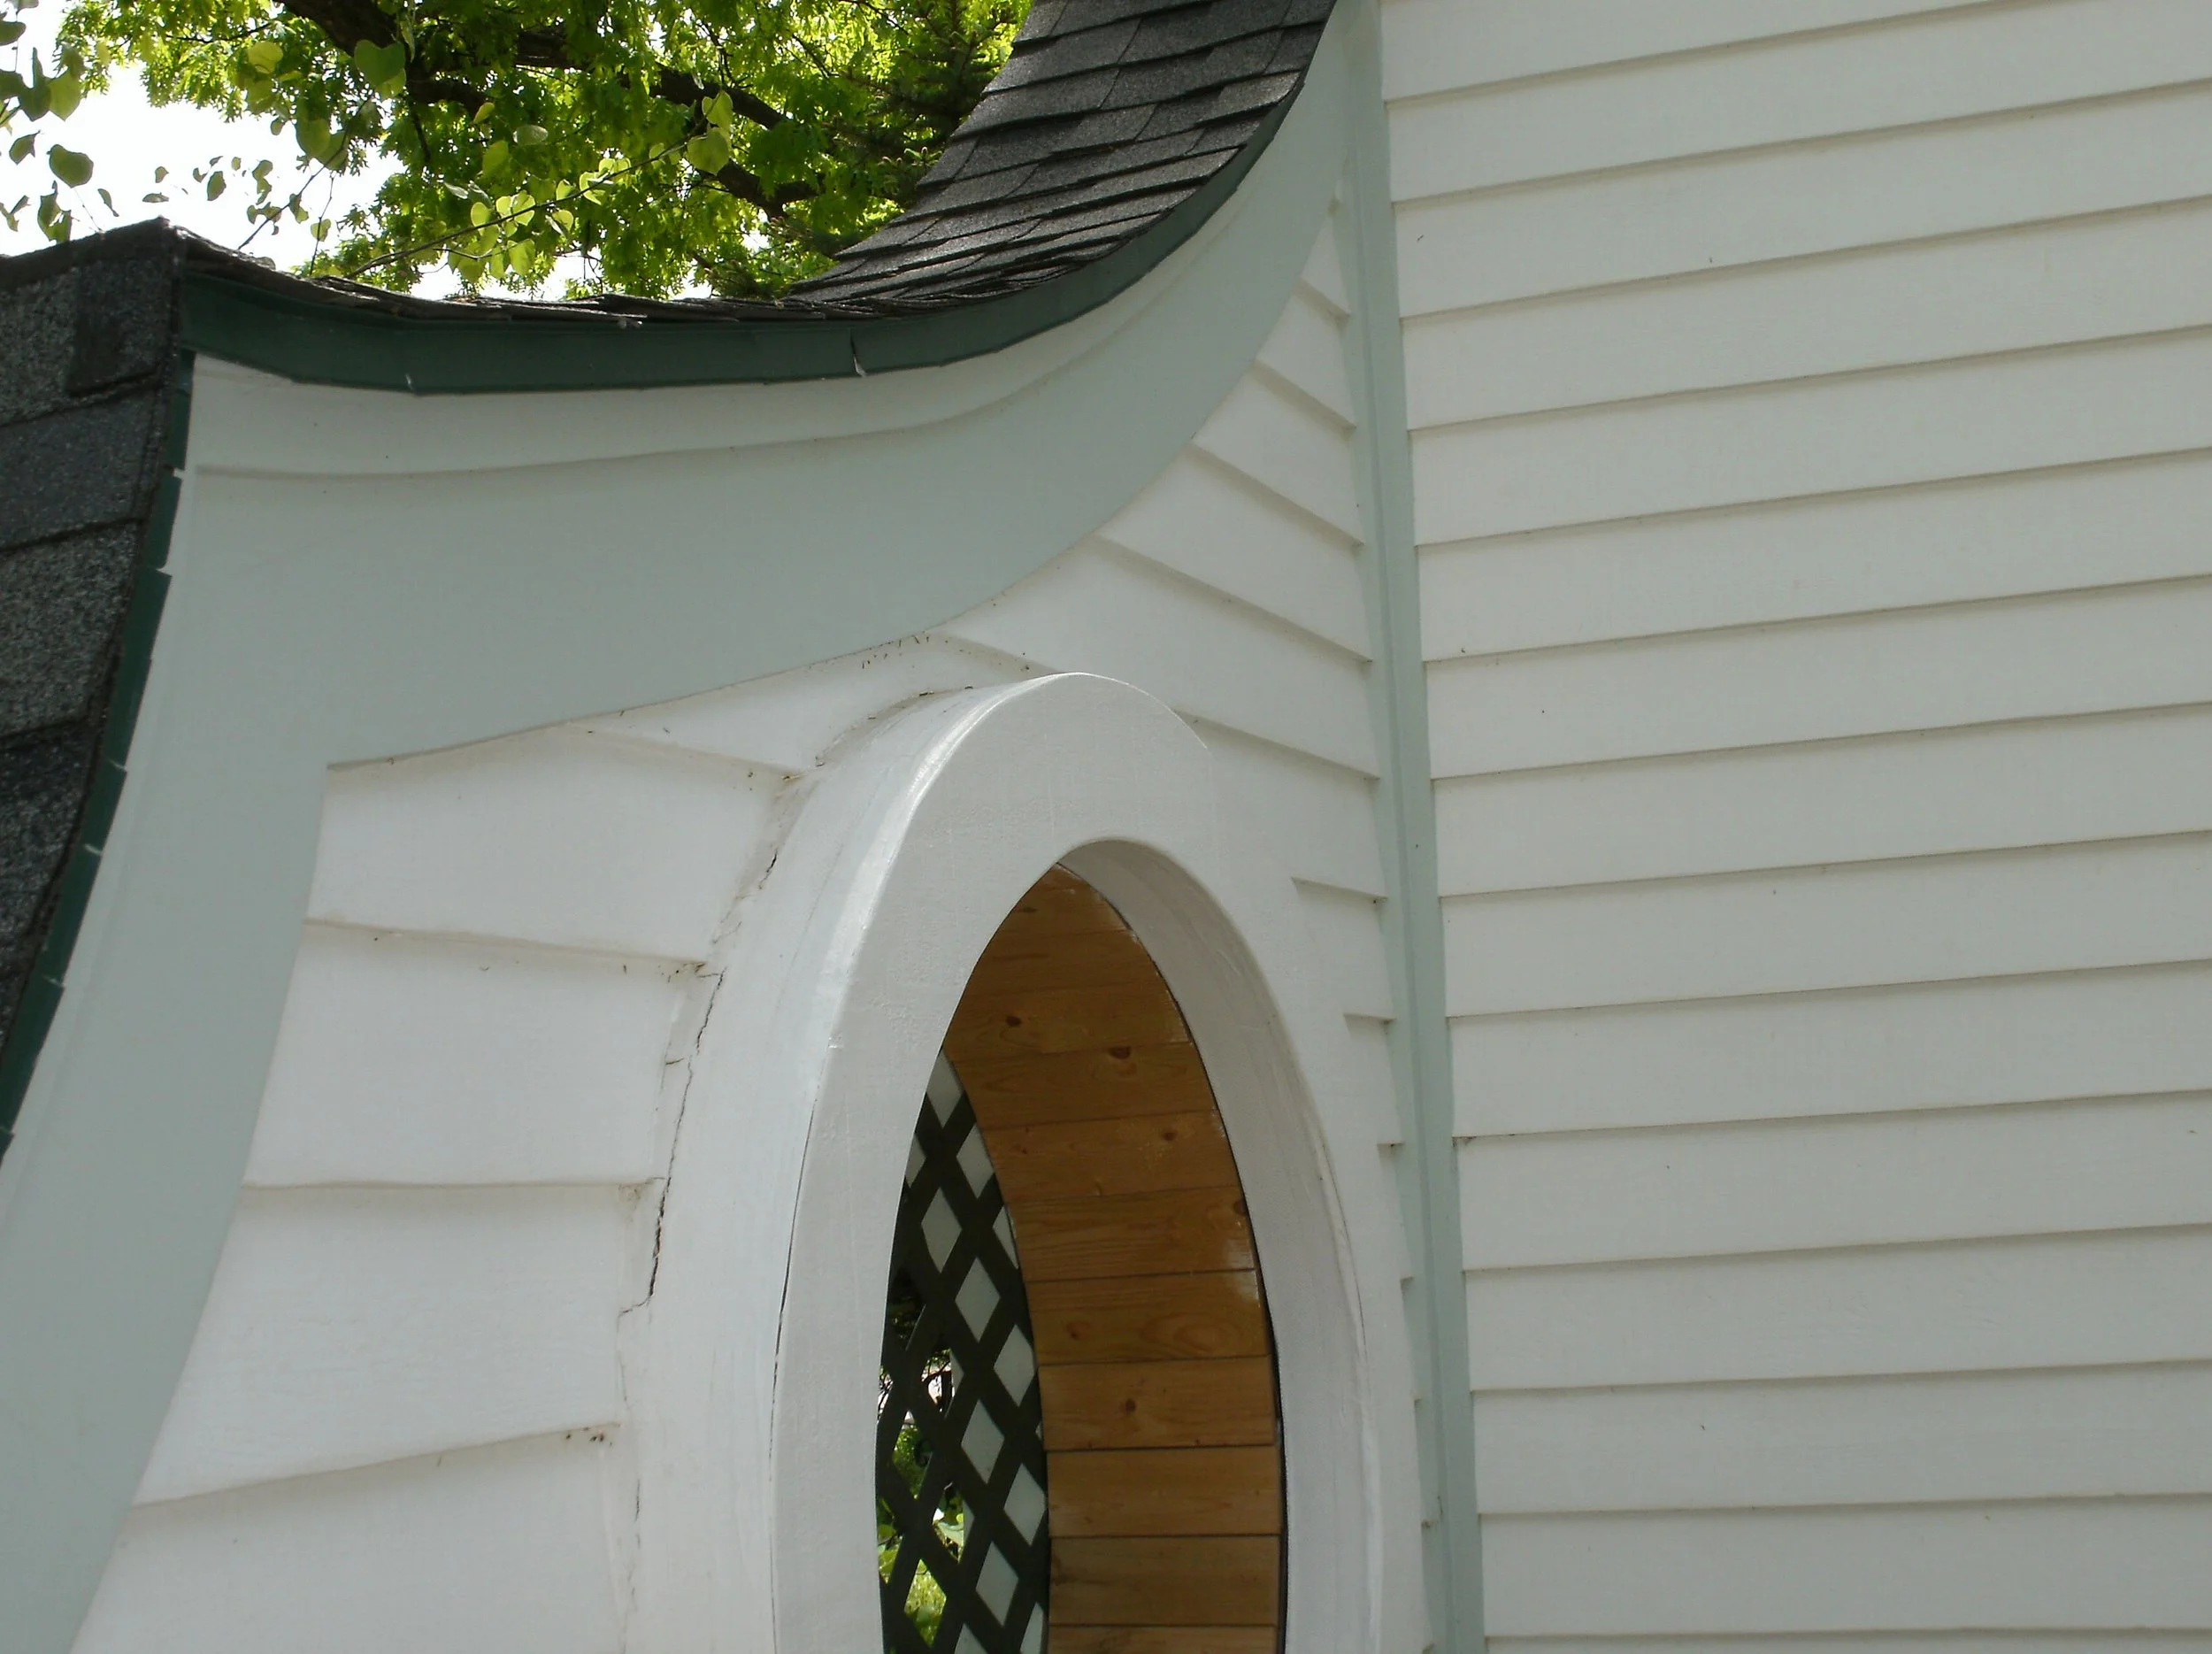
The wing wall. I have been calling this wall which continues the roof line to the driveway, a wing wall, sometimes a bat wing wall. I am not finding any references online to such a creature, but until someone contacts me with the true name I will continue to call it the wing wall. It was in very poor condition previously deemed not worth rescuing. The customer would have been willing to have me tear it down and finish the wall off, but I thought it was worth saving. I tore off the siding on the non-streetside of the wall adjacent to the house. I needed to augment the rotted joists and re-sheathe the wall. I restored the oculus. An oculus (from Latin oculus 'eye'; pl. oculi) is a circular opening in the center of a dome or in a wall. I re-roofed it and shingled it. I believe it is a striking visual addition to the house.
In multiple pictures, you can see a relatively massive trim piece at the very top of the siding immediately beneath the drip edge of the roof. I fabricated this and installed it all the way around the house to address other probable leakage sites. I feel it was a beautiful and useful answer to the problem.
Overall View of the main job. New siding, windows, trim, wing wall, primed, and painted.
A second few especially of the windows and heavy top (cap) trim.
Another view with new cedar siding, new windows and trim painted.
There was a funky little used patio doors, which I removed and put in the three windows.
The top of the wing wall and heavy cap trim.
The rescued wing wall with new trim installed.
A full on view of the wing wall with heavy cap trim.
Another wing wall view.
Trim detail, especially cap trim and siding.
Wing wall driveway end details. Note: cap trim.
Heavy cap trim on opposite house side. I put the cap trim on the entire perimeter.
Wing wall detail. Does it seem I was and remain quite smitten with the wing wall?
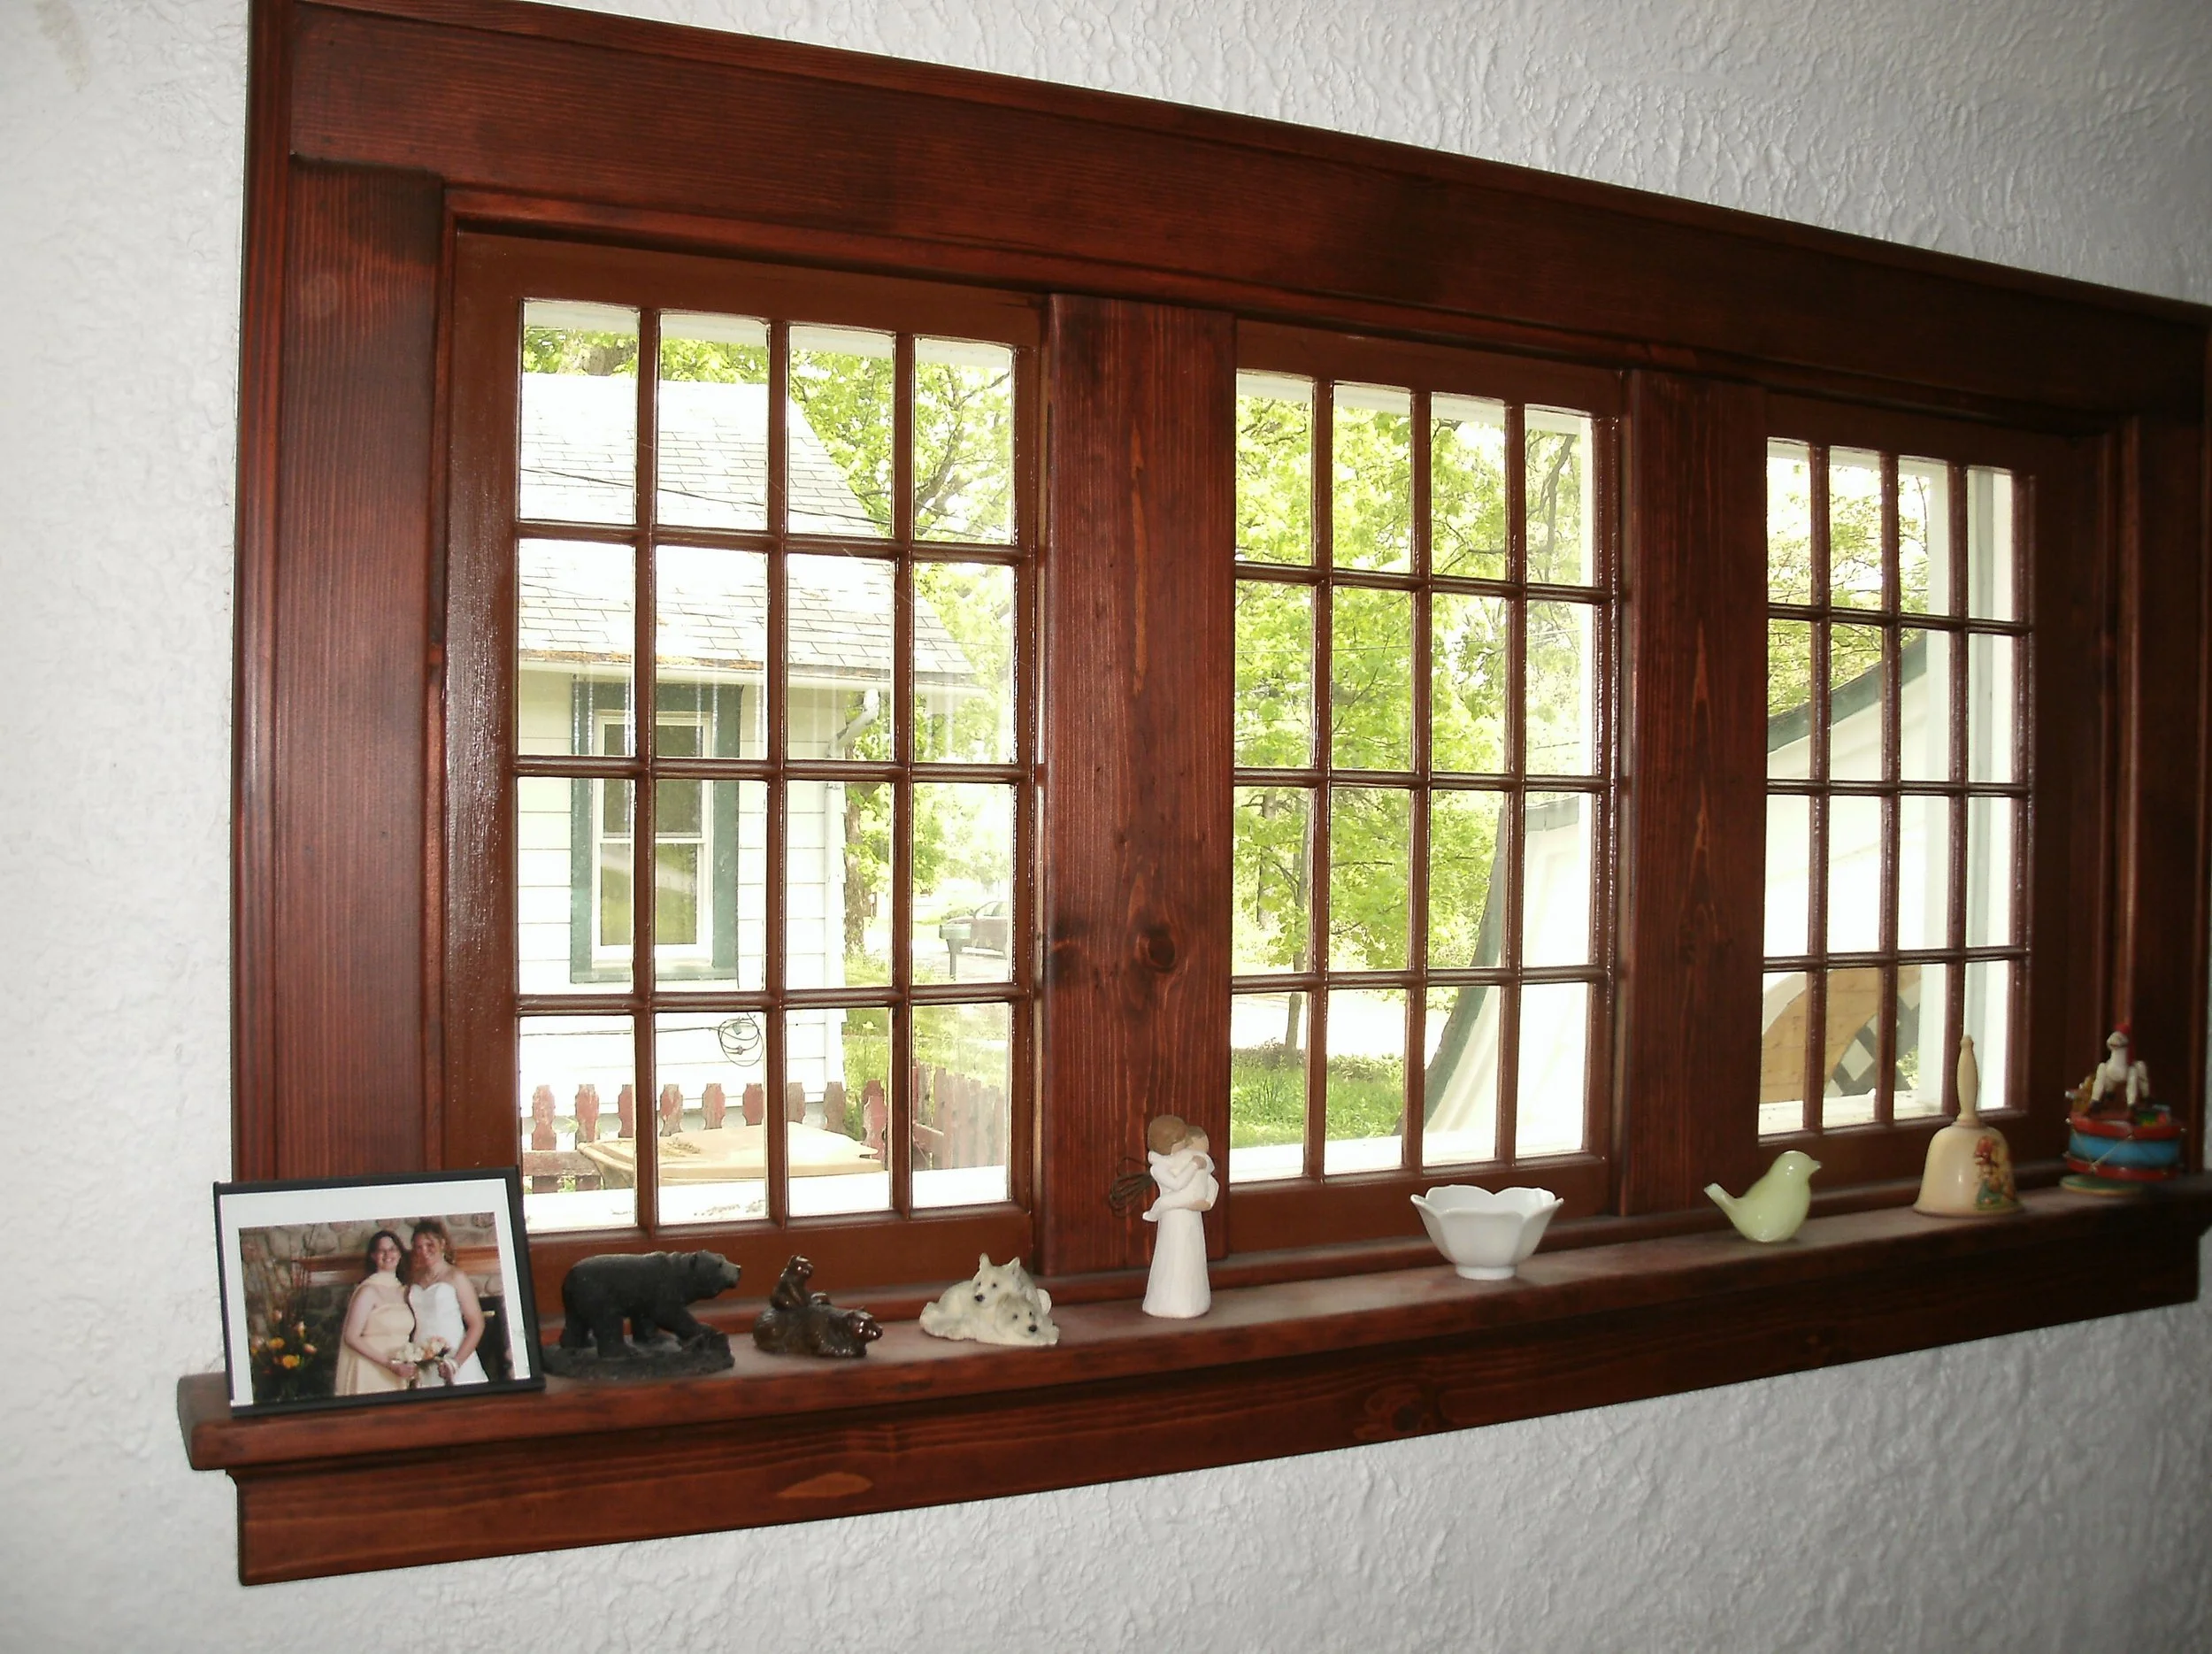
New three window trim I fabricated to match the rest of the interior trim.
I matched the bumpy “Spanish” plaster beneath the windows.
Full view of wall with DeConstruction, Inc. antique windows installed and trimmed.
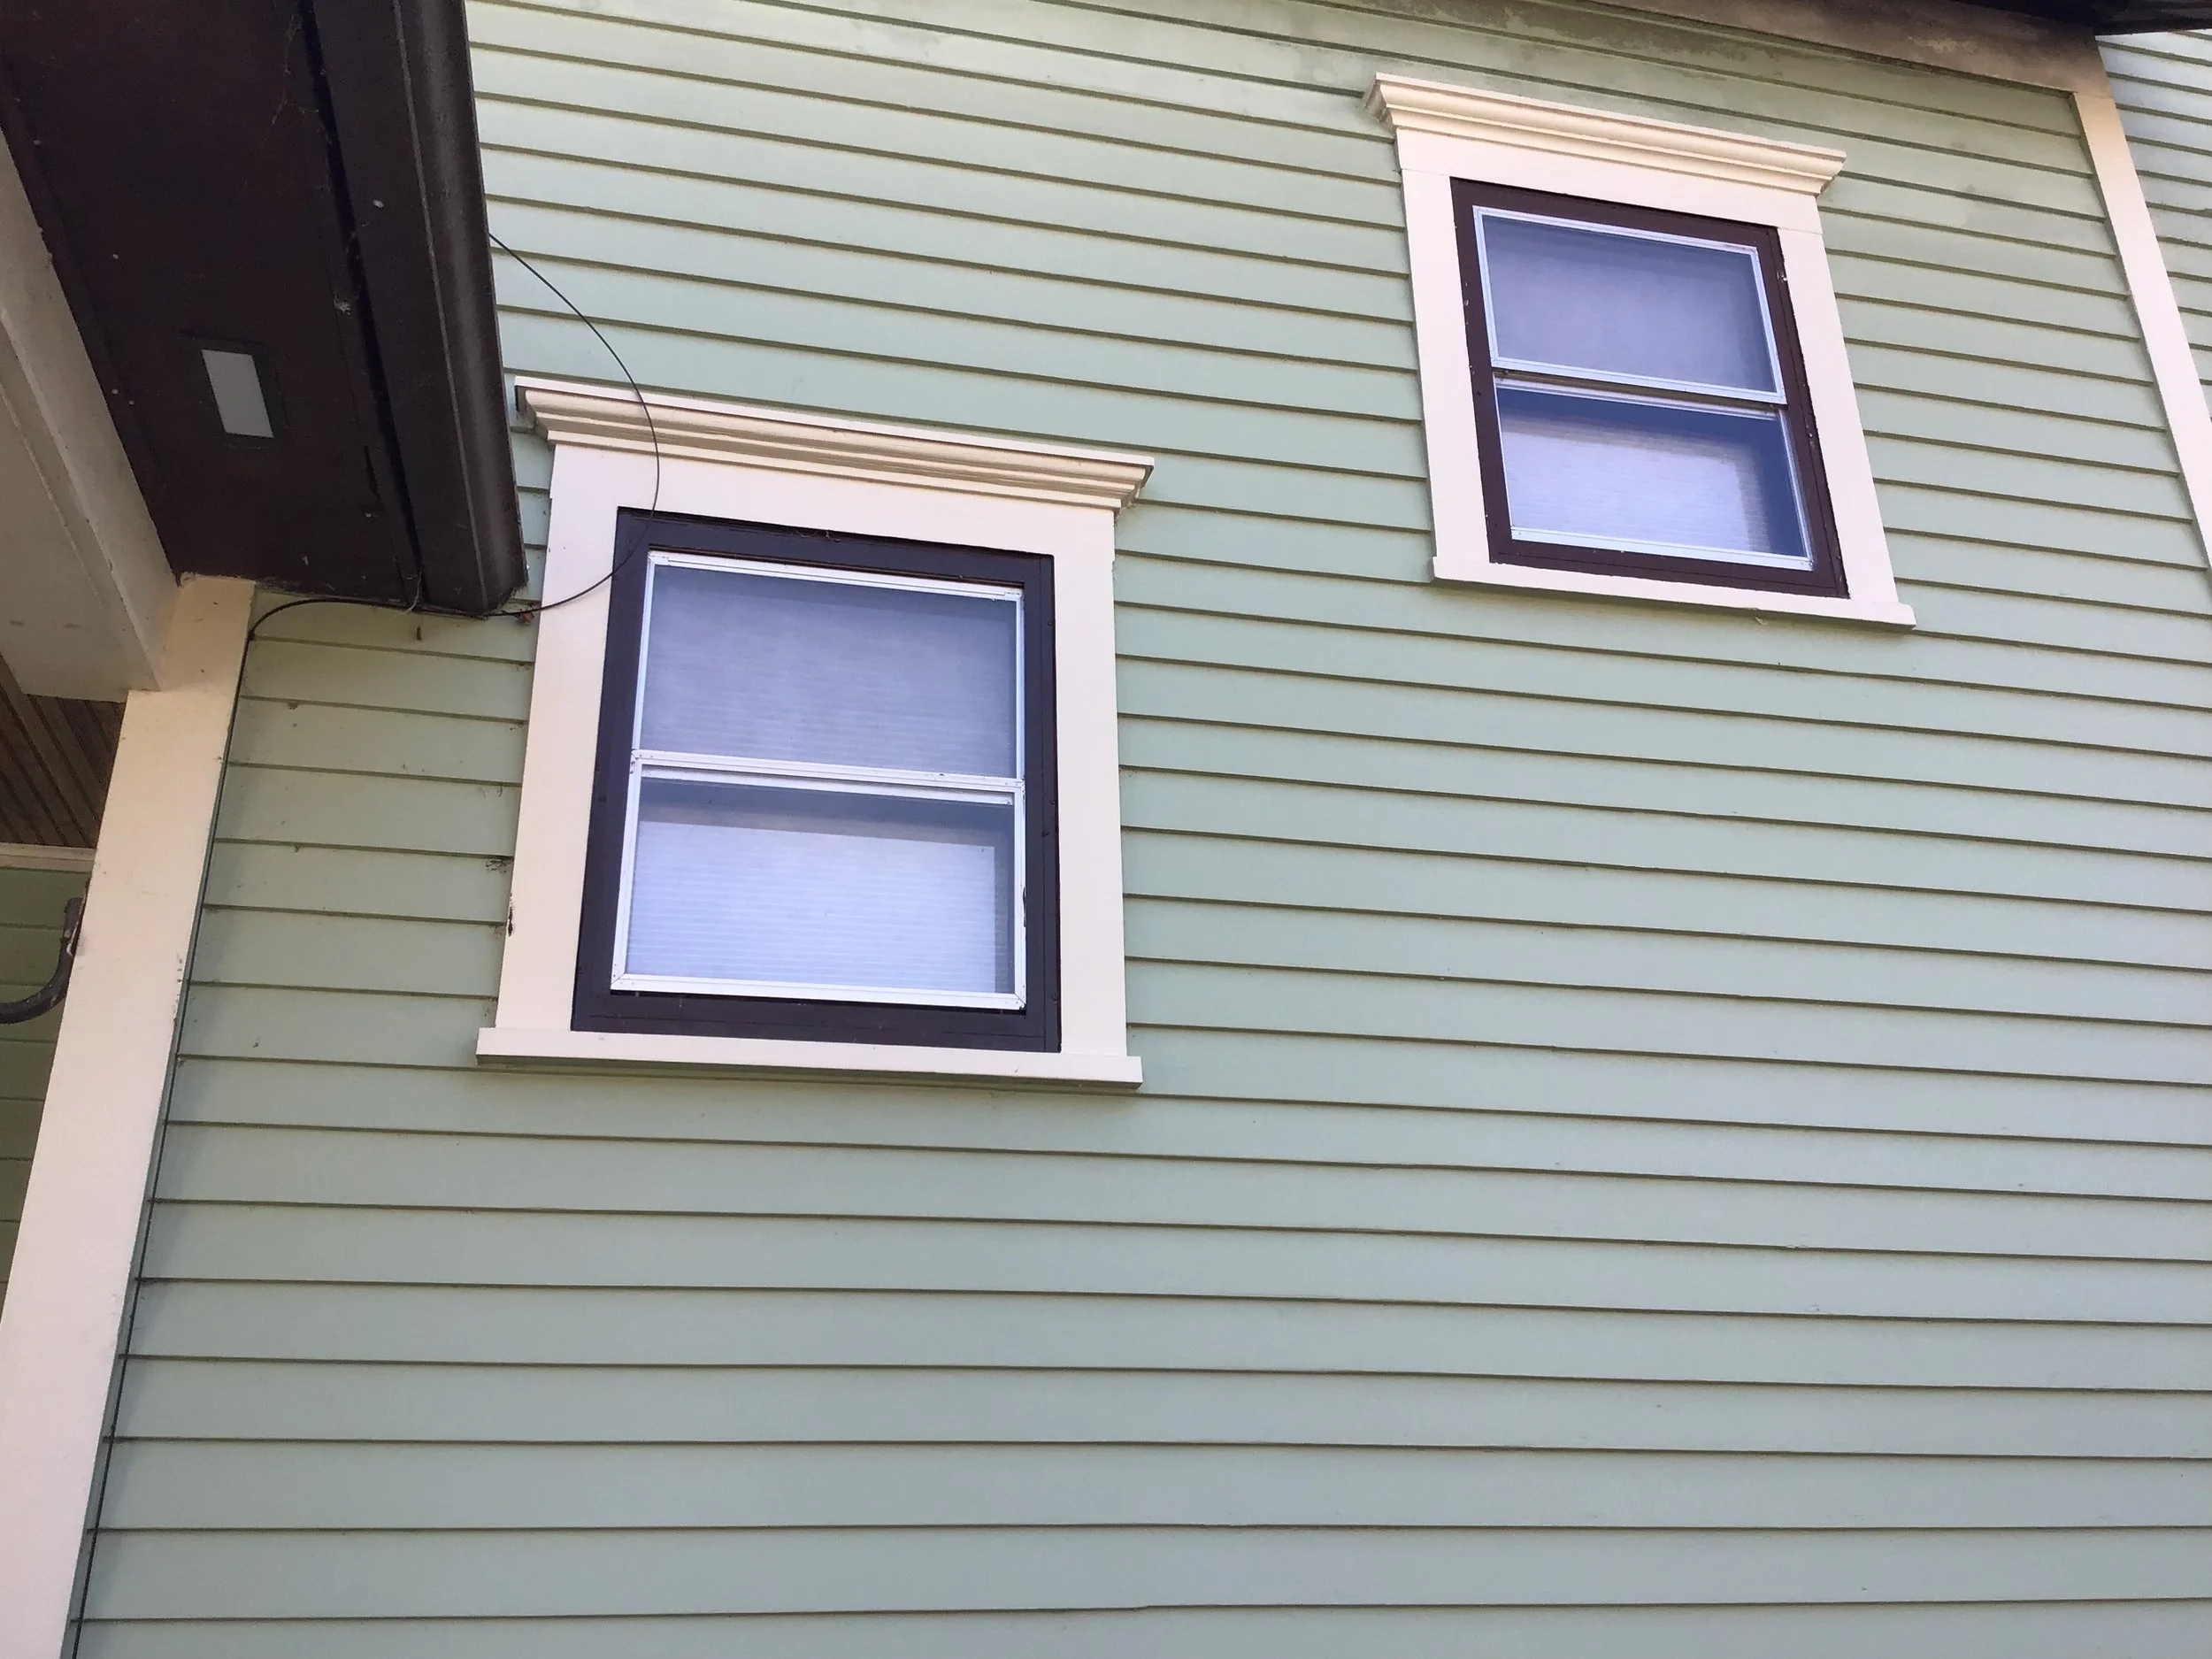
Urban Farmhouse 2nd Owner Exterior
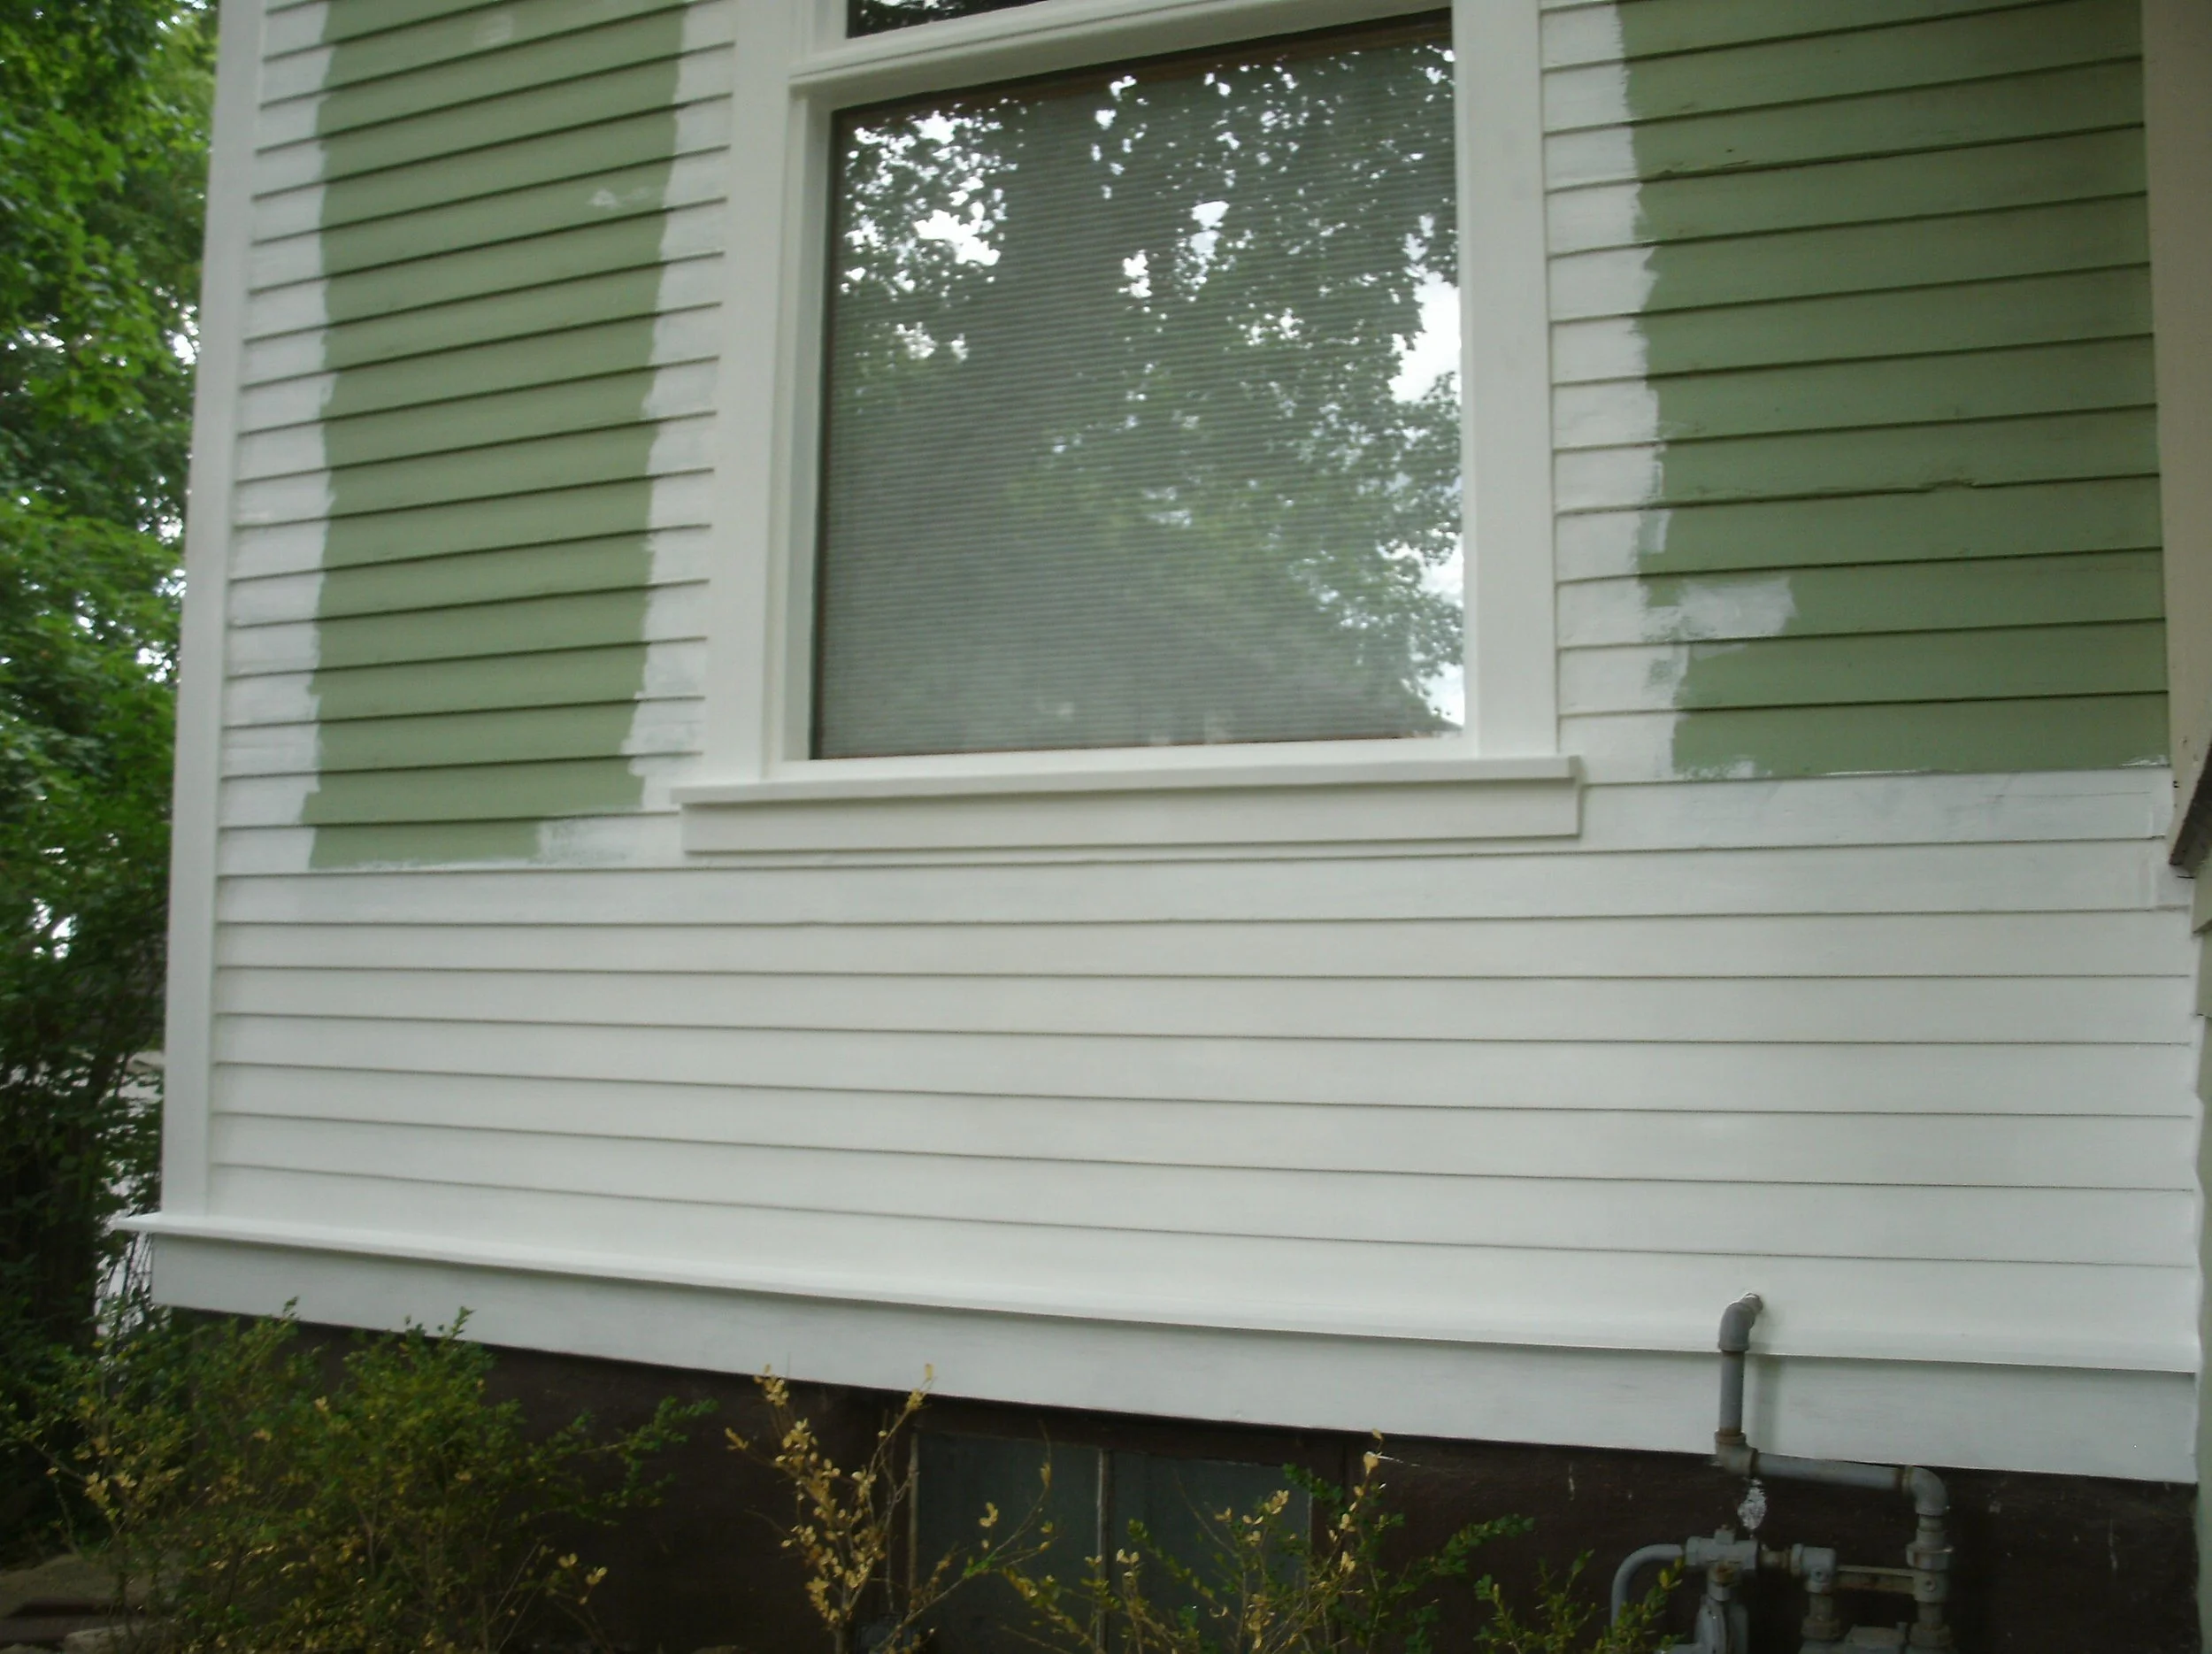
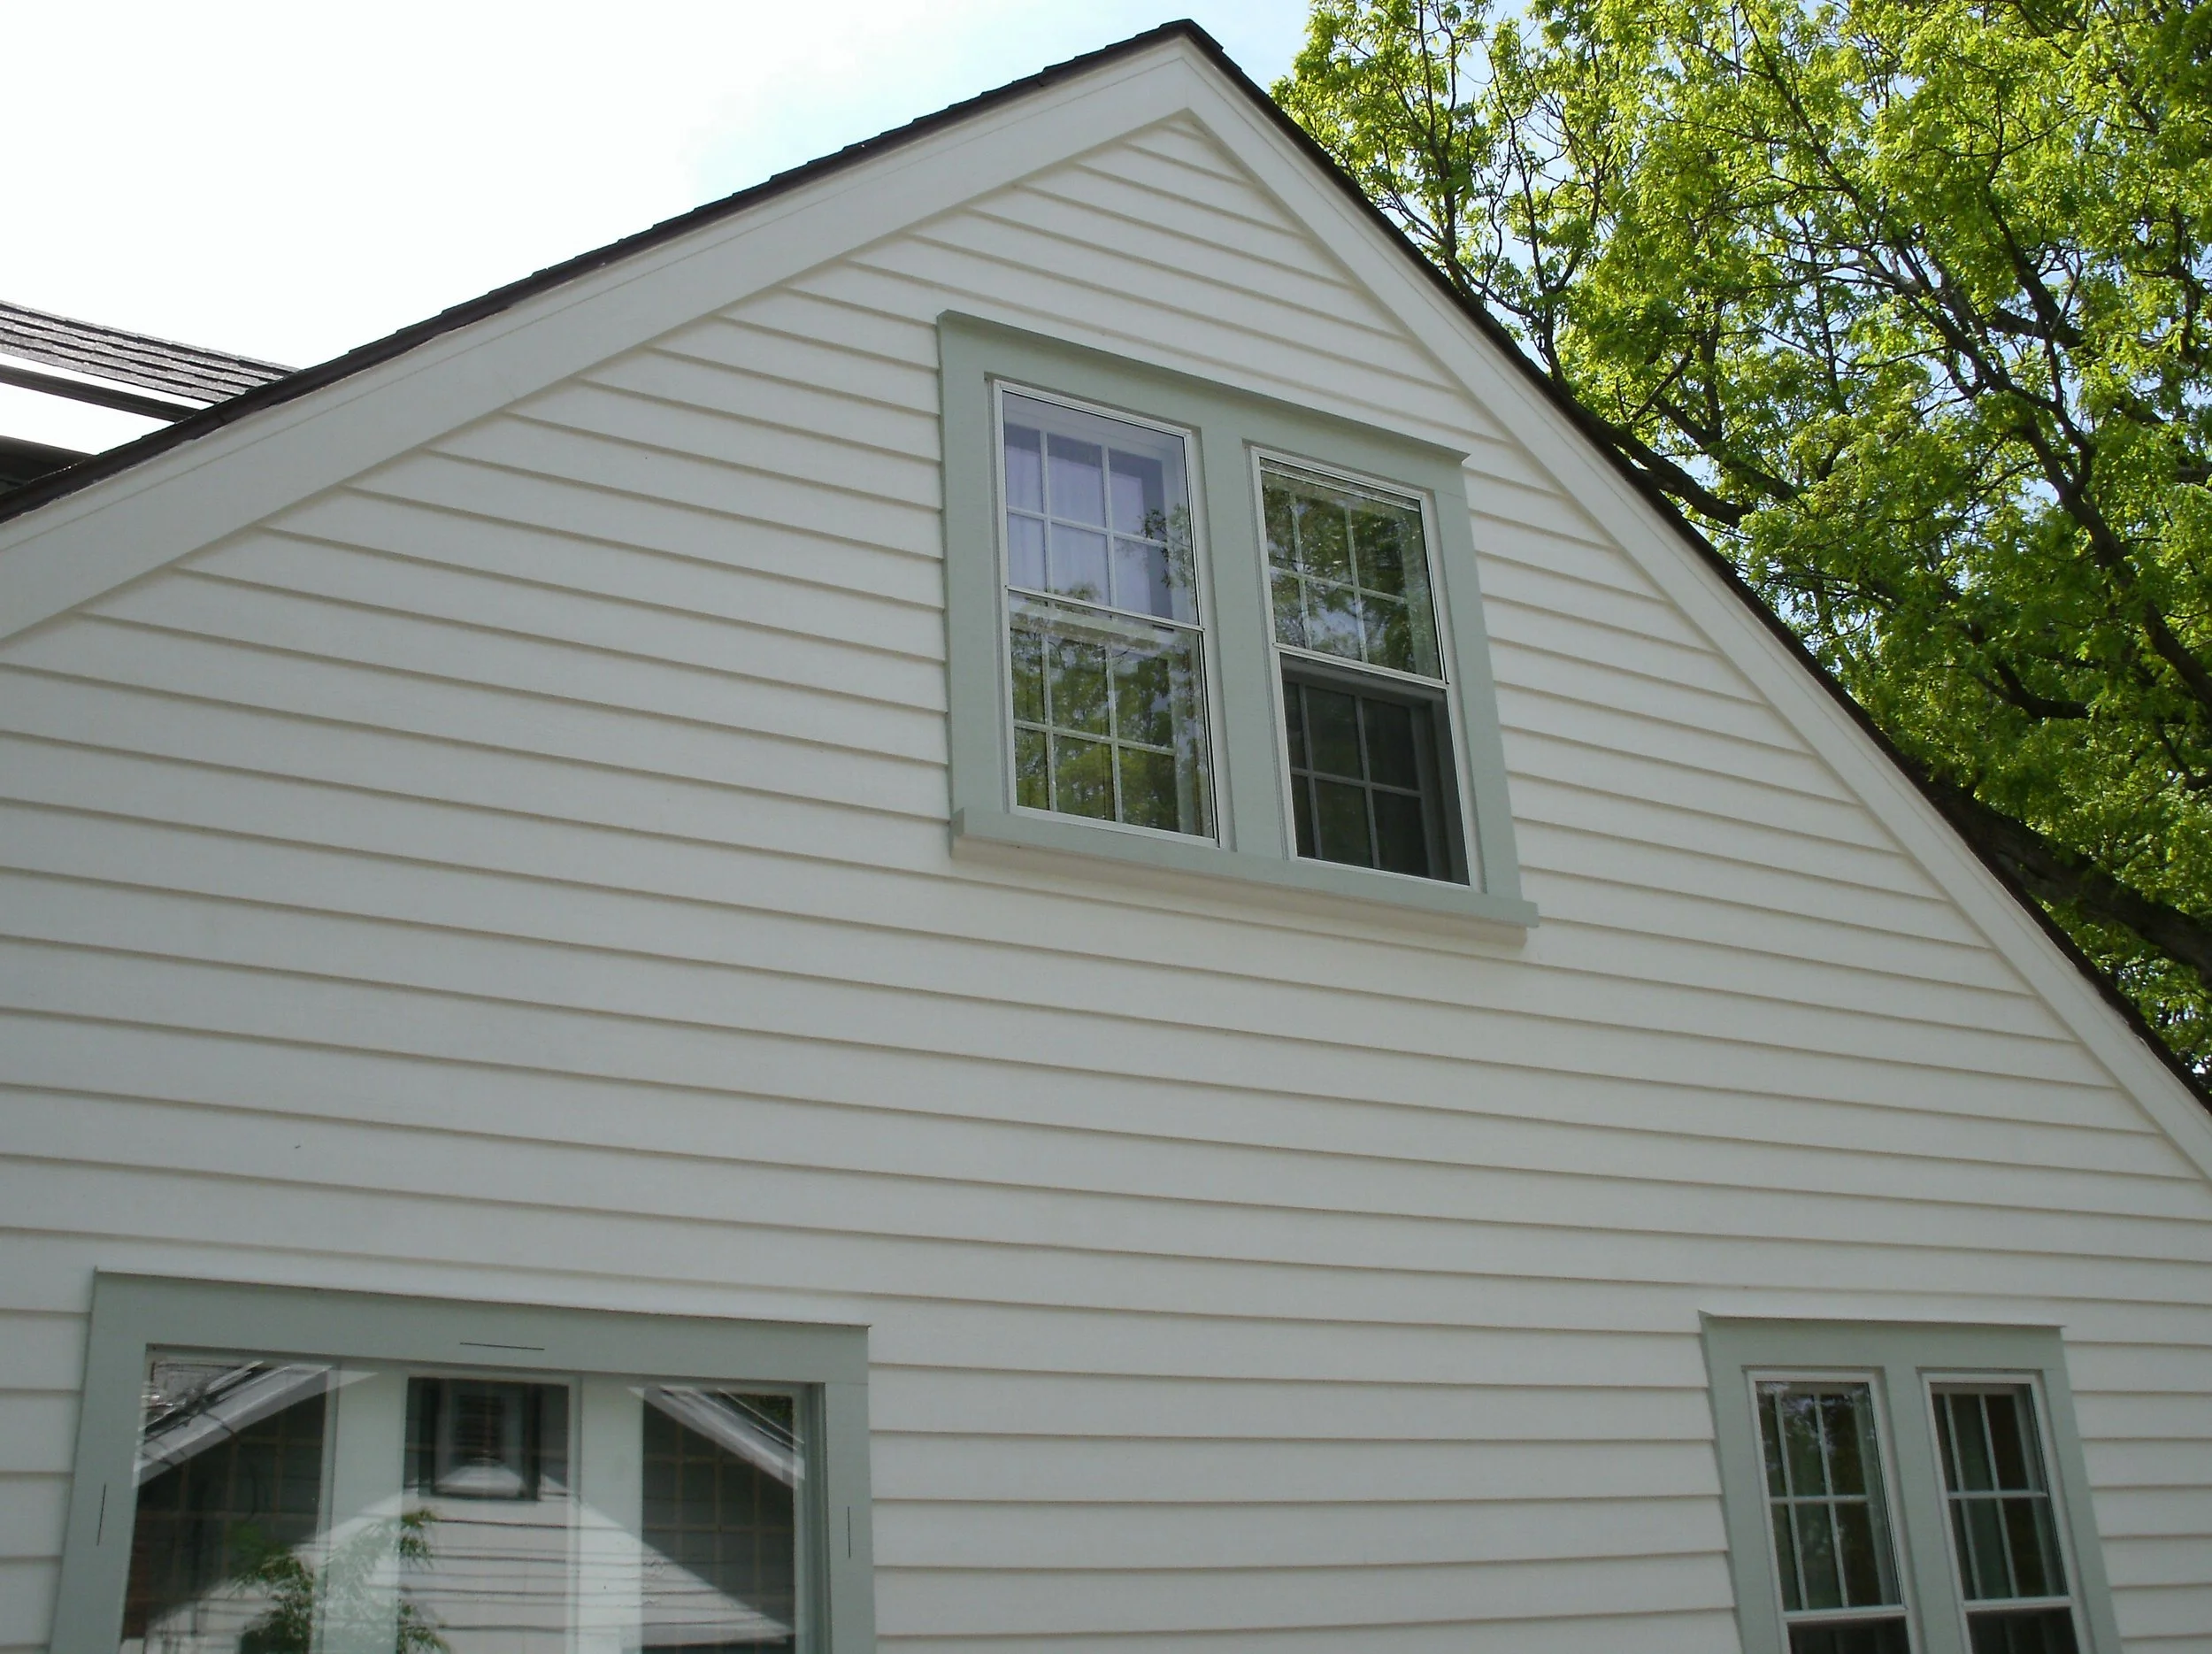
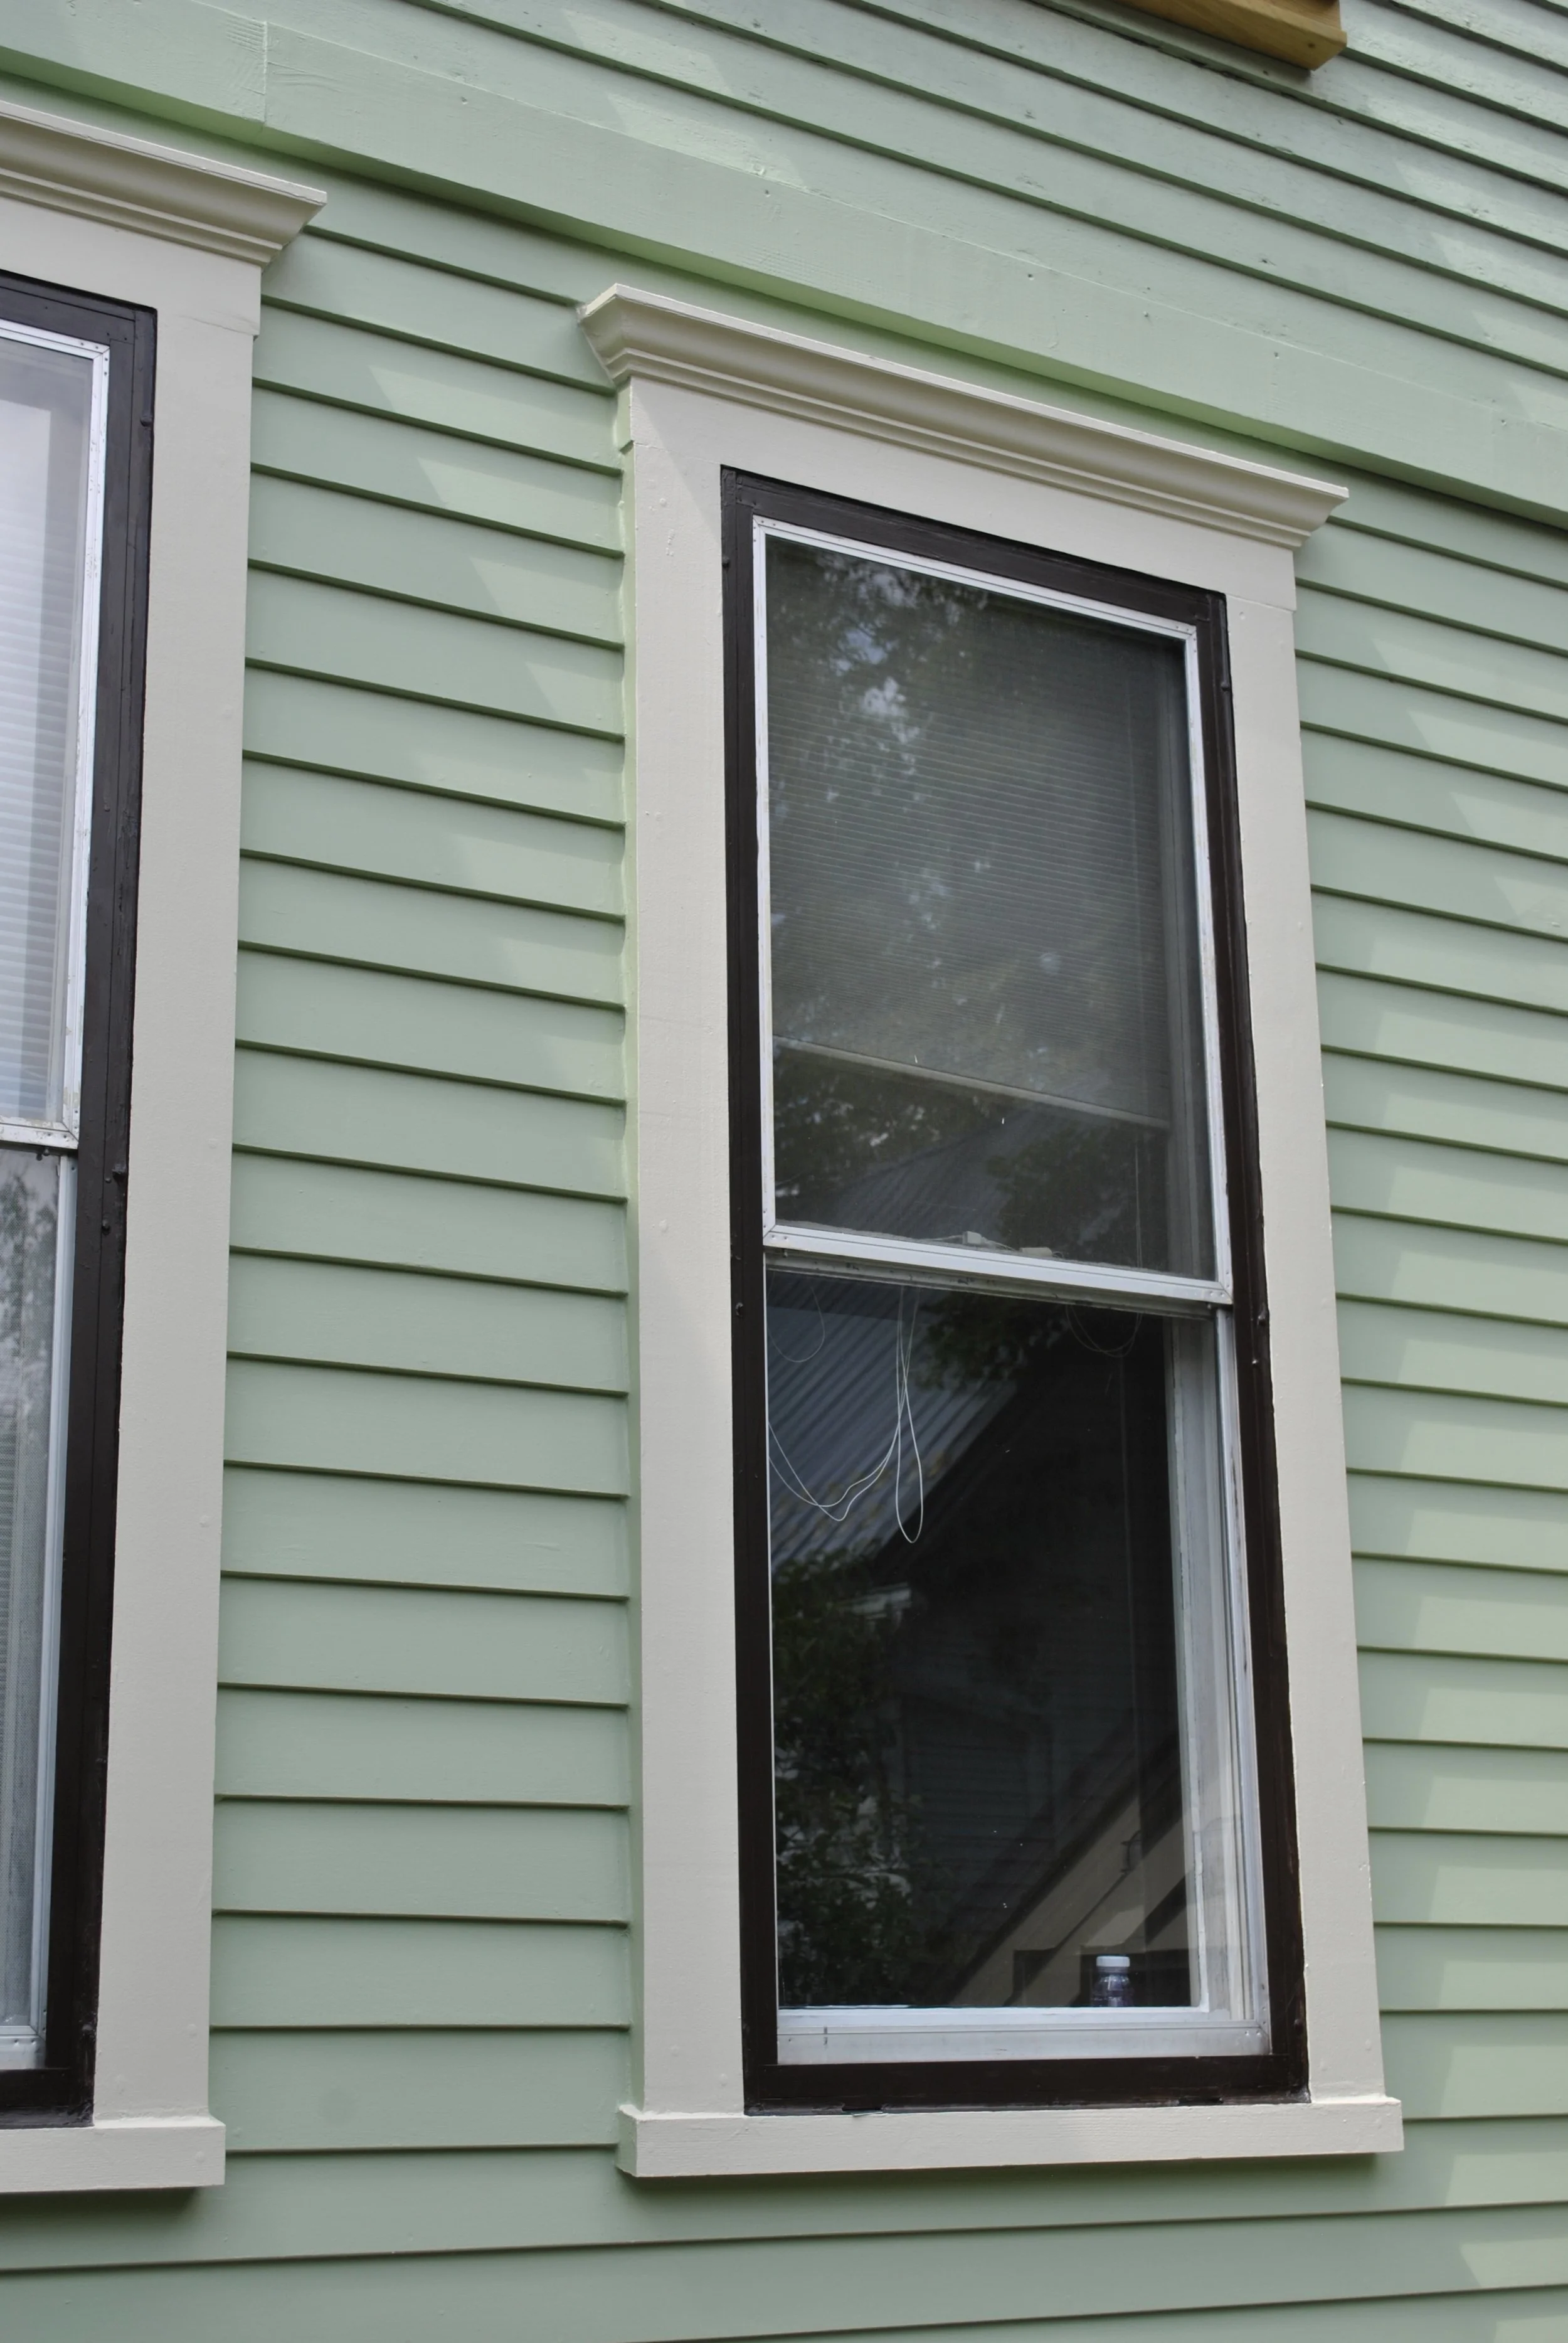
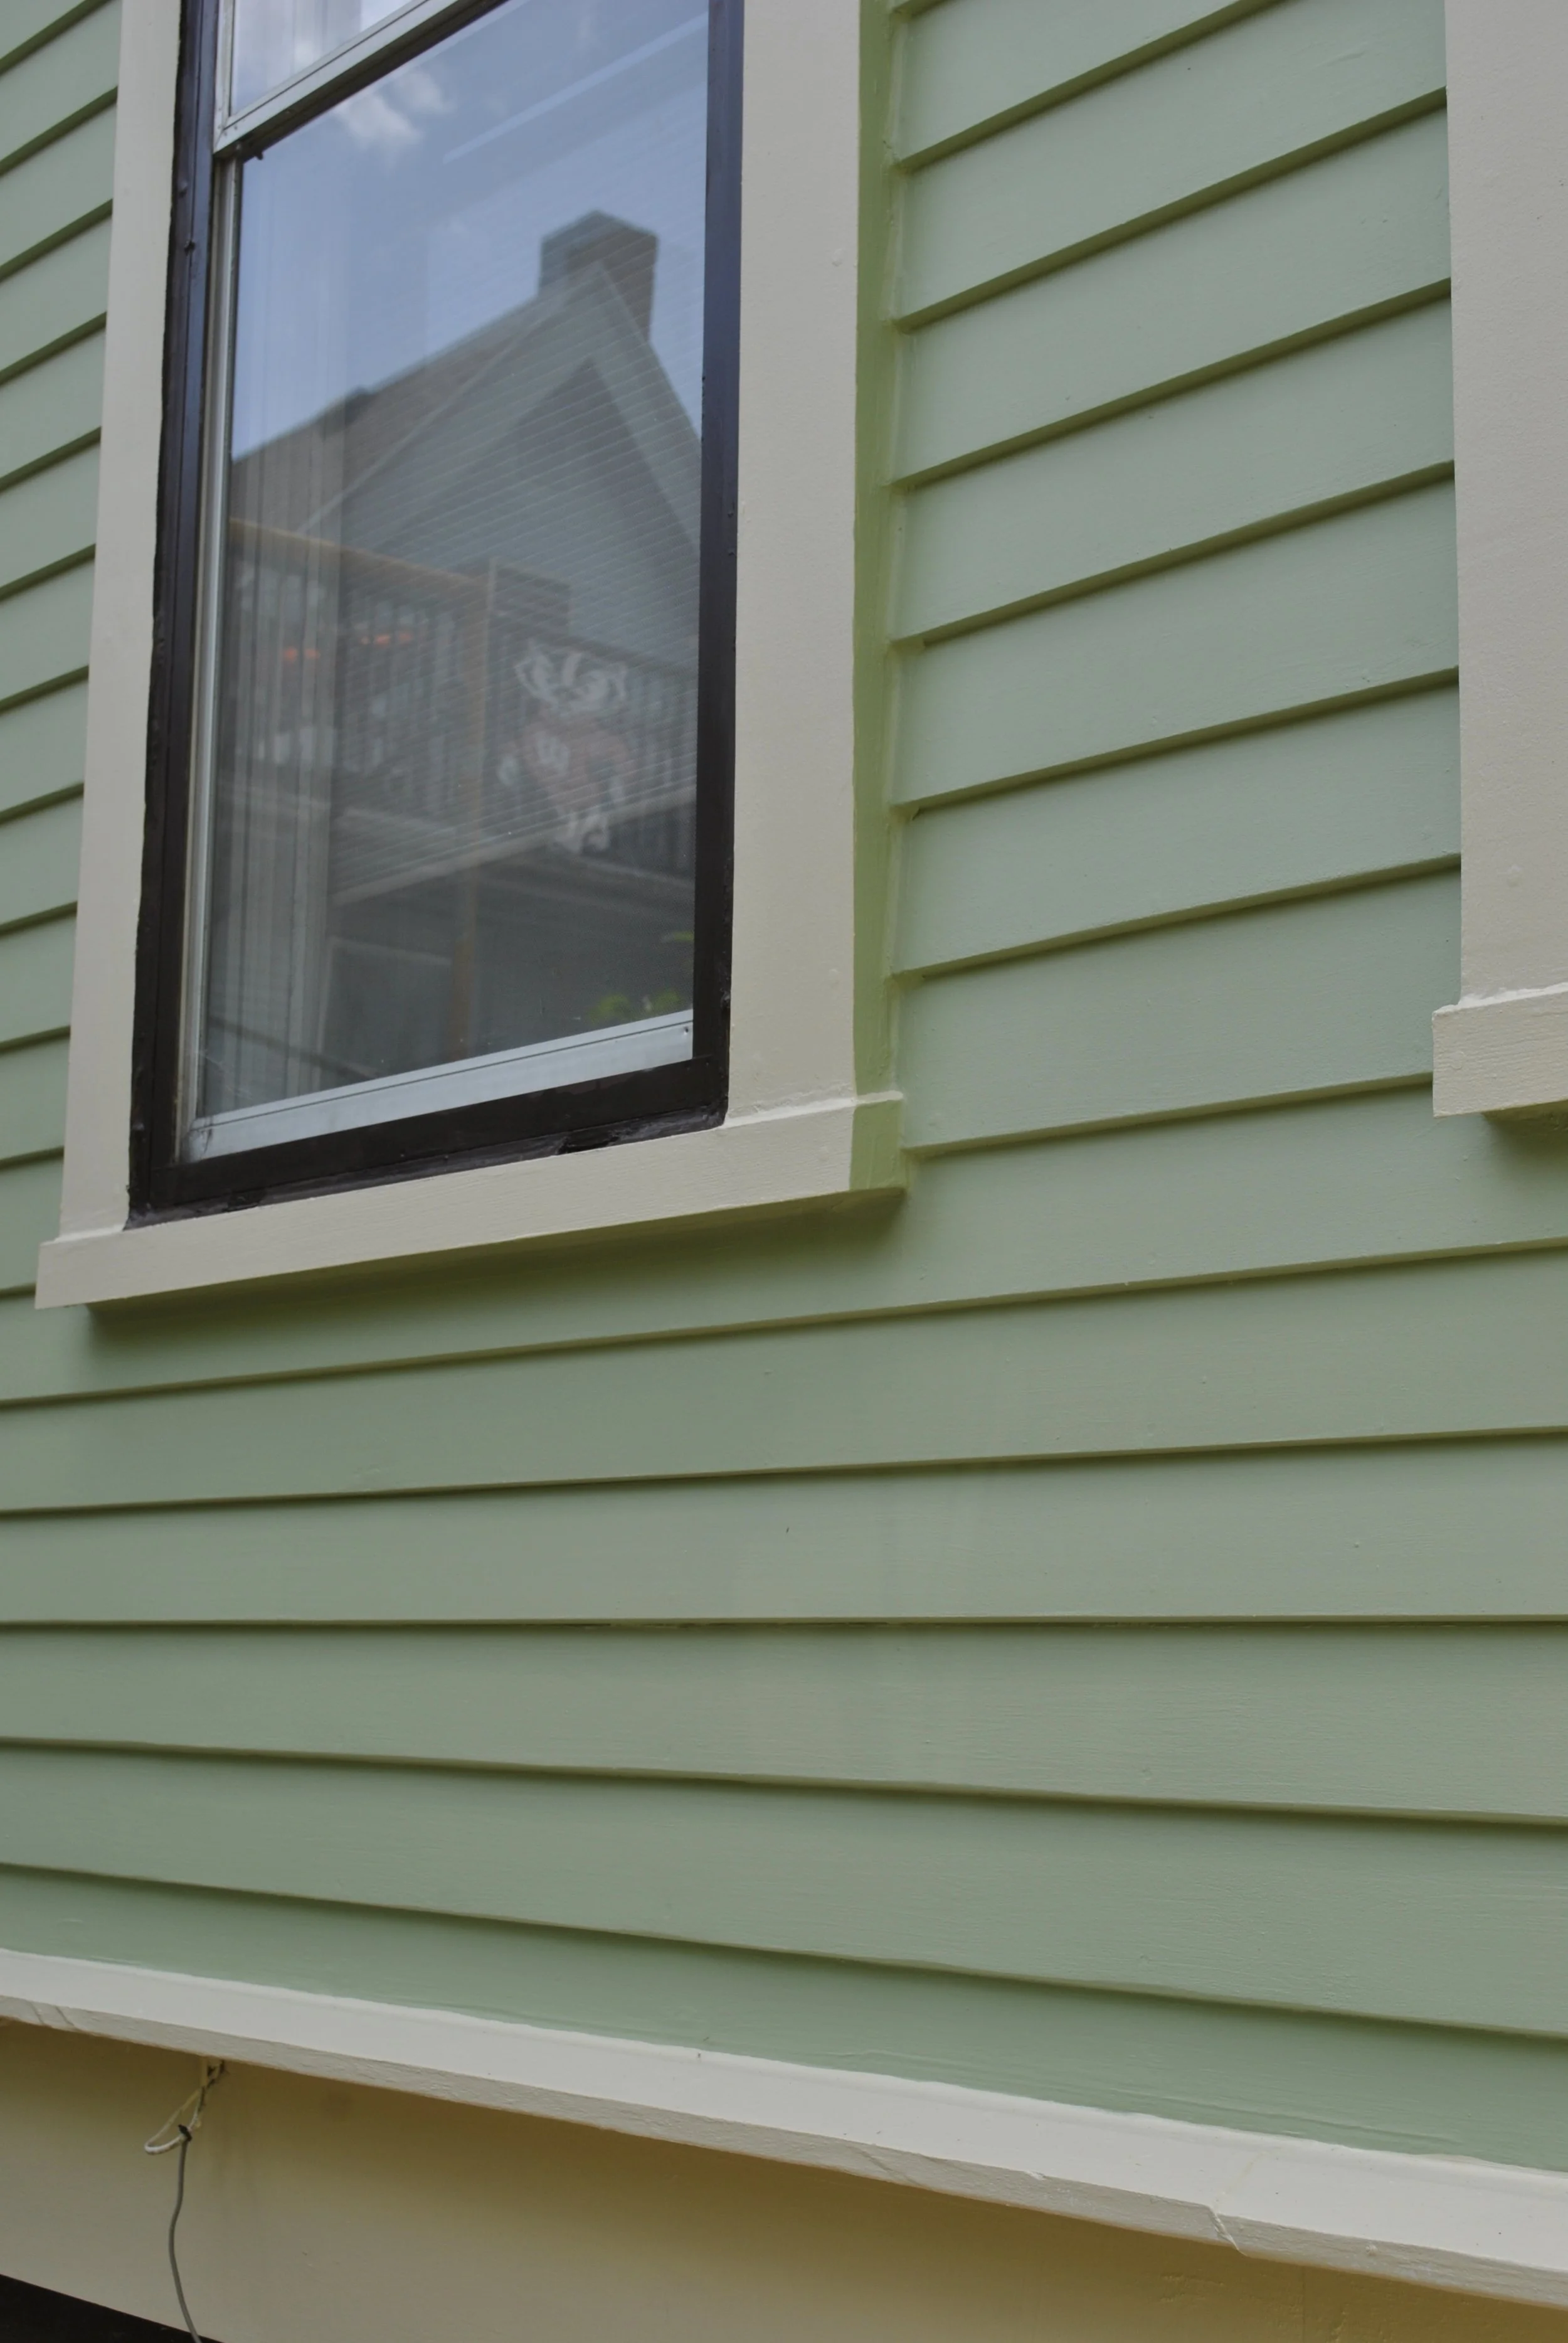
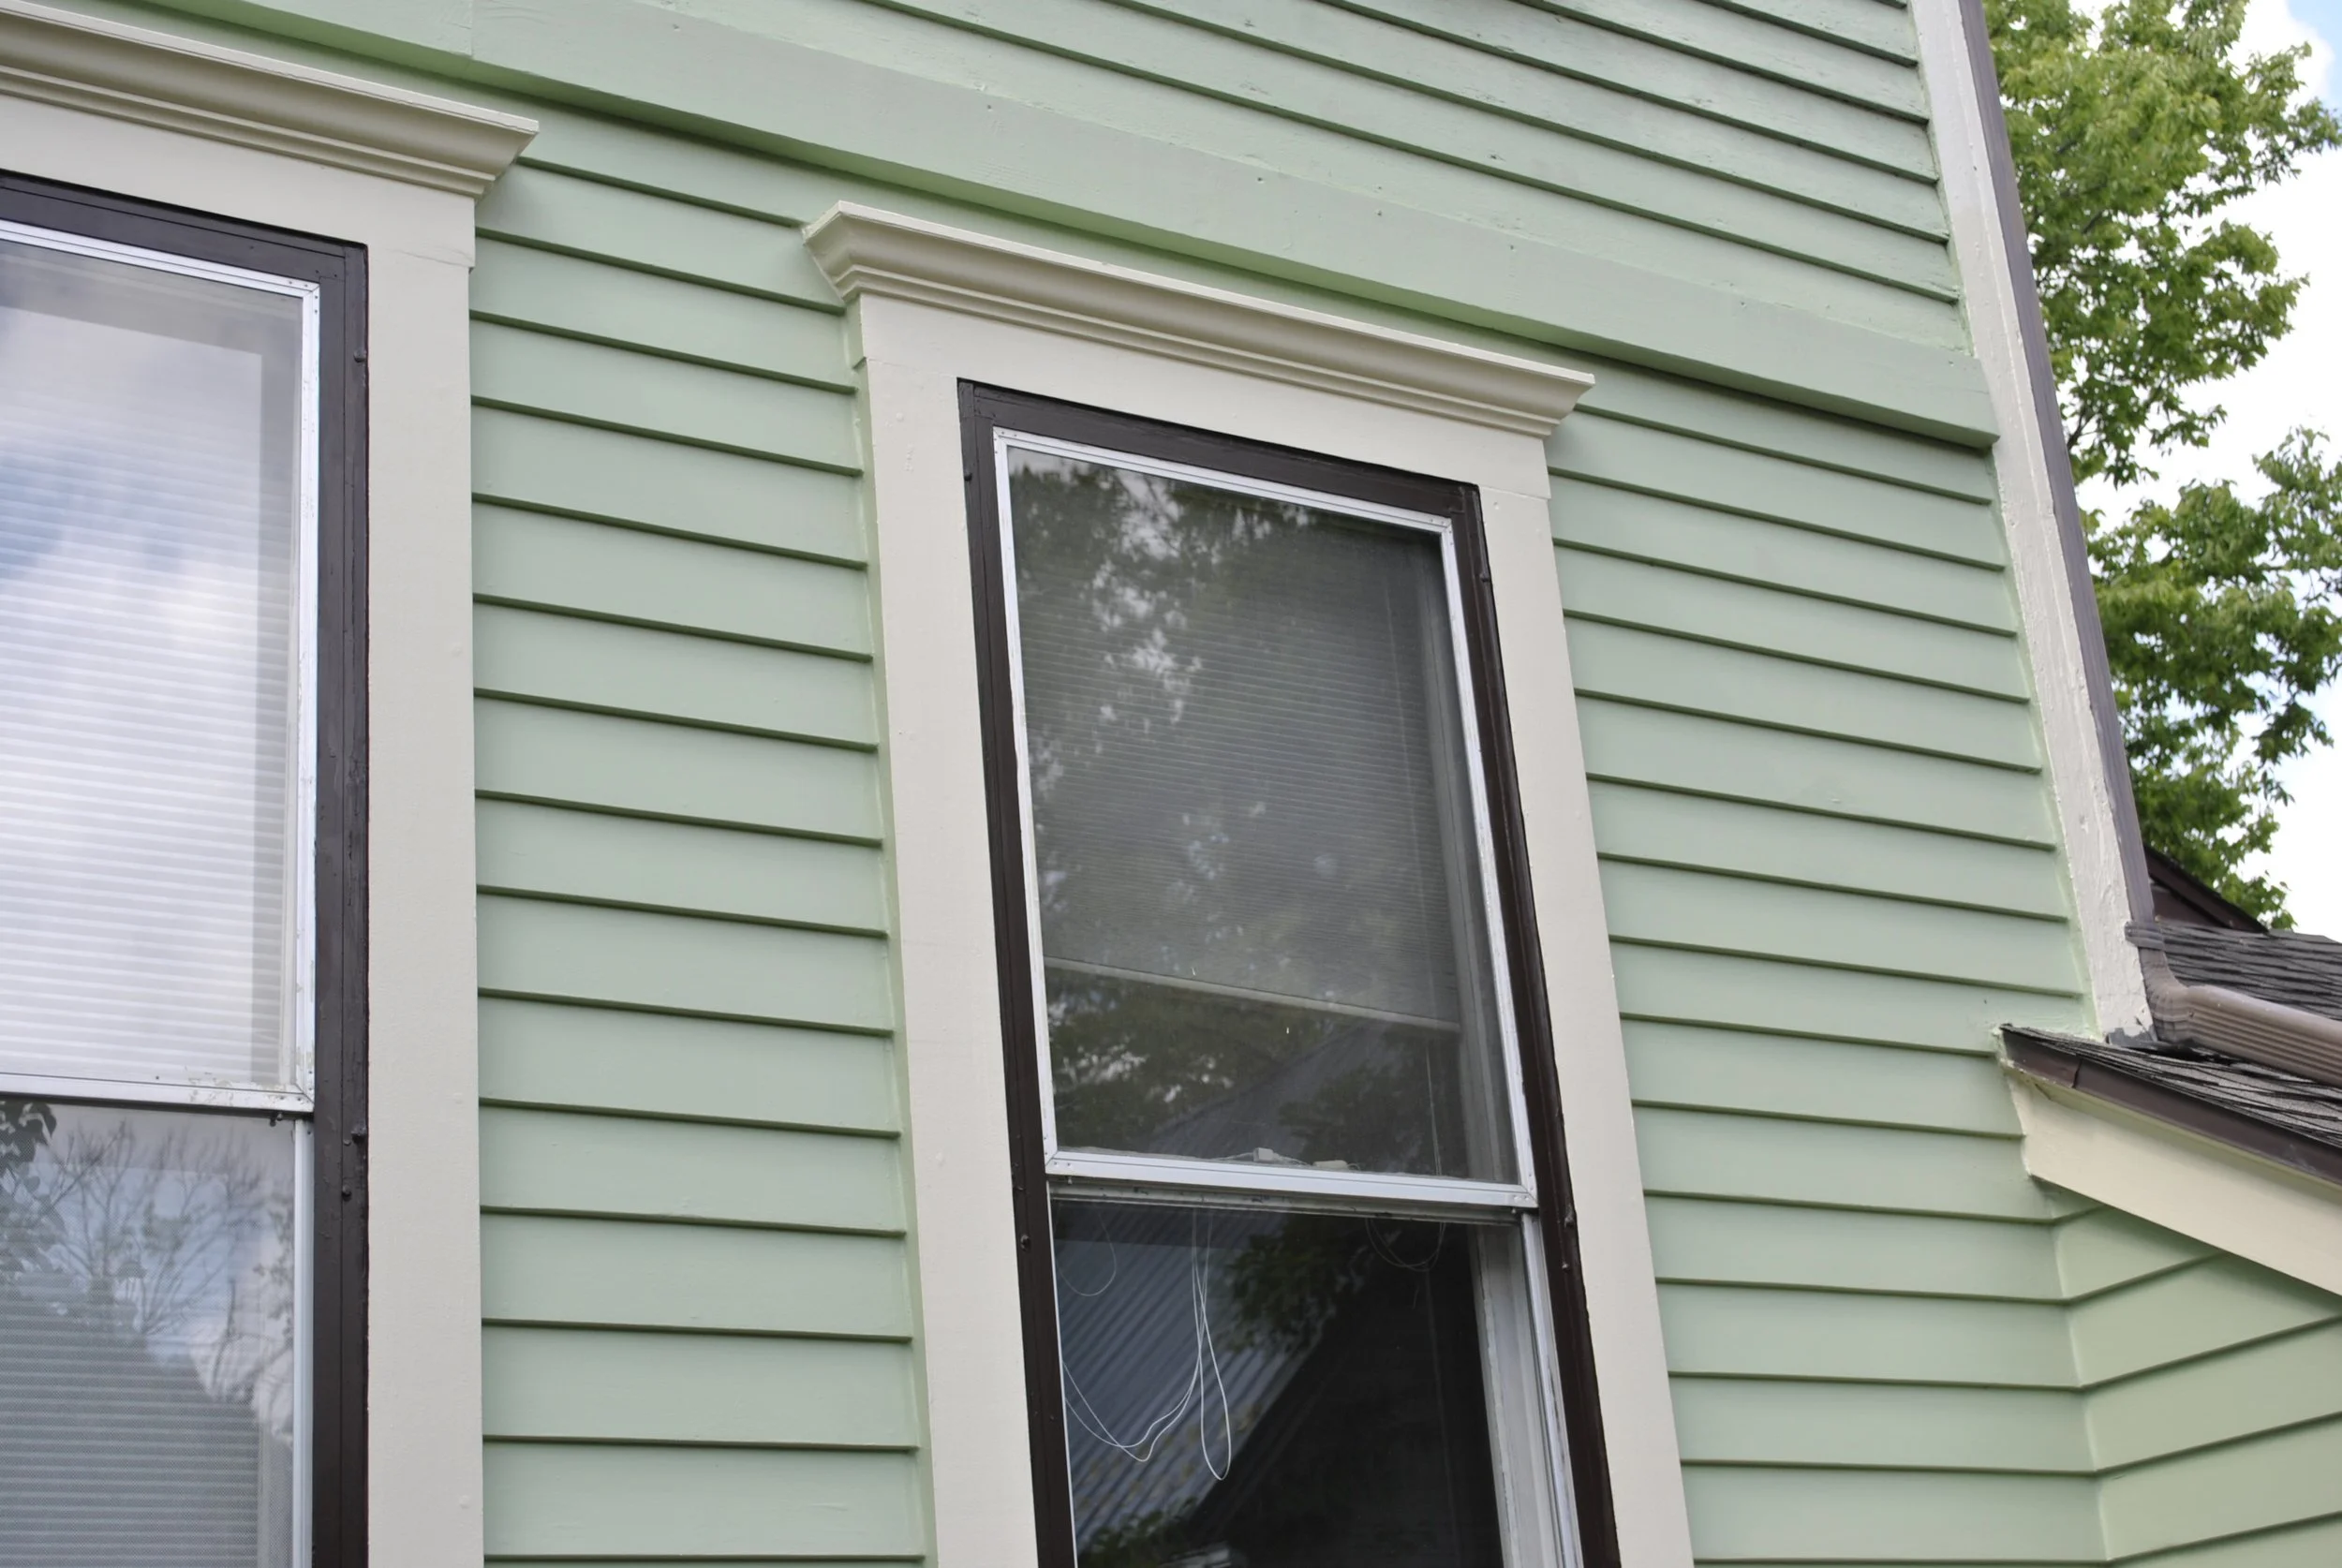
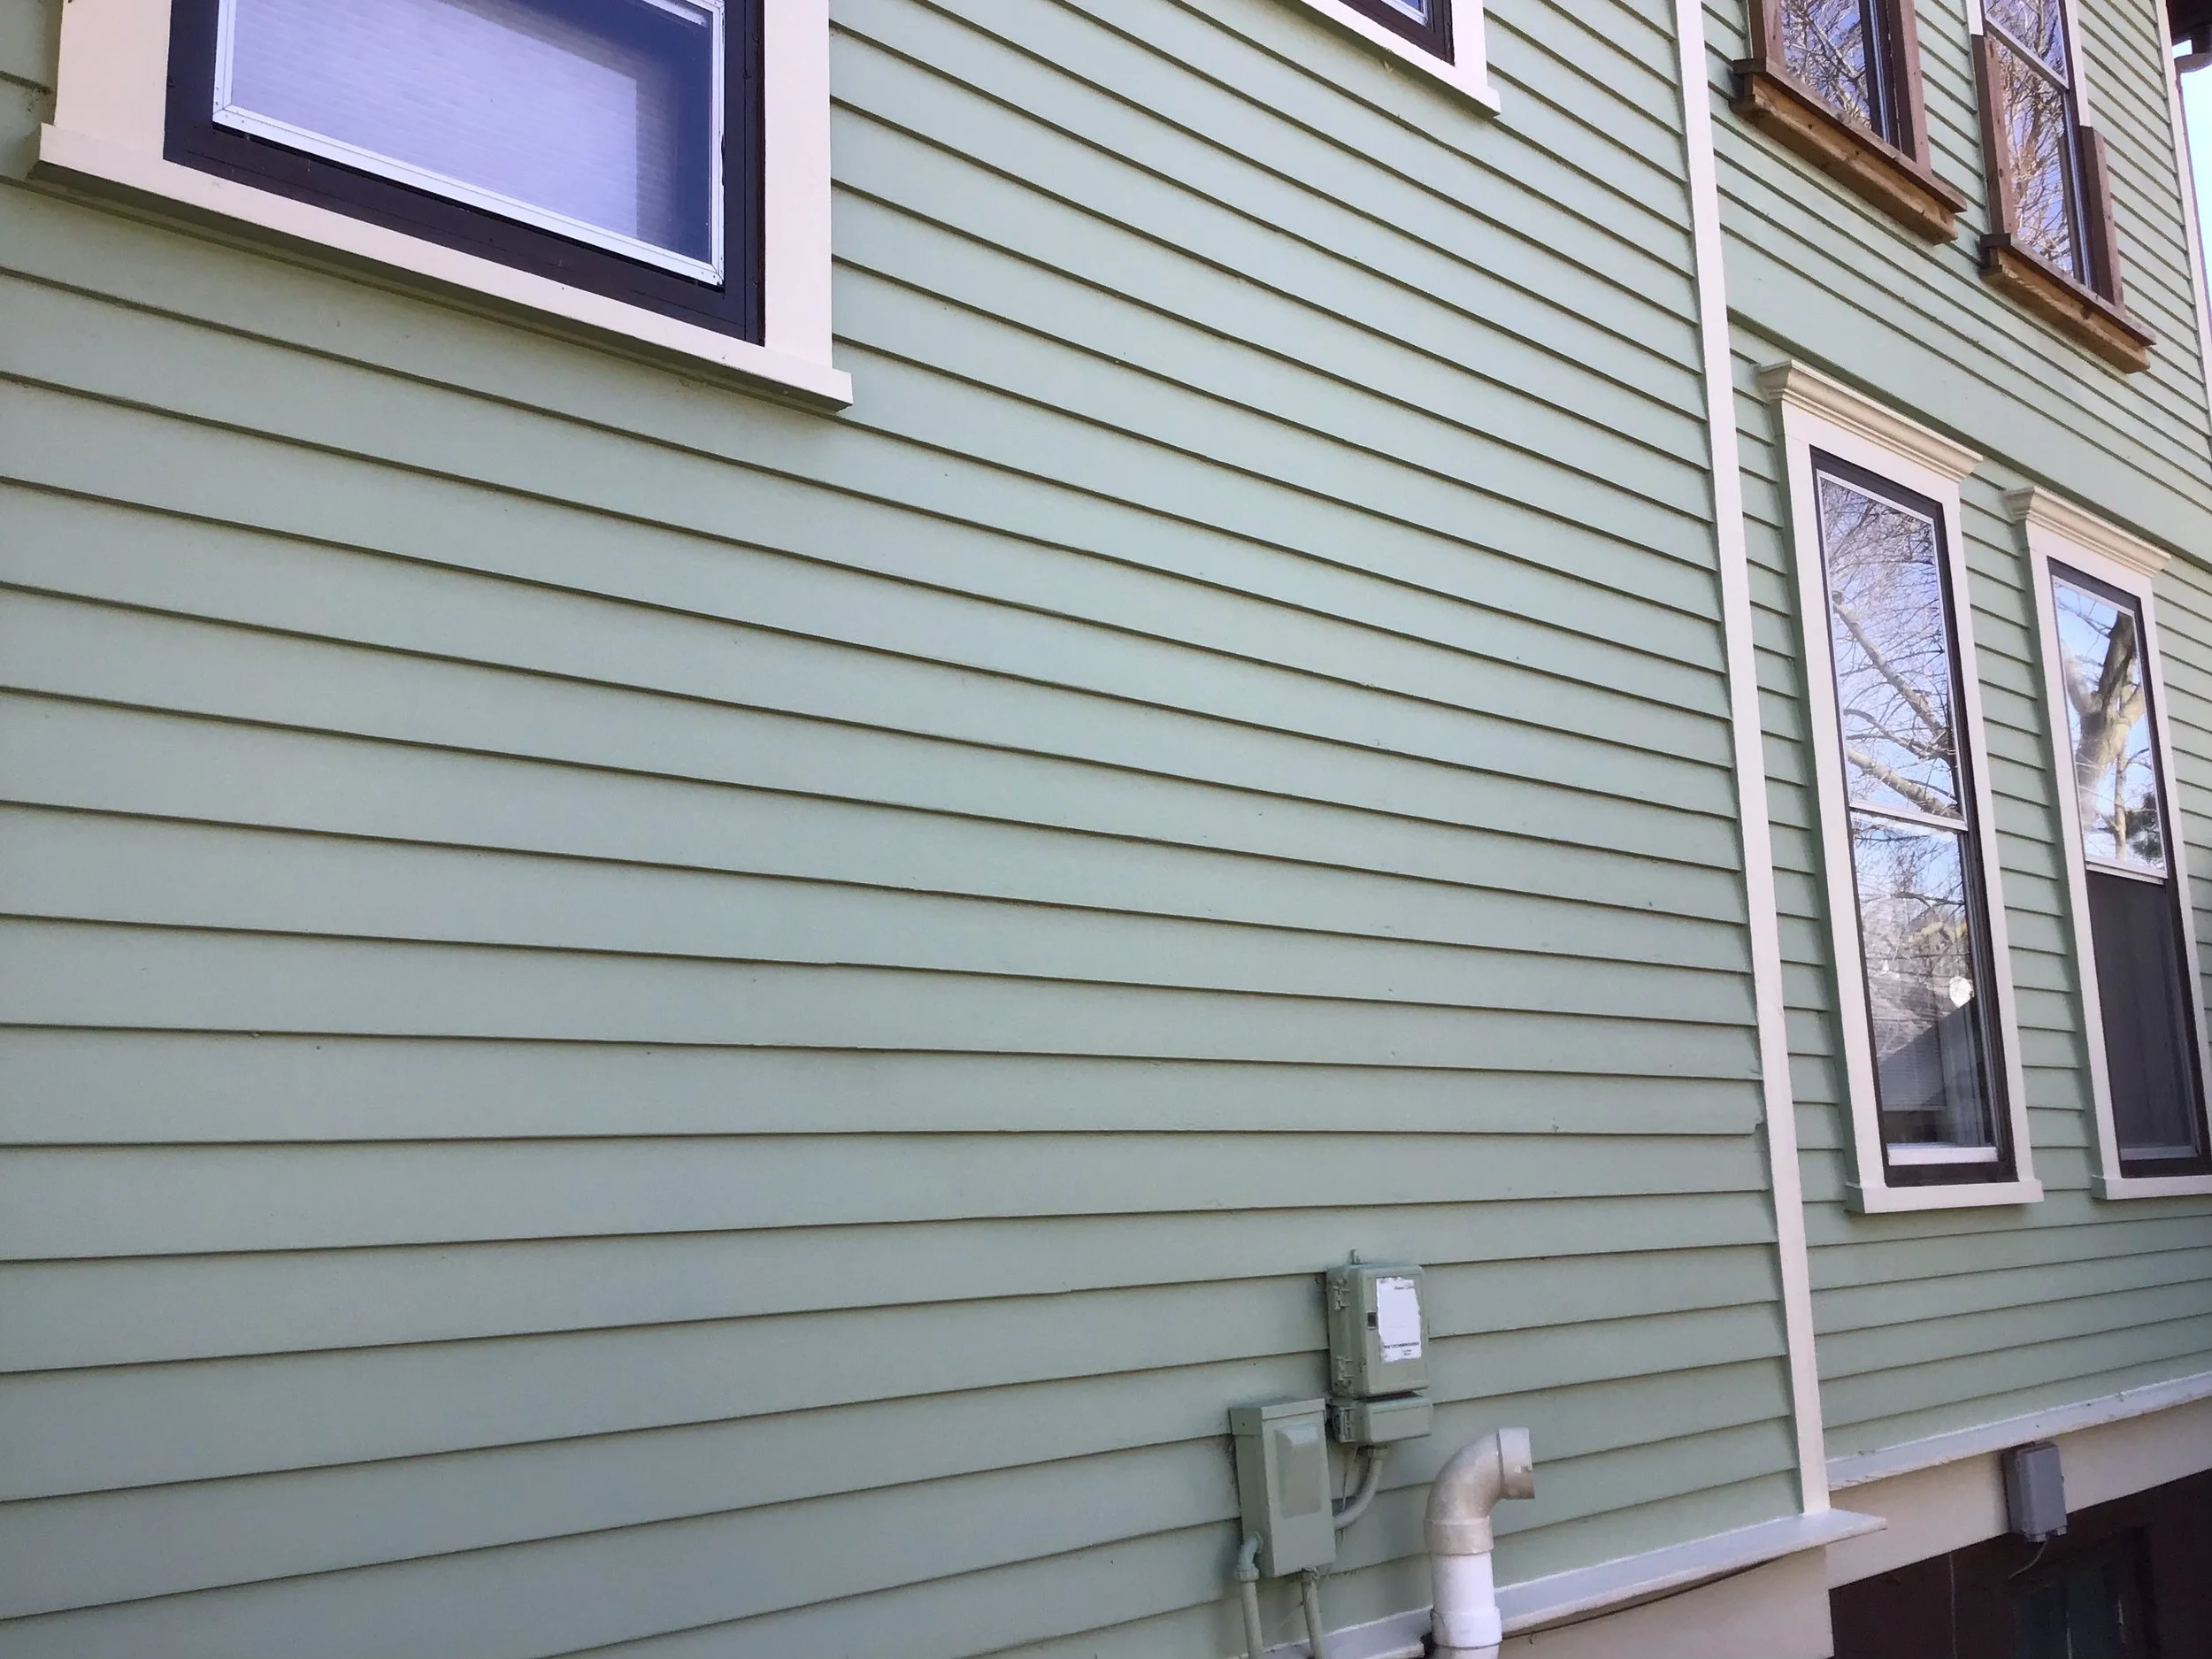
These two projects continue my lifelong Crusade to keep this mighty domiciliary ship afloat. The present customers are the second owners whom I have contracted with. The first, larger project involved completely rebuilding two windows. I tore out and replaced the massive windowsills of this well over 100 year-old house. I removed the storms and replaced the casing (side trim), the apron below the sill with mitered returns, the head casing over the window, the crown molding with mitered returns and metal cap for that 75 year longevity. The metal caps were fabricated by Badger Diversified Metals in Madison. They are wonderful. Simultaneously, I replaced all of the siding up to above the new windows. To help seal the wall and provide a little waterproofing, I screwed a long-term temporary 2x6 to the wall above the windows to delineate the end of this phase of the work. I then painted siding, the trim, and after reinstalling the storm windows I painted those frames in place. I extended the new siding onto the adjacent wall over the garage door. This included some sheathing repair as well as new siding and trim. I painted that as well.
The second project involved similar work on the small window all the way to the left of the job site. This window is high on the wall because it is over a landing on the stairs to the second floor. This window was even more rotted than the others because of roof issues, flashing issues, and gutter leakage issues. I tore out the window trim, siding, and replaced some rotted sheathing. I installed a custom flashing on the 4 feet of wall above the gutter adjacent to the window. I installed approximately 6 feet of new gutter and caulked everything copiously. I then replaced the window trim and siding as necessary. I then painted everything.
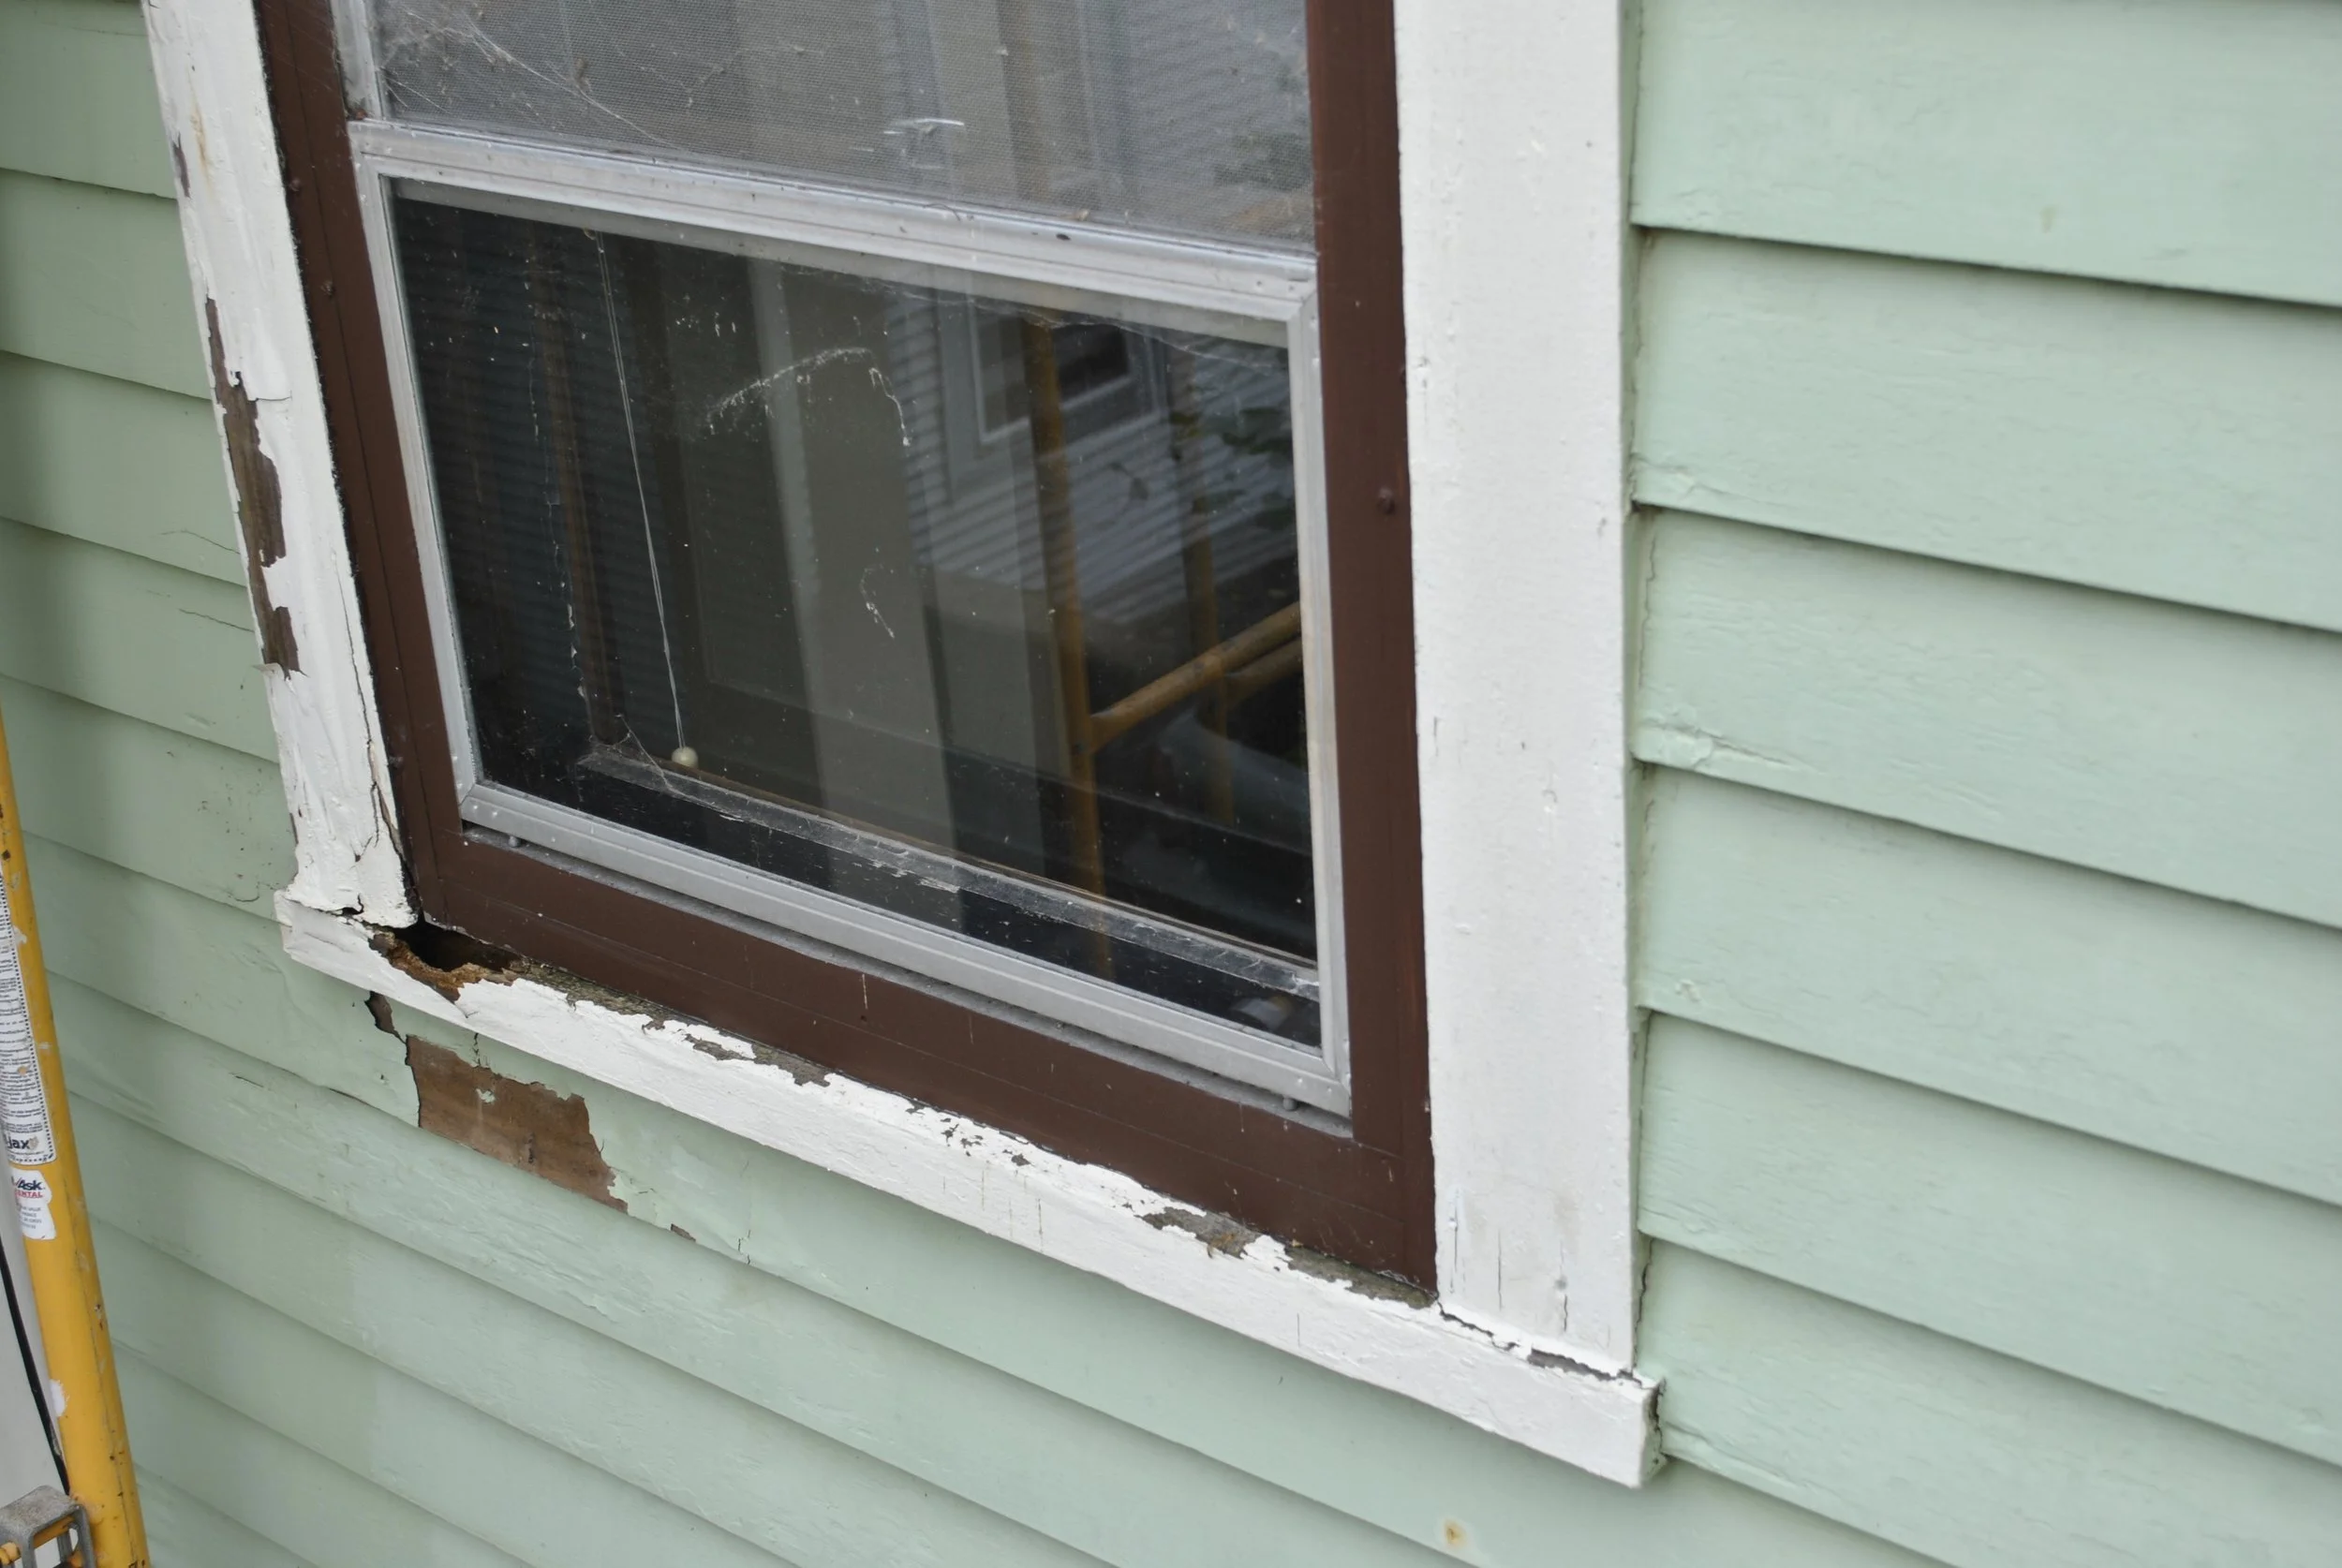
This is the level of rot in the sill, casing, and siding of the windows.
Another icky view of the damaged wood.
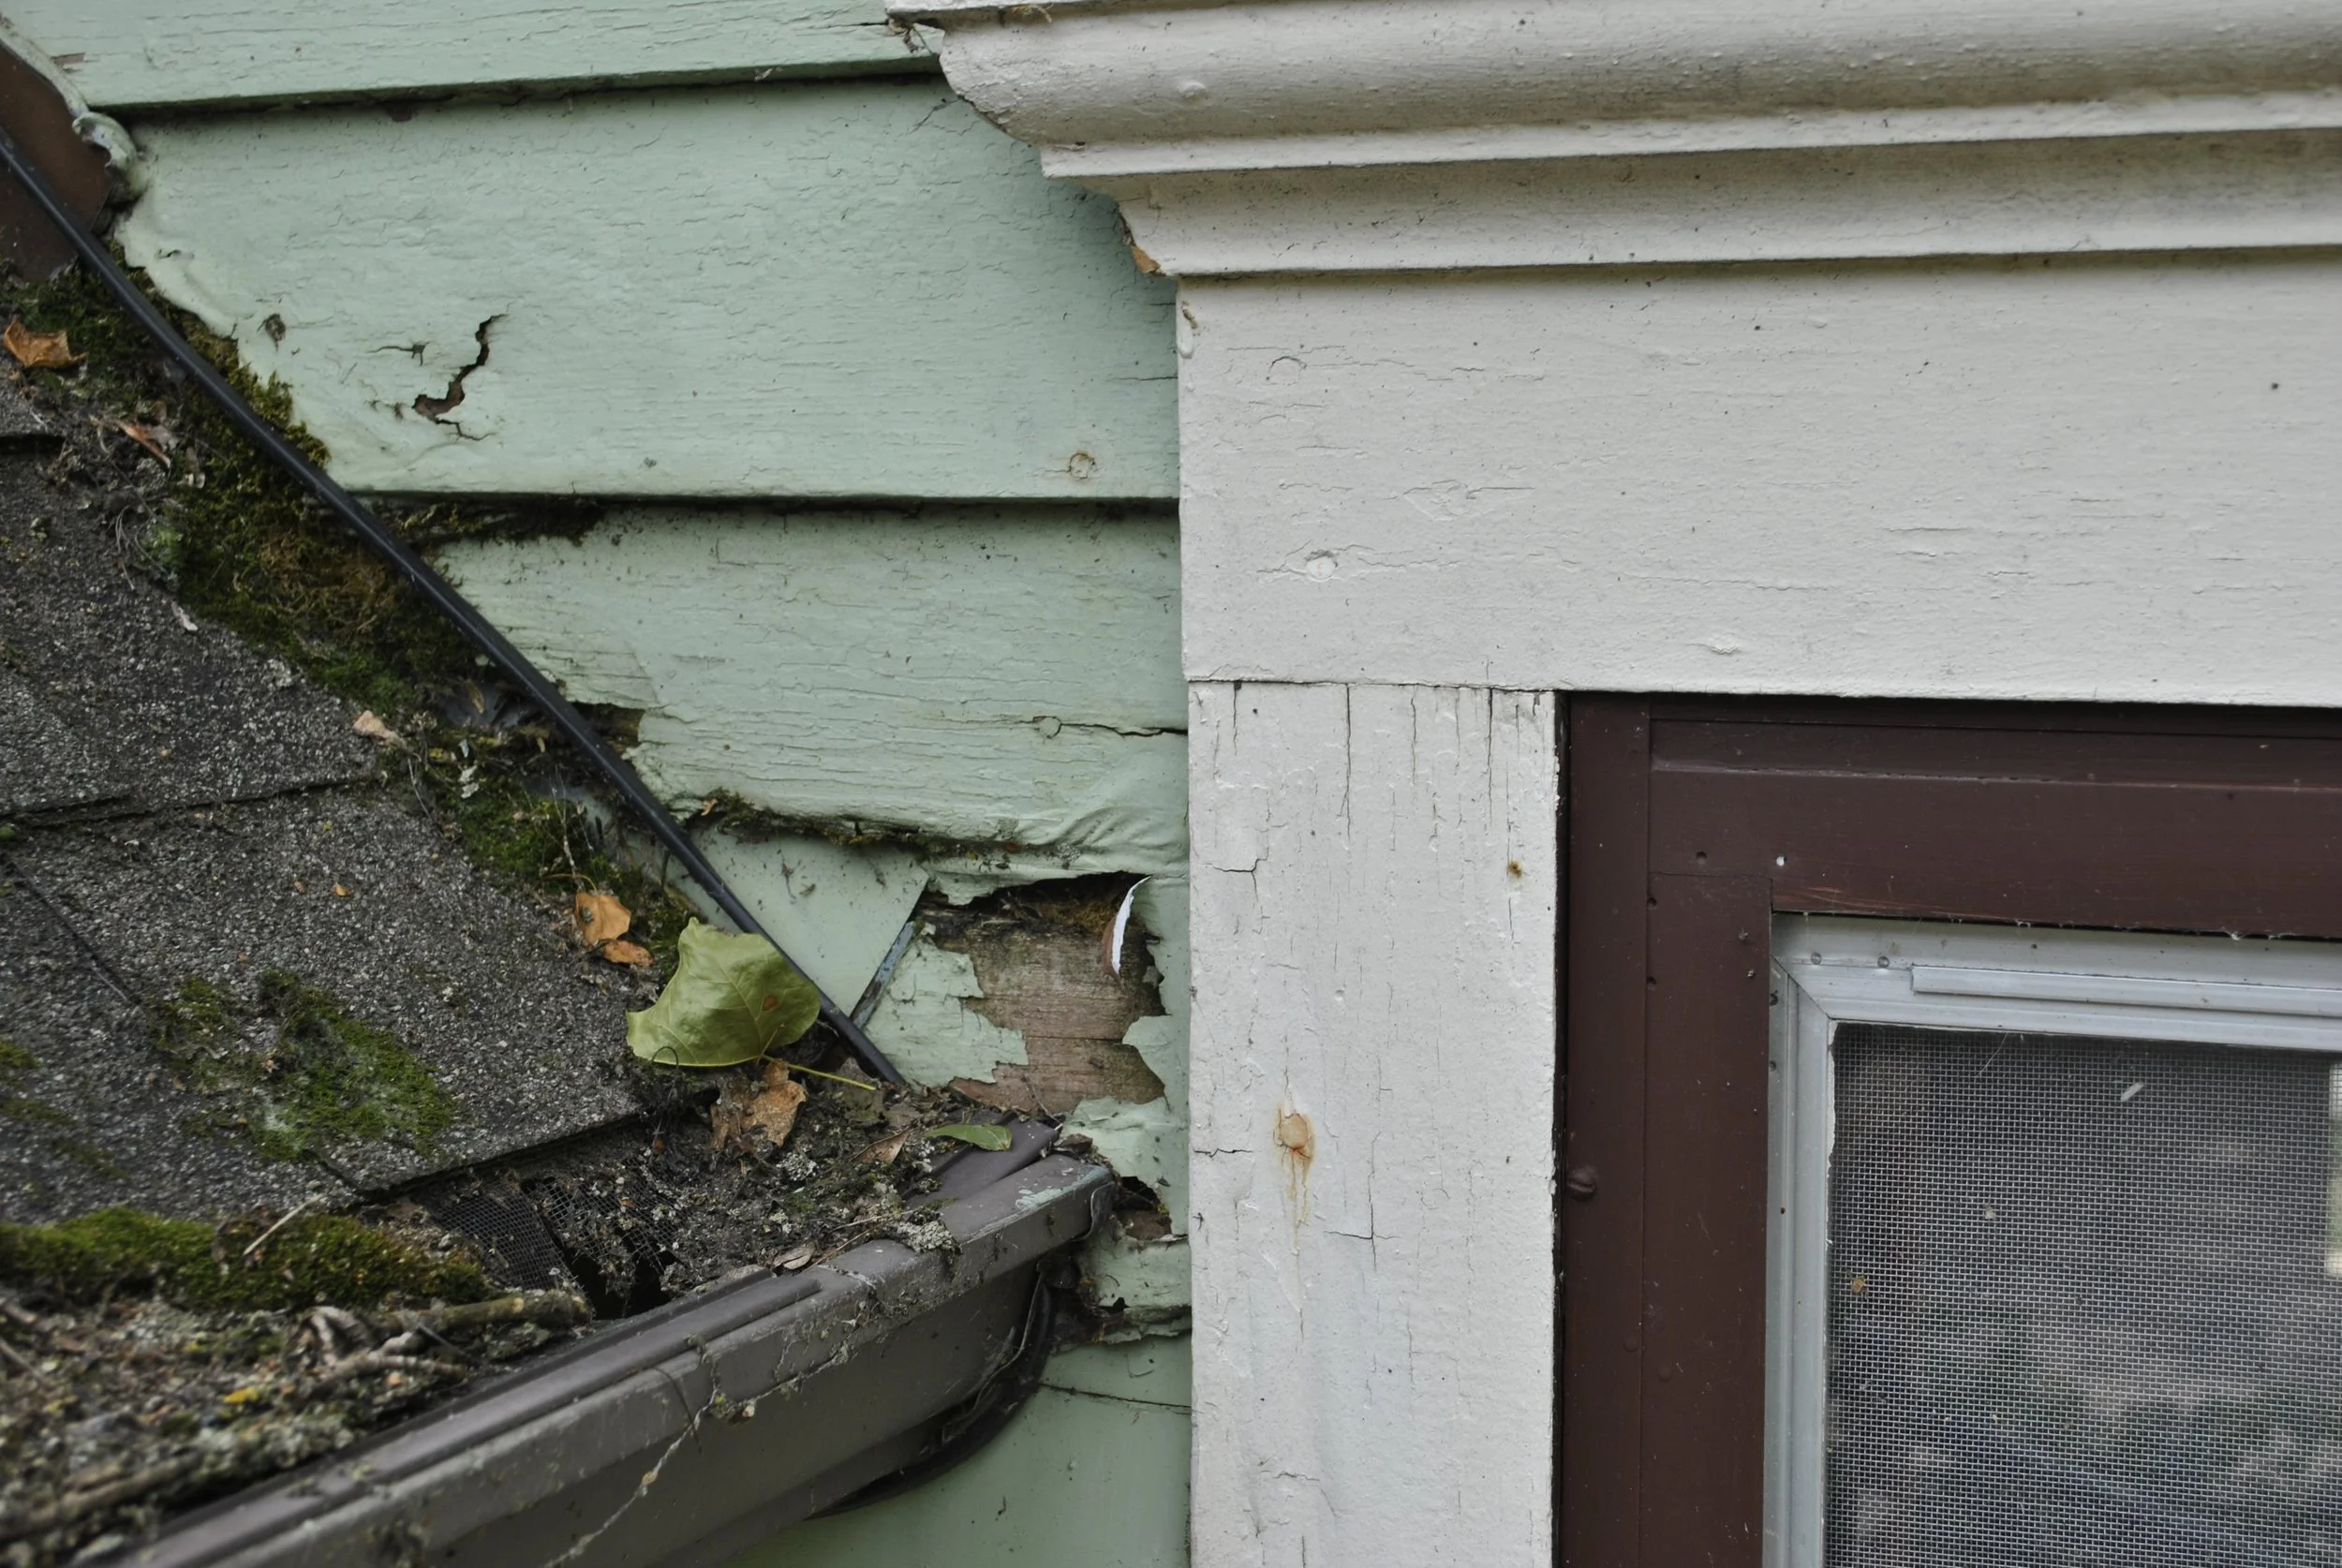
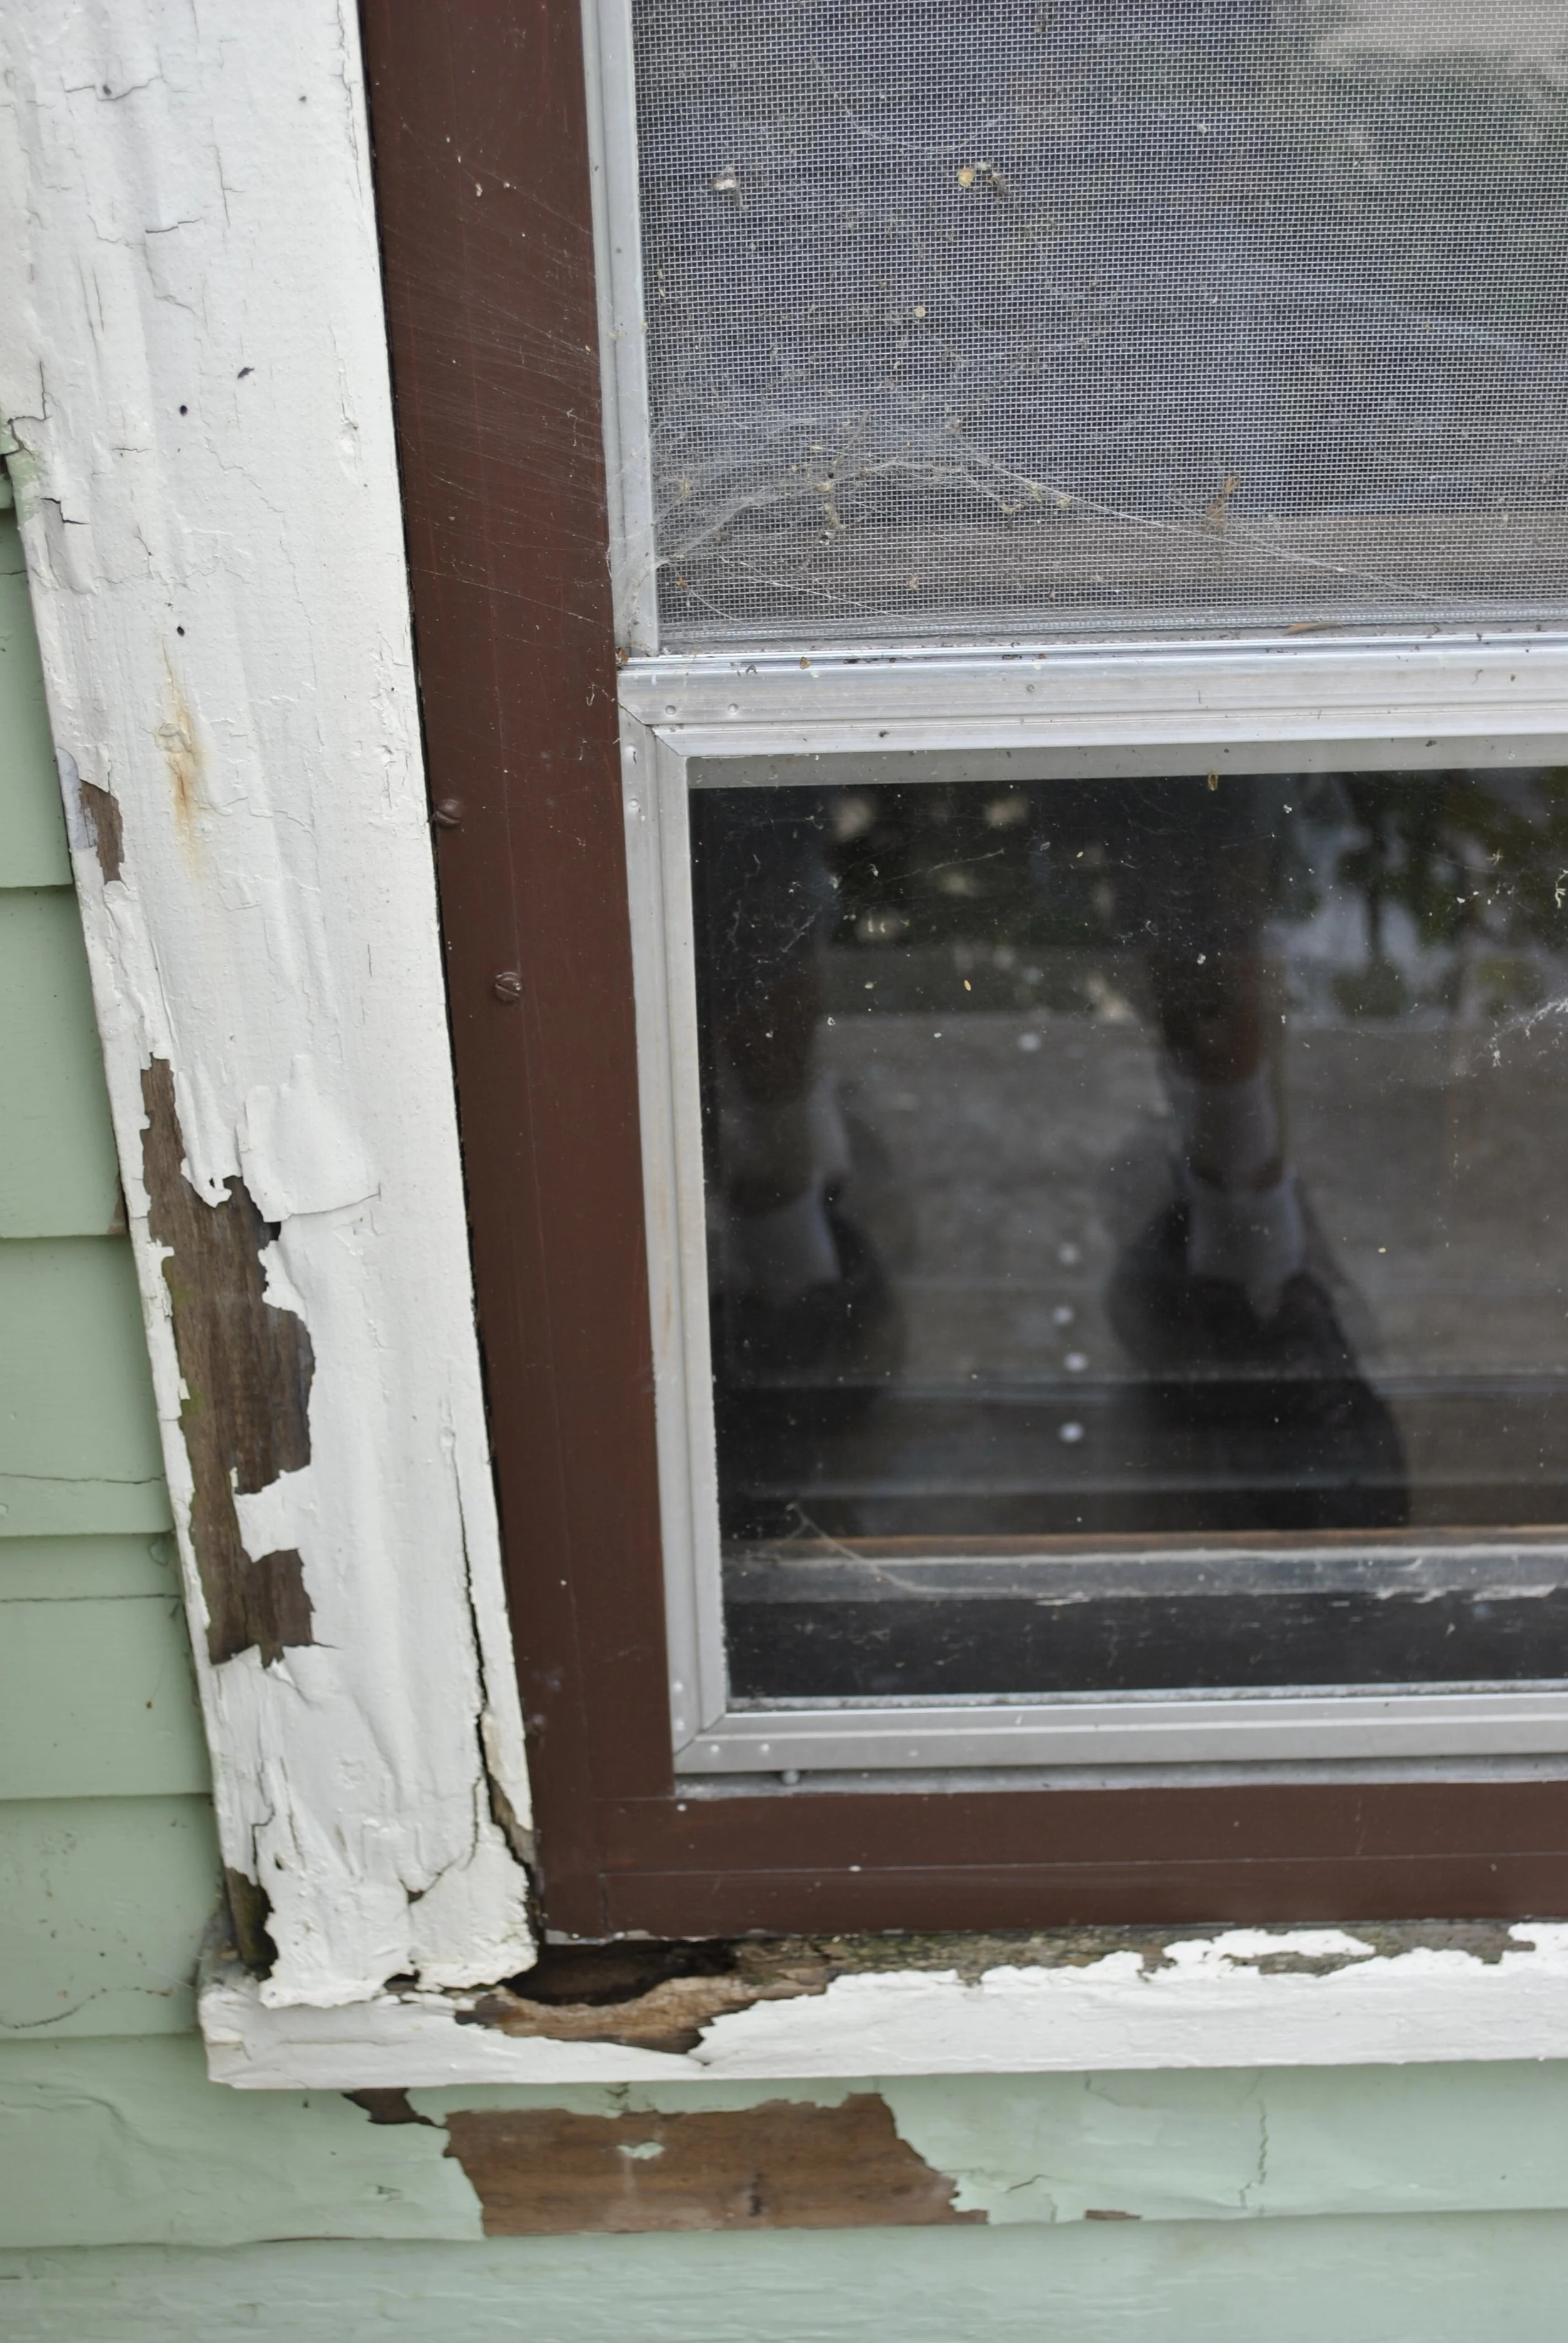
There was no flashing behind the siding and the water would just shoot off and hit the window, causing the rot in this window.
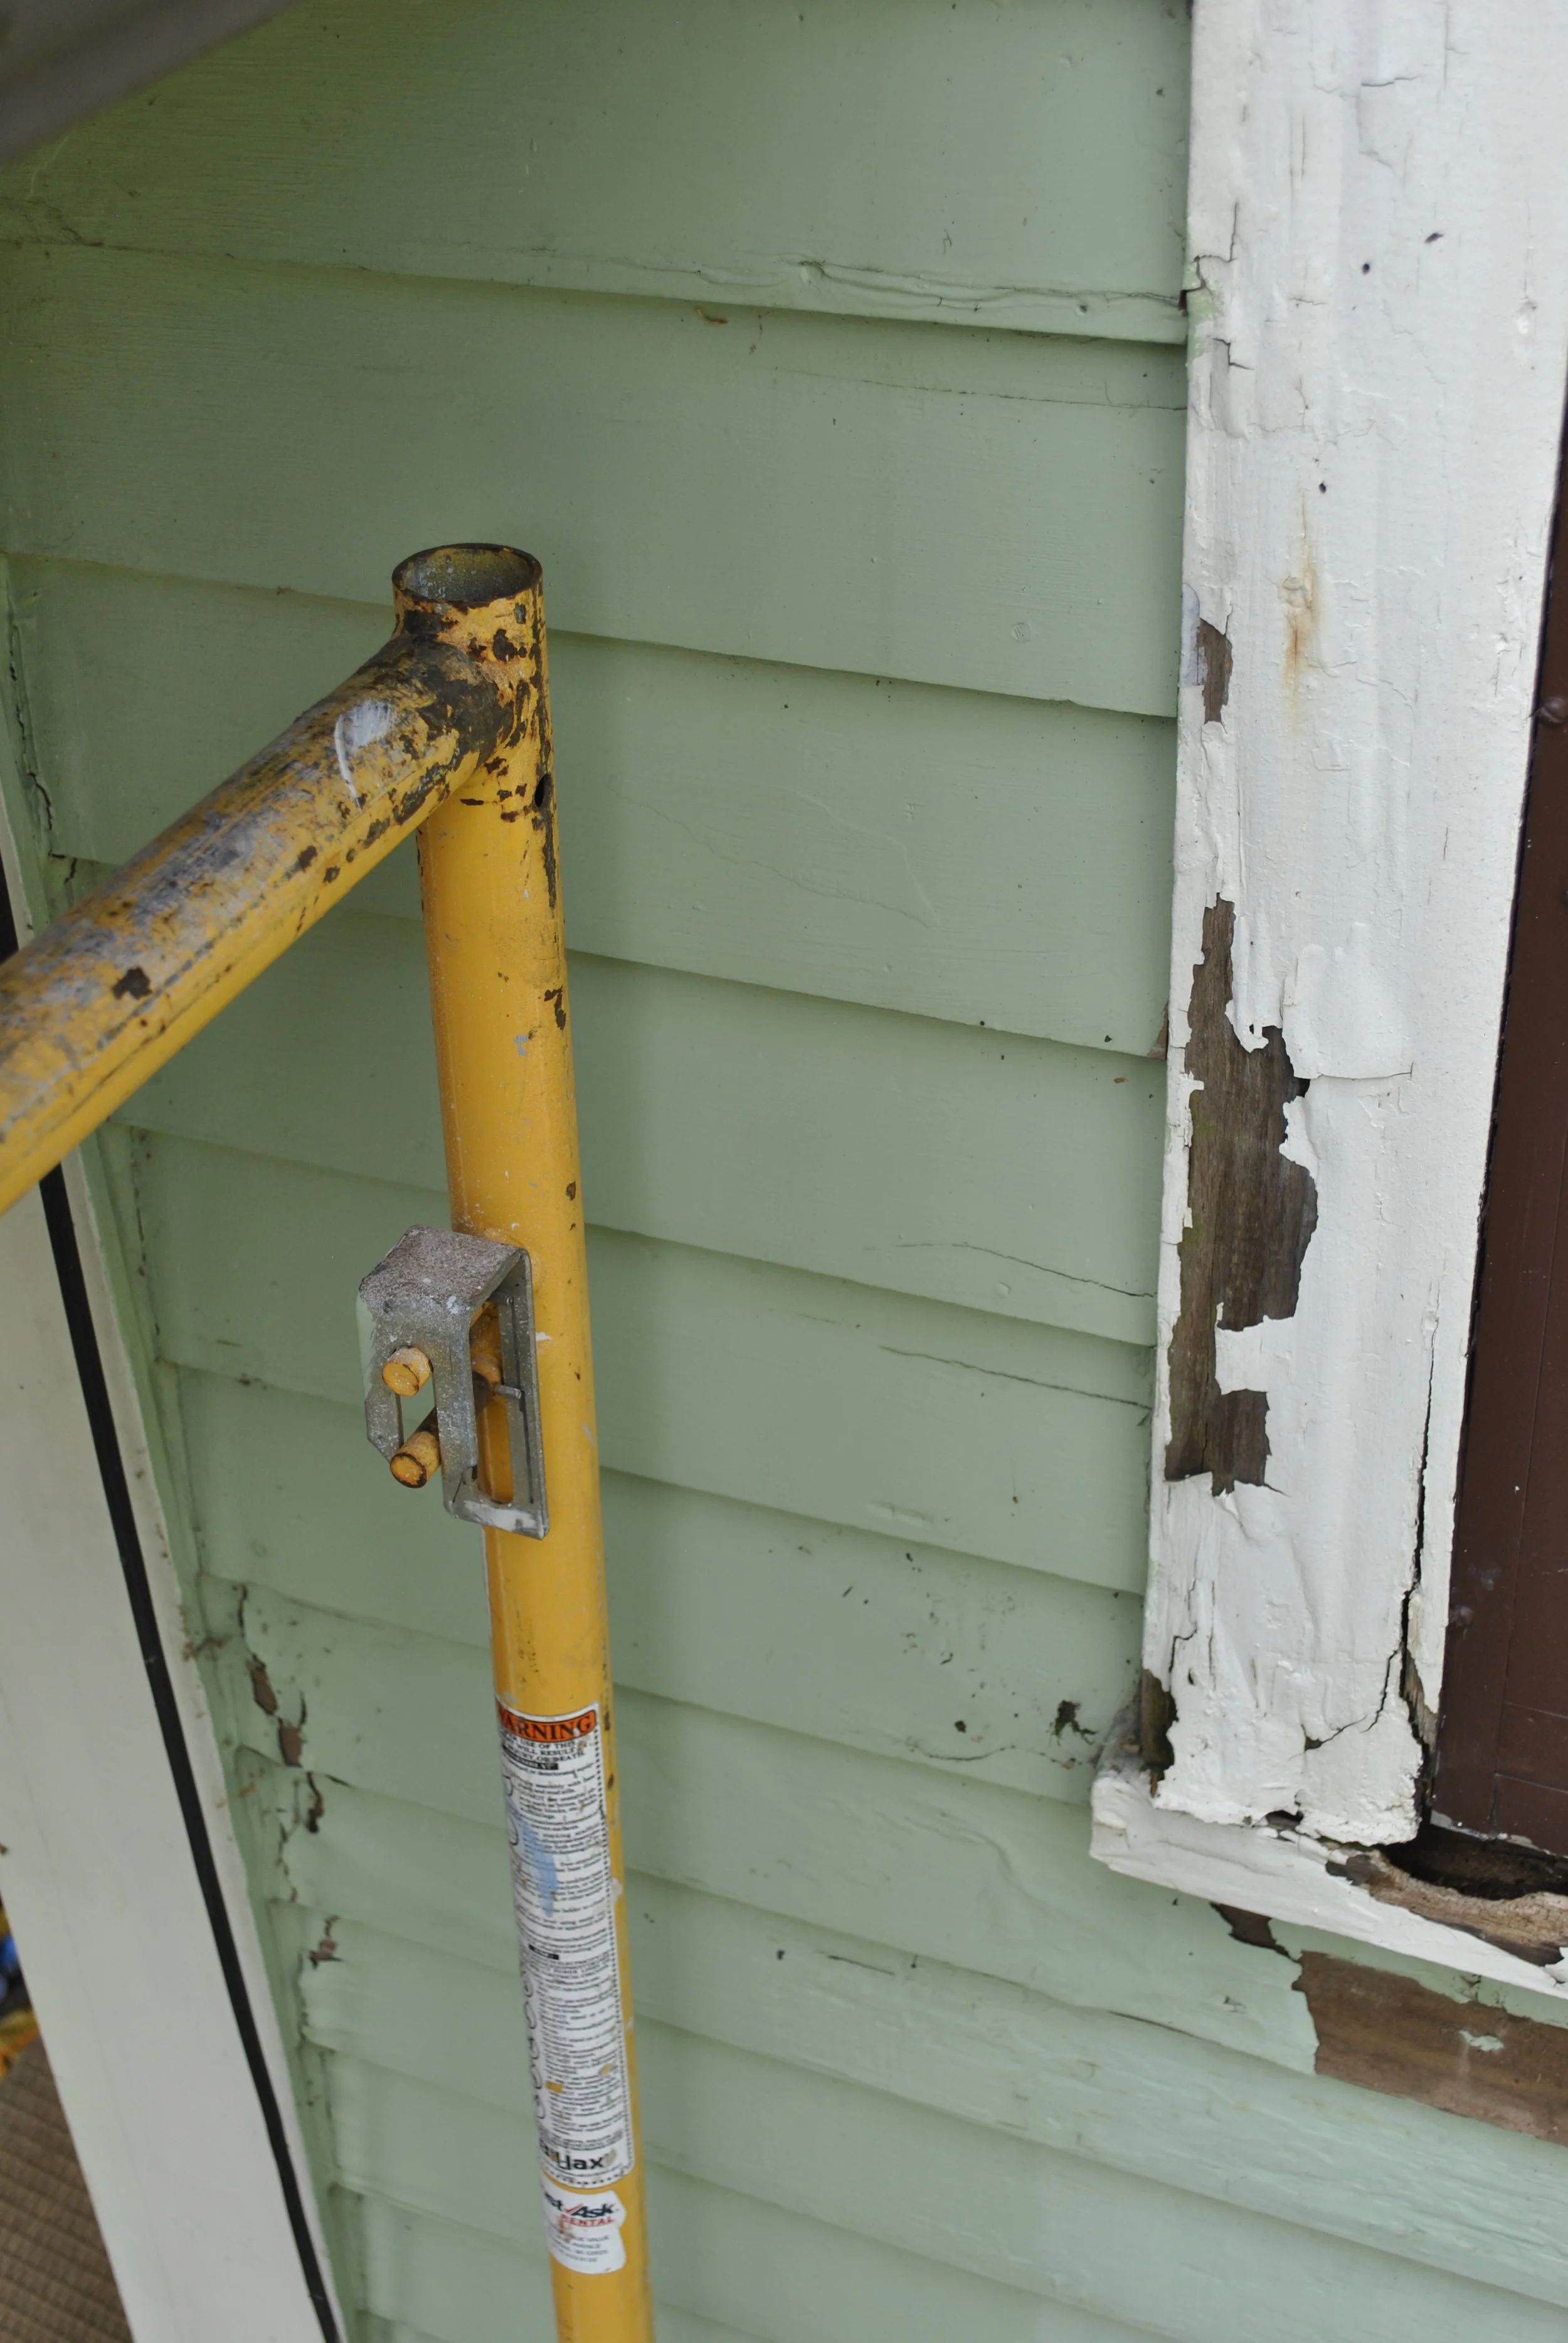
Another view of the damage from the gutter/flashing problem.
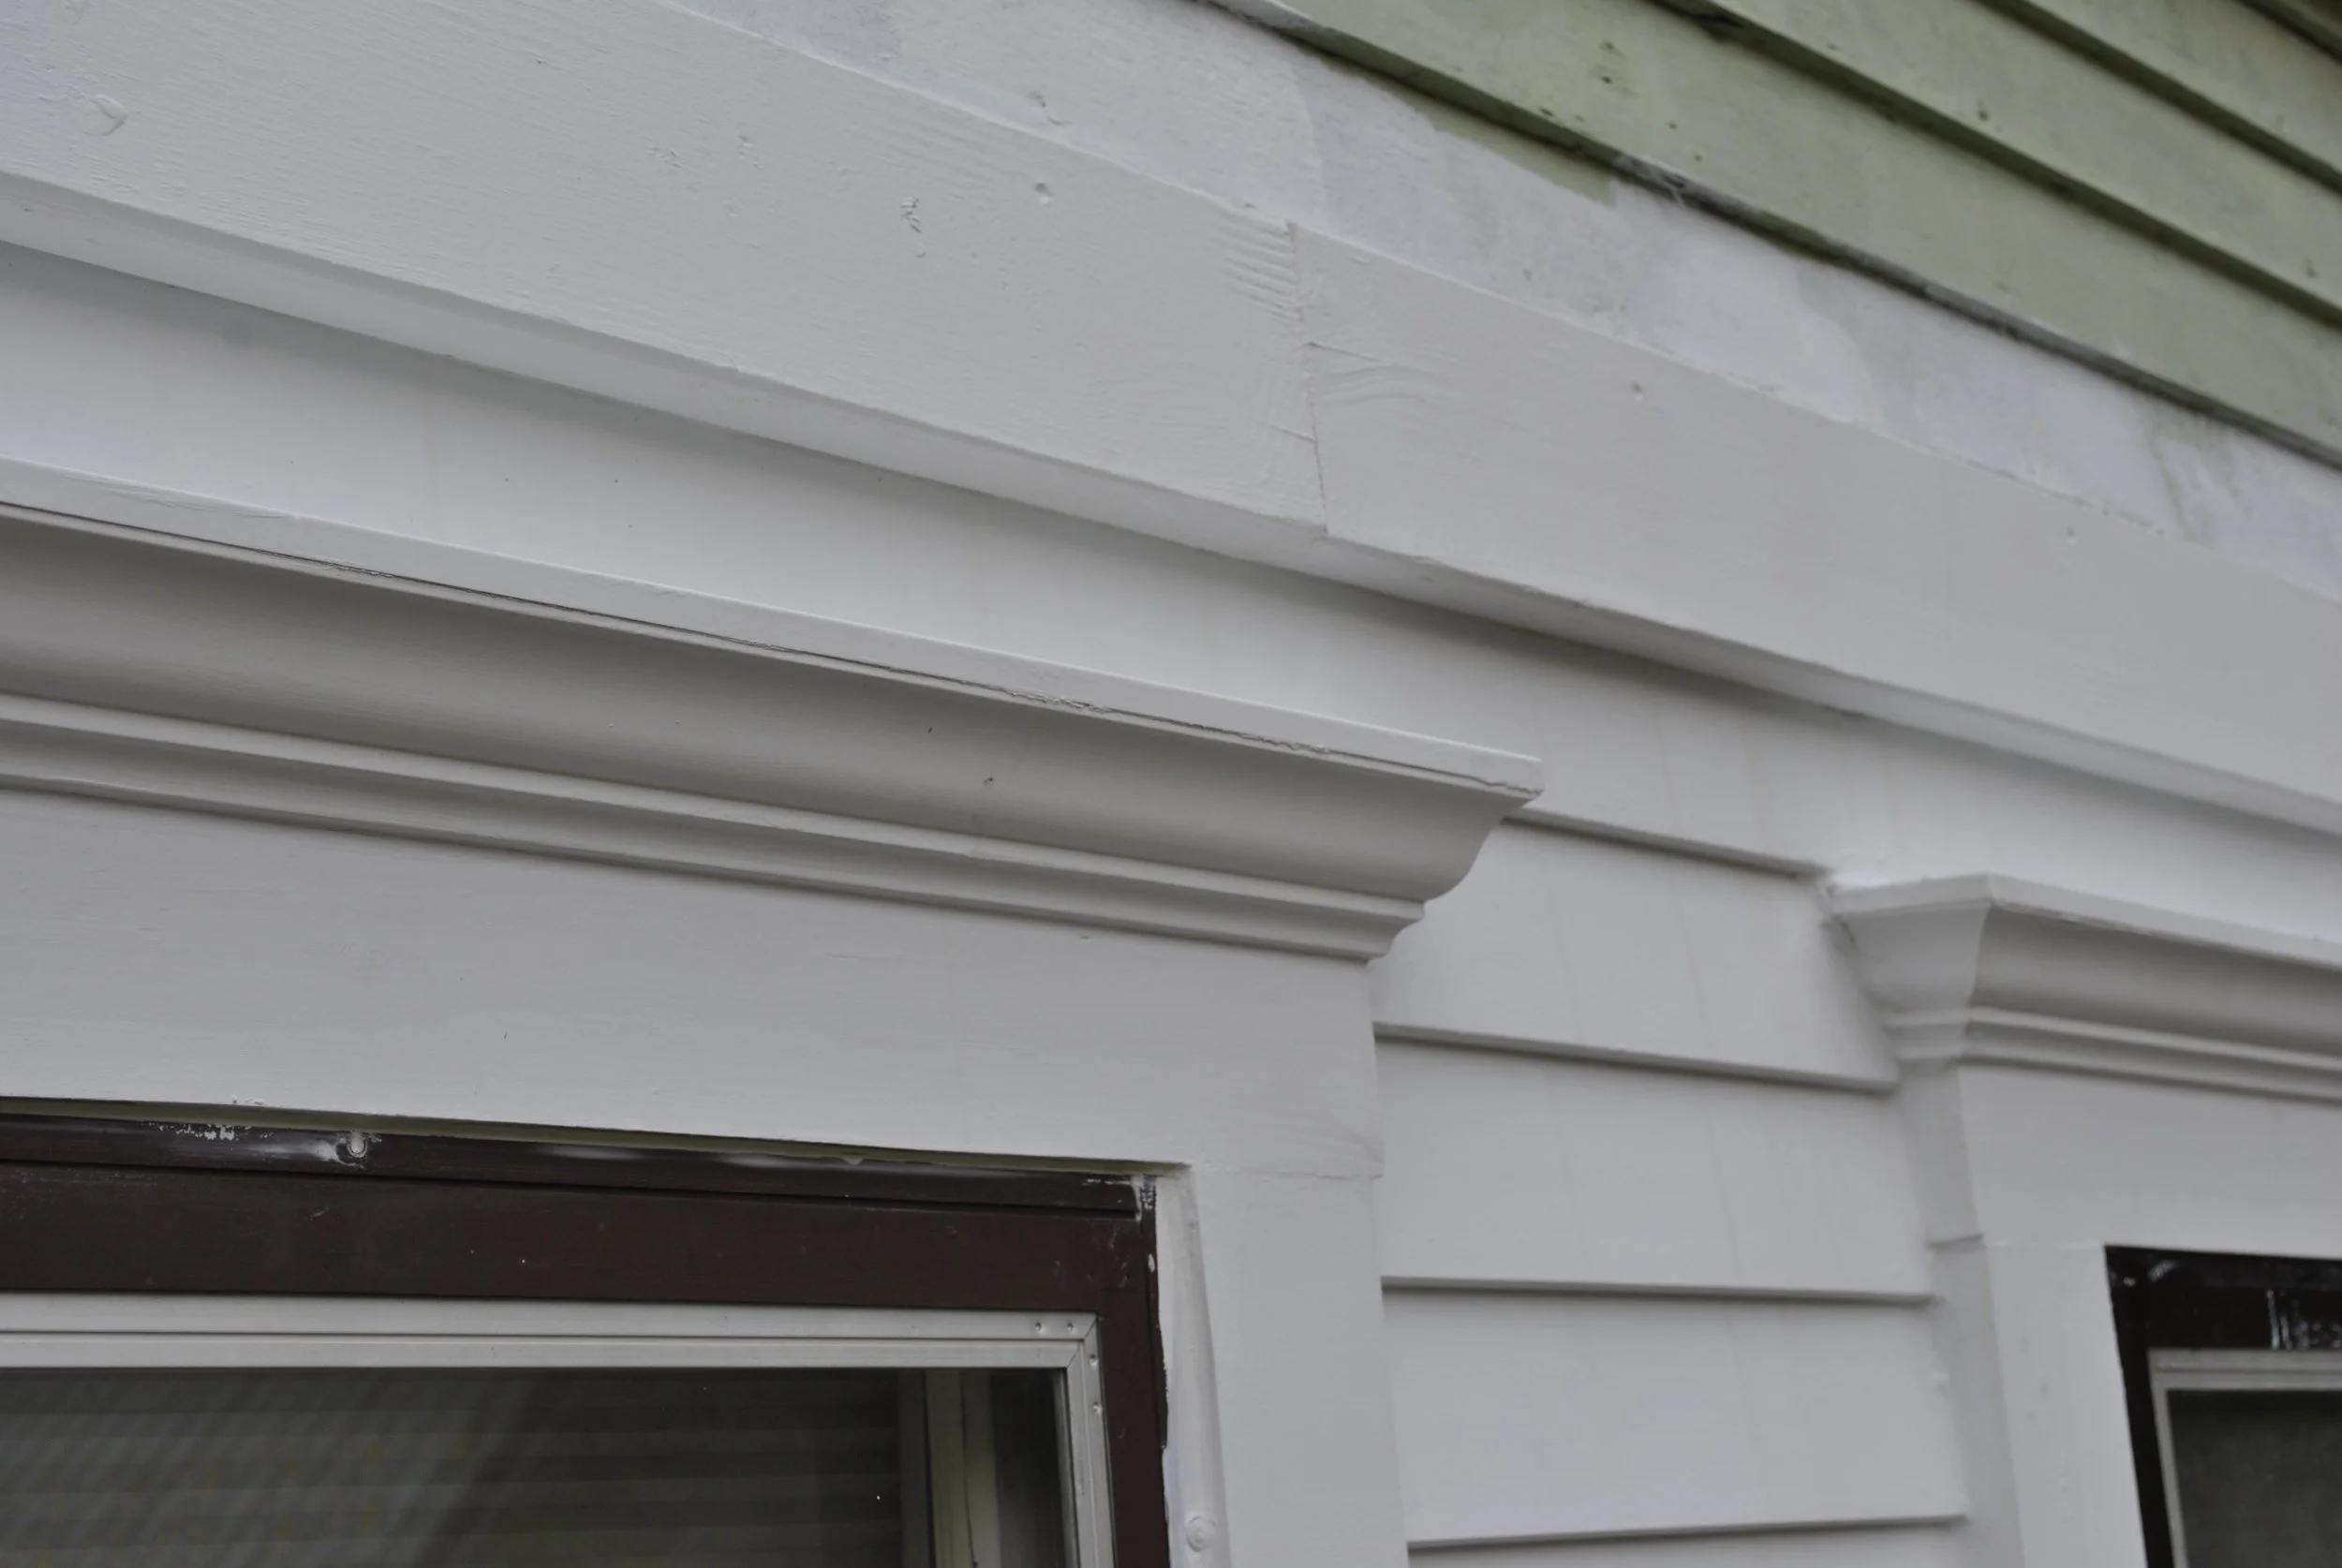
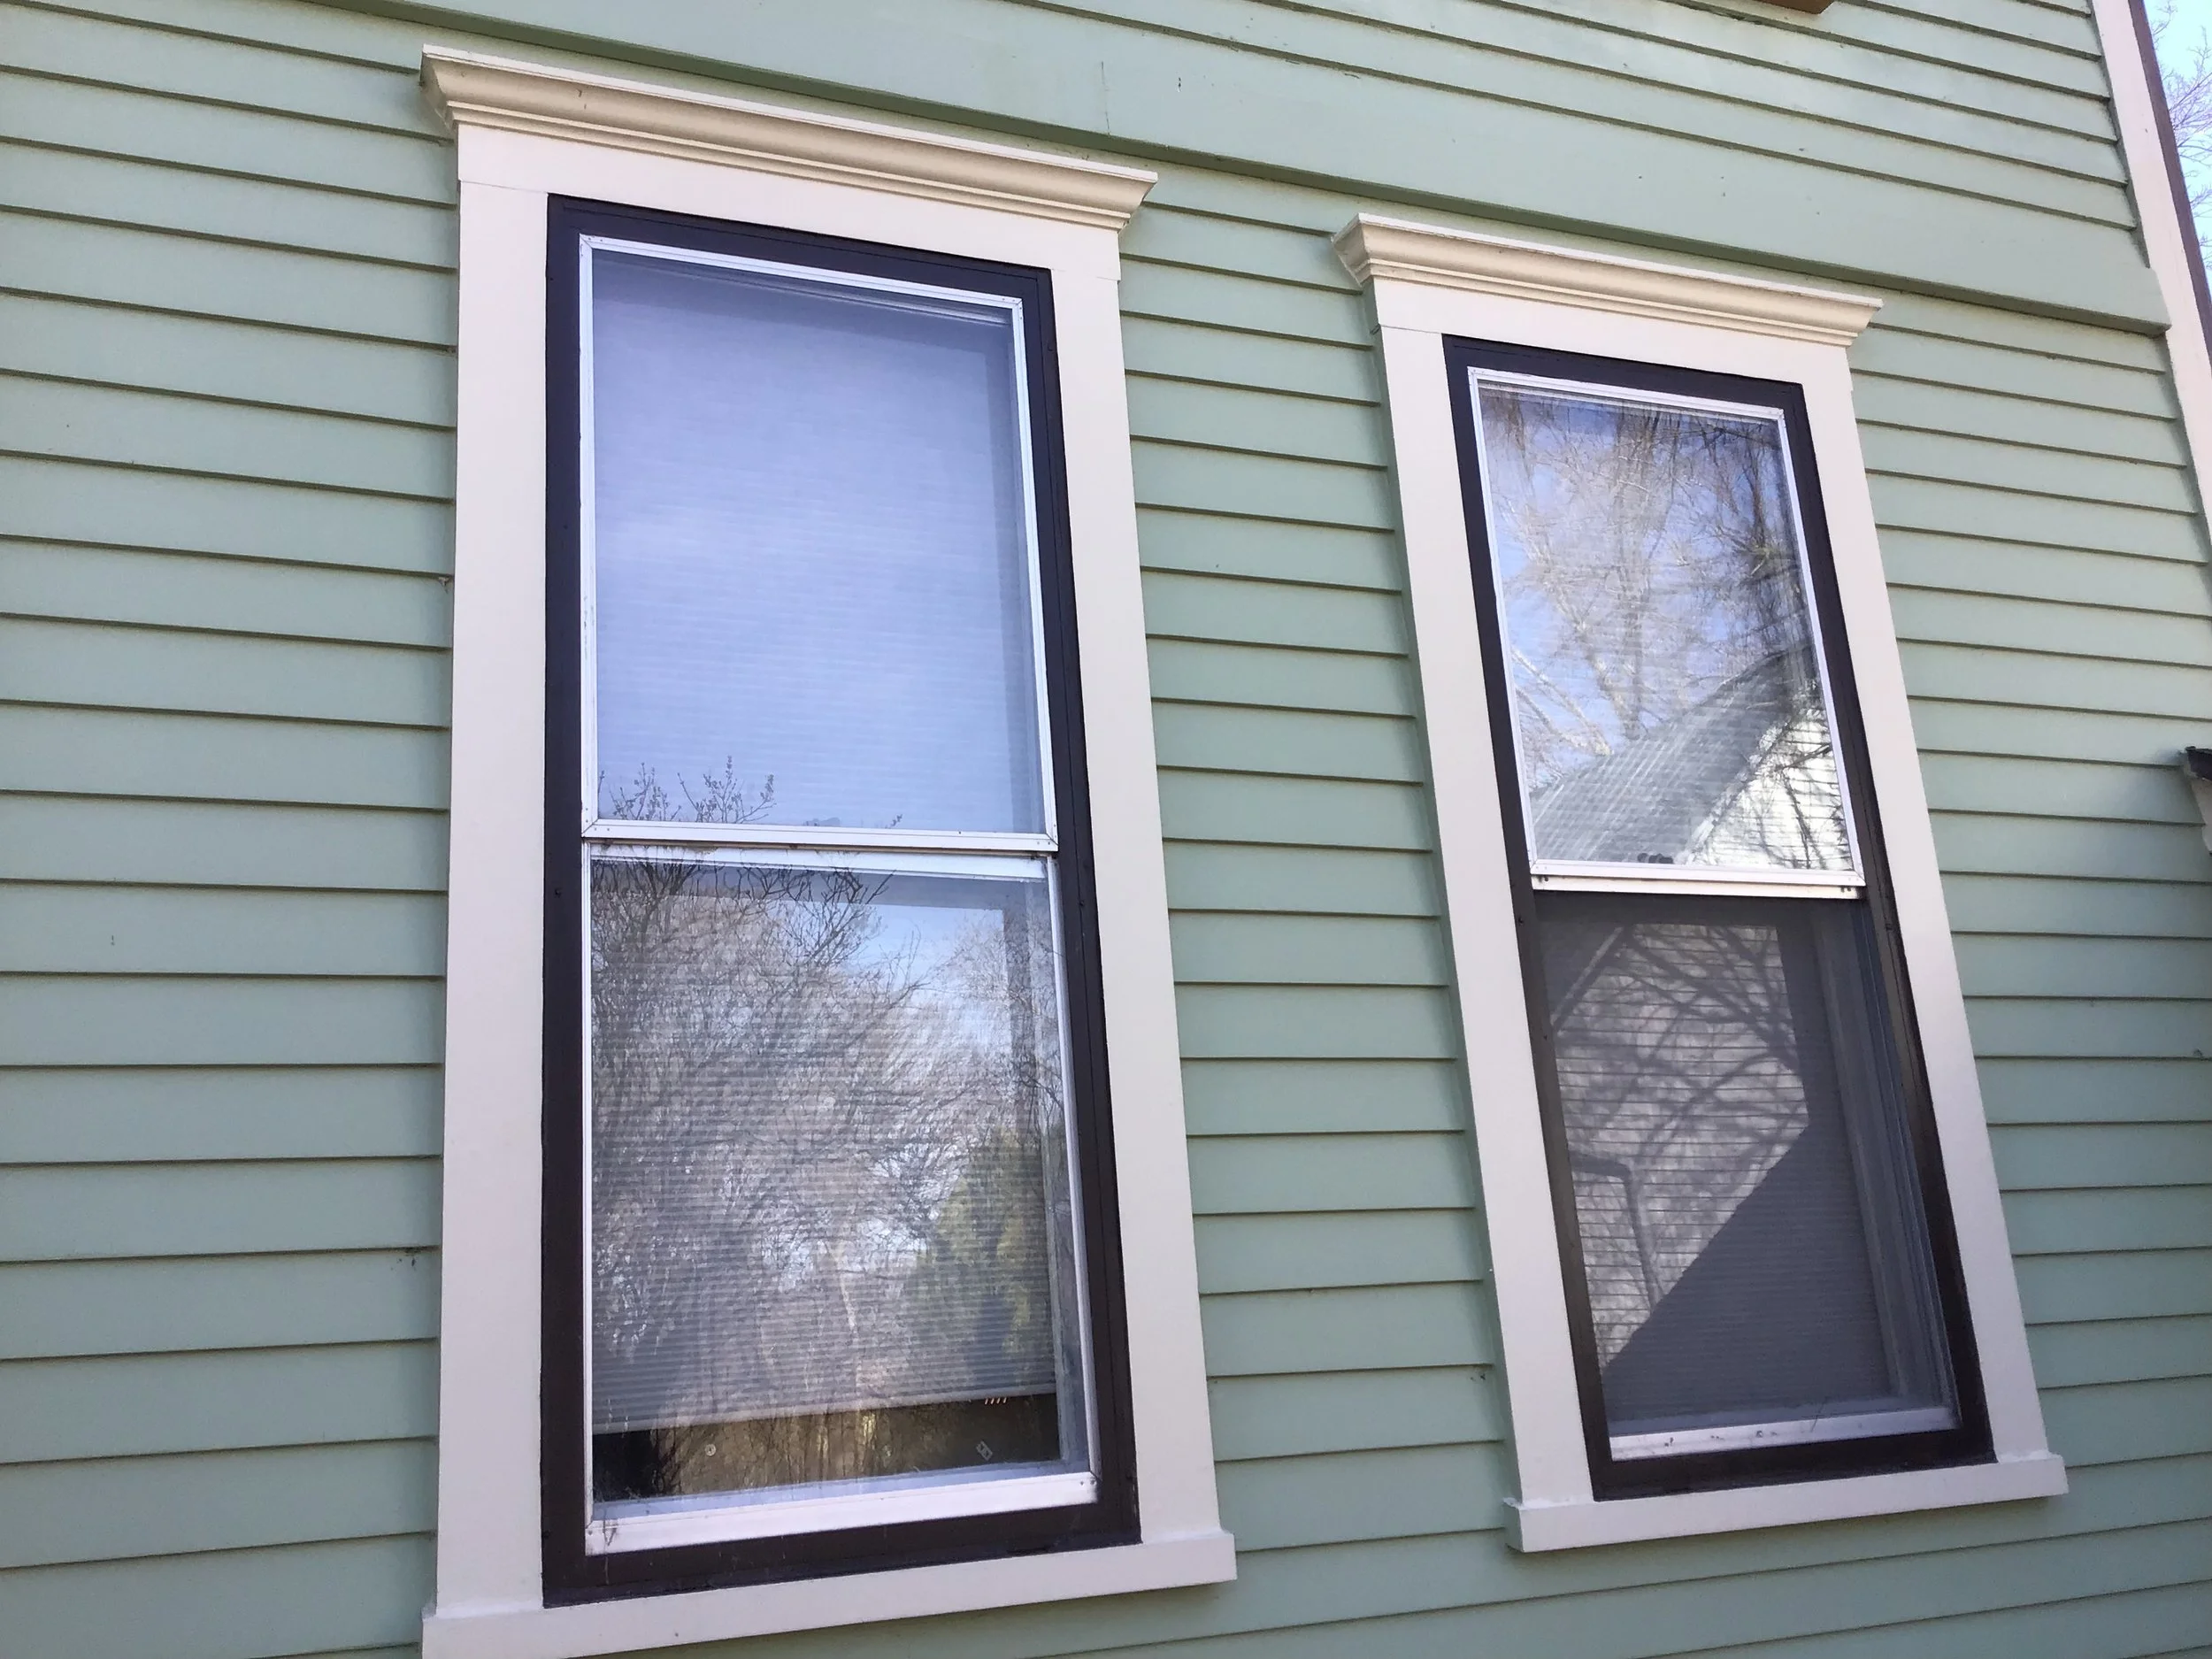
These are the two full-size windows. All white primed wood is new.
Another view of the new casing, crown molding, metal cap and siding.
More new siding and vertical inside corner trim and outside corner trim.
The new siding, drip edge, facia, etc. intersection with garage wall.
Another view of the new wood on the garage wall next to storm door.

Partial view of replaced stretches of siding, window trim painted.
View of the two windowsill complete rebuild. All wood sells and casing had to be fabricated specially because it is all thicker than 2x8 off the rack..
Full View of one finished, painted window.
Another view of the relatively massive sill and casing.
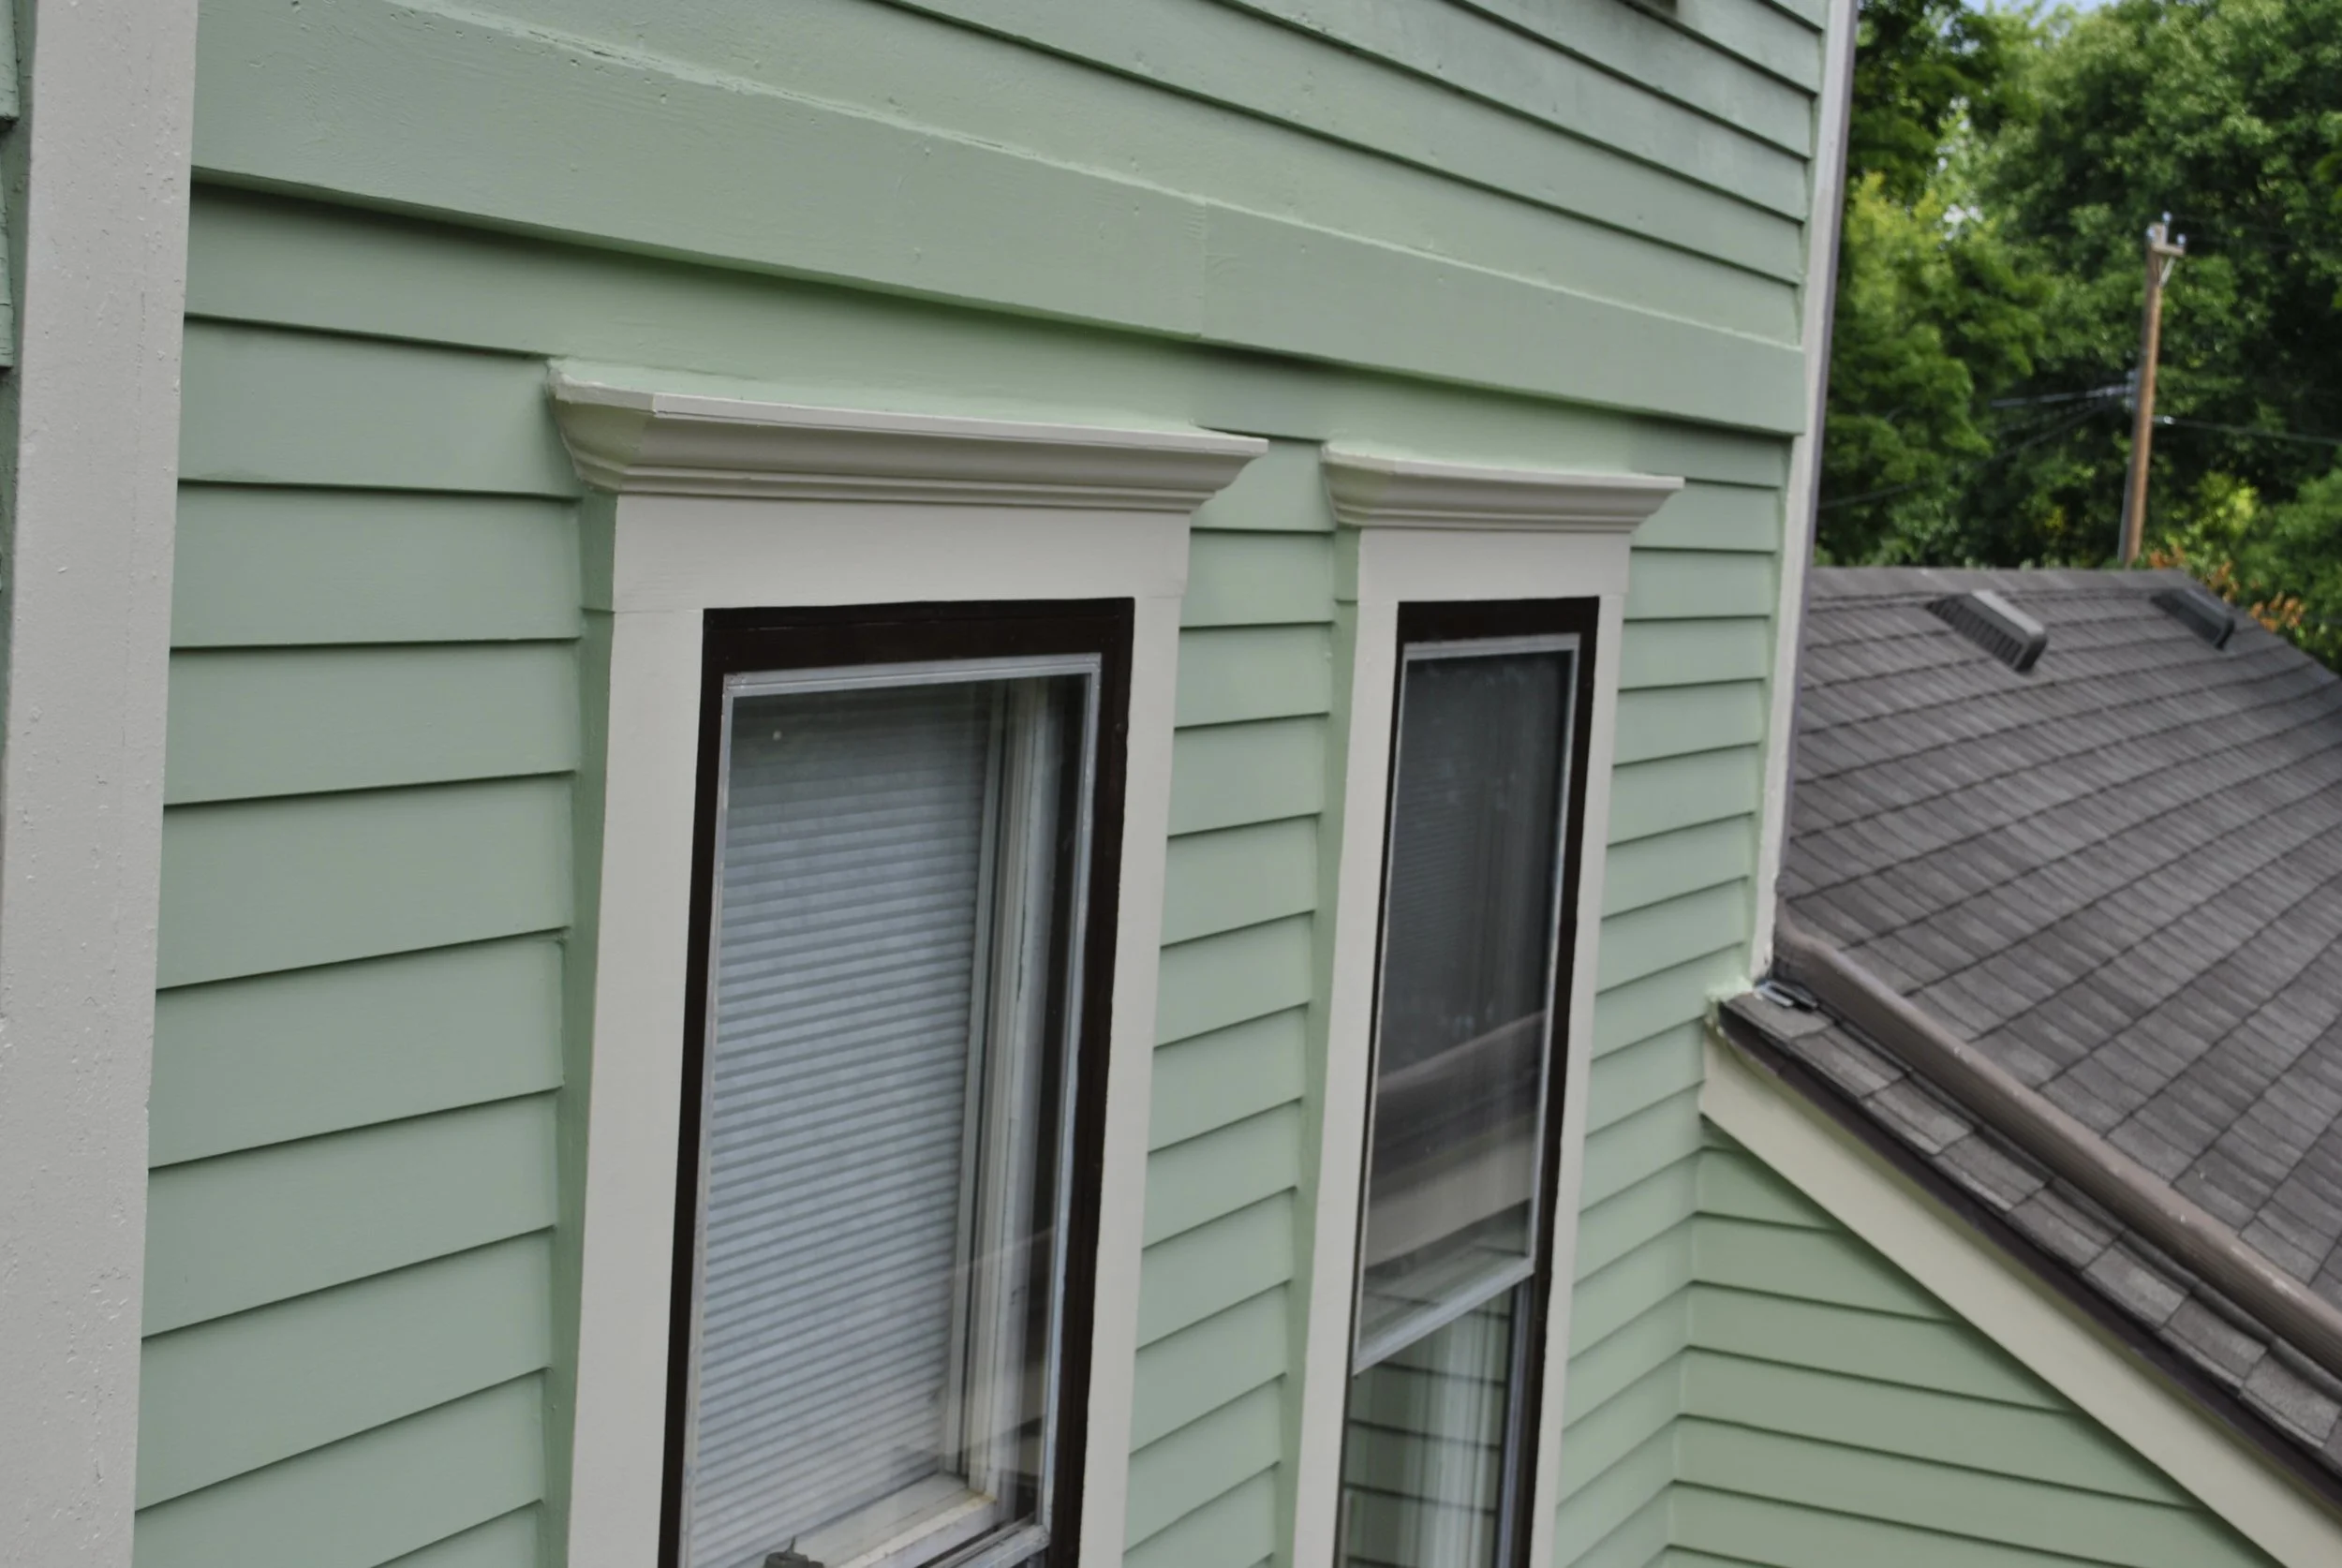
View of the crown molding and metal caps on these two windows.
2x6 above windows helps protect and delineate where the work ended.
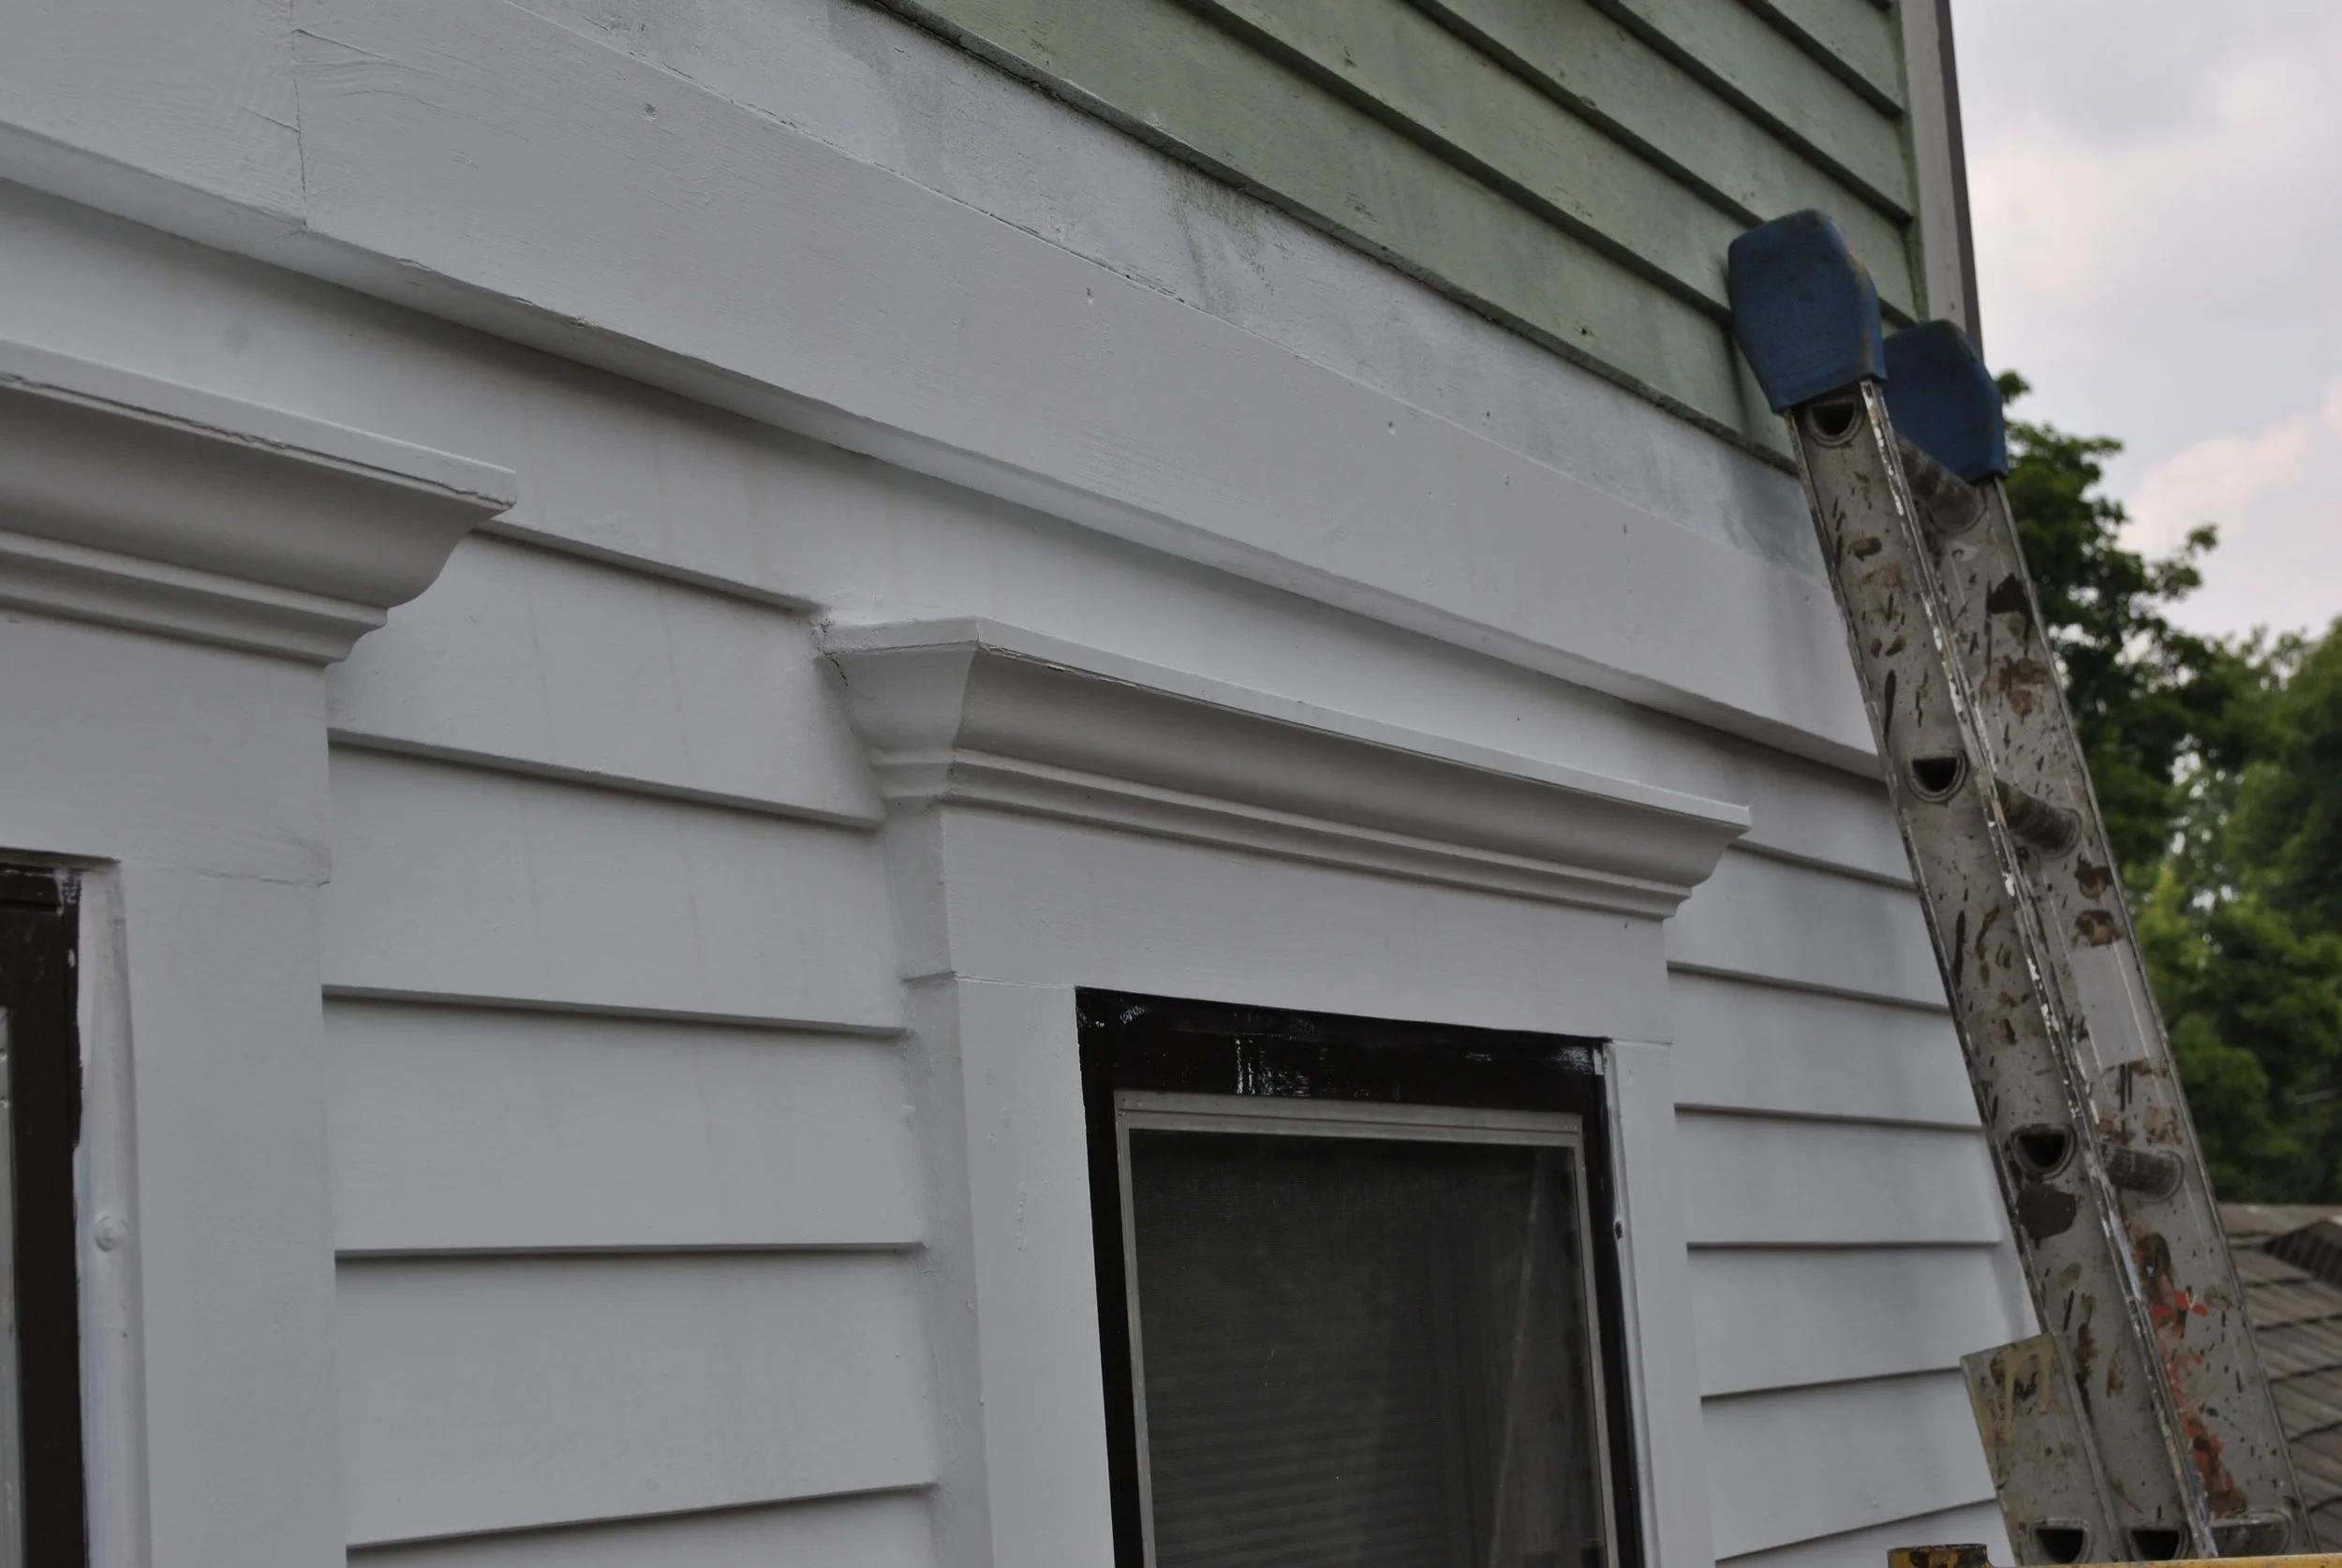
Another view of the two windows finished and painted.
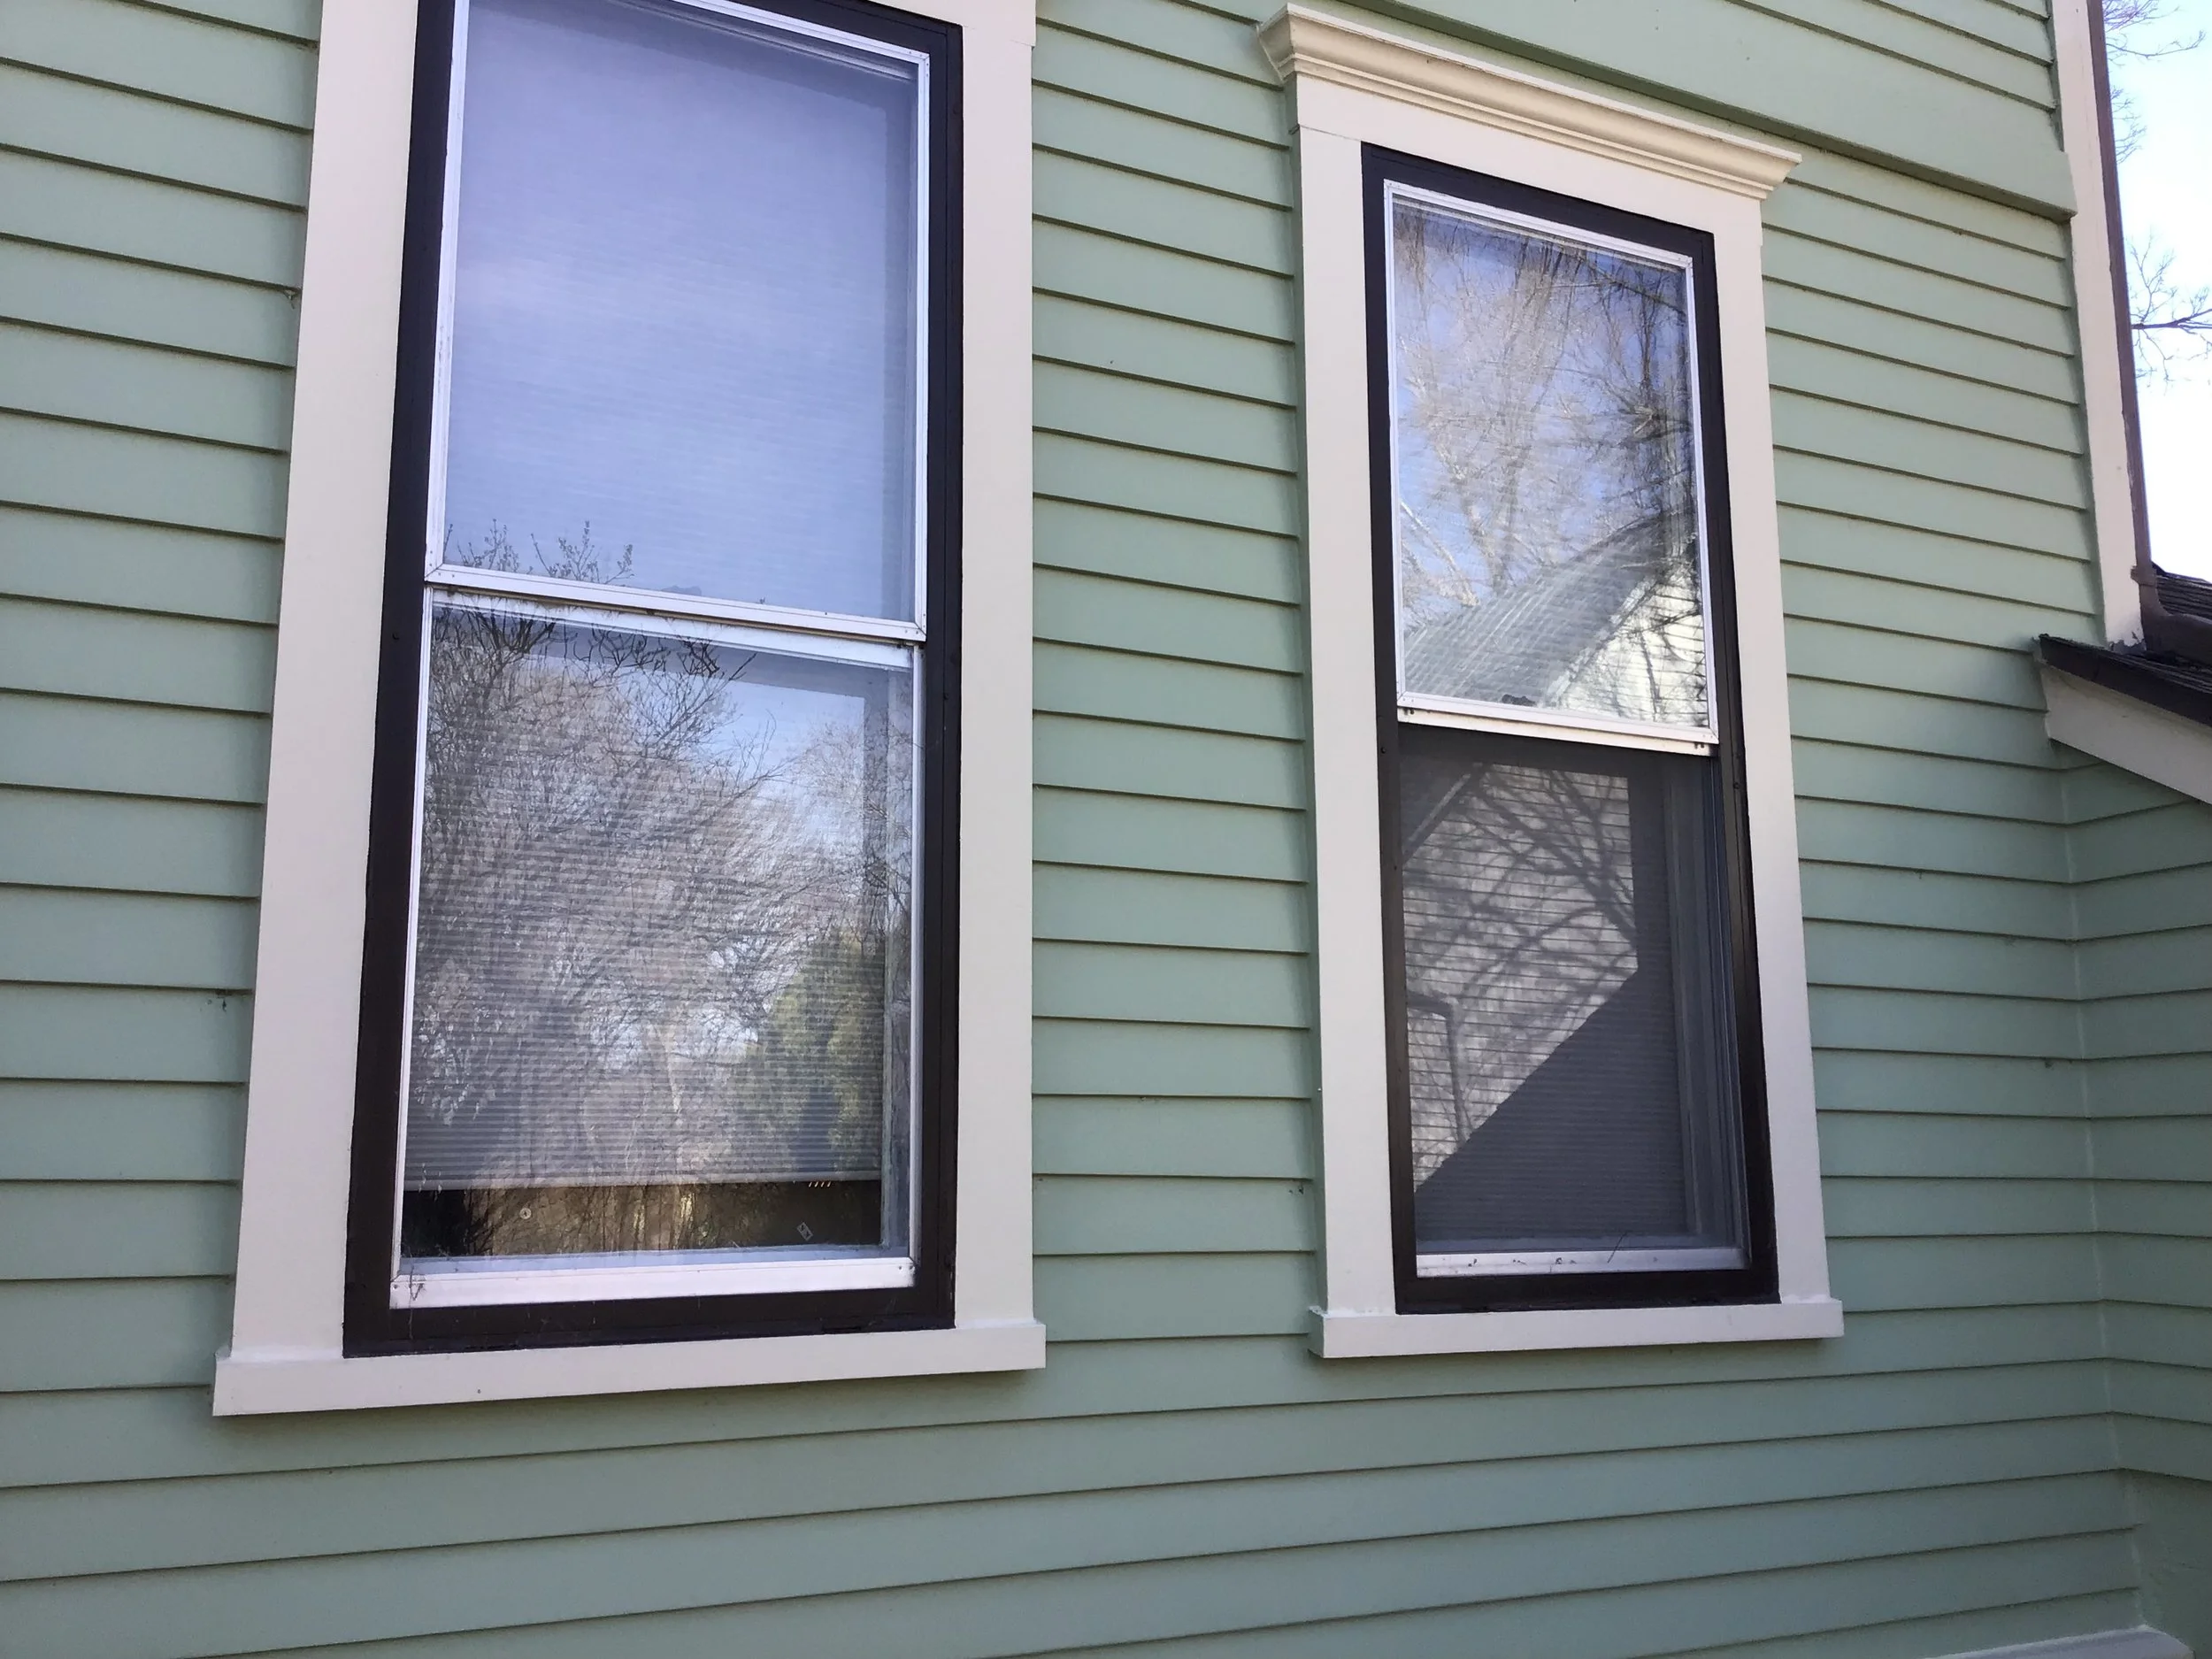
After I reinstalled old aluminum storms, which were fine, I painted them.
Site of the second phase of the work. Two smaller windows and siding.
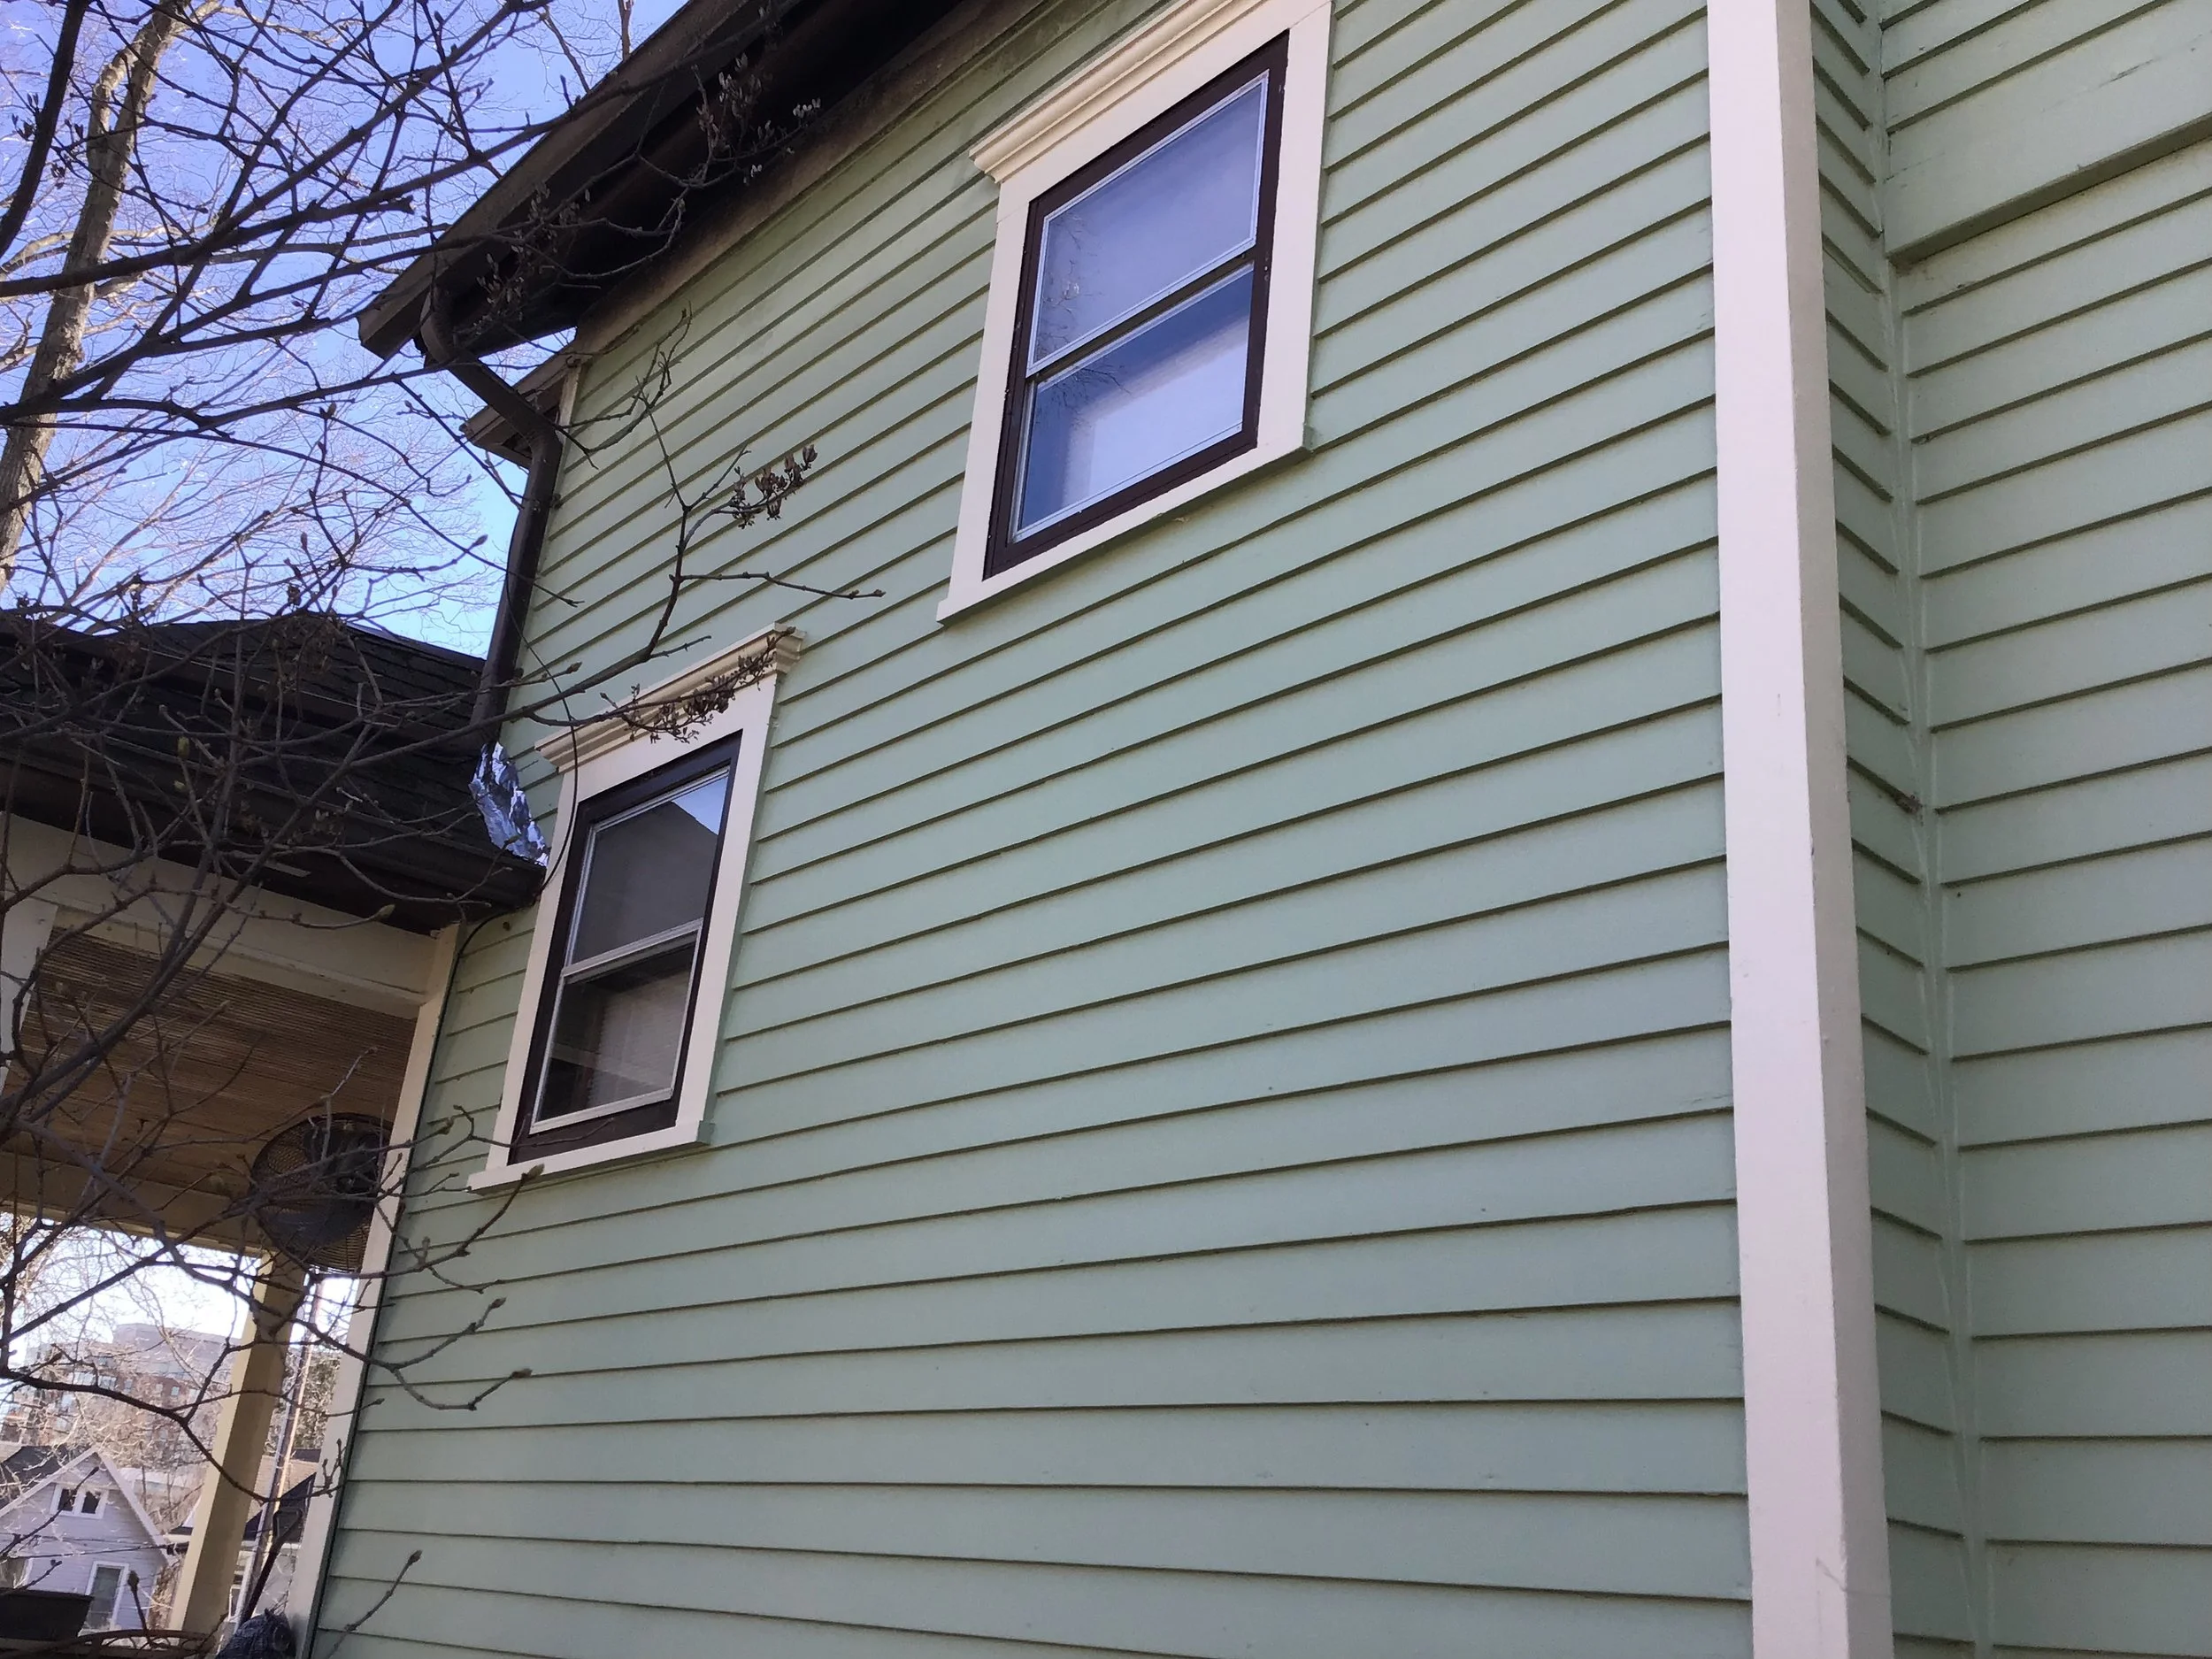
The two windows finished and painted. Note flashing on adjacent roof.
Nice view of two windows and much new siding.
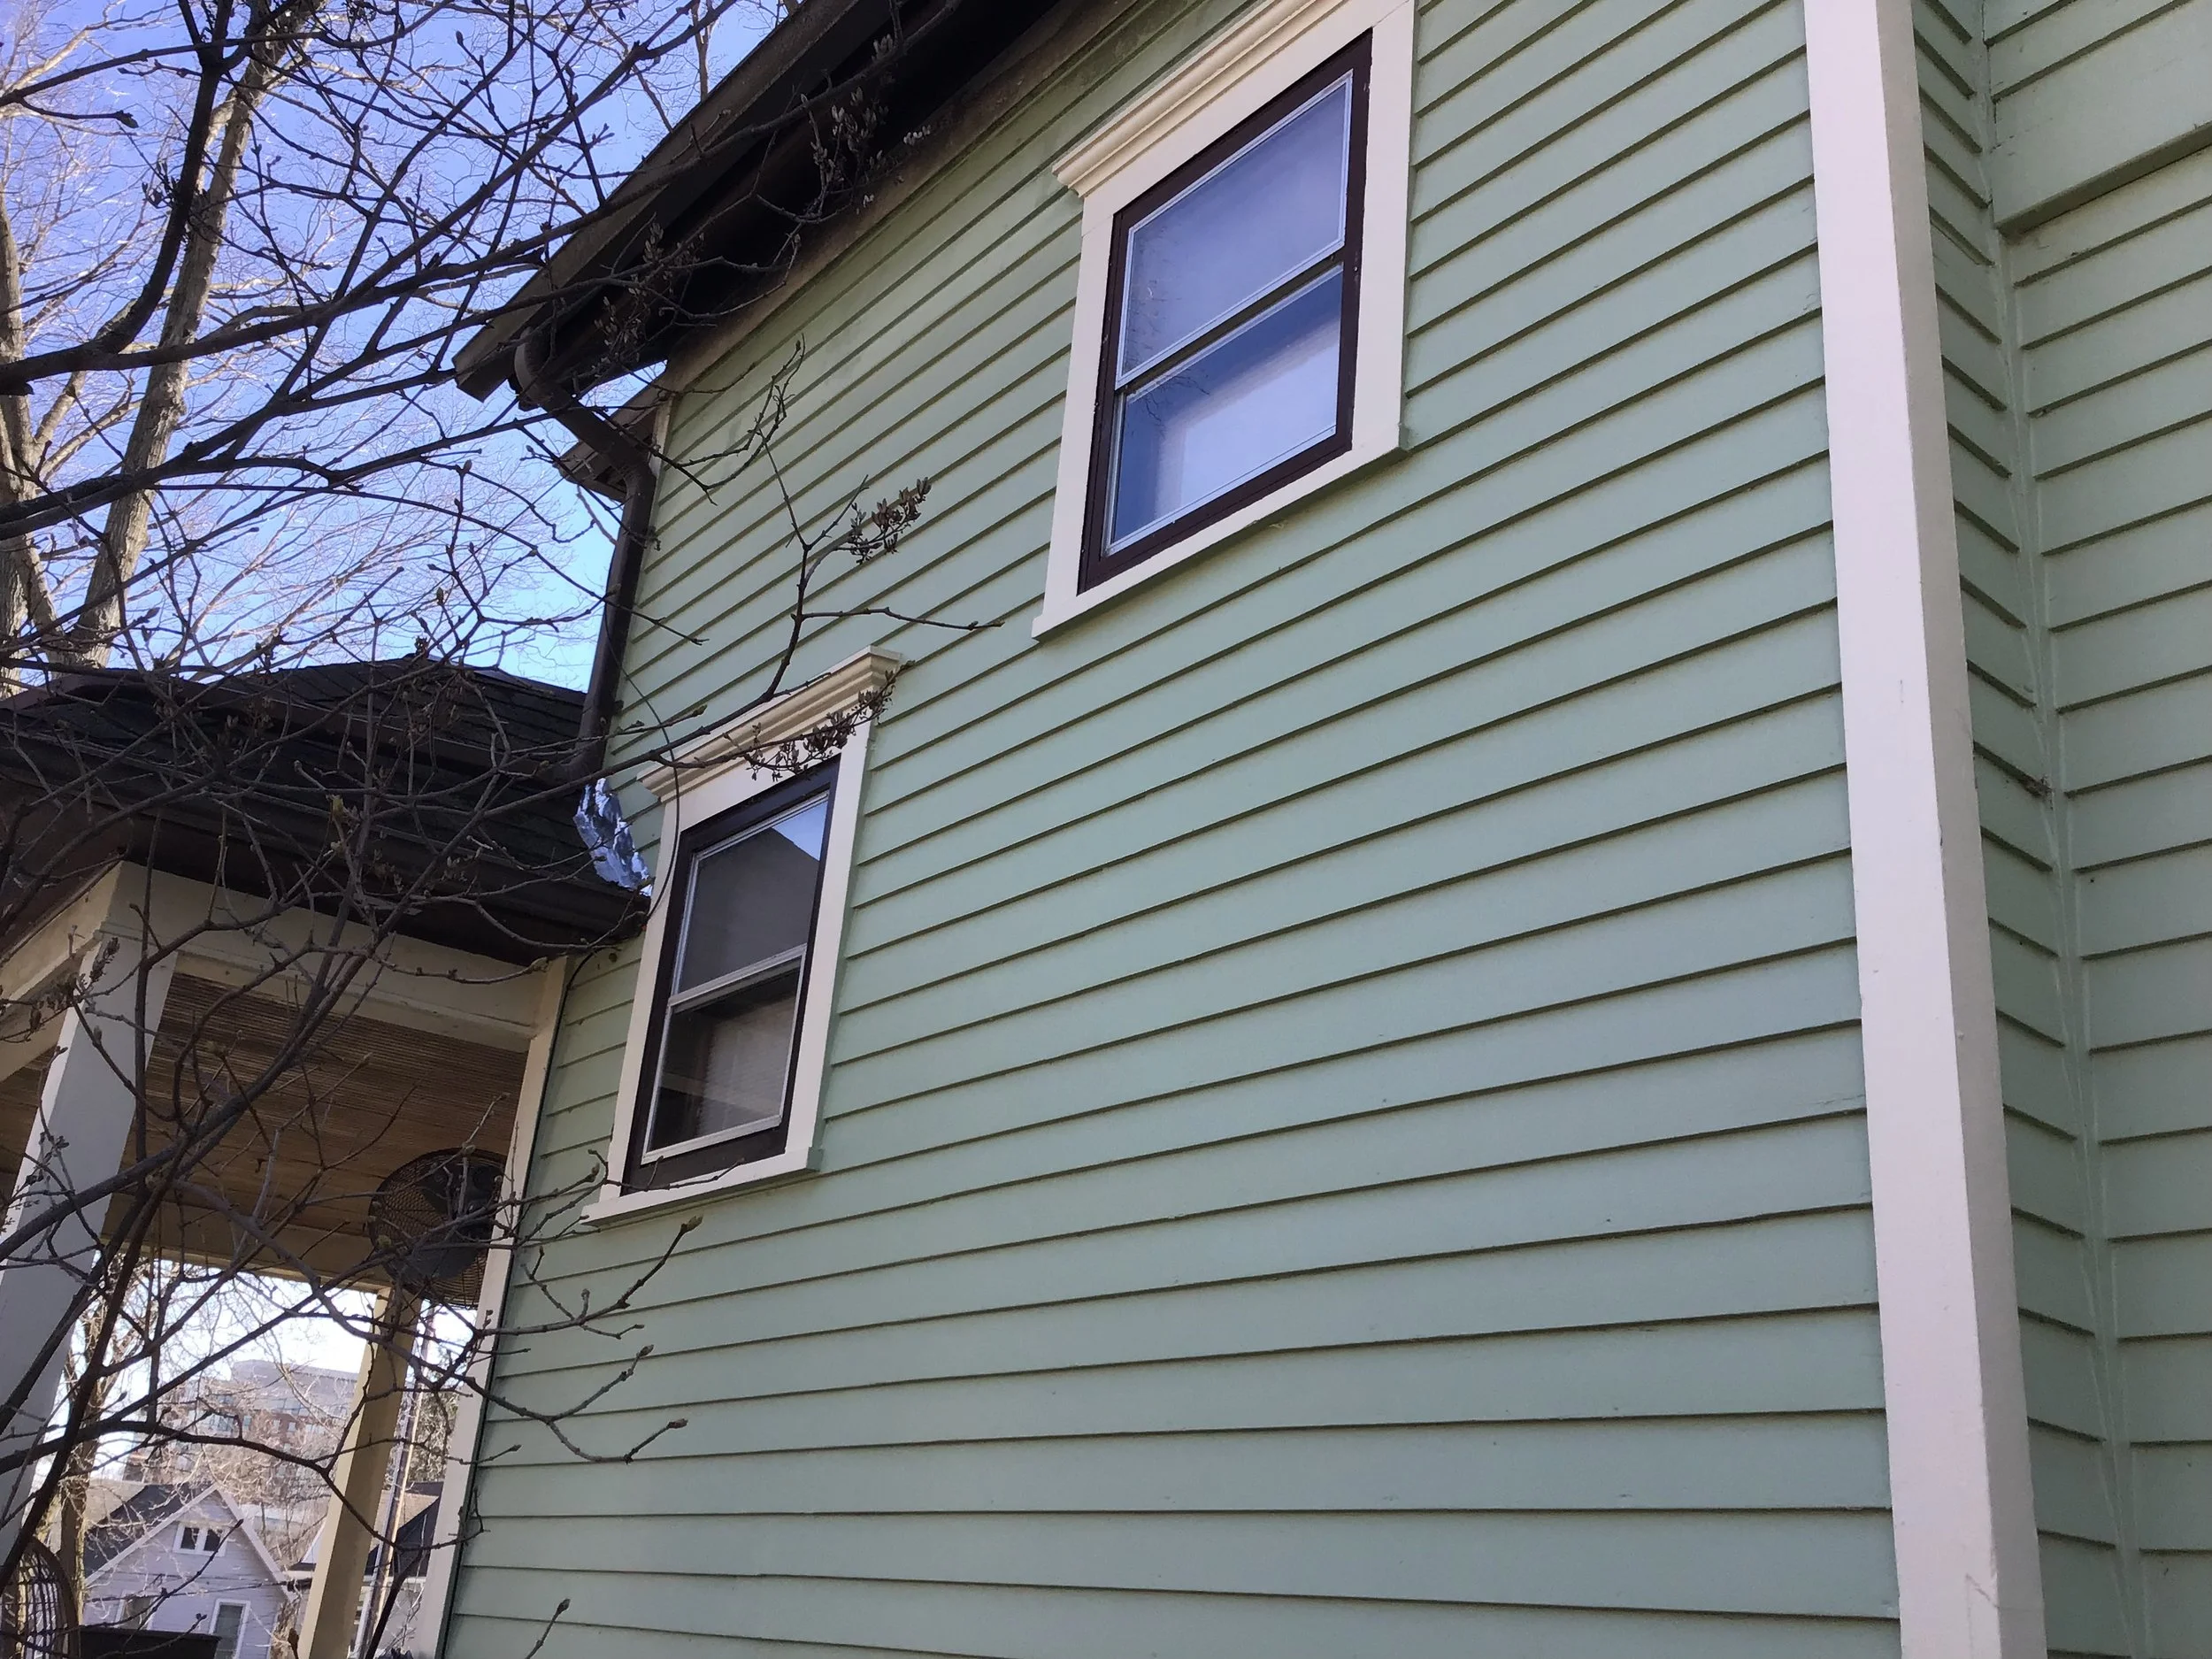
Windows siding finished and painted. Another view of the flashing.
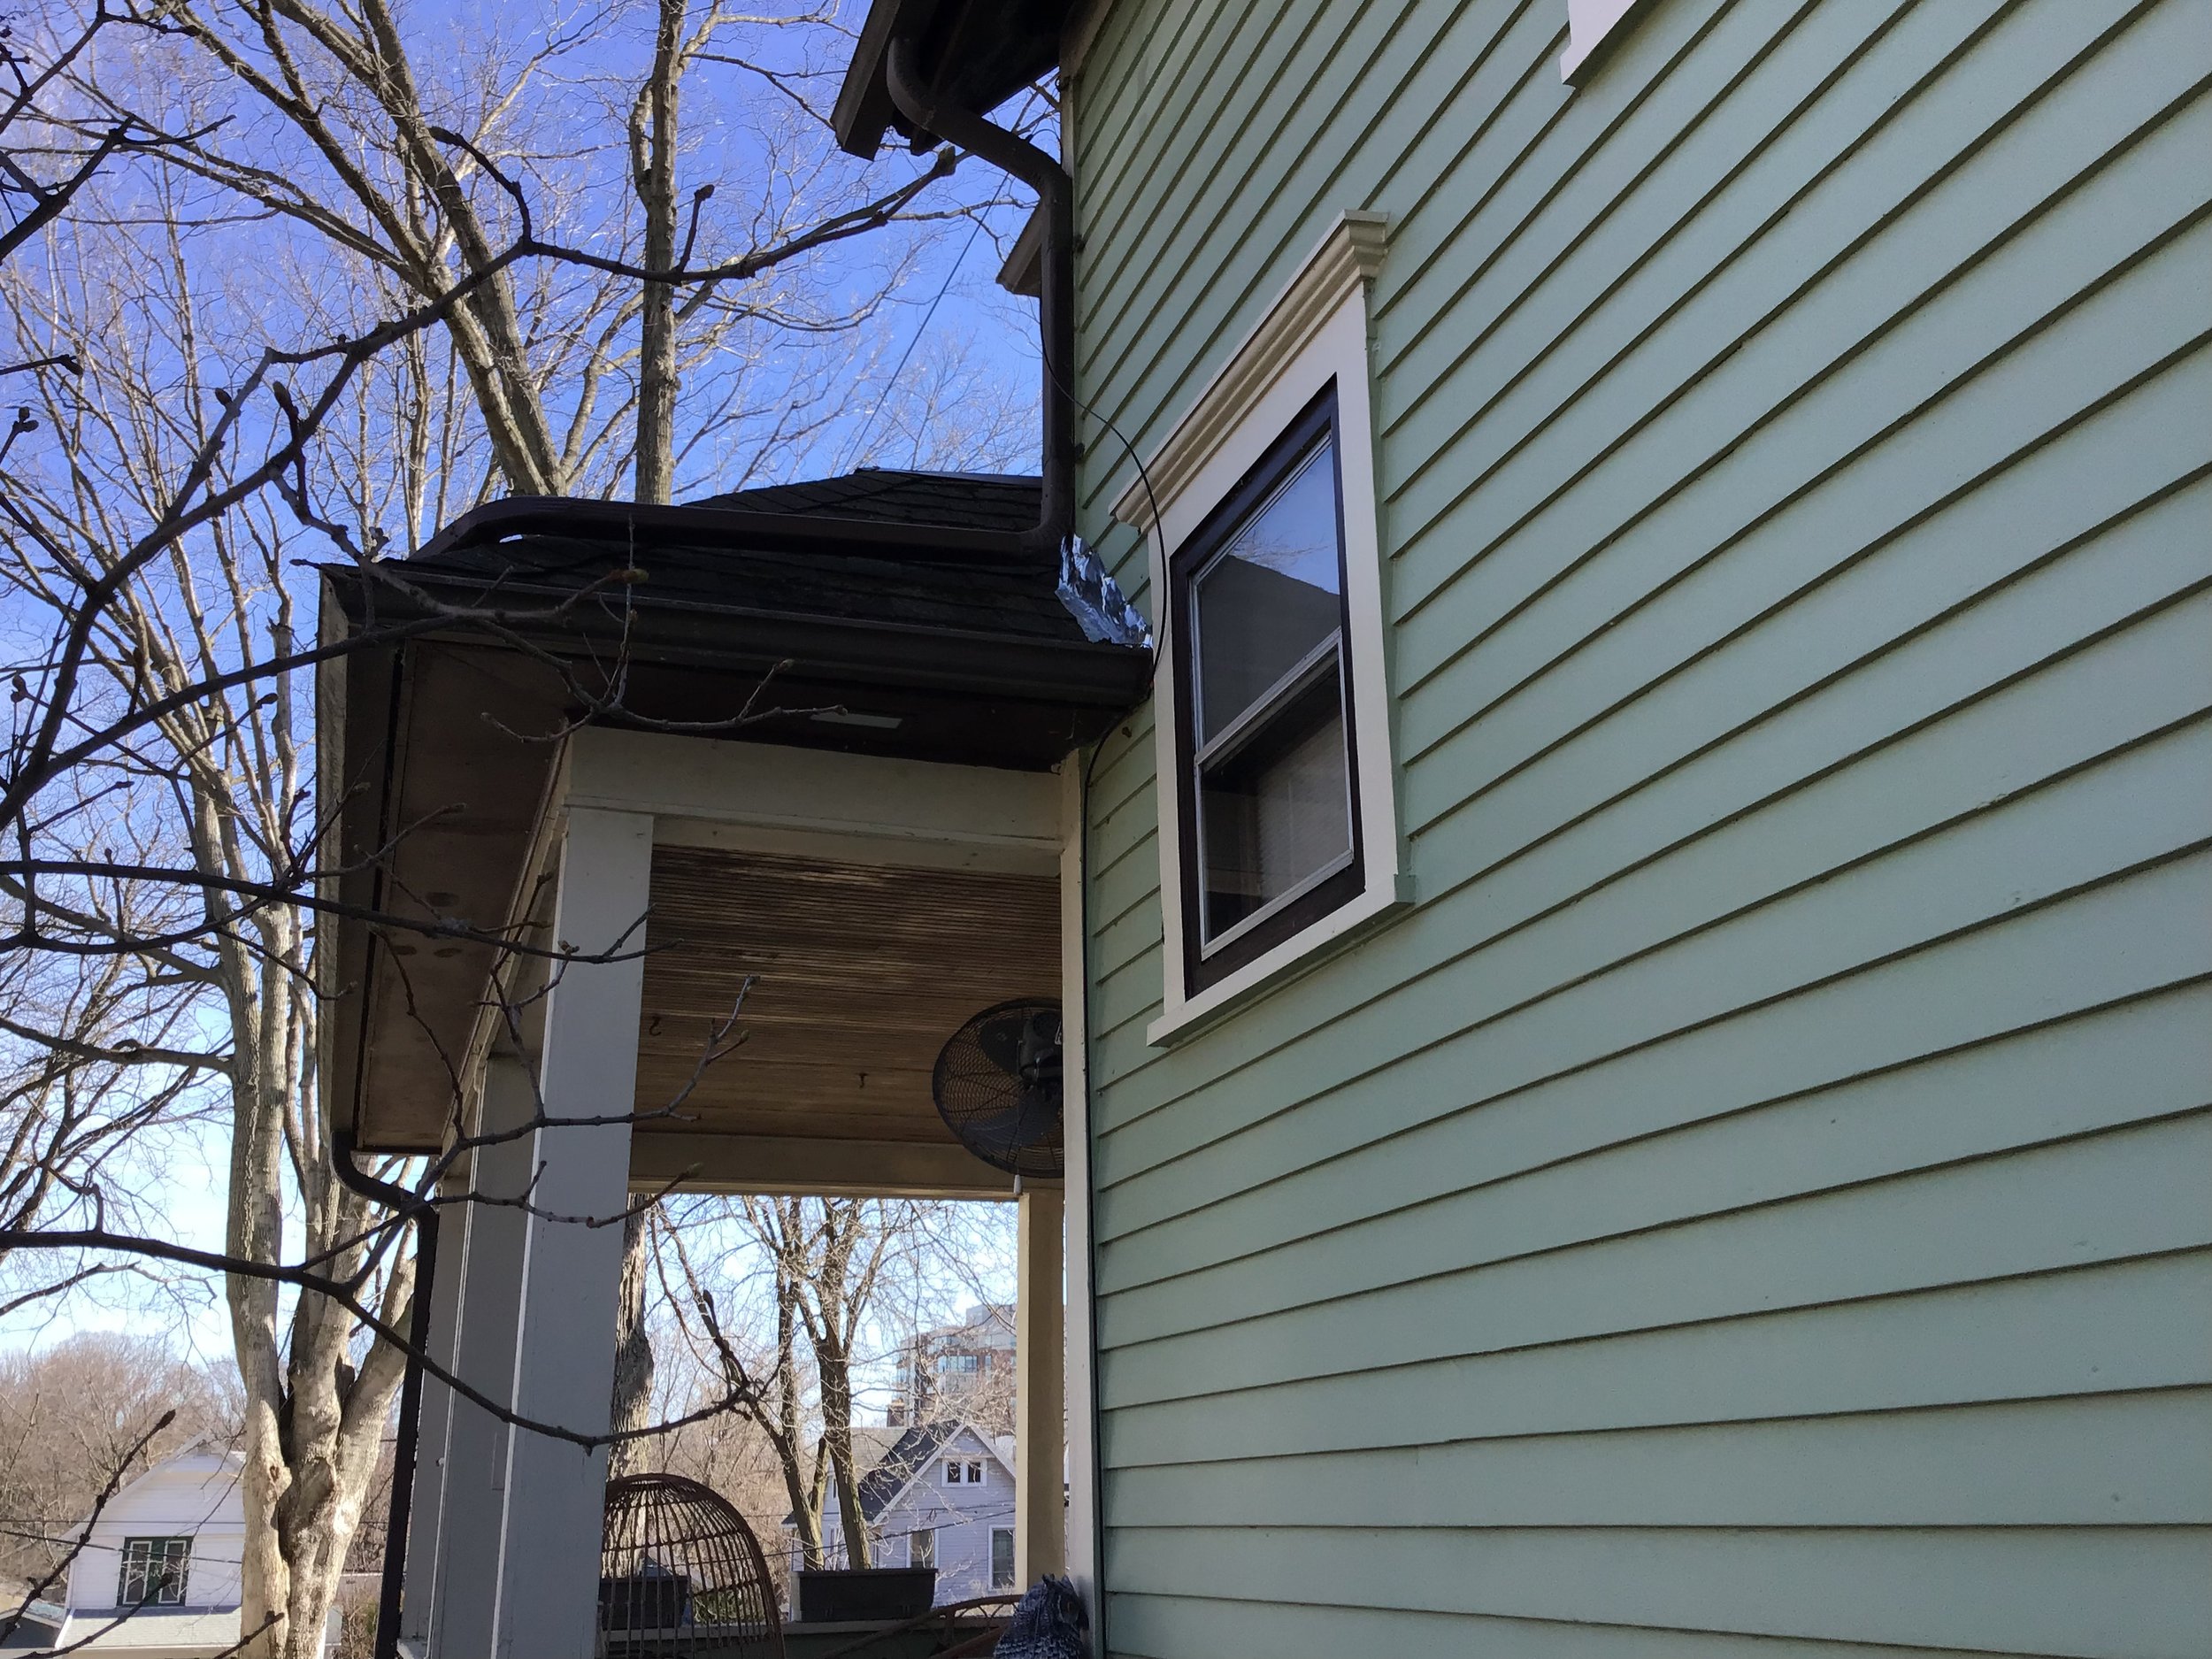
View of the once most damaged window and the new flashing and gutter.